manuals.online logo
Brands
  1. Home
  2. •
  3. Brands
  4. •
  5. BOXER
  6. •
  7. Automobile Accessories
  8. •
  9. BOXER 70801 Assembly instructions

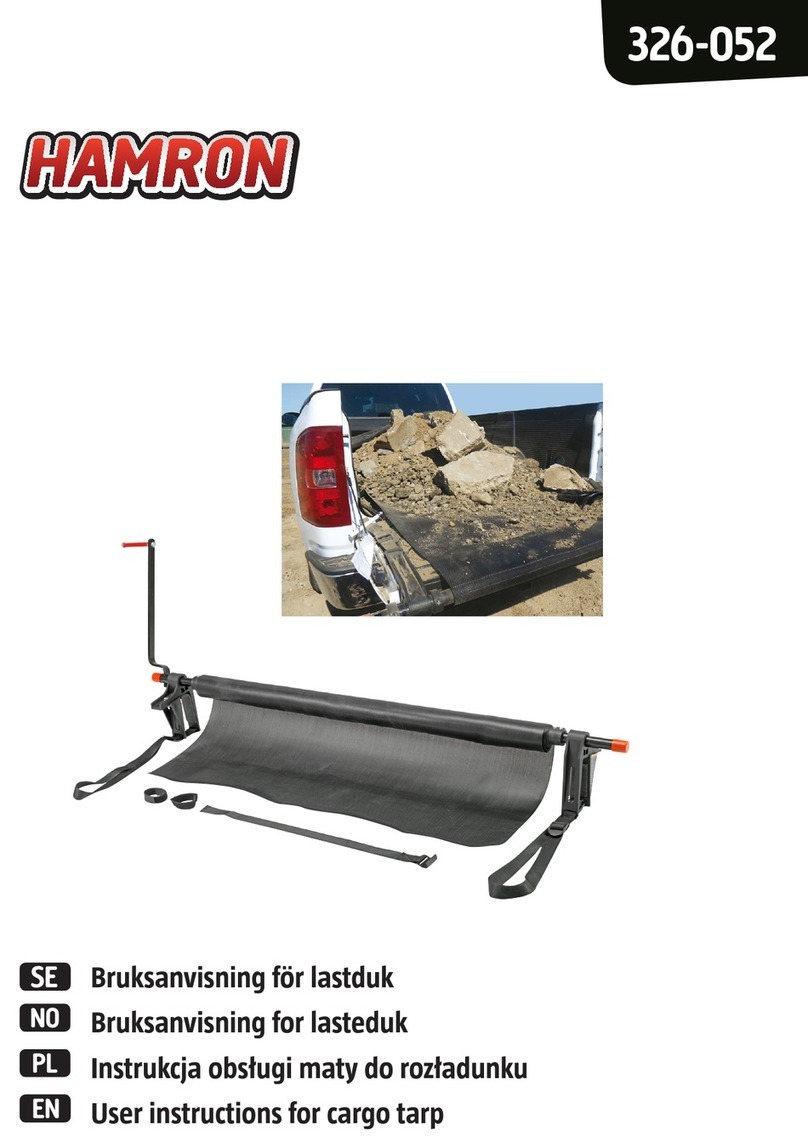
BOXER 70801 Assembly instructions

Owner's Manual & Safety Instructions
ITEM NO. 70801
Read this manual & instruc ons carefully for your safety, failure to do so may cause serious injury.
BEFORE ASSEMBLY: (TAILGATE IS CLOSED)
WARNING
1. Read product descrip on and follow instruc ons before installa on and/or use.
2. Wear ANSI-approved safety goggles during installa on and use.
3.Check total weight to unload before use. Do not exceed 2,000 lbs.
.
4. Check all unloader parts before each use. Do not use if parts are damaged or not in place.
5. Check local regula ons before driving with cargo unloader installed
(Refer to pages 2 and 3 for assembly and moun ng instruc ons)
BEFORE AND DURING LOADING CHECK LIST: (TAILGATE IS AT ITS CLOSED POSITION AND LOCKED)
1.The maximum loading weight is 2,000 lbs.
2. Check your truck's Gross Vehicle Weight Ra ng. Do not exceed truck rated weight.
3. Keep truck bed clear and clean before loading.
4. Place Drag Sheet in the truck bed center to cover bed.
5. When loading truck, load should be centered on Drag Sheet.
6
. Make sure to secure Bar before driving to prevent accidents while driving.
UNLOADING CHECK LIST
1. Before unloading, open tailgate cau ously.
2. Use Bumper Security Strap to keep tailgate from moving.
3. Keep unloading area clear.
4. Insert Handle into slot on Bar and rotate handle to unload.
5. A er unloading, collect drag sheet onto Bar and use strap to secure.
6. Remove Unloader kit from truck, store it for future use a er it is cleaned and dry.
1
Unloader Assembly Instructions
Package Includes: Se ng Up The Bar:
Contents: 2 Pc Bar, Drag Sheet, 21" Handle, 2 Brackets,
4 Tube Clamps, 2 End Caps, Wrench, 2 Screws, Tape for
securing bars, 2 Velcro Straps, 1 Bumper Security Strap.
Addi onal tool Needed: Phillips Screwdriver
Step 1. Join bars together to form one piece. Wrap tape
around seam to secure. A ach Drag Sheet to bar with
provided screws and wrench to pre drilled holes on bar.
Roll Drag Sheet over bar and secure with Velcro Straps.
When facing Bar make sure handle slot is to your le nd
Drag Sheet rolls out over and away from you.
A aching Brack
k
ets: Finishing Assembly:
Step 2. Insert 1 tube clamp into Bar on each side. Tighten
screw on clamp to secure onto the bar. Next, insert brackets
one to each side. Keep handle slot to the le , insert brackets
with adjustable bolt side towards you. Finish by inser ng
second set of tube clamps to secure bracket to the bar.
Tighten screw on clamp.
Step 3. Make sure Brackets have been inserted correctly.
Bracket with two buckles should be inserted on Handle side
of Bar. Add End Cap to each end of Bar. Insert Handle into
slot when ready to use. Please keep Bumper Security Strap
on hand for moun ng unloader.
2
Tube Clamp
Tube Clamp
Brac et
End Cap
Handle slot
Handle
Handle slot

Unloader Mounting Instructions
Se ng Bar on Tailgate: A aching Bar to Tailgate:
Step 1. Begin with tailgate securely closed. Place unloader
bar with handle slot on trucks driver side. Bar should be
placed on the outside edge of tailgate. Slide bracket assembly
into truck tailgate. Make sure brackets fit securely against
tailgate.
Step 2. Lower tailgate and feed bracket straps through gap
between tailgate and truck bed. Feed strap up to buckle on
the outer side an ghten slack on strap to secure bracket to
tailgate. Repeat on both sides.
Handle: Securing with Bumper Strap:
Step 3. Insert handle into slot and make sure handle will
clear truck. If needed reposi on bar to the le o give more
room for handle to clear the side of the truck. Once in the
correct posi on remove handle and store in truck' s cab.
Step 4. With tailgate closed, place bumper hook on bo om
of bumper. Strap should be placed on the handle side of bar.
Insert other end of strap to second buckle on bracket and
ghten to secure.
3
Boxer Tools makes every effort to assure that our products meet high quality standard. We warrant all new 
products to original purchasers against any defect in material and Workmanship. This warranty does not apply 
to any damage due to, directly or indirectly misuse, abuse, negligence, repairs, altera ons, criminal ac vi es, 
improper installa on, normal wear and tear and/or lack of maintenance. This warranty allows original 
purchasers to return merchandise with prior authoriza on from the office. With Proof of original purchase 
receipt, the defec ve item can be returned with freight charges paid by the sender. We will inspect, examine 
the returned product to decide to either, repair, replace or refund. If we determine there is no defect, or that 
the defect caused is beyond the scopes of warranty, then you must bear the shipping cost of returning the
product. You may have other rights which vary from state to state besides this warranty.
LIMITED 90-DAY WARRANTY
4

Popular Automobile Accessories manuals by other brands

Prolux Skyline AIR S Installation maintenance and service manual

Prolux

Prolux Skyline AIR S Installation maintenance and service manual

RBP Pro-Series Rock Rail Instruction

RBP

RBP Pro-Series Rock Rail Instruction

T-MAX E-BOARD PST01-0110 installation guide

T-MAX

T-MAX E-BOARD PST01-0110 installation guide

Stability Dynamics LG-Alert owner's manual

Stability Dynamics

Stability Dynamics LG-Alert owner's manual

EVO Manufacturing EVO-1073 manual

EVO Manufacturing

EVO Manufacturing EVO-1073 manual

Syvecs Polaris RZR Pro R Plug in Ecu manual

Syvecs

Syvecs Polaris RZR Pro R Plug in Ecu manual

Menabo TEMA Fitting instructions

Menabo

Menabo TEMA Fitting instructions

CAMPSMART CSAE310 Fittings guide

CAMPSMART

CAMPSMART CSAE310 Fittings guide

Thule AeroBlade Edge 7601 instructions

Thule

Thule AeroBlade Edge 7601 instructions

PAC SWI-ECL2 user manual

PAC

PAC SWI-ECL2 user manual

Mobility mobilityRDO Mounting instructions

Mobility

Mobility mobilityRDO Mounting instructions

Thule 3113 instructions

Thule

Thule 3113 instructions

Savio TR-10 user manual

Savio

Savio TR-10 user manual

TrailFX DHS001B manual

TrailFX

TrailFX DHS001B manual

Boyo VTC464RB user manual

Boyo

Boyo VTC464RB user manual

TricLED SLINGSHOT RGB KIT 1 UNDERGROUND HALO manual

TricLED

TricLED SLINGSHOT RGB KIT 1 UNDERGROUND HALO manual

Dakota Digital VHX-69P-GTO Instrument Installation

Dakota Digital

Dakota Digital VHX-69P-GTO Instrument Installation

Hella FS19S user manual

Hella

Hella FS19S user manual

manuals.online logo
manuals.online logoBrands
  • About & Mission
  • Contact us
  • Privacy Policy
  • Terms and Conditions

Copyright 2025 Manuals.Online. All Rights Reserved.