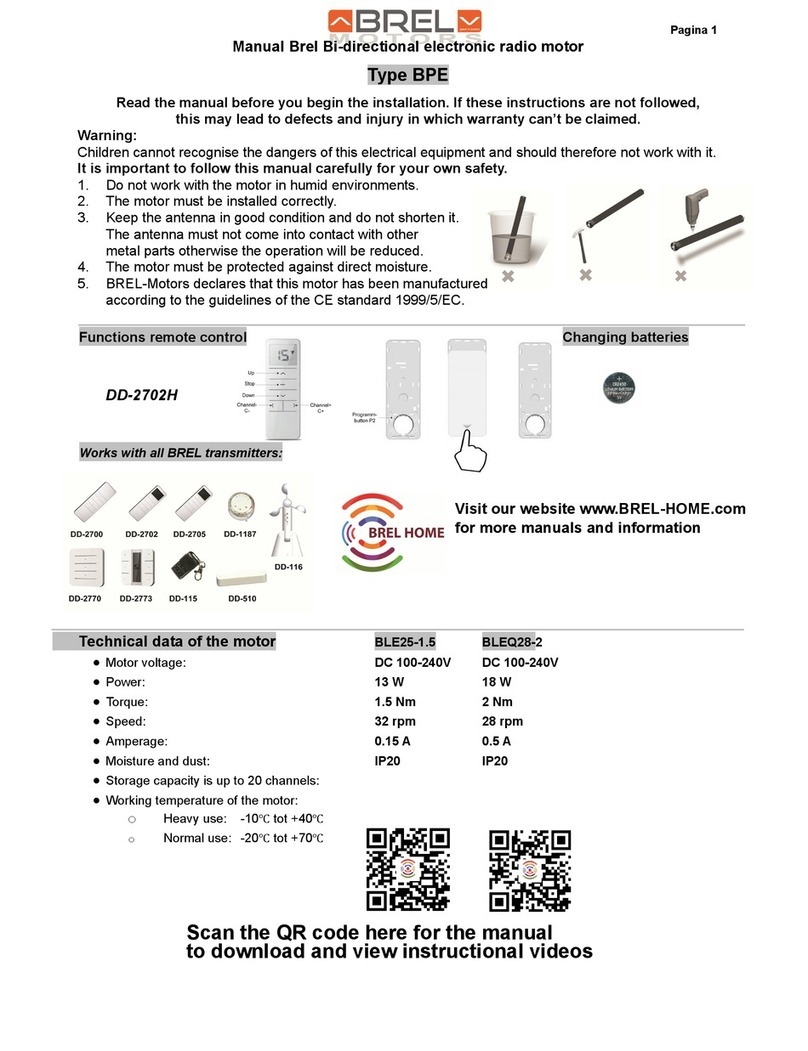
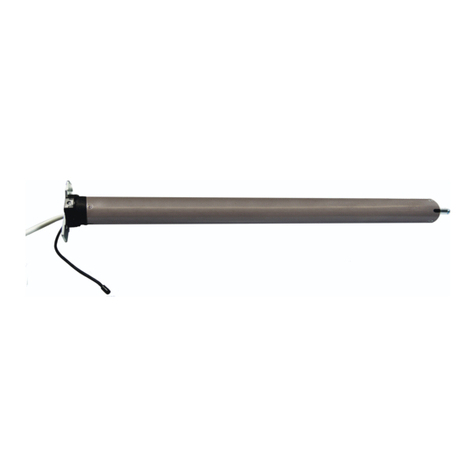
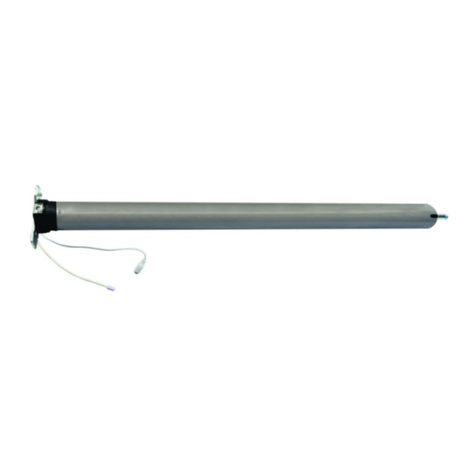
BREL BRE45 User manual

MOT O R S
www.brel-home.com
Visit our website for more manuals and information
INSTALLATION
MANUAL
r
BRE45
BRE45-10
EN NL DE FR
BRE45-20 BRE45-40

P
Table of Content
2Warning
Settings
3
Technical data of the motor/Reach/Charging the motor 4
Functions remote control 5
5
The motor must be
protected from direct
moisture influences.
The motor must be
installed correctly.
BREL-Motors declares that this
motor has been manufactured
according to the guidelines of the
CE standard 1999/5/EC
Do not operate the motor
in humid surroundings.
Keep the antenna in a good
condition and do not shorten.
The antenna should not come into
contact with other metal parts
otherwise it will reduce the function.
Warning
Do not allow children to play with the
roller blind control unit. Keep remote
controls out of reach of children.
Children cannot recognize the dangers of
electrical equipment and are therefore
not allowed to work with it
Wiring/Installing the motor/Works with BREL HOME
Keep these instructions for future reference

P
Install with BREL HOME APP
Wiring
Installing the Motor
These assemblies are usually already done in the factory
Attach the crown and wheel to the motor and place the clip on the shaft of the motor so that the wheel is
fixed to the motor. Install the motor with the motorbracket on the product and take care that it is secured.
Place the motor in the tube of the roller/shutter.
The BRE45 motor is easy to operate with the BREL HOME app. The motor
connects to the BREL HOME app via WiFi and then the motor can be set
via the app. The steps are as followed:
Step 1: Go to settings -> Wifi network -> choose the connection to your
home network -> disable the “automatic connection” to your home
network.
Step 2: Download the BREL HOME App and create an account (SIGN UP)
Step 3: Click on add product and choose the Wifi motor
Step 4: Go through all the steps as indicated in the app.
Step 5: Close the app completely -> restart the app -> click on ADD ROOM
and create the room where the product is located.
Step 6: Go to the WiFi motor and link the newly created room to the WiFi
motor.
If you want to install the motor by emitter, follow the instructions on
the next pages.
Scan the QR code for instruction video’s
Common = Blue
Live line = Brown
Earth line = Green Yellow
Motor
Power
3 wires: 230V/50Hz
BRE45-10 BRE45-20 BRE45-40

P
Technical data of the motor
Normal Use:
- 20°C tot +70°C
Heavy Use:
- 10°C tot +40°C
Working temperature of the motor
Storage capacity is up to 20 channels
L2 = 20 meter
L1 = 100 meter
Reach
433MHZ
INDOOROUTDOOR
Motor Voltage 230V 230V 230V
Power 113W 161W 228W
Torque 10Nm 20Nm 40Nm
Maximum motor runtime 4 min 4 min 4 min
Speed 15rpm 15 rpm 15 rpm
Amperage 0.48A 0.69A 0.99A
Moisture and Dust IP44 IP44 IP44
Functions Remote Control
P2 P2
M
Programm
Button P2
Current
Channel
Channel+ C+
Up
Stop
Down
Channel- C-
BRE45-10 BRE45-20 BRE45-40

Motor Voltage 230V 230V 230V
Power 113W 161W 228W
Torque 10Nm 20Nm 40Nm
Maximum motor runtime 4 min 4 min 4 min
Speed 15rpm 15 rpm 15 rpm
Amperage 0.48A 0.69A 0.99A
Moisture and Dust IP44 IP44 IP44
STOP until 2x
Put power on the motor and the
product moves up and down. Press and hold the STOP button until
the product moves 2x up and down.
Transmitter/Channel
has been set.
If NO end positions are set, the product will move in the pulse / step operation. Go then to STEP 3.
If end positions are set, the product will continue to its end position. Go then to STEP 5.
WARNING: It is possible that the correct end positions have not been set. Go then to OPTION A.
Establishing connection
Step 2
Step 1
The remote control can transmit 15 channels and therefore control multiple blinds.
First, select a channel for operating the relevant roller blind.
Make sure that you select a free channel (we recommend only 1 product per channel ).
Select the desired channel.
This remote has also channel 0. All blinds programmed in channel 1~15 are
automatically programmed in this channel 0 and can be operated all at once.
3
1
2
45
In case you have selected the wrong channel, go to Resetting factory settings.
Setting up the first remote/channel
In the procedures described here is a maximum interval of 10 seconds to complete each
subsequent action: if you wait any longer, the system will leave the edit mode.
Normally a button only needs to be pressed shortly. If you need to press and hold a button for
several seconds this will be state clearly.
The system will confirm each completed step with moving the blind up and down ( ).
If a procedure does not play out as described, wait for 20 seconds and start again
from the beginning of that step/procedure.
Adjusting the direction of rotation (Only if the direction of rotation is not correct)
Step 3
Press UP and DOWN button
simultaneously, until the product moves.
The direction of rotation of
the motor is OK.
Only possible if no end positions are set.
until 1x
Power on
Manually setting the End Limits
Step 4 A
Press UP and STOP simultaneously, until
the product moves 2x.
The desired top
position is set.
1. Set the desired top position STOP 2x
until
Use the operating buttons to move the
product to the desired TOP position
To move the motor one step: briefly press the UP or DOWN button
To move the motor continuously: press the UP or DOWN button for 3 seconds (ATTENTION! Press STOP in time)

2. Set the desired bottom position
Use the operating buttons to move the
product to the desired BOTTOM position. Press DOWN and STOP simultaneously,
until the product moves 2x.
The desired bottom
position is set.
STOP 2x
until
Setting the favorite position (If desired)
Step 5
P2
1x P2 1x 1x STOP 1x 1x STOP 2x
Go to the
desired
favorite
position
Press 1x P2 The
product moves 1x up
and down.
Press 1x STOP button.
The product moves 1x
up and down.
Press 1x STOP button. The
product moves 2x up and down
for confirmation.
Press and hold STOP for 3 seconds to move to the favorite position.
The roller blind is now ready for use.
If you are not satisfied with the result of setting the end positions, go to Option A - adjusting positions
or Resetting factory settings.
Remove it repeat the steps.
Adjusting the down position
If adjustment is not possible, go to Resetting factory settings.
STOPDOWN
Go to the new
STOPDOWN
Option A
If adjustment is not possible, go to Resetting factory settings.
Additional settings
STOP
UP
Go to the new
STOP UP
Adjusting the top position
STOP until STOP until
STOP until
STOP until
Automatically setting the End Limits
Step 4 B
Press the down
button for 3s.
Product moves up and stops
automatically at the top position
Product moves down and stops
automatically at the bottom position
The positions
are set.

P1 of a
1xSTOP of b.
b
2x
(In case the old transmitter is lost or broken)
b
STOP b
until
until 1x STOP
1x
until
Option B Learn Extra transmitter/channel
Only possible when end limits are set.
= Already existing transmitter/channel = New transmitter/channel
ab
b
P2
a
P2 aP2 b
P2 of a
b
P2 a P2 a P2 b 2x
Pulse / jog on
Pulse / jog off
UP DOWN
STOP
Option C Pulse / jog control
Make sure the new transmitter is in the desired channel.
Method 1
Method 2
Page 7
Add / remove
P2
a
P2
a
b
P2
Up
P2 of a
P2 of a.
P2 of b.
By repeating the above, you can remove the sun and wind meter again.
P2
b
Sun- and windmeter (DD-116 and DD-118)
Option D
1x p2a 1x p2a
1x 1x 1x p2b 2x
Safety function for wind sensor
P2
Option E
UP

ON :
OFF :
P2.
P2.
UP.
By repeating the above, you can switch the sun function on or off again.
On / off sun function ( Factory setting = on)
P2
a
P2
a
Option F
Page 8
Switch Sensitive obstacle Detection Mode
Option G
P2
Soft or Hard obstacle detection
P2
UP
Rebound Function
Option H
P2
Activating Wi-Fi Function
Option L
P2 P2
Table of contents
Other BREL Engine manuals
Popular Engine manuals by other brands

ABB
ABB M2A series Installation, operation & maintenance instructions
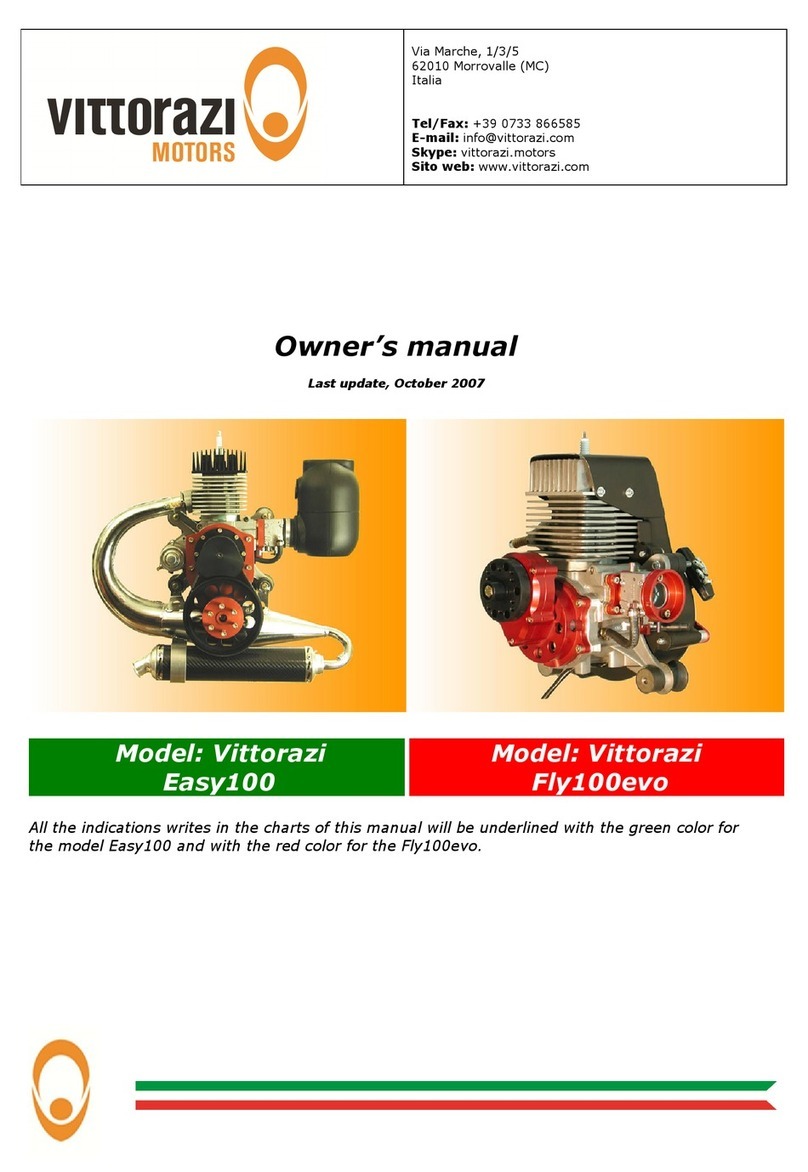
Vittorazi Motors
Vittorazi Motors Easy100 owner's manual
Lenze
Lenze g500-H manual

Polini
Polini THOR 130 Use and maintenance manual
Siemens
Siemens SIMOTICS M-1PH818 Operating and installation instructions

Daihatsu
Daihatsu CB-23 Workshop manual
O.S. engine
O.S. engine MAX-18CV-RMX Owner's instruction manual

Kohler
Kohler KT610-KT620 owner's manual
Evinrude
Evinrude 25 HP Owner's/operator's manual

ELSAN Elektrik San
ELSAN Elektrik San VEMS 80-2-77 Operation and maintenance instructions
MTU
MTU 12 V 4000 L62FB operating instructions
Perkins
Perkins WS 1300 Series EDi User handbook
