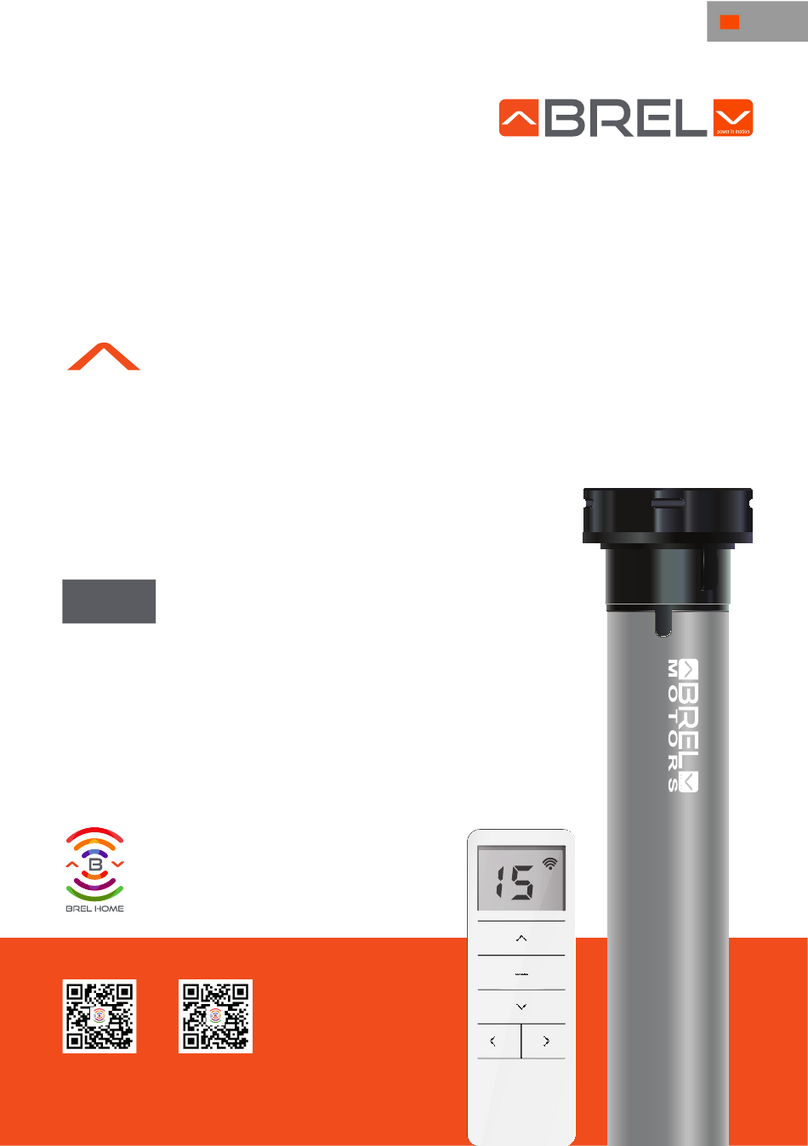
BREL BREL-Motors MLE22-0.5 User manual

Page 1
BREL motors is part of:
Manual Brel 22 mm 5V electronic radio motor with pullcord
Type MLE22
Read the manual before you begin the installation. If these instructions are not followed,
this may lead to defects and injury in which warranty can’t be claimed.
warning:
Children cannot recognize the dangers of electrical equipment and may therefore not work with it.
It is important to follow this instruction for your own safety.
1. Do not operate the motor in humidsurroundings.
2. The motor must be installed correctly.
3. Keep the antenna in a good condition and do not shorten. The antenna should not come intocontact
with other metal parts otherwise it will reduce the effect.
4. The motor must be protected from direct moisture influences.
_______________________________________________________________________________
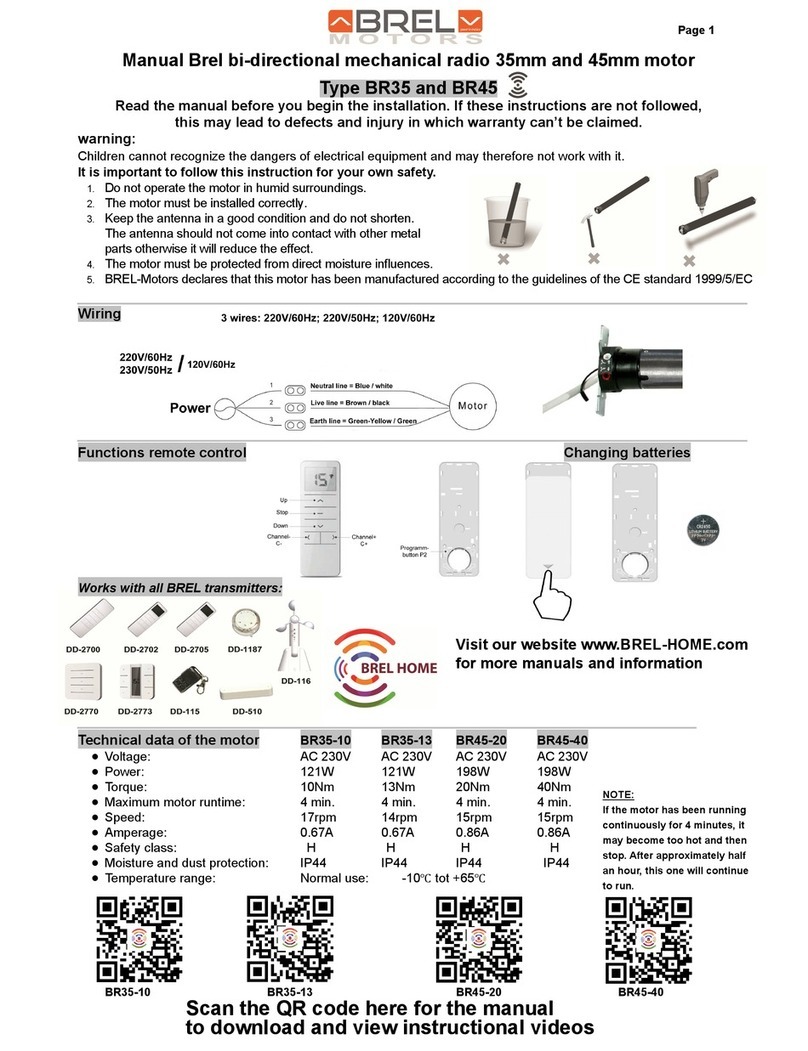
Functions remote control
Works with all BREL transmitters:
______________________________________________________________________________
Technical data of the motor MLE22-0.5
•Motor voltage: DC 5V 2A
•Power: 6 W
•Torque: 0.5 Nm
•Speed: 21 rpm
•Amperage: 0.70 A
•Moisture and dust: IP20
•Storage capacity is up to 20 channels:
•Working temperature of the motor:
oHeavy use: -10℃tot +40℃
oNormal use: -20℃tot +70℃

Page 2
To charge the MLE22, use a charger with micro-USB plug.
The battery is full when the light stops flashing and lights up green continuously.
The battery is empty when the light is flashing red.
______________________________________________________________________________
Functions Reach
L1 = 200 meter L2 = 35 meter
------------ Antenna
Micro-USB------------
P1 button -----------------
Switch ----------- ------------ Pullcord
_______________________________________________________________________________
Installing the motor
Attach the crown and wheel to the motor and place the clip on the shaft of the motor so that the wheel
is fixed to the motor.
Install the motor with the motorbracket on the product and take care that it is secured.
Place the motor in the tube of the roller/shutter.
(These assemblies are usually already done in the factory)
During programming the motor; the following must be done within 10sec.
After 10 sec. the motor will quit the programming mode.
FUNCTIONS WITH PULLCORD
_______________________________________________________________________________
Step 1 Set the switch on the motor to 1
If no end positions are set, the motor is in pulse setting.
_______________________________________________________________________________
Set up pullcord motor
Pull 1x Pull 1x Pull 1x
Etc.
Pull 1x, motor is running up. Pull 1x, motor stops. Pull 1x, motor is running down.
If there is no limit and you continue to pull the pullcord, the motor will continue to run until you release.
_______________________________________________________________________________
Step 2Setting top/bottom position
1x P1 1x P1
OK
Go to the desired Press P1 until Go the desired Press P1 until Top and bottom position is OK.
top position. motor moves. bottom position. motor moves.

Page 3
_______________________________________________________________________________
Step 3Setting the desired third limit position
Pull 1x
Go to the desired Hold the cord until the motor moves up and down.
third limit position.
To go to the third limit position, tighten the cord until the motor starts running.
To remove / change the third limit position, the same procedure must be repeated at the position of the third limit position.
FUNCTIONS WITH REMOTE CONTROL
_______________________________________________________________________________
Step 1 Setting up the first channel
P1 until 1x 2x P2 1x ▲The direction of
rotation is
RIGHT.
Go to setting the
end position.
Go to step 3.
The direction of
rotation is
WRONG.
Go to step 2
.
Briefly press and release the P1 button, Press 2x on the P2 button. Press the button up.
until the motor moves back and forth. Each time you press the The motor moves.
button, it moves momentarily.
With the above action you will delete all channels in memory and the final setting.
______________________________________________________________________________
Step 2 Change direction
If the direction is right, skip step 2 and proceed to step 3.
Press P1 tot 1x 2x P2 1x ▼1x ▲
Briefly press and release the P1 key, Press 2x on the P2 button. Press the button down. Press the button up. The product will now go up.
until the motor moves back and forth. Each time you press the The motor moves. Reading the first transmitter
button, it moves momentarily. has been completed. You
can now proceed with
setting the end limits.

Page 4
_______________________________________________________________________________
Step 3 Setting the end limits If no limit positions are set, the motor will only move in the pulse setting.
1x P2 1x ▲1x P2 1x ▲
Press the P2 Press the button Press the P2 Set the product on the
button. The motor up. The motor button. The motor desired top position.
moves momentarily moves momentarily moves momentarily
STOP until 1x ▼STOP until
Hold the stop button until the Set the product on the end position. Hold the stop button until the
motor moves momentarily. motor moves momentarily.
_______________________________________________________________________________
Step 4 Setting third limit position
If you press the stop button for more than 3 seconds, the motor will move from any position to the third limit position.
1x P2 2x STOP
Go to the desired Press 1x the P2 Press stop It moves momentarily.
third limit position button. button 2x. for confirmation.
To remove the third limit position, you must go to the third position and repeat above action.
_______________________________________________________________________________
Additional settings
______________________________________________________________________________
Option A Reset all
P1 3x Release P1
OK
Press P1 until the motor moves 3x. Release P1.
______________________________________________________________________________
Option B Delete limit position
1.
P1 2x Release P1.
OK
Press P1 until the motor moves 2x. Release P1.

Page 5
2. 1. Deleting the end position can also be done as follows:
When step 1, setting up the first channel also the limit setup will be removed.
2. 1x P2 1x ▼1x P2
The end positions are now removed
from the memory of the motor.
You can now re-read the end position.
Press P2 button 1x. Press the button down. Press P2 button 1x.
_______________________________________________________________________________
Option C Teaching multiple transmitters (Up to 20 transmitters per receiver)
2x P2 1x P2
Press P2 button 2x Go to new channel or transmitter b/ Programming the new
Go to existing channel / transmitter a. of the existing (to remove channel / transmitter) transmitter/channel is ready.
channel / transmitter a. Press 1x P2 button of the new
channel or transmitter b.
To delete one channel , you must repeat the above operation.
______________________________________________________________________________
Option D Delete all
1x P2 1x STOP 1x P2
Press P2 button 1x Press stop button 1x Press P2 button 1x All channels are removed
_______________________________________________________________________________
Option E Pulse setting
1x P2 1x ▲1x ▼
OK
Press P1 button 1x Press up button 1x Press down button 1x
To remove the pulse setting, repeat the above operation.

Page 6
_______________________________________________________________________________
Option F Teach in new transmitter while maintaining final settings.
Only possible if the final setting is set.
Press P1 until 1x ▲▼ simultaneously
Hold down the P1 key The motor moves up Push up and down at the same time
Shortly. Then let go. and down. until the motor moves up and down.
_______________________________________________________________________________
Option G Speed control
- Increase the speed of the motor - Reduce the speed of the motor
1x ▲+ 1x STOP simultaneously 1x ▼+ 1x STOP simultaneously
OK OK
Push up and stop simultaneously, until the motor moves. Press down and stop simultaneously, until the motor moves.
If the motor is not moving, it is already in the highest or lowest speed.
There are 3 different speeds; Namely: 24 rpm
➔
1x - 28 rpm
➔
2x - 32 rpm
➔
3x
_______________________________________________________________________________
Option H Adjusting the top position
1x ▲▲▼ simultaneously STOP until
OK
Go to the already set top position. Press simultaneously the button up The motor moves up and down. Hold the stop button until the
and the down button until the motor moves. Go to the new upper position. motor moves momentarily.
_______________________________________________________________________________
Adjusting the bottom position
1x ▼▲▼ simultaneously STOP until
OK
Go to the already set bottom position. Press simultaneously the button down The motor moves up and down. Hold the stop button until the
and the up button until the motor moves. Go to the new upper position. motor moves momentarily.
Other BREL Window Blind manuals
Popular Window Blind manuals by other brands

Hella
Hella TOP FOAM RvA Operating guidelines
Robinson
Robinson Partition Assembly instructions

MaxxMar
MaxxMar MAXX MOTORS Domlux Operation and Programming Instructions

Louvolite
Louvolite Roller System 32 Fitting and operating instructions
SelectBlinds
SelectBlinds Honeycomb Cordless installation manual

LuxaFlex
LuxaFlex EVO MagnaTrack installation manual

MHZ
MHZ SKALAR MINI installation instructions
Bali
Bali Fabric Horizontal Blinds installation instructions
Louvolite
Louvolite Roller Duo Roll Fitting and operating instructions
LuxaFlex
LuxaFlex Roman Series Mounting instructions

Inspire
Inspire 84621529 installation instructions
Isotra
Isotra VS 5 Assembly manual
