BRITE-R DUO User manual

Thank you for supporting Brite-R with your purchase.
Contact Information
To view our FAQ go to our website:
http://www.brite-r.com/faqs/
For any enquiries please contact us below:
http://www.brite-r.com/contacts/
Or you can email us directly at:
info@brite-r.com for product information and,
support@brite-r.com for customer support.
Brite-R Duo LED Headlight
Instruction Manual
WIN
YOUR NEXT
LIGHT ON US*
Share a picture of your light with us,
for your chance to win your next
Brite-R product FREE of charge.
Tag it with
#Brite_R
@Brite_R
*One winner will be selected each month, available to UK residents only.
Terms apply, visit www.Brite-R.com/Win
www.Brite-R.comwww.Brite-R.com

Getting Started Getting Started
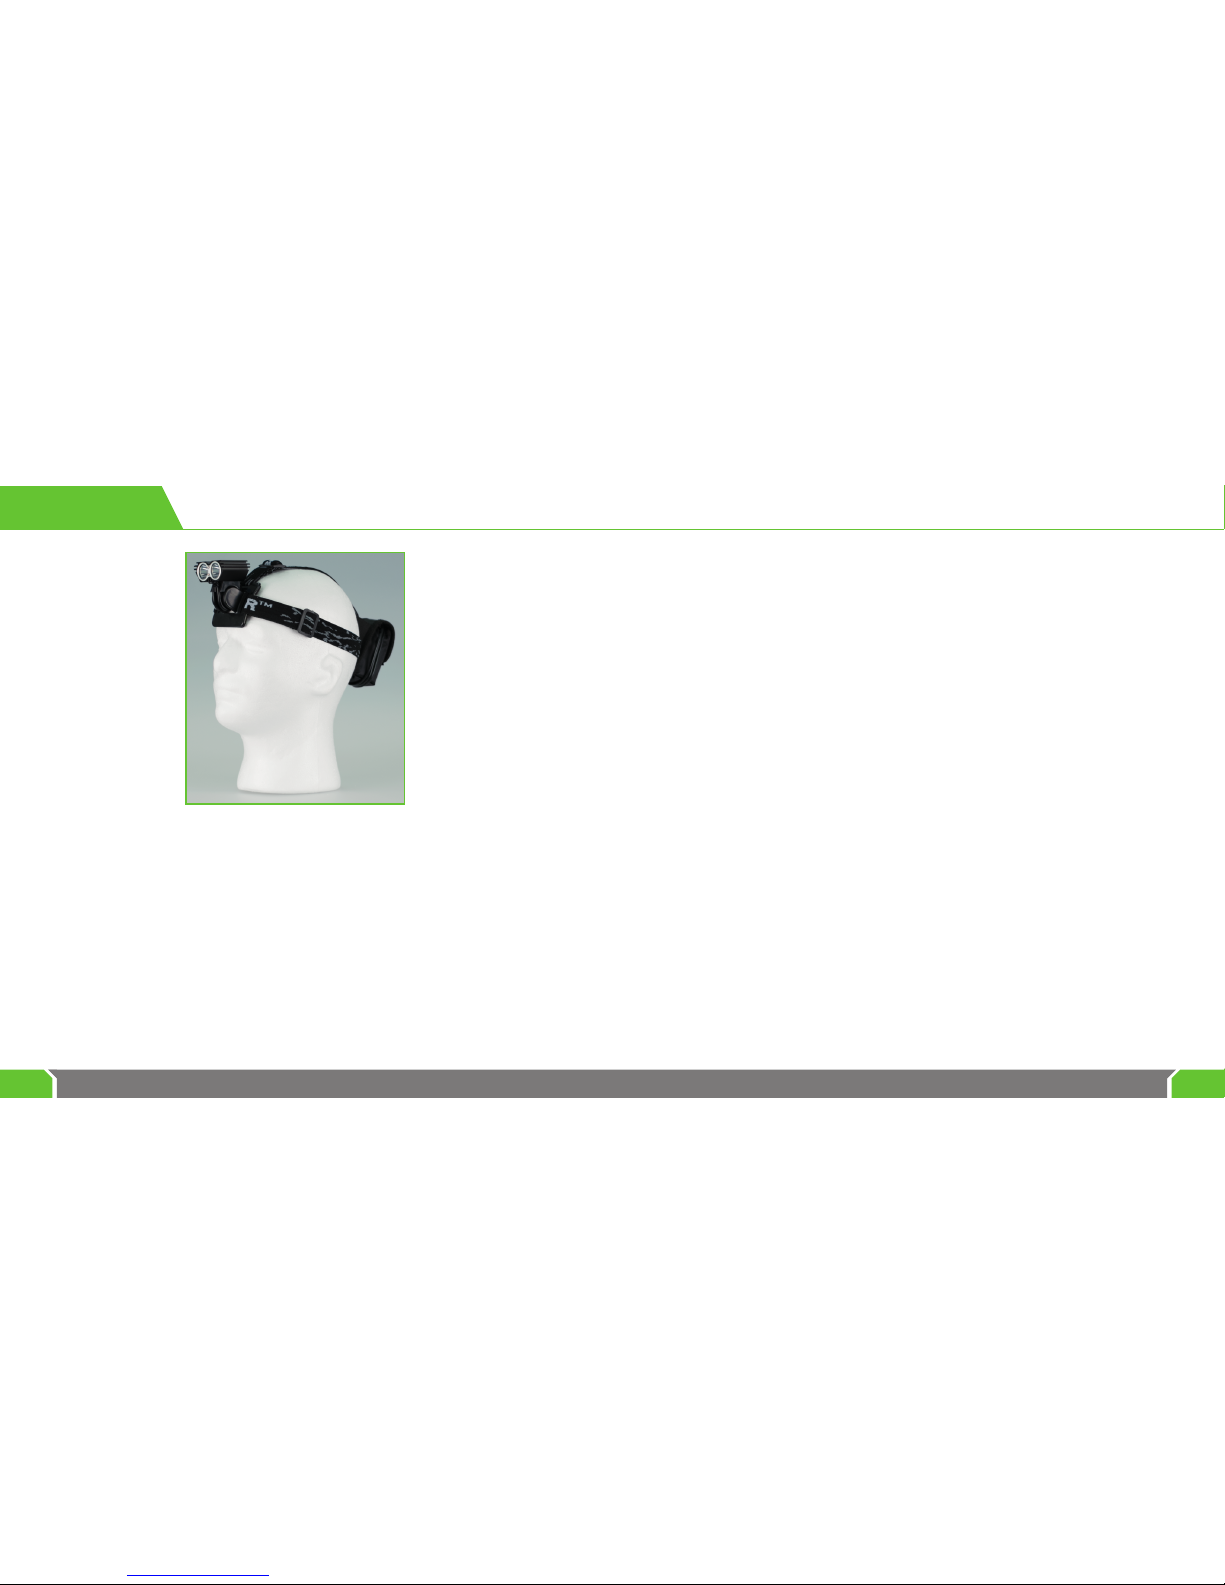
Congratulations on purchasing a Brite-R Duo LED Headlight!
Get ready to experience the world of night riding.
Please read this instruction manual to familiarise yourself
with your new light.
Safety Precautions:
1. When turned on, do not look directly into the light. The Duo is
extremely bright and can damage your eyes.
2. The Duo is intended for outdoor use. The LED emitter can
generate a lot of heat if used without airflow to the casing.
Please be sure to allow proper airflow.
3. Use only the supplied charger to charge the battery pack. Do
not use any other chargers, as it may cause damage to the
battery.
4. When not in use disconnect battery from light or charger.
5. Remove charger from outlet when not in use.
Brite-R accepts no liability for injuries or damage arising from the
misuse of this light.
User Tips:
1. Before using for the first time, ensure that the battery is fully
charged (This is indicated by a green LED on the charger). To
prolong the lifespan of your battery, do not leave charging after
it has reached full capacity. Store in a cool, dry place.
For more information on proper battery care, visit:
www.brite-r.com/battery-care/
2. All Duo components are designed to withstand the most
extreme weather conditions including rain, snow, heat etc.
However do not submerge your light or battery in water. It is not
intended for underwater use.
Warranty
Your Brite-R Duo light is covered by a 1 year warranty. The
warranty covers only manufacturer defects. It does not cover
damage caused by accidents, misuse or other external causes.
View our warranty guide at:
http://www.brite-r.com/warranty-policy/
01 02

Installation Installation
03 04
Charging
1. Plug the charger into an outlet.
2. Connect the charger cable to the battery. A red LED indicator
on the charger means that the battery is not at full capacity. A
green LED indicator means the battery is fully charged. Once full,
we recommend you unplug and discontinue charging to maxim-
ise the life span of your battery.
Note: Battery will take approx. 8-9 hours to fully charge.
Mounting your light to a handlebar
1. Select an O-ring that best suits your handlebar diameter. Hook
the ring around the Duo’s front hook, and wrap the ring around
your handlebars to fasten onto the rear hook of the Duo.
2. Unravel the strap and wrap the Velcro around your frame. Latch
the Velcro to itself to secure the battery in place.
You can also secure the battery pack to your handlebars.
3. Connect the cable from the light head to the battery.

05 06
Installation Installation
Mounting your light on a helmet
1. Use the same mounting technique to fasten the light head to
your helmet mount as you did with mounting to your handlebars.
Use the O-ring and hooks to secure the light. It may be easier to
begin with the front hook.
2. Now place the helmet mount onto your helmet.
3. Feed the Velcro straps of the helmet mount through the exterior
vent slits on either side of the helmet (choose a vent closer to the
ears). Thread the straps back up from the inside through the
centre slits and fold the Velcro back onto itself fastening
securely.
4. Fasten your battery pack to the helmet by feeding the Velcro
straps through the vent slits on your helmet. Secure it by latching
the Velcro onto itself. You may find that mounting the battery on
your helmet will make it uncomfortable or heavy. Because of this
you may choose to mount it somewhere on your person
e.g. On your belt.

07 08
Installation
Mounting to your Pro Head Strap
1. Use the O-ring and hooks on the light to secure the light to your
head strap. It may be easier to begin with the front hook.
2. The battery can be attached horizontally or vertically on the
head strap. To do so, wrap the Velcro straps around either the
main belt (for horizontal mounting) or the perpendicular belt (for
vertical mounting). Fasten the Velcro securely. You may choose
to mount the battery on your person (e.g. on your belt) if you
find that it is uncomfortable on the head strap.
3. Use the cable clips to secure the cable to the head strap.
The Brite-R Duo is designed for outdoor use. For optimal operation
there must be adequate airflow passing over the light to keep it
cool.
LED Indicators
The LEDs on the back of the light provide feedback on the status of
your light’s battery.
3 LEDs: 60-100% battery power remaining
2 LEDs: 30-60% battery power remaining
1 LED: 10-30% battery power remaining
1 LED Flashing: Less than 10% battery power remaining
Switch On
Connect the battery to the light. Press the button on the rear to
switch on the light.
Beam Modes
Cycle through the 4 beam levels - LOW/MEDIUM/HIGH/FLASHING
by pressing the button.
Switch Off
To switch off the Duo, cycle through the beam modes until the light
turns off.
Usage

09 10
Specifications
Technical Specifications
Important: When the headlight is switched
‘on’ DO NOT look directly at the light as
this may damage your eyes.
Precautions when in use
1. Do not touch the headlight lens with bare hands during or
immediately after use. Heat from the bulb may cause injuries.
2. Do not allow the battery to come in direct contact with metal
objects or fluids. This may lead to reduced battery performance
and/or damage.
3. Angle the headlight slightly to the ground to avoid startling
on-coming vehicles and pedestrians.
4. Unplug the charger from mains outlet once charging is
complete.
Precautions for storage
1. When storing the product, disconnect all cables for safety
purposes.
2. Do not store the Li-ion battery at full charge as this may shorten
it’s lifespan.
3. Store in a cool and dry place.
4. Long period storage; charge the battery for 10 minutes every 6
months.
Precautions
Light Output: 1300 Lumens
Light Source: 2 x CREE XM-L LED
Lighting Range (Maximum): 200m
Material of Construction: Aluminium & ABS Plastic
Battery: 4.2V 7200mAh Li-ion Rechargeable
Battery Charger: 4.2V 600mA BS Standard Charger
Recharge Time: 8-9 hours
Weight: 95.7g
Water Resistance: IPX-6 Rated
Operating Temperature Range: -10°C to 60°C
Table of contents