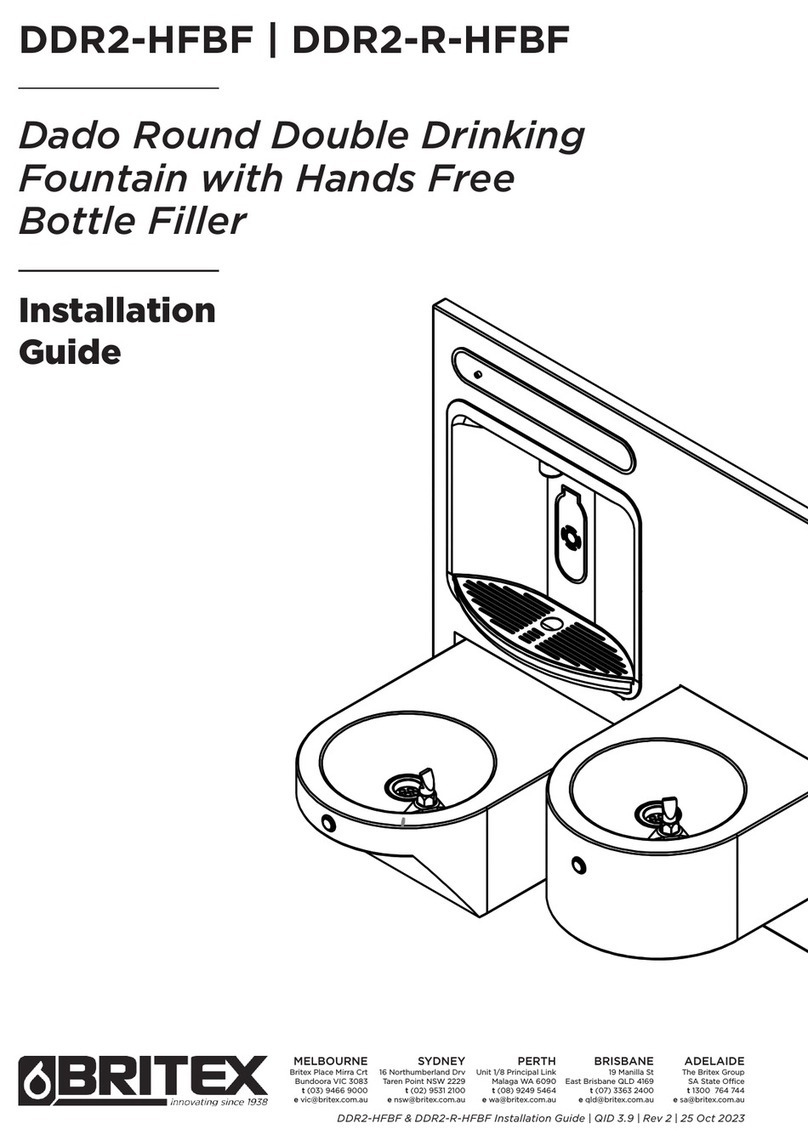
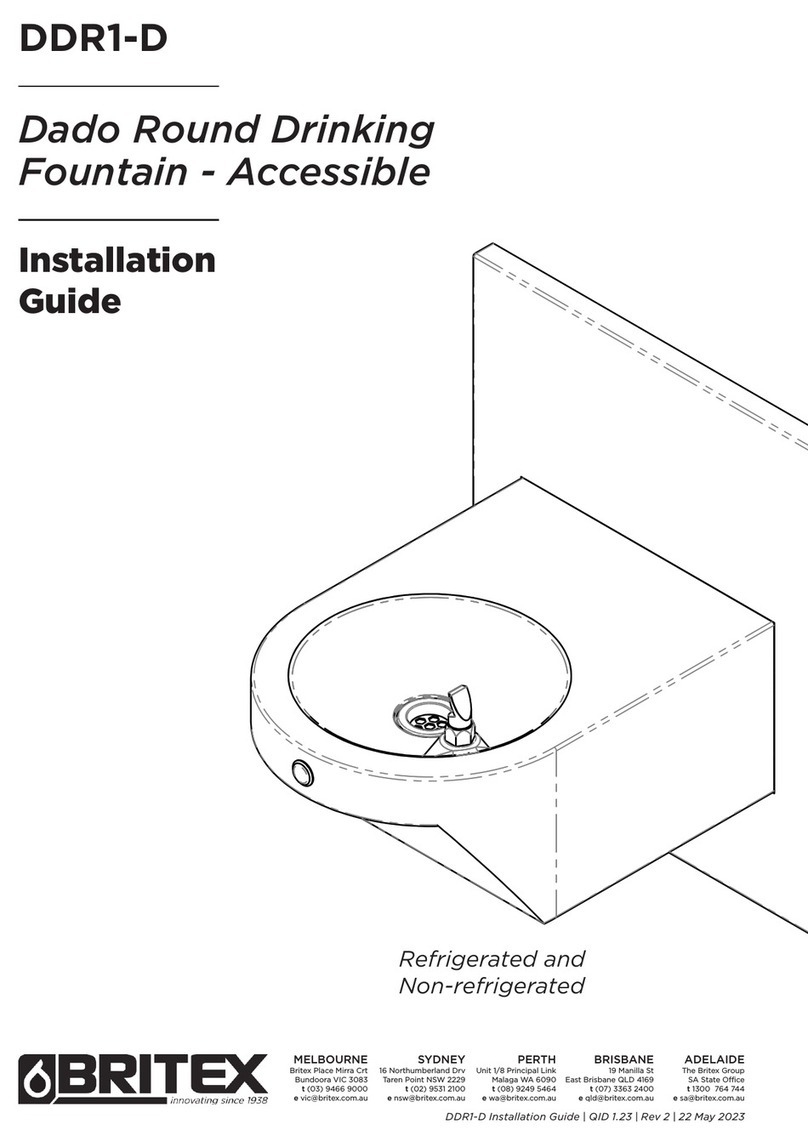
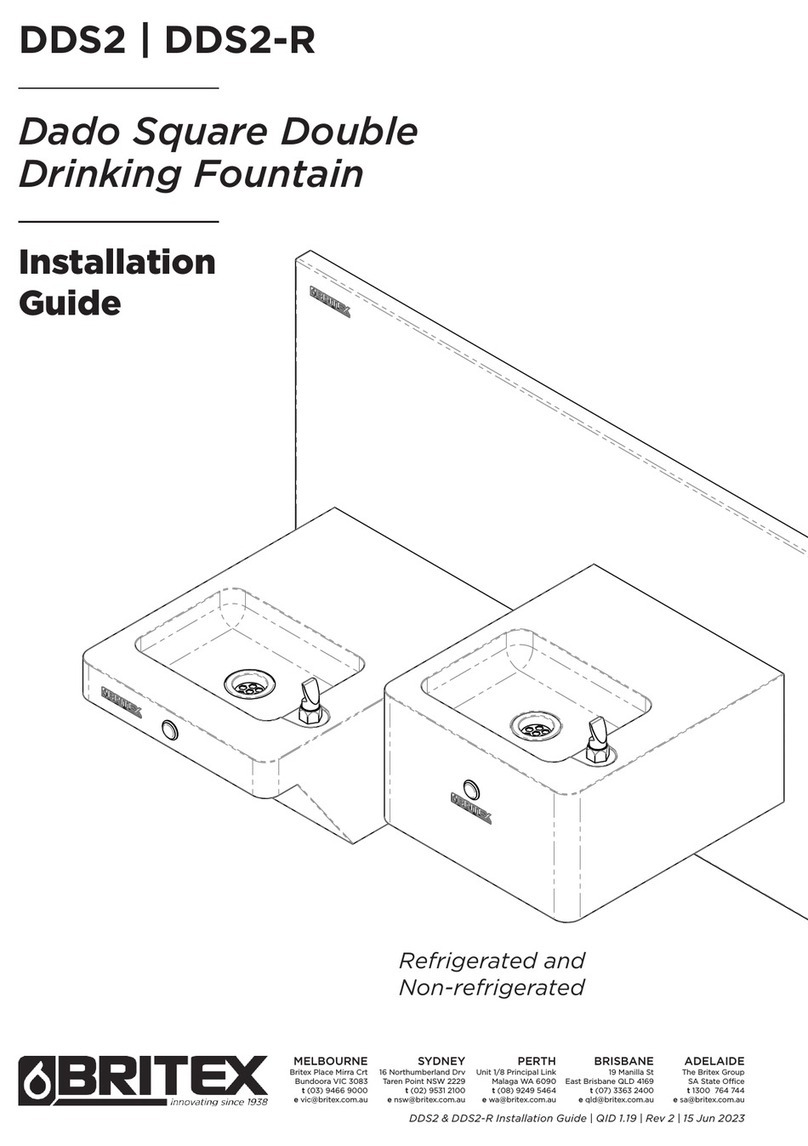
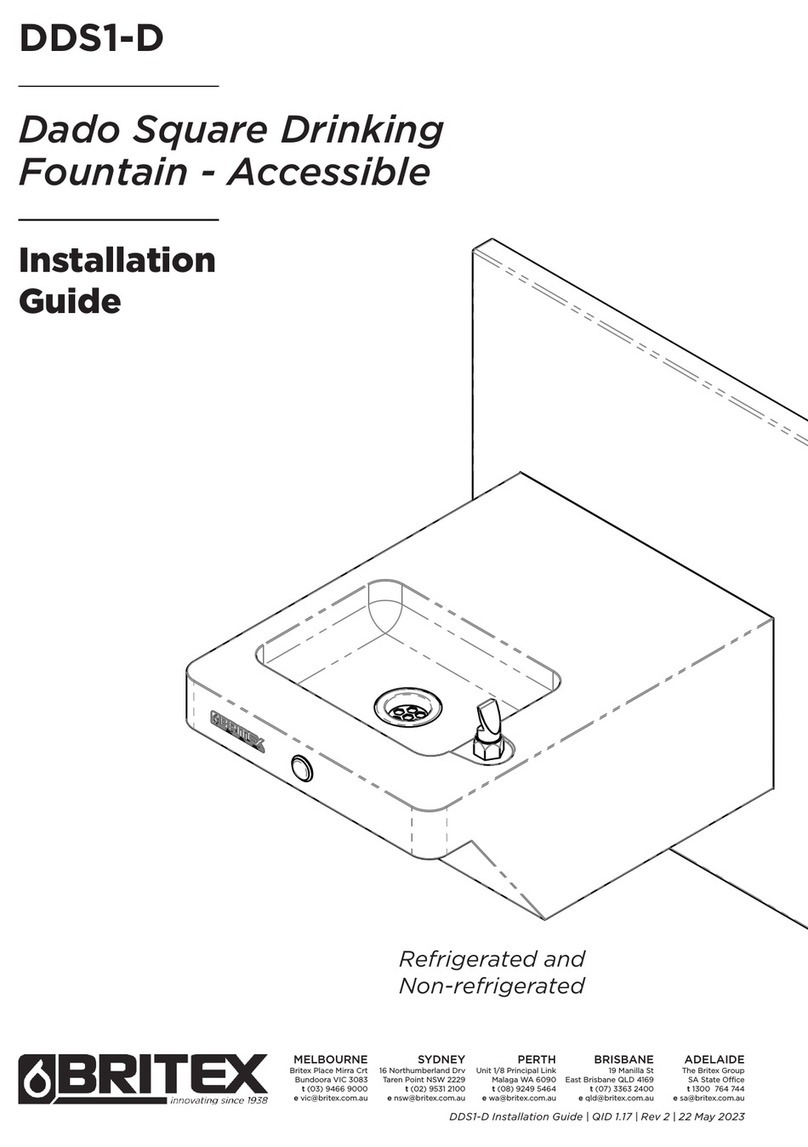
Britex TP6 User manual

MELBOURNE
Britex Place Mirra Crt
Bundoora VIC 3083
t(03) 9466 9000
e[email protected]om.au
SYDNEY
16 Northumberland Drv
Taren Point NSW 2229
t(02) 9531 2100
ensw@britex.com.au
PERTH
Unit 1/8 Principal Link
Malaga WA 6090
t(08) 9249 5464
ewa@britex.com.au
BRISBANE
19 Manilla St
East Brisbane QLD 4169
t(07) 3363 2400
e[email protected]om.au
ADELAIDE
The Britex Group
SA State Office
t1300 764 744
e[email protected]om.au
Installation
Guide
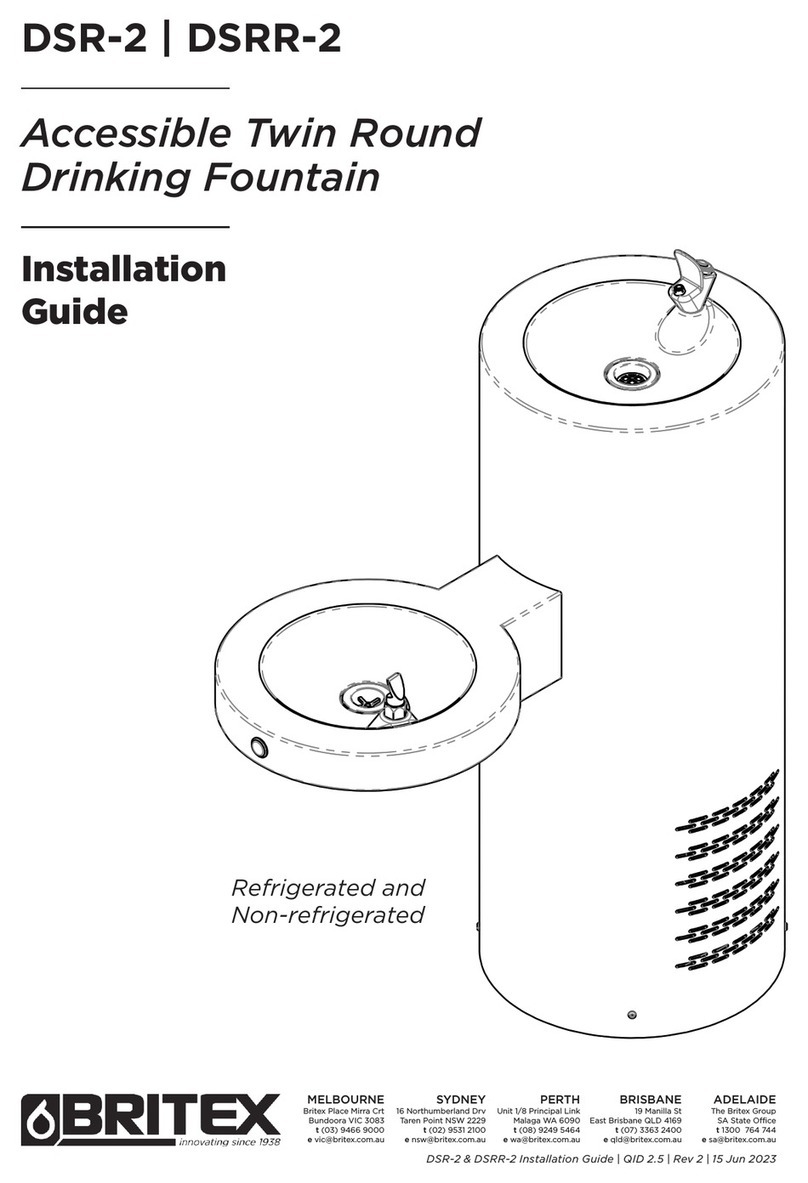
TP6
Accessible
Drinking Fountain
TP6 Installation Guide | QID 2.7 | Rev 2 | 6 Dec 2023
700
To comply with AS1428.2
2000
500
300
TP6
Installation Views
A3
SHEET 1 OF 2
SCALE:1:12
TITLE:
DO NOT SCALE DRAWING
DATE
UNLESS OTHERWISE SPECIFIED:
DIMENSIONS ARE IN MILLIMETERS
APPV'D
CHK'D
DRAWN
REVISION
Britex Metal Products Co. Pty Ltd.
ACN: 004 309 737
2 Mirra Ct, Bundoora Victoria 3083
P: 03 9466 9000 F: 03 9466 9044
britex.com.au [email protected]
Drawing:
DS
5/12/23
A
SD-6073.6

Australia’s Finest Stainless | britex.com.au
About
Preparation and Completion Notes
The BRITEX Accessible Drinking Trough is particularly suited to school and university
projects. The AS1428 complaint Drinking Trough include pre-plumbed Drink Safe™ low
lead water efficient push button drink bubblers with bacteria and sunlight resistant rubber
compound mouth pieces for added safety in the event users are bumped whilst drinking.
The fully welded stainless-steel troughs, rounded corners both internally and externally
ensure easy cleaning and provide added safety in high traffic areas. Disabled access drinking
stations can be supplied at either the left- or right-hand end, opposite the waste outlet end.
2
TP6 Installation Guide | QID 2.7 | Rev 2 | 6 Dec 2023
Contractors please note: Stainless steel drinking fountains should be installed after all other
building activities that could cause contamination to the surface of the stainless steel have
been completed.
These activities include:
Using proprietary building mortar removers containing hydrochloric acid. Welding, cutting,
and grinding that may ‘spray’ carbon steel and iron particles onto the stainless-steel surface.
1. Remove drinking fountain from box packaging and inspect for any damage before beginning
installation process.
2. Confirm all requested details are correct.
3. If the drinking fountain is damaged in transit or if any details are not as requested, do not
install it. Notify Britex immediately within 24 hours of receipting the product.
WARNING
WHEN INSTALLATION IS COMPLETE, ENSURE THESE INSTRUCTIONS REMAIN INSIDE
THE PLASTIC BAG PROVIDED WITH THE UNIT FOR FUTURE REFERENCE
IMPORTANT
ALL SERVICE TO BE PERFORMED BY AN AUTHORISED SERVICE PERSON
Installation of this unit must be in accordance with AS/NZS 3500.2, the PCA and the local
regulatory requirements. Water and/or electrical supply conditions must comply to national or
state requirements and standards. Failure to comply shall void the product warranty and may
affect the performance of the product. For further support and after-sales care, please contact
Britex.

Australia’s Finest Stainless | britex.com.au
TP6 Drawing
3
TP6 Installation Guide | QID 2.7 | Rev 2 | 6 Dec 2023
700
To comply with AS1428.2
2000
500
300
TP6
Installation Views
A3
SHEET 1 OF 2
SCALE:1:12
TITLE:
DO NOT SCALE DRAWING
DATE
UNLESS OTHERWISE SPECIFIED:
DIMENSIONS ARE IN MILLIMETERS
APPV'D
CHK'D
DRAWN
REVISION
Britex Metal Products Co. Pty Ltd.
ACN: 004 309 737
2 Mirra Ct, Bundoora Victoria 3083
P: 03 9466 9000 F: 03 9466 9044
britex.com.au [email protected]
Drawing:
DS
5/12/23
A
SD-6073.6

Australia’s Finest Stainless | britex.com.au
Installation Instructions
4
700
To comply with AS1428.2
(A)
(B)
(C)
TP6 -
Installation Steps
A3
SHEET 2 OF 2
SCALE:1:10
TITLE:
DO NOT SCALE DRAWING
DATE
UNLESS OTHERWISE SPECIFIED:
DIMENSIONS ARE IN MILLIMETERS
APPV'D
CHK'D
DRAWN
REVISION
Britex Metal Products Co. Pty Ltd.
ACN: 004 309 737
2 Mirra Ct, Bundoora Victoria 3083
P: 03 9466 9000 F: 03 9466 9044
britex.com.au [email protected]
Drawing:
DS
5/12/23
A
SD-6073.7
1. Mark vertical centreline on wall where
trough is to be installed.
2. Mark a level horizontal line 290mm
(for 300mm splash back model) above
desired trough height.
Note: To comply with AS 1428, operable
trough height from finished floor level
must be 700mm, making horizontal line
to be marked at 990mm from finished
floor level.
3. Line top of joggle strip up with the
horizontal line and mark fixing points.
Insert appropriate wall fixings and
secure joggle to wall (figure A).
4. Place trough onto wall, hooking rear
trough fold onto the joggle, suspending it
from wall.
5. Mount brackets to bottom of trough
and mark fixings, remove trough and fix
brackets to wall, ensuring they are level.
(figure B)
1
2
700
To comply with AS1428.2
(A)
(B)
(C)
TP6 -
Installation Steps
A3
SHEET 2 OF 2
SCALE:1:10
TITLE:
DO NOT SCALE DRAWING
DATE
UNLESS OTHERWISE SPECIFIED:
DIMENSIONS ARE IN MILLIMETERS
APPV'D
CHK'D
DRAWN
REVISION
Britex Metal Products Co. Pty Ltd.
ACN: 004 309 737
2 Mirra Ct, Bundoora Victoria 3083
P: 03 9466 9000 F: 03 9466 9044
britex.com.au [email protected]
Drawing:
DS
5/12/23
A
SD-6073.7
TP6 Installation Guide | QID 2.7 | Rev 2 | 6 Dec 2023

Australia’s Finest Stainless | britex.com.au
Installation Instructions
5
700
To comply with AS1428.2
(A)
(B)
(C)
TP6 -
Installation Steps
A3
SHEET 2 OF 2
SCALE:1:10
TITLE:
DO NOT SCALE DRAWING
DATE
UNLESS OTHERWISE SPECIFIED:
DIMENSIONS ARE IN MILLIMETERS
APPV'D
CHK'D
DRAWN
REVISION
Britex Metal Products Co. Pty Ltd.
ACN: 004 309 737
2 Mirra Ct, Bundoora Victoria 3083
P: 03 9466 9000 F: 03 9466 9044
britex.com.au [email protected]
Drawing:
DS
5/12/23
A
SD-6073.7
6. Return trough to brackets and fix
in place using supplied wing screws.
(figure C)
3
7. The trough is supplied with a 1/2
”BSP inlet to mains water.
8. The trough is supplied with a
standard 50mm waste outlet. The
outlet should be connected to the
drain network with the use of a
discharge pipe in accordance with
the PCA, AS/NZS 3500.1 and AS/NZS
3500.2.
9. Turn on water supply and press one
of the bubbler/bottle filler buttons.
This will allow air to bleed out of the
internal piping. Hold the bubbler
open until a steady stream of water
is flowing through the bubbler. This
process should be repeated for each
bubbler/bottle filler.
TP6 Installation Guide | QID 2.7 | Rev 2 | 6 Dec 2023

Australia’s Finest Stainless | britex.com.au
6
Technical Parameters
Inlet Connection 1/2” BSP
Outlet Connection 50mm Waste
Recommended Inlet Pressure 350 kPa
Maximum Inlet Pressure 500kPa
Troubleshooting for Manual Push Button Tapware
PROBLEM CAUSES ACTION
Inconsistent flow Blocked top assembly Remove top assembly and clean
Water is not flowing from
tap
Water is turned off Turn on water
Blocked flow regulating screw
Remove flow regulating screw
and
clean
Continuous flow
Top assembly loose or
internally obstructed or
damaged
Remove top assembly, clean with
water and re-grease spindle if
required
Rate of flow inadequate The flow regulating screw may
not be adjusted correctly
Remove blanking screw and
adjust flow regulating screw as
described above
Button hard to press
The mains pressure may be
too great
Reduce to below 500kPa
(70PSI). Regrease spindle if
required
TP6 Installation Guide | QID 2.7 | Rev 2 | 6 Dec 2023

Australia’s Finest Stainless | britex.com.au 7
Troubleshooting for Electronic Piezo Activation
PROBLEM CAUSES ACTION
No water flow
Battery faulty Replace battery
Electrical interference Ensure electrical suppressors are
installed correctly
No power Check power is reaching
transformer
Power supply leads joined
incorrectly Replace electronic components
Faulty solenoid valve Check electrical connections,
Replace solenoid valve
Water or structural damage to
electrical components
Replace damaged electrical
components
Incorrect connections Check all connections
Pressure exceeding 1000kPa Reduce pressure to solenoid to
850 kPa
Water corroded electrical
connections Replace electronic components
Continuous
water flow
Solenoid valve jammed open Remove obstruction from
solenoid valve
Solenoid installed incorrectly Reinstall valve correctly
Assembly Drawing
TW-BF-EPW-60-LS
TD15P Rubber Top
TD15P Button
Access Panel
TP6 Tube Bracket
50mm Waste
74-08-0105
Piezo Button
TP6 -
Assembly
A3
SHEET 3 OF 3
SCALE:1:10
TITLE:
DO NOT SCALE DRAWING
DATE
UNLESS OTHERWISE SPECIFIED:
DIMENSIONS ARE IN MILLIMETERS
APPV'D
CHK'D
DRAWN
REVISION
Britex Metal Products Co. Pty Ltd.
ACN: 004 309 737
2 Mirra Ct, Bundoora Victoria 3083
P: 03 9466 9000 F: 03 9466 9044
britex.com.au [email protected]
Drawing:
AW
6/12/23
A
SD-6073.8
TP6 Installation Guide | QID 2.7 | Rev 2 | 6 Dec 2023

Australia’s Finest Stainless | britex.com.au
8
Spare Parts
TW-D15P
Drink Tap with Remote Push Button Lead Safe
74-08-0150
Bottle Filler Ezy-Drink CP Lead Safe Wall Mounted Outlet 60mm
Reach
74-08-0106
Battery for Electronic Piezo Button
TP6 Installation Guide | QID 2.7 | Rev 2 | 6 Dec 2023

Australia’s Finest Stainless | britex.com.au 9
Care and Maintenance
Stainless steel products should be kept clean at all times. The secret to stainless steel’s
ability to maintain a high quality finish and promises of a long life expectancy is the
invisible chromium-oxide film that sits on the surface and protects the steel beneath. To
maintain this film it is essential that the surface remains clean and in constant contact with
oxygen. If this film is penetrated (either by abrasion or chemically) and dirt, liquid, grime
contaminants embed themselves in these micro chasms for an extended period of time,
the chromiumoxide film will not be able to regenerate and the steel below will eventually
become damaged and discoloured.
What we recommend for general cleaning and maintenance:
Cleaning Materials:
• A soft cloth
• A soft-bristled brush
• A natural or artificial sponge
Cleaning Solutions:
• Hand washing soap / soft water solution
• Mild soap / soft water solution
• White vinegar / soft water solution
It is recommended that general cleaning of stainless steel surfaces be carried out weekly,
or as soon as a build up of surface media has been observed. To clean, simply wash
stainless steel surfaces with, warm, diluted, mild soapy water using a cloth or soft bristled
brush. Once all dirt, oil and grime is removed, rinse thoroughly with clean water and wipe
dry
Do NOT – use a metal brush or steel wool to clean stainless steel. Ever. These tools will
scratch the surface as well as potentially leave behind steel fragments that can go rusty
and cause the stainless to discolour. Using these materials will void the warranty.
Do NOT – use scourers of any kind that have previously been used on ordinary steel.
Microscopic steel fibers transferred onto stainless steel can cause considerable damage to
the surface and will void the warranty.
Do NOT – use abrasive cleaning brushes, pads or agents on highly polished finishes
Do NOT use harsh cleaners that contain powerful acidic or alkaline chemicals such as
hydrochloric acid and sodium hydroxide that will damage the surface. Any water coming
into contact with stainless steel, particularly cleaning solutions, should have zero chloride
content as even minute amounts can cause damage. Using these cleaners will void any
product warranty.
Do NOT – use chlorinated sanitizers, cleansers or bleach of any kind. Using these substances
will void the warranty. Despite some cleaners displaying the text, ‘Suitable for Toilets and
Urinals’ this is more likely in reference to ceramic/vitreous China products and use of these
cleaners can damage stainless steel and will void the warranty.
Do NOT – use brick cleaning liquids that contain hydrochloric acid anywhere near stainless. If
cement needs to be removed from stainless (before it sets), a mixture of hot water and 25%
vinegar or 10% phosphoric acid can be effective. Once cleaned, the surface should then be
neutralised with dilute ammonia or sodium bicarbonate then rinsed and dried.
TP6 Installation Guide | QID 2.7 | Rev 2 | 6 Dec 2023

Australia’s Finest Stainless | britex.com.au
Warranty
The BRITEX product is backed by our manufacturer’s warranty available for download
from our website at www.britex.com.au. We expressly warrant that the product is free from
operational defects in workmanship and materials for the warranty period indicated on the
schedule in the manufacturer’s warranty. During the warranty period, BRITEX will repair or
replace any defective products manufactured by BRITEX at no charge, provided that the
terms of the manufacturer’s warranty are followed.
This warranty is the only warranty given by BRITEX, and we expressly disclaim all other
warranties, including but not limited to implied warranties of merchantability and fitness
for a particular purpose. This warranty represents the sole and exclusive remedy for breach
of warranty, and BRITEX shall not be liable for any incidental, special, or consequential
damages, including lost profits, labor charges, delays, vandalism, negligence, fouling
caused by foreign material, damage from adverse water conditions, chemical, electrical or
any other circumstances beyond BRITEX’s control.
This warranty shall be void if the product is abused, misused, improperly installed,
maintained, or altered. By purchasing our product, you agree to these terms and
conditions. We appreciate your business and look forward to providing you with high-
quality products and services.
TP6 Installation Guide | QID 2.7 | Rev 2 | 6 Dec 2023
10

Australia’s Finest Stainless | britex.com.au
TP6 Installation Guide | QID 2.7 | Rev 2 | 6 Dec 2023
11

Australia’s Finest Stainless | britex.com.au
TP6 Installation Guide | QID 2.7 | Rev 2 | 6 Dec 2023
Table of contents
Other Britex Outdoor Fountain manuals

Britex
Britex Dado DDS1-D User manual

Britex
Britex DVR User manual

Britex
Britex Dado DDS2 User manual

Britex
Britex DDR1-S User manual

Britex
Britex DDIS User manual

Britex
Britex DPDF User manual

Britex
Britex DDR1-D User manual
Britex
Britex DSR-2 User manual

Britex
Britex DIWR User manual
Britex
Britex DSRR User manual
Popular Outdoor Fountain manuals by other brands

Campania International
Campania International Condotti FT-280 quick start guide

Campania
Campania Precipice Fountain FT-126 installation instructions

ASC
ASC SF023 instructions

Bond
Bond Y98563 Assembly instruction

Campania International
Campania International FT-253 Assembly instructions

Halsey Taylor
Halsey Taylor 4591 owner's manual