8www.bromic.com
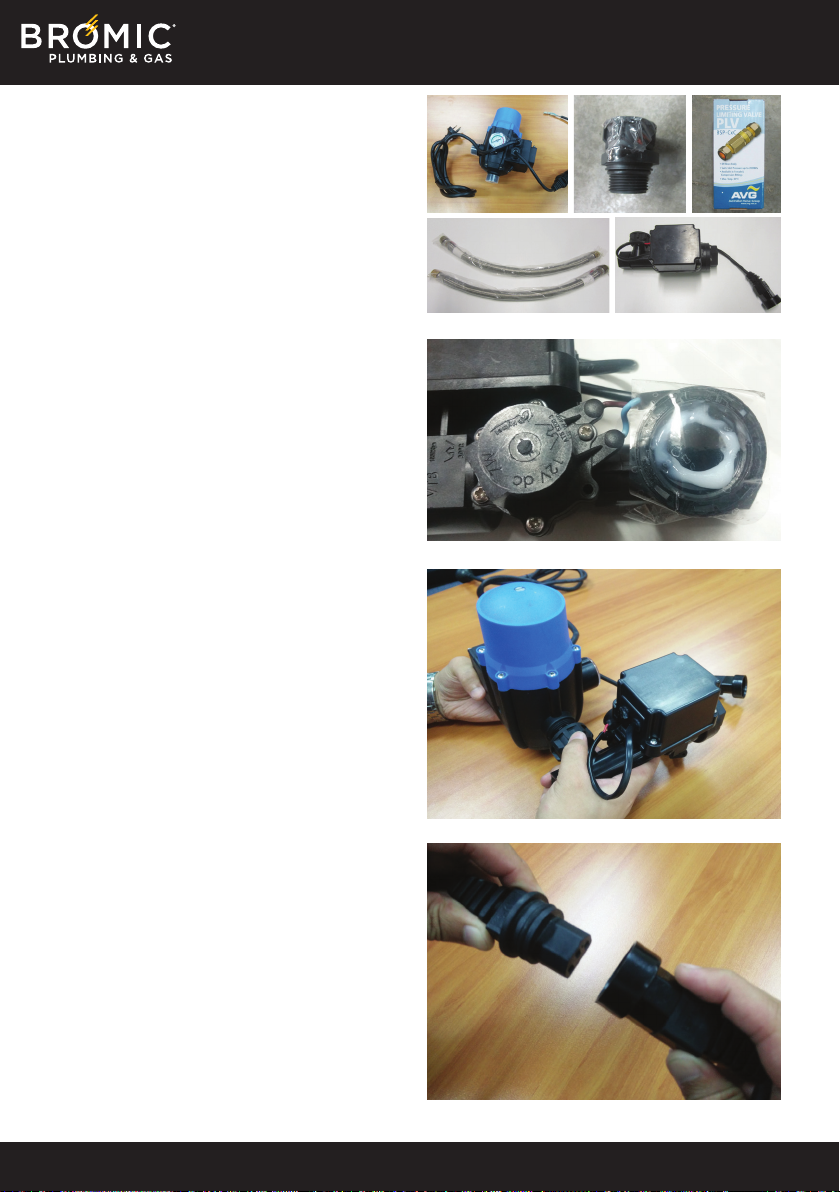
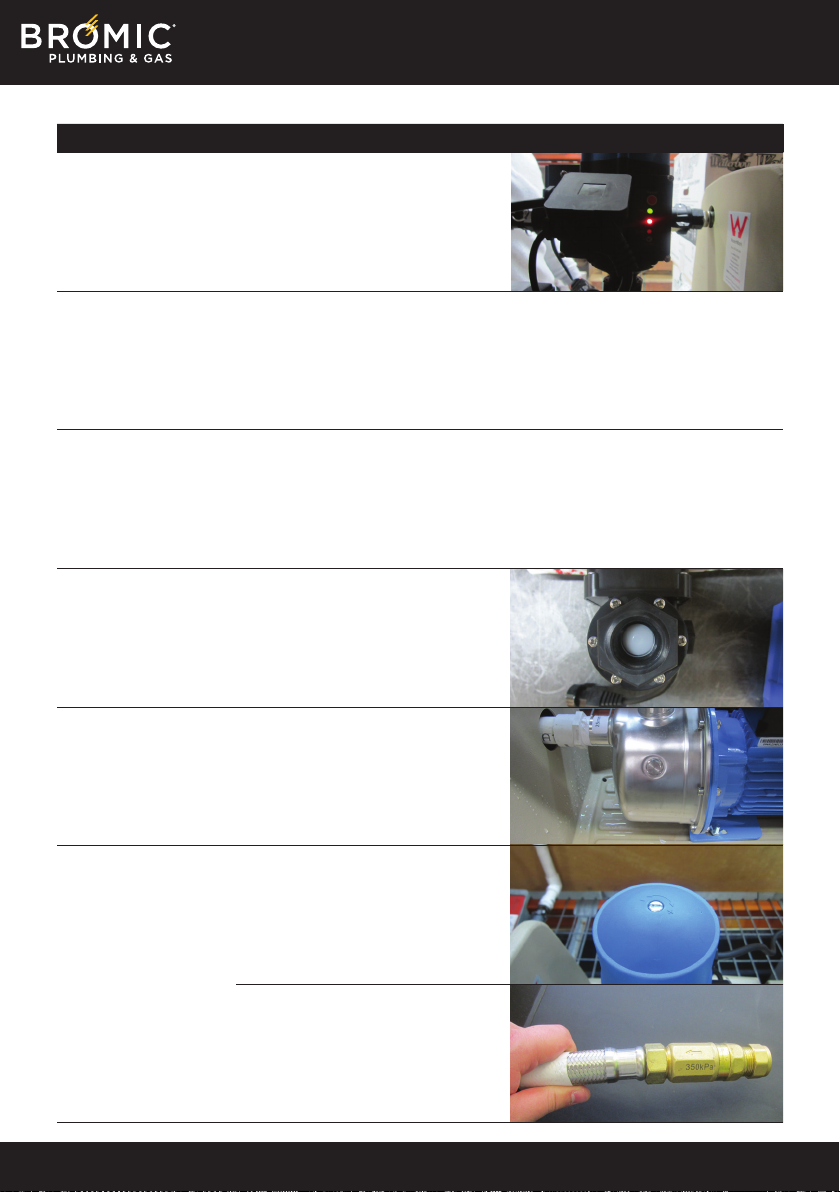
Please note the
inlet filter must
be purchased
separately.
Pressure
Limiting
Valve Isolation
Valve
Isolation
Valve
OPERATION AND MAINTENANCE
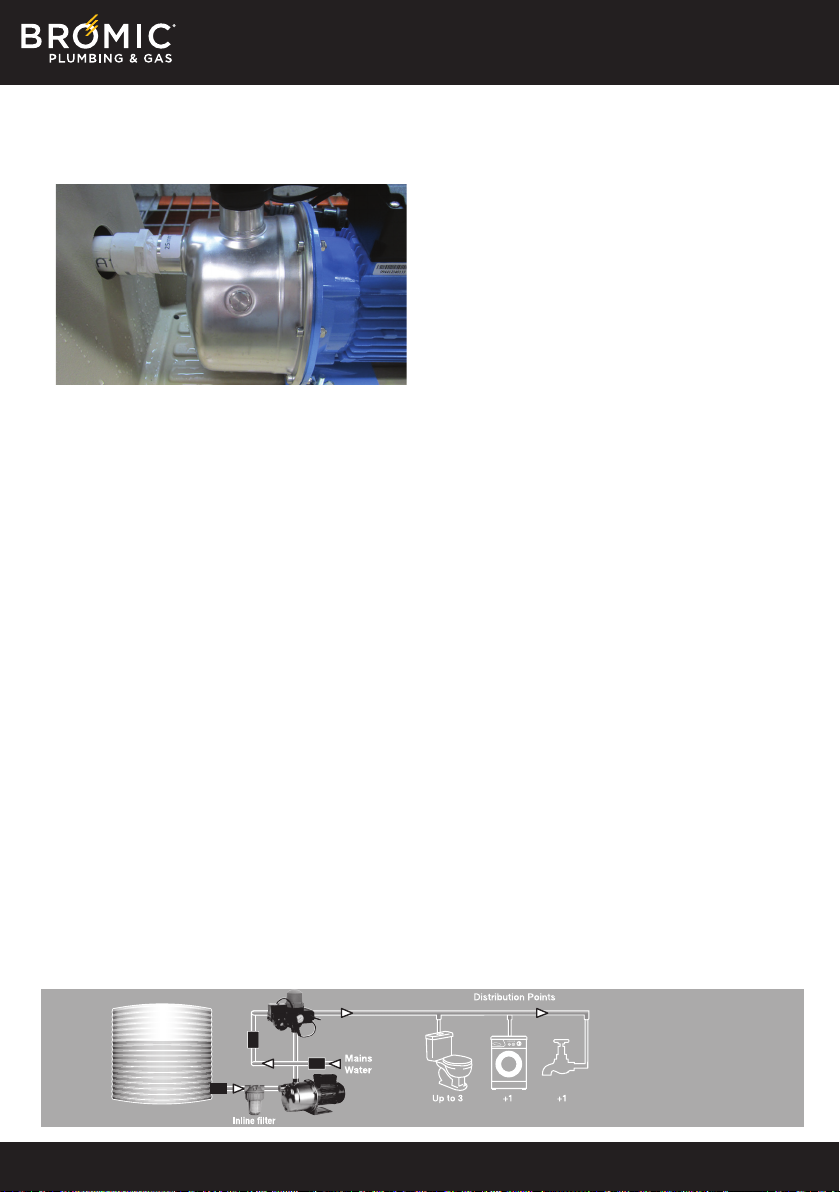
Priming of Pump
1. Fill tank to a level above the draw o point
2. Turn on the water supply from the tank.
3. Prime the pump by removing the priming
point from the top of pump chamber and
allowing the tank water to fill the pump
chamber, or by filling the pump chamber
with water from an external supply. Once
this is done refit the Priming point.
4. Turn on the power supply (at power point)
which will start the pump, this will run until
the air in the system is pressurized.
5. At this stage turn on the Mains water
supply
Installation Tips:
• The Waterboy Wizard is designed to be
installed at ground level along side tank.
Although the cover is waterproof, the
system should ideally be installed in a
covered area.
• Make sure the water inside the tank is clean
(it may be necessary to flush out pipes also)
• Do not use the system for any other
purpose other than what is specified in this
manual.
• Locate system in a place that will not be
subject to freezing – water freezing inside
the wateryboy unit will damage the system.
OPERATION
Before you start:
1. Make sure pump is primed (see
commissioning procedure Page 4)
2. Waterboy Wizard is designed to handle
clean water, do not use the system to
supply bore water, dam water, grey water,
storm water or recycled water.
3. Ensure wiring, plumbing and the system
are not accessible by children or pets
Filling your tank:
Should it not be possible to fill the tank to
the required level the system may be
connected to the supply and outlet
connections, the mains water can then be
turned on but the power to the unit should
not be connected until there is sucient
water in the tank and the pump primed as
per the Commissioning Procedure.
We recommend you do not run the pump
without water - please turn pump o until
tank has replenished with sucient water.
You will need to prime the pump.