manuals.online logo
Brands
  1. Home
  2. •
  3. Brands
  4. •
  5. Emerson
  6. •
  7. Controllers
  8. •
  9. Emerson Yarway 20-55 Quick guide

Emerson Yarway 20-55 Quick guide

YARWAY OPERATING AND SAFETY INSTRUCTIONS
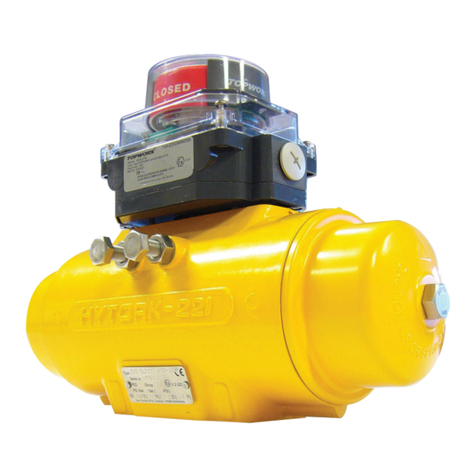
Pneumatic actuator
WARNING
For safety reasons, it is important to take the
following precautions before you start work
onthePDA*:
1. Read all labels fitted to the PDA* and
this sheet before installation, operation
ormaintenance.
2. Use PDA* for the intended purpose
(accordingcontract/specification).
3. Remove the PDA* carefully from its packaging,
lifting by means of straps (heavy weight)
around the body or use the hoisting lug.
4. The hoisting lug is for the actuator only,
notforthe total assembly!!!
5. For installation of the PDA* use bolting
material (2 half-couplings and lock nut; parts
of the Desuperheater) and free of 'forces,
moments and torques'.
6. Additional mounting/modifications on PDA's*
are not allowed without approval from Yarway.
7. The line must be depressurized, drained,
vented and cooled down before installation.
8. Handling of all PDA's *, with or without
accessories must be carried out by personnel
trained in all aspects of manual, mechanical
handling/lifting techniques and standard
safety procedures, in case of doubt, consult
your supervisor and/or safety officer.
9. Yarway do not accept liability for site work
performed under supervision of others.
10. Each PDA* air supply line should be protected
with its own air filter regulator.
11. Please, follow the procedure as detailed
intheIOM**.
12. Warning: high spring loaded assembly
(useextended bolts for dismantling).
13. The surface temperature as defined
in 2014/34/EC Annex II 2.2.1.2 of the
Desuperheater is a function of the system
it is built into. When installed, the surface
temperature cannot be controlled by the
manufacturer.
Before installation these instructions must be fully read and understood
!! Read all warning labels fitted to the PDA*
beforeoperation or maintenance !!
Never open, dismantle or modify the assembly
whilst under pressure/temperature or other
hazardous conditions.
NOTE
PDA* = Pneumatic diaphragm actuator
IOM** = Installation, Operation and Maintenance
Manual
© 2017 Emerson. All Rights Reserved.Emerson.com/FinalControl VCOSI-03350-EN 18/03
INSTALLATION
1. Place the PDA* with its yoke flange onto
thebonnet of the Desuperheater and fixed
itwith the lock nut.
2. Assemble the 2 half-couplings (upper and
lower) through the screws.
3. Installation may be in vertical or horizontal
piping (use support in case of heavy weight).
4. For installation of the positioner and
the air filter regulator, following the
manufacturer's recommendations.
5. Connect the lever of the positioner to the
stem coupling (mechanical linkage) and
adjust, if necessary, set points for air filter
regulator, and valve positioner, following
themanufacturer's recommendations.
6. Connection of electrical supplies and/or
air piping should be in accordance with
themanufacturer's instruction manual.
7. When satisfactory coordination between
signals and temperature are attained,
adjustment of the set-point can be made
and the system transferred to automatic
operation.
8. Ensure easy access of the operating
mechanism (actuator, positioner,
handwheel, etc.) if applicable.
CATEGORY
PDA's* are manufactured in accordance with
2014/68/EC - category I - gas group2.
Pressure/temperature limits are indicated:
# on the PDA* nameplate
2
YARWAY OPERATING AND SAFETY INSTRUCTIONS
Pneumatic actuator
Neither Emerson, Emerson Automation Solutions, nor any of their affiliated entities assumes responsibility for the selection, use or maintenance of any product.
Responsibility for proper selection, use, and maintenance of any product remains solely with the purchaser and end user.
Yarway is a mark owned by one of the companies in the Emerson Automation Solutions business unit of Emerson Electric Co. Emerson Automation Solutions, Emerson
and the Emerson logo are trademarks and service marks of Emerson Electric Co. All other marks are the property of their respective owners.
The contents of this publication are presented for informational purposes only, and while every effort has been made to ensure their accuracy, they are not to be
construed as warranties or guarantees, express or implied, regarding the products or services described herein or their use or applicability. All sales are governed by
our terms and conditions, which are available upon request. We reserve the right to modify or improve the designs or specifications of such products at any time without
notice.
Emerson.com/FinalControl
NOTE
PDA* = Pneumatic diaphragm actuator
IOM** = Installation, Operation and Maintenance
Manual
FINAL INSPECTION
Yarway PDA's* have been tested, degreased,
dried and prepared according toservice
application. This should be carried out in
accordance with the relevant IOM** and
available by: Emerson B.V., Yarway, via our
website: Emerson.com/FinalControl
STATE OF DELIVERY / STORAGE /
SELECTION/ SERVICE LIFE
State of delivery
Yarway’s PDA's* are delivered with protection
and tested to 9.0 bar. Particular care should
be exercised when removing the PDA* from
its packaging and your special attention is
required to check carefully that no damage
has occurred to the actuator, accessories,
piping and fittings before installation. Check
outIOM**- instructions before proceeding.
Storage
For short term storage, up to 6 months, no
additional preservation is necessary. Retain
the PDA in its original packaging in a clean,
dry indoor location. For long term storage, use
only a dry indoor location. Follow instructions
given in the IOM** before placing the PDA
into service, inspect all components to
ensurecorrect functioning.
SPARE PARTS
Use only genuine Yarway components.
AllPDA's* are identified by an identification
number, stamped on the identification plate.
Use this number when ordering spare parts.
Selection
Be certain that the diaphragm casing
pressure does not exceed the limits listed
in the specification table and identification
plate. If in doubt, contact Yarway or your
localrepresentative.
Model: 20-55 (stroke 55 mm) and
Model: 20-90 (stroke 90 mm)
Service life
Expected service life may vary upon condition of
service. Check unit at least once per 8000 hours
or longer intervals based upon site experience.

This manual suits for next models

1

Other Emerson Controllers manuals

Emerson Bettis Multiport User manual

Emerson

Emerson Bettis Multiport User manual

Emerson FISHER CS200 Series User manual

Emerson

Emerson FISHER CS200 Series User manual

Emerson Dixell XR70CHC Wiring diagram

Emerson

Emerson Dixell XR70CHC Wiring diagram

Emerson Bettis 500 User manual

Emerson

Emerson Bettis 500 User manual

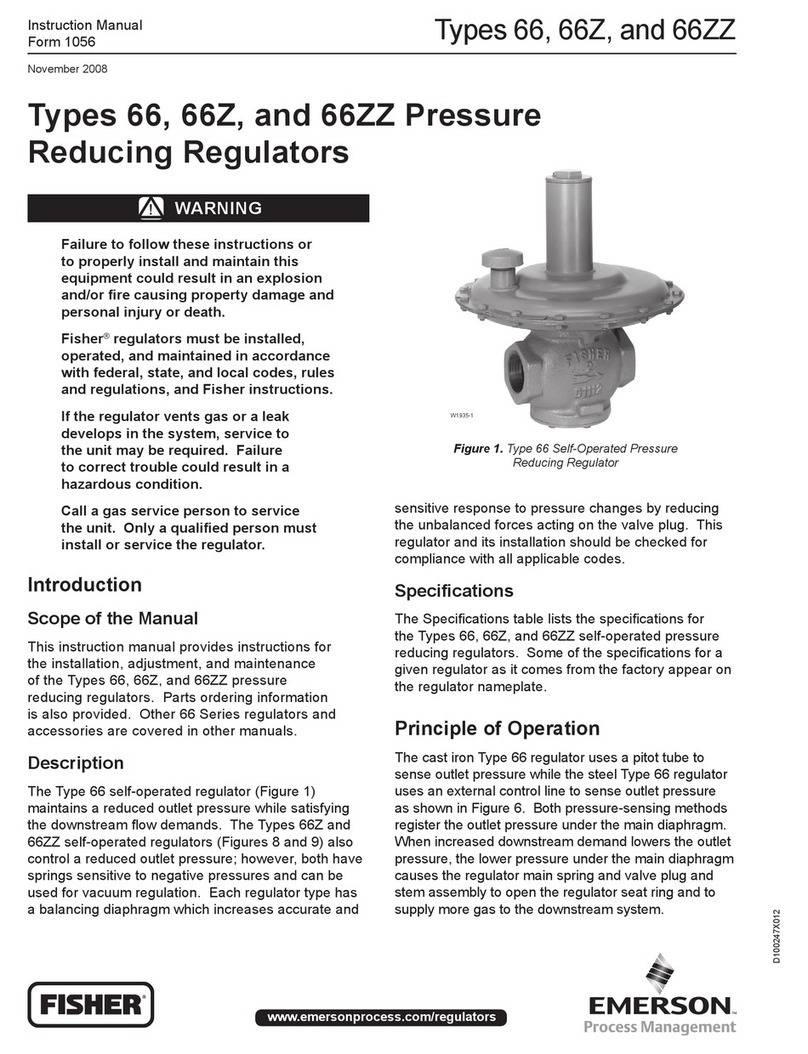
Emerson FISHER 66 User manual

Emerson

Emerson FISHER 66 User manual

Emerson REGAL 3F User manual

Emerson

Emerson REGAL 3F User manual

Emerson E2 Enhanced RX Service manual

Emerson

Emerson E2 Enhanced RX Service manual

Emerson Fisher D4 User manual

Emerson

Emerson Fisher D4 User manual

Emerson Fisher 627 Series User manual

Emerson

Emerson Fisher 627 Series User manual

Emerson SW81 User manual

Emerson

Emerson SW81 User manual

Emerson Fisher HSR Assembly instructions

Emerson

Emerson Fisher HSR Assembly instructions

Emerson SW93 User manual

Emerson

Emerson SW93 User manual

Emerson Asset Management Tag User manual

Emerson

Emerson Asset Management Tag User manual

Emerson Bettis CBA*30-SR series Operating instructions

Emerson

Emerson Bettis CBA*30-SR series Operating instructions

Emerson Dixell XR10CX Wiring diagram

Emerson

Emerson Dixell XR10CX Wiring diagram

Emerson dixell XR02CX Wiring diagram

Emerson

Emerson dixell XR02CX Wiring diagram

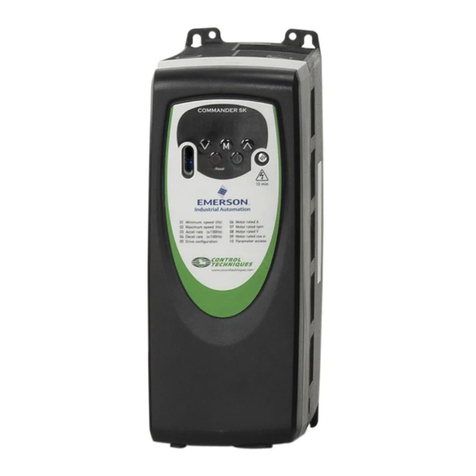
Emerson Unidrive M400 User manual

Emerson

Emerson Unidrive M400 User manual

Emerson dixell XC10CX Wiring diagram

Emerson

Emerson dixell XC10CX Wiring diagram

Emerson dixell XW90LT Wiring diagram

Emerson

Emerson dixell XW90LT Wiring diagram

Emerson Dixell XR75CX Series User manual

Emerson

Emerson Dixell XR75CX Series User manual

Emerson Liebert OpenComms EM User manual

Emerson

Emerson Liebert OpenComms EM User manual

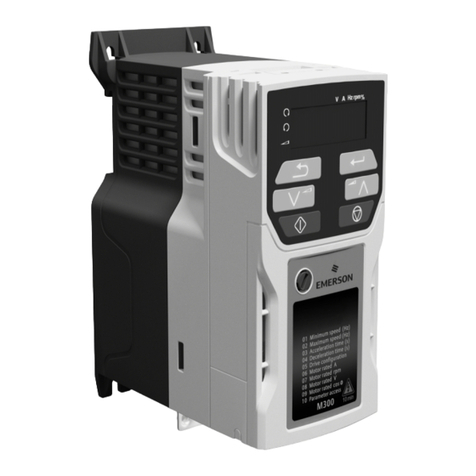
Emerson unidrive m200 User manual

Emerson

Emerson unidrive m200 User manual

Emerson Dixell XV300K Series Wiring diagram

Emerson

Emerson Dixell XV300K Series Wiring diagram

Emerson 2202 Assembly instructions

Emerson

Emerson 2202 Assembly instructions

Popular Controllers manuals by other brands

Danfoss EKC 202A instructions

Danfoss

Danfoss EKC 202A instructions

JLCooper Electronics CS-32 MiniDESK user manual

JLCooper Electronics

JLCooper Electronics CS-32 MiniDESK user manual

Insevis S7-Panel-HMI manual

Insevis

Insevis S7-Panel-HMI manual

Mec MEGR-6120 Series instruction manual

Mec

Mec MEGR-6120 Series instruction manual

Balboa Instruments ML900 Installation instruction

Balboa Instruments

Balboa Instruments ML900 Installation instruction

KINGDOM KFE2201C instruction manual

KINGDOM

KINGDOM KFE2201C instruction manual

GENLED Acolyte DiGidot CTRLPIXEL96 manual

GENLED

GENLED Acolyte DiGidot CTRLPIXEL96 manual

Meech 977CM operating manual

Meech

Meech 977CM operating manual

IAI XSEL-R First step guide

IAI

IAI XSEL-R First step guide

Joy-it MOTORINO manual

Joy-it

Joy-it MOTORINO manual

Yamaha DRCX user manual

Yamaha

Yamaha DRCX user manual

Brainboxes BB-400 quick start guide

Brainboxes

Brainboxes BB-400 quick start guide

HEIDENHAIN TNC 425 manual

HEIDENHAIN

HEIDENHAIN TNC 425 manual

Robot-Solutions RS160D manual

Robot-Solutions

Robot-Solutions RS160D manual

HDL M/DLP04.1-A2-48 user manual

HDL

HDL M/DLP04.1-A2-48 user manual

SGS electronic TVC-B10L manual

SGS electronic

SGS electronic TVC-B10L manual

Beijer Electronics X2 control Startup guide

Beijer Electronics

Beijer Electronics X2 control Startup guide

HomeMatic HM-LC-Sw4-WM operating manual

HomeMatic

HomeMatic HM-LC-Sw4-WM operating manual

manuals.online logo
manuals.online logoBrands
  • About & Mission
  • Contact us
  • Privacy Policy
  • Terms and Conditions

Copyright 2025 Manuals.Online. All Rights Reserved.