manuals.online logo
Brands
  1. Home
  2. •
  3. Brands
  4. •
  5. Brother
  6. •
  7. All In One Printer
  8. •
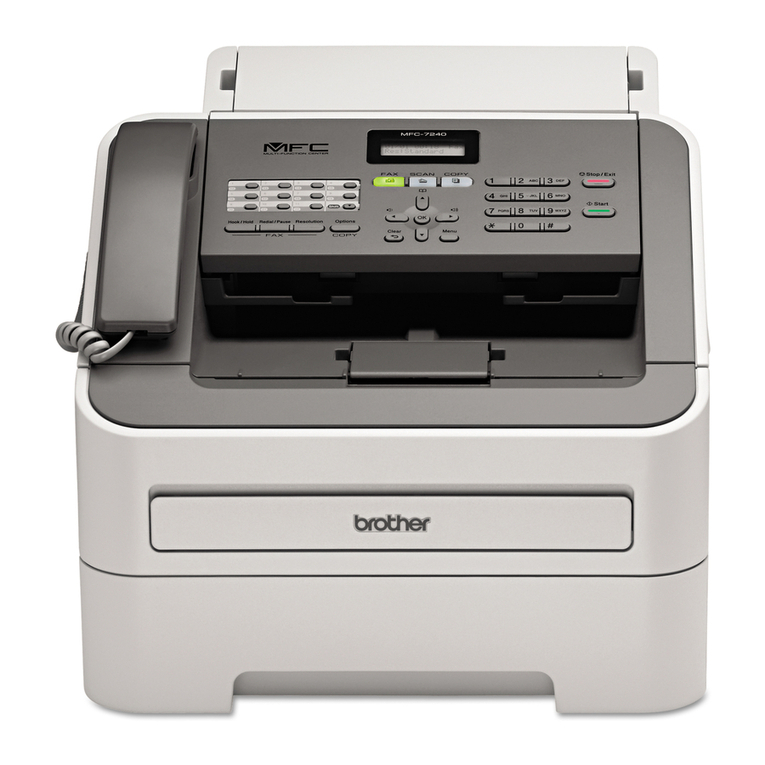
  9. Brother MFC9320DW Manual

Brother MFC9320DW Manual

Wireless Setup Instructions for Mac
1
© 1995 - 2010 Brother International Corporation
www.brother-usa.com
Before you begin you must know your
wireless network settings.
Write down the wireless network settings of your
access point or wireless router.
SSID (Service Set ID or Network name)
_________________________
WEP Key (if needed)
_________________________
WPA-PSK Password (if needed)
_________________________
Encryption (TKIP or AES)
_________________________
LEAP user name (if needed)
_________________________
LEAP password
_________________________
The WEP key is for 64-bit encrypted networks or
128-bit encrypted networks and can contain both
numbers and letters. If you do not know this
information you should see the documentation
provided with your access point or wireless router.
This key is a 64-bit or 128-bit value that must be
entered in an ASCII or HEXADECIMAL format.
For example:
64-bit Uses 5 text characters.
ASCII: e.g. “Hello” (this is case sensitive)
64-bit Uses 10 digits of hexadecimal data.
Hexadecimal: e.g. “71f2234aba”
128-bit Uses 13 text characters.
ASCII: e.g. “Wirelesscomms”
(this is case sensitive)
128-bit Uses 26 digits of hexadecimal data.
Hexadecimal:
e.g.“71f2234ab56cd709e5412aa3ba”
WPA-PSK enables a Protected Access Pre-shared
key that allows the Brother wireless machine to
associate with access points using TKIP and AES
encryption. WPA-PSK uses a Pre-Shared Key that
is 8 or more characters in length, up to a
maximum of 63 characters.
Cisco®LEAP has been developed by Cisco
Systems, Inc. which uses user ID and password
for authentication. The LEAP User ID is up to a
maximum of 63 characters in length, and the
Password is up to a maximum of 31 characters in
length.
Configure the wireless settings (typical
Wireless Setup in infrastructure mode)
1On your machine, press Menu, 7 (Network), 2
(WLAN), 2 (Setup Wizard). Press 1 to choose On.
2The machine will search for available SSIDs. If
a list of SSIDs is displayed, use ▲or ▼to choose
your SSID, then press OK. Go to step 6.
Note:
It will take several seconds to display a list of
available SSIDs.
If your access point is set to not broadcast the
SSID you will have to manually add the SSID
name. Go to step 3.
3Press ▲or ▼to choose <New SSID> and
press OK. Go to step 4.
4Enter the SSID using the dial pad to choose
each letter or number.
You can use ◄and ►to move the cursor left and
right. For example, to enter the letter a, press the
2 key on the dial pad once. To enter the number
3, press the 3 key on the dial pad seven times.
The letters appear in this order: lower case, upper
case and then numbers.
Press OK when you have entered all the
characters.
5Press ▲or ▼to choose Infrastructure, then
press OK.
6Use the ▲or ▼, and OK keys to choose one of
the options below: If your network is configured
for Authentication and Encryption you must match
the settings used for your network.
No Authentication or Encryption:
Choose Open System, press OK then use or to
choose None for Encryption Type? and press OK.
Then press 1 for Yes to apply your settings. Go to
step 11.
No Authentication with WEP Encryption:
Choose Open System, press OK then use or to
choose WEP for the Encryption Type? and press
OK. Go to step 7.
Wireless Setup Instructions for Mac
2
© 1995 - 2010 Brother International Corporation
www.brother-usa.com
Authentication with WEP Encryption:
Choose Shared Key and press OK. Go to step 7.
Authentication with WPA/WPA2-PSK (TKIP
or AES) Encryption:
Choose WPA/WPA2-PSK and press OK. Go to step
8.
Authentication with LEAP:
Choose LEAP, press OK. Go to step 9.
Authentication with EAP-FAST/NONE, EAP-
FAST/MS-CHAPv2, EAP-FAST/GTC (TKIP or
AES Encryption):
Choose EAP-FAST/NONE, EAP-FAST/MSCHAP
(EAP-FAST/MSCHAPv2) or EAP-FAST/GTC, press
OK. Go to step 10.
7Choose the appropriate key number and press
OK. Enter the WEP key using the dial pad to
choose each letter or number.
For example, to enter the letter a, press the 2 key
on the dial pad once. To enter the number 3,
press the 3 key on the dial pad seven times.
The letters appear in this order: lower case, upper
case and then numbers.
Press OK when you have entered all the
characters, then press 1
8Press ▲or ▼to choose TKIP or AES for
Encryption Type? and press OK. Enter the
WPA/WPA2-PSK password using the dial pad to
choose each letter or number. For example, to
enter the letter a, press the 2 key on the dial pad
once. To enter the number 3, press the 3 key on
the dial pad seven times. The letters appear in
this order: lower case, upper case and then
numbers.
Press OK when you have entered all the
characters, then press 1 for Yes to apply your
settings. Go to step 11.
9Enter the user name and press OK. You can
use ◄and ►to move the cursor. For example, to
enter the letter a, press the 2 key on the dial pad
once. Enter the password and press OK, and then
press 1 to apply your settings. Go to step 11.
10 Press ▲or ▼to choose TKIP or AES for
Encryption Type? and press OK. Enter the user
name and press OK. You can use ◄or ►to move
the cursor. For example, to enter the letter a,
press the 2 key on the dial pad once.
Enter the password and press OK, and then press
1 to apply your settings. Go to step 11.
11 Your machine will now try to connect to your
wireless network using the information you have
entered. If successful, Connected will appear
briefly on the LCD.
If your machine does not successfully connect to
your network, verify your network settings, then
repeat steps 1 to 10 to make sure you have
entered the correct information.
If your access point does not have DHCP enabled
you will need to manually configure the IP
address, subnet mask and gateway of the
machine to suit your network. See the Network
User’s Guide for details.
Wireless setup is now complete. A four
level indicator at the top of your
machine’s LCD will show the wireless
signal strength of your access
point/router.
Install the drivers & software (Mac OS X
10.3.9 or greater)
Make sure your machine is connected to the
power and your Macintosh is ON. You must be
logged on with Administrator rights.
ImportantIMPORTANT
If there are any programs running, close
them.
Make sure there are no memory cards or a
USB Flash memory drive inserted into the
machine.
The screens may differ depending on your
operating system.
Note:
Before installation, if you are using personal
firewall software, disable it. After the installation,
restart your personal firewall software.
1Put the supplied CD-ROM into your CD-ROM
drive.
Wireless Setup Instructions for Mac
3
© 1995 - 2010 Brother International Corporation
www.brother-usa.com
2Double-click Start Here OSX to install.
3Choose Wireless Network Connection, and
then click Next.
4Click on the Wireless settings checked and
confirmed check box, and then click Next.
Follow the on-screen instructions.
Note:
Please wait, it will take a few seconds for the
software to install. After the installation, click
Restart to finish installing the software.
5The Brother software will search for the
Brother device. During this time the following
screen will appear.
6If the machine is configured for your network,
choose the machine from the list, and then click
OK.
Note:
Wireless Setup Instructions for Mac
4
© 1995 - 2010 Brother International Corporation
www.brother-usa.com
• You can find your machine’s IP address and the
node name by printing out the Network
Configuration List.
• If your wireless settings fail, the installation of
the MFL-Pro software will be terminated. Confirm
your network settings and setup the wireless
connection again.
• If this screen appears click OK.
• Enter a name for your Macintosh in Display
Name up to 15 characters long and click OK. Go
to step 7.
• If you want to use the machine’s Scan key to
scan over the network, you must check the
Register your computer with the "Scan To"
function on the machine box.
• The name you enter will appear on the
machine’s LCD when you press and choose a scan
option. (For more information, see Network
Scanning in the Software User’s Guide on the CD-
ROM.)
7When this screen appears, click OK.
The installation of MFL-Pro Suite is
now complete.
Install Presto! PageManager
When Presto! PageManager is installed OCR
capability is added to Brother ControlCenter2. You
can easily scan, share and organize photos and
documents using Presto! PageManager.
1Double-click Presto! PageManager and follow
the on-screen instructions.

Other Brother All In One Printer manuals

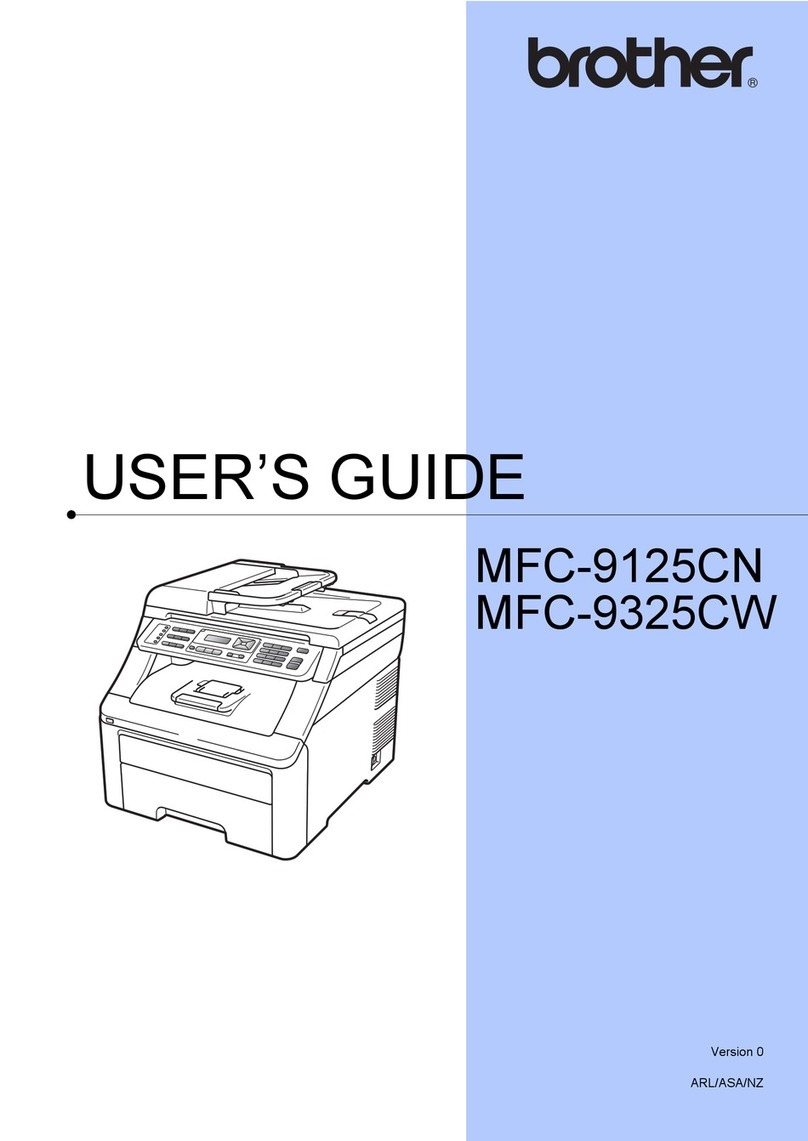
Brother MFC-J6520DW Instruction Manual

Brother

Brother MFC-J6520DW Instruction Manual

Brother MFC-J4320DW Operating and maintenance manual

Brother

Brother MFC-J4320DW Operating and maintenance manual

Brother MFC-J4310DW User guide

Brother

Brother MFC-J4310DW User guide

Brother MFC 7220 - B/W Laser - All-in-One User manual

Brother

Brother MFC 7220 - B/W Laser - All-in-One User manual

Brother DCP-7030 User manual

Brother

Brother DCP-7030 User manual

Brother MFC-J6920DW Operating and maintenance manual

Brother

Brother MFC-J6920DW Operating and maintenance manual

Brother MFC-J2320 Operating and maintenance manual

Brother

Brother MFC-J2320 Operating and maintenance manual

Brother DCP-115C User manual

Brother

Brother DCP-115C User manual

Brother MFC-J6935DW User manual

Brother

Brother MFC-J6935DW User manual

Brother MFC-L8610CDW User manual

Brother

Brother MFC-L8610CDW User manual

Brother DCP-9010CN User manual

Brother

Brother DCP-9010CN User manual

Brother MFC 5490CN - Color Inkjet - All-in-One User manual

Brother

Brother MFC 5490CN - Color Inkjet - All-in-One User manual

Brother MFC-J5910DW User manual

Brother

Brother MFC-J5910DW User manual

Brother MFC-9460CDN Safety guide

Brother

Brother MFC-9460CDN Safety guide

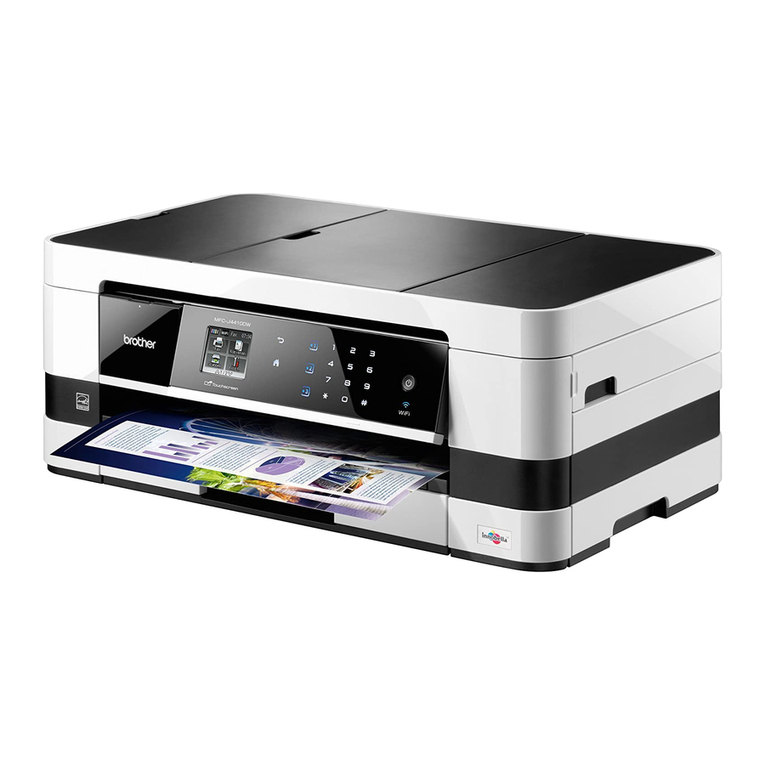
Brother MFC-J4410DW Parts list manual

Brother

Brother MFC-J4410DW Parts list manual

Brother MFC-J4310DW Safety guide

Brother

Brother MFC-J4310DW Safety guide

Brother MFC 3360C - Color Inkjet - All-in-One User manual

Brother

Brother MFC 3360C - Color Inkjet - All-in-One User manual

Brother MFC-J4410DW User manual

Brother

Brother MFC-J4410DW User manual

Brother DCP-L5500DN User manual

Brother

Brother DCP-L5500DN User manual

Brother MFC 795CW - Color Inkjet - All-in-One User manual

Brother

Brother MFC 795CW - Color Inkjet - All-in-One User manual

Brother 9045CDN - DCP Color Laser User manual

Brother

Brother 9045CDN - DCP Color Laser User manual

Brother MFC-J280W User manual

Brother

Brother MFC-J280W User manual

Brother P2500 User manual

Brother

Brother P2500 User manual

Brother Intelli FAX-2920 User manual

Brother

Brother Intelli FAX-2920 User manual

Popular All In One Printer manuals by other brands

Epson Stylus NX200 features and benefits

Epson

Epson Stylus NX200 features and benefits

Canon MultiPass C560 user manual

Canon

Canon MultiPass C560 user manual

Toshiba e-studio 2330C printing guide

Toshiba

Toshiba e-studio 2330C printing guide

Konica Minolta bizhub 28e installation guide

Konica Minolta

Konica Minolta bizhub 28e installation guide

Savin Fax Option Type 1027 Scanner Reference

Savin

Savin Fax Option Type 1027 Scanner Reference

Samsung CLX-6260FD/SEE Specifications

Samsung

Samsung CLX-6260FD/SEE Specifications

Lexmark 133 user guide

Lexmark

Lexmark 133 user guide

UVP biodoc-it 2 Installation and user instructions

UVP

UVP biodoc-it 2 Installation and user instructions

MINOLTA-QMS SC-210 user manual

MINOLTA-QMS

MINOLTA-QMS SC-210 user manual

Nashuatec Aficio 9005 operating instructions

Nashuatec

Nashuatec Aficio 9005 operating instructions

Konica Minolta Bizhub 362 user guide

Konica Minolta

Konica Minolta Bizhub 362 user guide

Konica Minolta bizhub C25 user guide

Konica Minolta

Konica Minolta bizhub C25 user guide

Savin MLP28 operating instructions

Savin

Savin MLP28 operating instructions

Canon iR C6800 Series Service manual

Canon

Canon iR C6800 Series Service manual

Lexmark Clinical Assistant X646dte user guide

Lexmark

Lexmark Clinical Assistant X646dte user guide

Xerox WorkCentre 4265 user guide

Xerox

Xerox WorkCentre 4265 user guide

Canon imageRUNNER 1435P+ Getting started

Canon

Canon imageRUNNER 1435P+ Getting started

Sharp DX-2500N Software setup guide

Sharp

Sharp DX-2500N Software setup guide

manuals.online logo
manuals.online logoBrands
  • About & Mission
  • Contact us
  • Privacy Policy
  • Terms and Conditions

Copyright 2025 Manuals.Online. All Rights Reserved.