manuals.online logo
Brands
  1. Home
  2. •
  3. Brands
  4. •
  5. Brother
  6. •
  7. Sewing Machine
  8. •
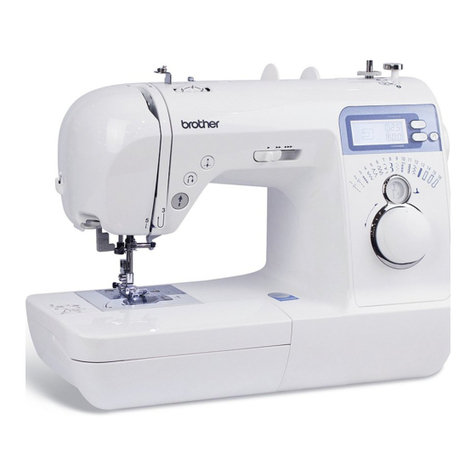
  9. Brother Homelock 1034D User manual

Brother Homelock 1034D User manual

This manual suits for next models

1

Other Brother Sewing Machine manuals

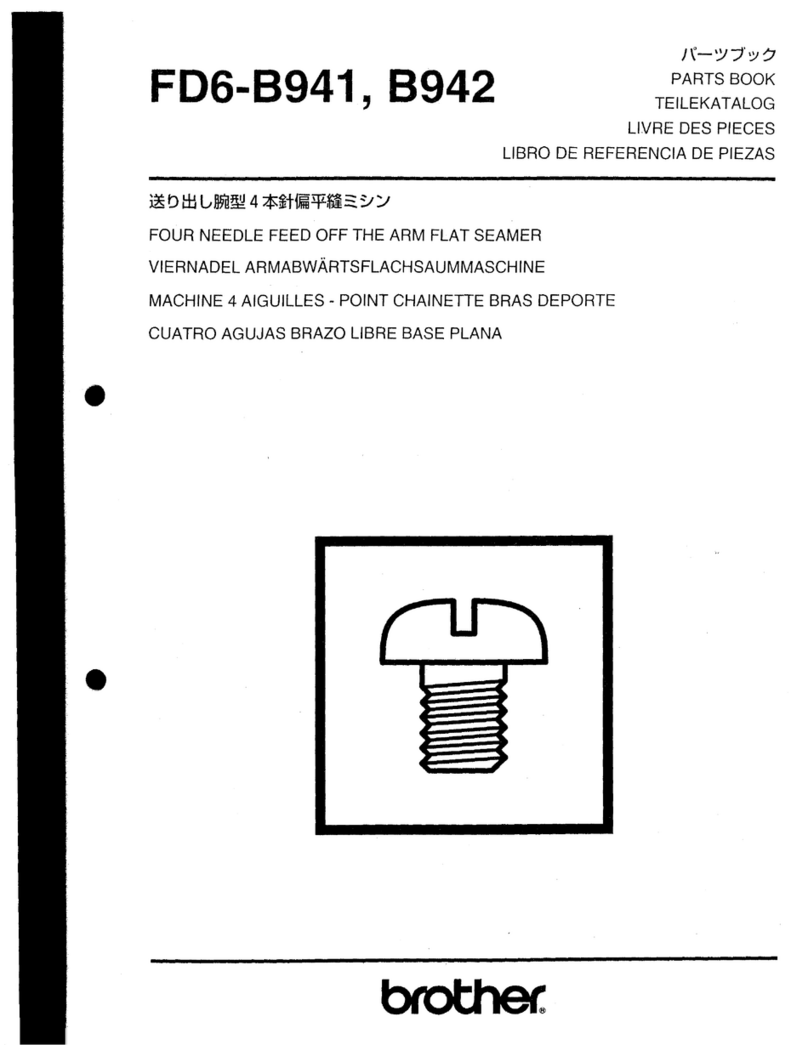
Brother S-7220B User manual

Brother

Brother S-7220B User manual

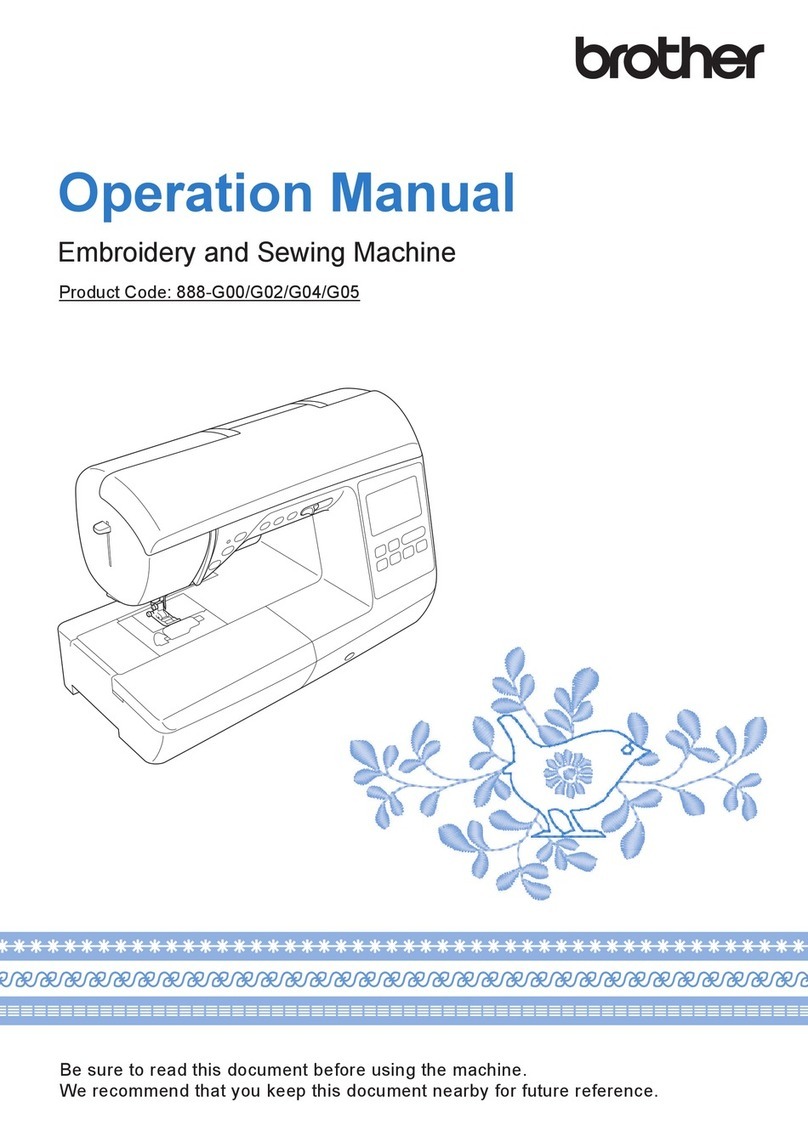
Brother 884-639 User manual

Brother

Brother 884-639 User manual

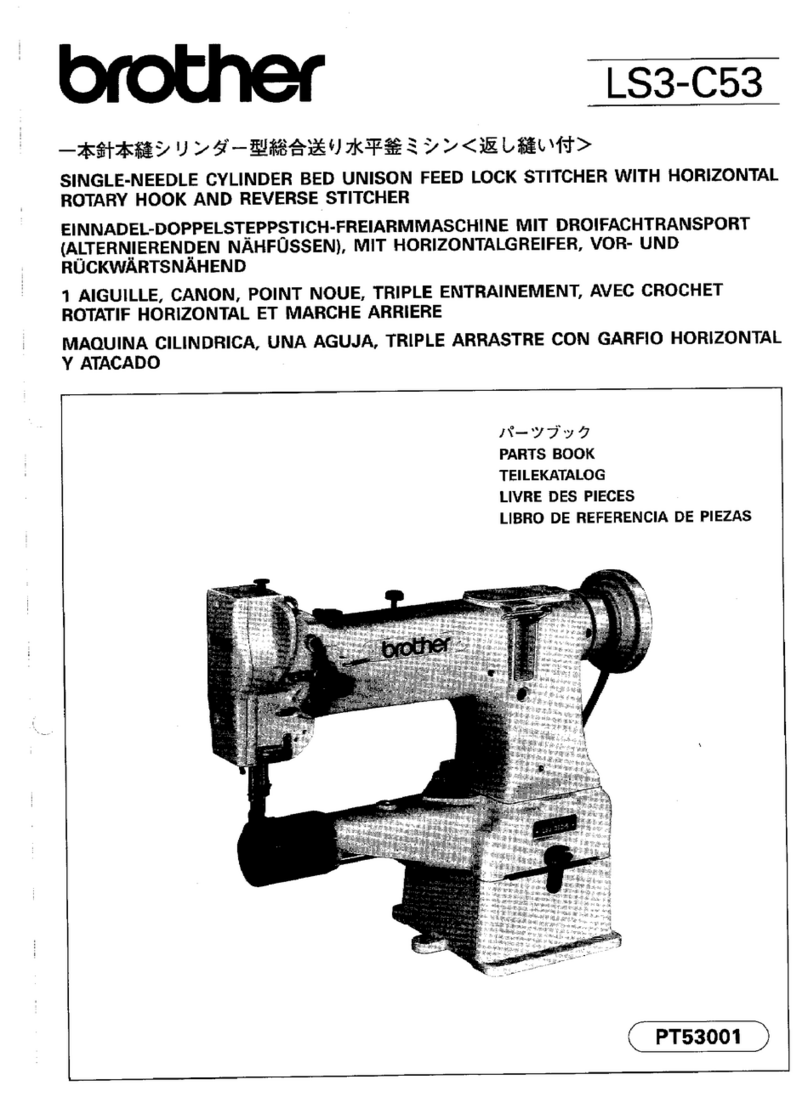
Brother Cover Stitch User manual

Brother

Brother Cover Stitch User manual

Brother BAS-342G PS User manual

Brother

Brother BAS-342G PS User manual
Brother ES-2000 User manual

Brother

Brother ES-2000 User manual

Brother S-1000A Assembly instructions

Brother

Brother S-1000A Assembly instructions

Brother DB2-B793 User manual

Brother

Brother DB2-B793 User manual

Brother CS-8150 User manual

Brother

Brother CS-8150 User manual

Brother CS-770 User manual

Brother

Brother CS-770 User manual

Brother LS3-C51 User manual

Brother

Brother LS3-C51 User manual

Brother VX-950 User manual

Brother

Brother VX-950 User manual

Brother 888-F52 User manual

Brother

Brother 888-F52 User manual

Brother 884-T20 User manual

Brother

Brother 884-T20 User manual

Brother NV1000 User manual

Brother

Brother NV1000 User manual

Brother Quattro 6000D User manual

Brother

Brother Quattro 6000D User manual

Brother M945 Super ACE III User manual

Brother

Brother M945 Super ACE III User manual

Brother LX2500 User manual

Brother

Brother LX2500 User manual

Brother PE-780D User manual

Brother

Brother PE-780D User manual

Brother BAS-412 User manual

Brother

Brother BAS-412 User manual

Brother S-7220D User manual

Brother

Brother S-7220D User manual

Brother XL-5051 User manual

Brother

Brother XL-5051 User manual

Brother Entrepreneur Pro PR-1000 User manual

Brother

Brother Entrepreneur Pro PR-1000 User manual

Brother BAS-415 User manual

Brother

Brother BAS-415 User manual

Brother Innov-is NV1100 User manual

Brother

Brother Innov-is NV1100 User manual

Popular Sewing Machine manuals by other brands

Singer 569U1100 Operator's guide

Singer

Singer 569U1100 Operator's guide

ELNA 2002 instruction manual

ELNA

ELNA 2002 instruction manual

Siruba DL7200D-NM1 Instruction book

Siruba

Siruba DL7200D-NM1 Instruction book

Silver Viscount 9500e instruction manual

Silver

Silver Viscount 9500e instruction manual

Pfaff 3588-05/020 instruction manual

Pfaff

Pfaff 3588-05/020 instruction manual

JUKI DDL-9000A instruction manual

JUKI

JUKI DDL-9000A instruction manual

Pfaff 284 Instruction book

Pfaff

Pfaff 284 Instruction book

Reliable MSK-335B Specification sheet

Reliable

Reliable MSK-335B Specification sheet

Kenmore 385. 19000 owner's manual

Kenmore

Kenmore 385. 19000 owner's manual

Husqvarna Viking Designer SE user guide

Husqvarna Viking

Husqvarna Viking Designer SE user guide

Singer 645 owner's manual

Singer

Singer 645 owner's manual

Riccar RL634DE user manual

Riccar

Riccar RL634DE user manual

ZOJE ZJ9800 Operation manual

ZOJE

ZOJE ZJ9800 Operation manual

Siruba C007JP Instruction book

Siruba

Siruba C007JP Instruction book

IKEA SY user guide

IKEA

IKEA SY user guide

Pfaff 571 instruction manual

Pfaff

Pfaff 571 instruction manual

Singer 15-91 Adjusters manual

Singer

Singer 15-91 Adjusters manual

Pegasus WT100 Series instructions

Pegasus

Pegasus WT100 Series instructions

manuals.online logo
manuals.online logoBrands
  • About & Mission
  • Contact us
  • Privacy Policy
  • Terms and Conditions

Copyright 2025 Manuals.Online. All Rights Reserved.



 
11. 2000.
www.promelectroavtomat.ru

IHOW TO USE THIS MANUAL ..........................................................................1
II HOW TO ADJUST ................................................................................................2
1. Height of needle bar ..........................................................................................2
2. Position of the lowerlooper ................................................................................3
3. Timing of the lowerlooper ..................................................................................4
4. Timing of the upperlooper ..................................................................................7
5.1Height of feed dog .............................................................................................9
5.2Height of feed dog ...........................................................................................10
6. Feed timing ......................................................................................................11
7. Height of presser bar .......................................................................................12
8. Thread tension adjustment ..............................................................................13
9. Position of thread take-up ................................................................................14
10.Position of looper thread take-up .....................................................................14
11.Replacing the knives ........................................................................................15
12.Adjustment and replacement for the timing belt ..............................................16
13.Changing the light bulb ....................................................................................17
www.promelectroavtomat.ru
-1-
I
This service manual is compiled as a guide for the repair and service of Brother Homelock model 929D. Almost all
troubles or problems occurring on Homelock sewing machines which arise as the result of the user’s lack of
knowledge or experience can be solved by following instruction book. It should be followed carefully because many
faults are caused by misuse or carelessness. We therefore recommend you to refer to the "Check list for better
sewing" in the Instruction Book before you attempt any adjustment from this manual.
However, if it is necessary to adjust the mechanism, use this manual together with the PARTS CATALOGUE for
each model. Find the fault in question in the Fault-finding chart and follow the corrective measures in this manual.
(1) Adjust each model number circled in each illustration and instruction.
(2) Symbols:
Move the part to its highest position
Move the part to its lowest position
Move the part to the extreme right
Move the part to the extreme left
Move the part to the right or left
Move the part up or down
www.promelectroavtomat.ru
-2-
II 
  !"#$%&
1. Raise the needle to its highest position.
2. Loosen the screw on the needle bar.
3. Position the needle bar so that the clearance between the point of the needle and the surface of the
needle plate is as follows:
11.3 ~ 11.9 mm
NOTE: When making this adjustment, keep the needle bar at its highest position by holding the handwheel.
The long groove of the needle should face toward you.
PARTS CODE FOR GAUGE: X77402001
www.promelectroavtomat.ru
-3-
' ()! #*&#+&
Clearance between point of lowerlooper and upper surface of needle plate should be between 2.0 ~ 2.4 mm
when height of lowerlooper is at its highest position (or when distance between point oflowerlooper and
center of left-hand needle is 12.5 mm).
1. Before adjusting the timing, position the looper correctly.
2. Too much adjustment will cause damage to other parts or cause the needle to skip stitches.
How to use the gauge
1. Temporarily attach the lowerlooper to the lowerlooper lever.
2. Turn the handwheel to position the point of the lowerlooper as far as possible to the left.
3. Remove the presser foot assembly.
4. Position the gauge as shown in the illustration.
5. Turn the handwheel until the point of the lowerlooper contacts the end of the gauge as shown. Remove
the gauge, turn the handwheel to expose the set screw and firmly tighten the screw. Finally, reposition the
gauge and check the final position of the lowerlooper.
6. Adjust the timing of the lowerlooper. (See page 4.)
www.promelectroavtomat.ru
-4-
 ,! #*&#+&
(A)
(B)
(A) Adjust the lowerlooper thread through-feed and lowerlooper
1. Loosen set screw A and align the top surface of the lowerlooper thread through-feed with the top
surface of the lowerlooper.
2. Firmly tighten set screw A .
NOTE: Incorrectly setting the timing causes the lowerlooper thread through-feed to rub against the feed dogs
causing the lowerlooper thread through-feed knob to operate incorrectly.
(B) Adjust the needle and lowerlooper
1. When the needle is raised to 2.2 ~ 2.6 mm above its lowest position, place the pointed end of the
lowerlooper against the right side of the needle. The point of the lowerlooper should be between 0 ~
0.05 mm from the needle.
www.promelectroavtomat.ru
-5-
 ,! #*&#+&
(C) (D)
(C) Adjust the needle and the movable needle guard
1. With the needle raised to 2.2 ~ 2.6 mm above its lowest position and the point of the lowerlooper
contacting the right side of the needle, check that the distance between the lowerlooper and the
movable needle guard is 1.2 ~ 1.5 mm and that the distance between the needle and the movable
needle guard is 0 ~ 0.1 mm.
2. In order to make an adjustment, loosen set screw D , move the movable needle guard upward,
downward, forward and backward to adjust it to meet the specifications described in 1.
3. Firmly tighten set screw D .
(D) Adjust the needle and the fixed needle guard
1. Before adjustment, remove the stitch tongue.
2. With the needle raised to 2.2 ~ 2.6 mm above its lowest position and the point of the lower looper
contacting the right side of the needle, check that the distance between the needle and the fixed
needle guard is 0 ~ 0.05 mm.
3. In oder to make the adjustment, loosen set screw E .
Rotate the fixed needle guard and move it forward and backward, then adjust it so it meets the
specifications described in 1.
NOTE: With the needle plate installed check that the fixed needle guard does not contact the needle.
4. Firmly tighten set screw E .
NOTE: Incorrectly setting the clearance between the needle and thelowerlooper, movable needle guard and
fixed needle guard can cause the needle to break or skip stitches.
www.promelectroavtomat.ru
-6-
 ,! #*&#+&
How to use the gauge
1. Raise the presser bar and remove the presser foot and presser foot holder.
2. Lower the needle bar to its lowest position.
3. Position the spacer and gauge and tighten the screw.
4. Remove the spacer.
5. Raise the needle bar until the needle clamp contacts the gauge. Continue making the adjustment
described on the previous page. (The spacer is 2.4 mm thick.)
www.promelectroavtomat.ru
-7-
 ,! -++&#+&
(A)
(OPTION)
(A) Timing of the upperlooper against the needle
1. Insert the upperlooper shaft as far as possible into the upperlooper.
2. Position the upperlooper to its extreme left position.
3. Loosen the looper lever fixing screw and position the upperlooper so that the clearance to the
pointed end to the left side of the needle is 5.6 ~ 6.0 mm.
4. Tighten the screw well.
NOTE: This clearance is for #14 needle.
www.promelectroavtomat.ru
-8-
 ,! -++&#+&
(B)
(C)
(B) Timing of the upperlooper in relation to the lowerlooper
1. Loosen the upperlooper screw.
2. Adjust the upperlooper not to bend the lowerlooper when the upperlooper travels nearest to the
lowerlooper.
NOTE: (a) When fastening the screw after adjustment, press the upperlooper slightly in order not to change
the corrected position.
(b) In case of bad timing, the upperlooper and the lowerlooper cross each other and do not work
correctly which will cause skipped stitches and loose tension.
(C) Setting the upperlooper lever to match the type of sewing selected
1. For two-thread sewing, lower the lever on top of the upperlooper as shown in the illustration.
(1) The lever should fit securely into the groove on top of the upperlooper after it has been moved
(lowered).
2. The lever should be returned to its original position after sewing is completed.
www.promelectroavtomat.ru