CASAFLEX - Fernwärmeleitung
12.04
CFL
– Technische Änderungen vorbehalten –
– Subject to technical modifications –
Montageanleitung
Installation instruction
10.
Minimum eine halbe Stunde nach dem
Ausschäumen der Muffe werden die
Schaumlochverschlüsse (Patch) über die
Einschlagstopfen geschrumpft.
Der Patch wird zunächst, mit der Heiss-
schmelzkleberseite nach oben, auf eine
feuerfeste Unterlage gelegt und mit einer
weichen Propanflamme auf mindestens 65 °C
aufgewärmt.
Mit wärmebeständigen Handschuhen wird
nun der Patch, mit der Heissschmelz-
kleberseite nach unten, mittig über dem
Einschlagstopfen aufgesetzt und soweit
erwärmt, bis der Heissschmelzkleber
rundführend seitlich austritt und die
Farbindikatoren auf dem Patch nahezu nicht
mehr sichtbar sind.
Den Patch mit der Handfläche glätten und
evtl. Lufteinschlüsse herausdrücken.
Die Montage des Patch ist beendet, wenn er
eng an der Muffe anliegt und die Randzone
des Patch rundführend im ausgetretenen
Heissschmelzkleber liegt.
CASAFLEX CASAFLEX
6
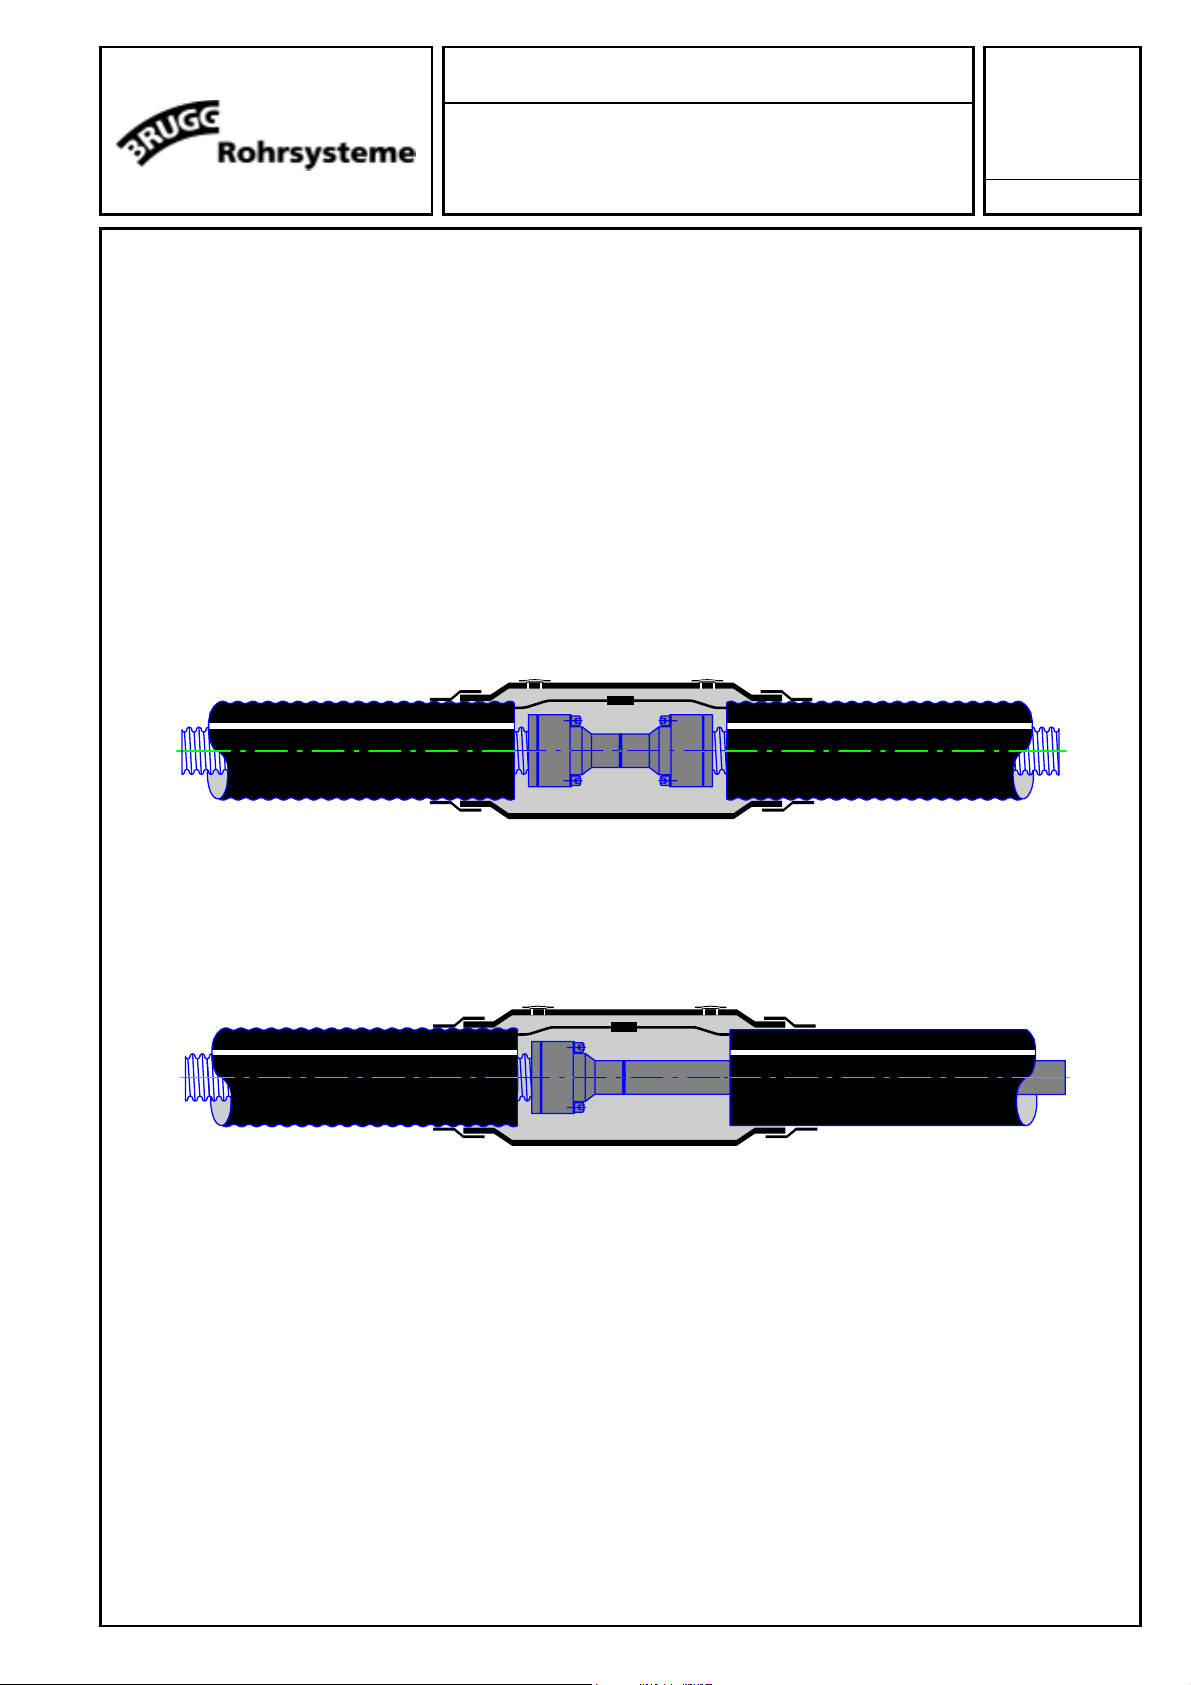
Schaumlochverschluss (Patch)
Foam hole patch
1.6
Wait a minimum of half an hour after foaming
out the sleeve before shrinking on the foam
hole patches over the stopper plugs.
First of all place the patch with the heat-
sealing adhesive side uppermost on a
fireproof surface and heat it up to at least
65 °C with a gentle propane flame.
Now, wearing heat-insulated gloves, place the
patch with the heat-sealing adhesive side
underneath centrally over the stopper plug
and heat until the heat sealing adhesive
begins to exude all around at the sides and
the colour indicators on the patch are almost
no longer visible.
Smooth the patch down with the hand and
press out any trapped air which may have
formed under it.
The patch has been successfully installed
when it lies tightly over the sleeve and the
edges of the patch all around its
circumference are within the area covered by
the exuded heat sealing adhesive.