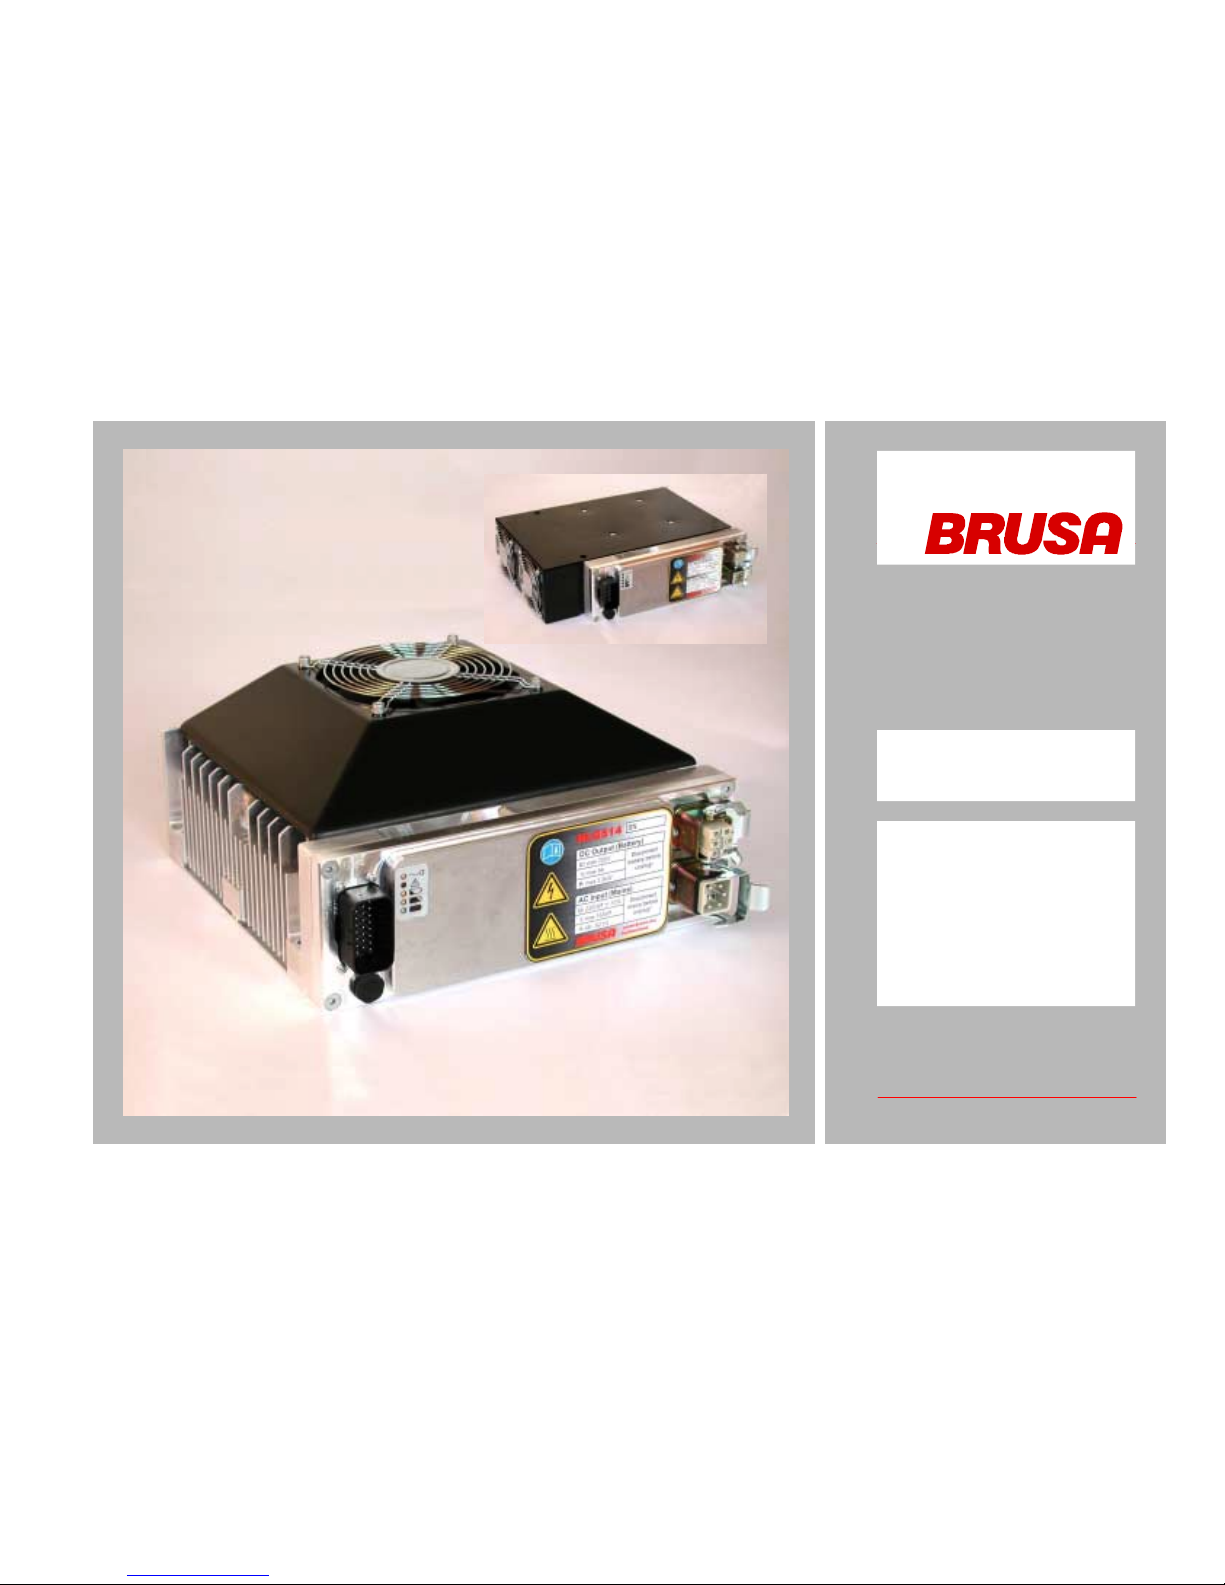
Betriebsanleitung NLG5 User’s manual NLG5
12.2003-NLG5xx_179_ab Nr25 5 / 47
Zu Ihrer Sicherheit
• Lassen Sie das Gerät durch einen Fachmann im
Fahrzeug installieren und in Betrieb nehmen.
• Öffnen Sie keinesfalls das Gerät ohne vorherige
Rücksprache mit dem Werk.
• Trennen Sie niemals den Batterieausgangs-Stecker
vom Gerät, ohne vorher die Batterie fahrzeugseitig
abzuklemmen.
• Stecken Sie den Netzstecker erst ein, wenn eine si-
chere Verbindung zwischen Batterie und Gerät ge-
währleistet ist (Ausnahme: Die Kennlinien-
Programmierung mit beiliegendem seriellen An-
schlusskabel kann ohne Batterie erfolgen).
• Ziehen Sie den Netzstecker, bevor die Batterie vom
Gerät getrennt wird.
• Betreiben Sie das Gerät nie an einer Steckdose
ohne Schutzleiter-Anschluss.
• Verwenden Sie grundsätzlich einen Fehlerstrom-
Schutzschalter (FI) in der Netzzuleitung.
•
Begrenzen Sie die Netzstromaufnahme des Lade-
gerätes auf die zulässige Belastbarkeit der Netzin-
stallation (siehe 6.2.11).
• Wickeln Sie eine vorgeschaltete Netzkabelrolle
immer ganz ab, da sie sonst überhitzen und Feuer
fangen kann.
•
Ziehen Sie nach Beendigung der Ladung und bei
Nichtgebrauch den Netzstecker.
For your safety
• Have the unit installed and made operational by a
skilled professional.
• Do not open the unit without contacting the
manufacturer beforehand.
• Never pull the battery plug out of the unit without
breaking the battery connection on the vehicle side
beforehand
• Do not plug in the mains connector unless a safe
connection between battery and charger has been
established (exception: you may program the
charging profile connecting the charger to the PC
by using the serial interface cable; you don't have to
connect the battery for that).
• Remove the mains plug from the mains outlet
before breaking the battery circuit.
• Never operate the unit at a mains outlet without
protective earth connection.
• Always use a GFI (Ground Fault Interruption) circuit
in mains supply.
• Limit the mains power input of the charger to the
maximum allowed load of the mains installation
(see 6.2.11).
• Always unreel heavily loaded cable bobbins
completely, otherwise they might overheat and
cause a fire.
•
Always disconnect mains power line after charging
and generally when the device is not in use.