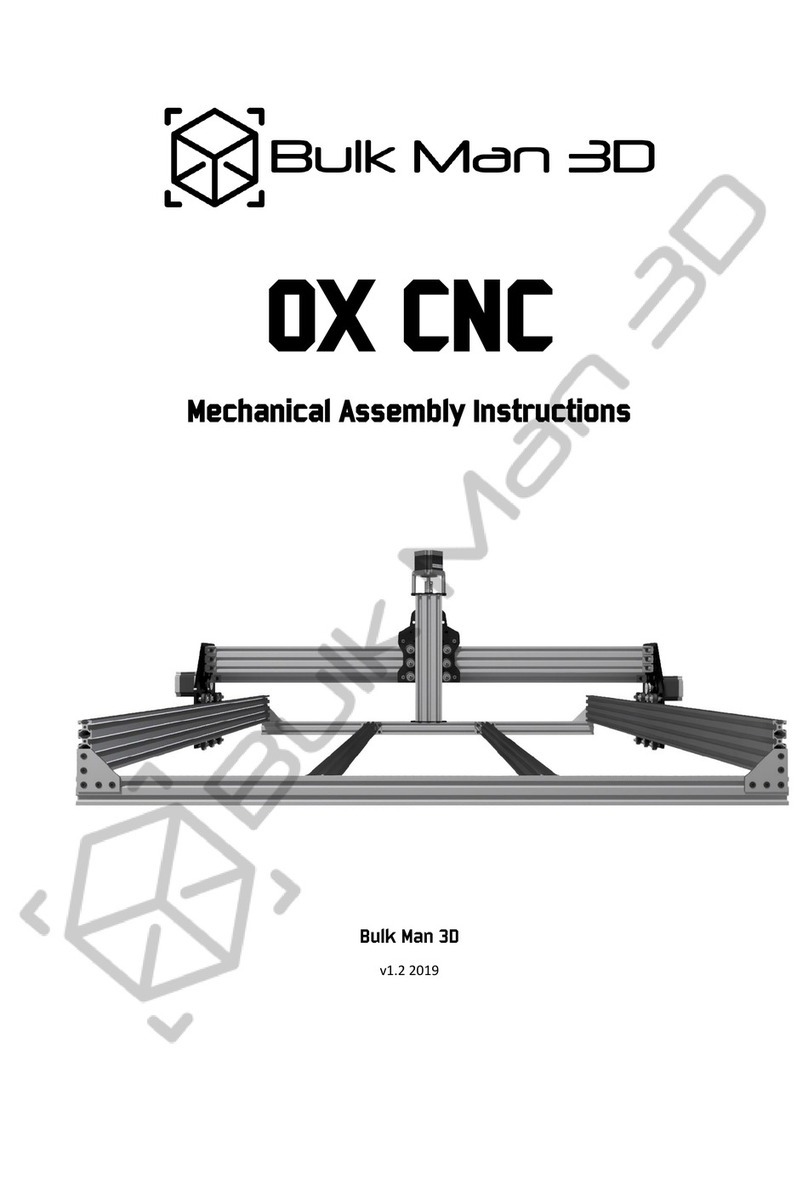
Bulk Man 3D Lead CNC User manual

Lead CNC
Mechanical Assembly Instructions
Bulk Man 3D
v1.0 01 2019

Lead CNC Assembly Instructions 1 v1.0
© Bulk Man 3D 2019
Contents
About The Lead CNC Kit..........................................................................................................................2
Unpack and Check All Components........................................................................................................2
Tools Required ........................................................................................................................................2
Pre-Assembly Notes................................................................................................................................2
Wheel Assembly......................................................................................................................................3
Y-Axis and A-Axis Gantry Assembly.........................................................................................................4
Y-Axis and A-Axis Gantry Assembly.........................................................................................................7
X-Axis Gantry Assembly ........................................................................................................................10
Z-Axis Assembly.....................................................................................................................................12
X-Z Assembly.........................................................................................................................................16
X-Axis, A-Axis and Y-Axis Assembly.......................................................................................................19
Y-Axis and A-Axis Assemblies to Base...................................................................................................23
Finished.................................................................................................................................................25
Post Assembly Notes:............................................................................................................................26
Credits...................................................................................................................................................26

Lead CNC Assembly Instructions 2 v1.0
© Bulk Man 3D 2019
About The Lead CNC Kit
The mechanical kit is based on the Open Builds Lead CNC Machine designed and published on
openbuilds.com. There are however a couple of difference between the Openbuilds design and this
Lead CNC Kit. None of the differences are that great and the Openbuilds YouTube videos available on
putting the Lead CNC together are a great resource and starting point for everyone. Most of the
differences are a result of customer feedback and modifications published on a wide number of
internet forums.
Please note that while we have spent a considerable amount of time and effort putting these
instructions together, any errors and omissions excepted (E&OE). If you find an error or have a
suggestion on how to make this manual better/clearer or etc, please let us know so we can
continually improve this resource.
Unpack and Check All Components
Before starting any build, it is always a great idea to get organised. Start by unpacking your kit and
checking it against the BOM (Bill of Materials). If you find any parts missing, please contact us as
soon as possible.
Tools Required
You will also need the following tools:
•3mm Allen Key
•8mm Spanner
•10mm Spanner
•Screw Drivers
•M5 Tap
•Builder‘s or Machine Square
Pre-Assembly Notes
1. While these instructions have drawings for the 1500 x 1000mm Lead CNC Machine,
construction of other size Machines is, in principle, the same.
2. It is Important to make sure all angles are square. As you progress through your build, use
the Square to make sure everything is aligned before the final tightening of all screws and
nuts.

Lead CNC Assembly Instructions 3 v1.0
© Bulk Man 3D 2019
3. This build requires some of the V-Slot to be tapped with a M5 tap. In general tap to a depth
of 8-10mm and clean away any swarf and burs.
4. When placing any V-Wheels onto the V-Slot, make sure the Eccentric Spacers are adjusted to
their furthest point. Do not force the wheels on as this may damage them creating a little
‘bump’.
5. CAD models are available for download from customer support. They are a fantastic
resource and can allow you to move through the design, pull things apart, and measure
wherever required. We strongly recommend downloading the model and becoming familiar
with the CAD files.
Wheel Assembly
Assemble all the Solid V Xtreme Wheels as per the drawing. It can help to use one of the longer
screws to align everything by threading the parts on one by one. The Wheel Packs come with an
extra Shim and M5 Nut, put these to one side as they will be needed later.

Lead CNC Assembly Instructions 4 v1.0
© Bulk Man 3D 2019
Y-Axis and A-Axis Gantry Assembly
Start the Y/A-Axis Gantry Assembly by putting the Y/A-Axis Gantry Plates together as per the
drawing below. Make sure to correctly orientate the plates so the Eccentric Spacers are at the
bottom and the squares in the centre of the plates are on the outside. Do not tighten the nut blocks
as they will need to be adjusted later.

Lead CNC Assembly Instructions 5 v1.0
© Bulk Man 3D 2019
Attach the upright 2080 x 250mm to the gantry using the Black Angle Corner Connectors. Note the
screws going into the Gantry Plate are 10mm while the screws going into the 2080 and Tee Nuts are
8mm.

Lead CNC Assembly Instructions 6 v1.0
© Bulk Man 3D 2019
Complete both the Y and A Gantry Plates. When done they should be as shown below.

Lead CNC Assembly Instructions 7 v1.0
© Bulk Man 3D 2019
Y-Axis and A-Axis Gantry Assembly
Roll the Y-Axis and A-Axis Gantries onto the Y and A C-Beam. Turn the lead screw and “screw” the
gantry until it is completely on the C-Beam rail. Adjust and tighten the 2 x Anti-Backlash Nut Blocks
so that the Leadscrew can turn easily with no backlash. Adjust and tighten the Eccentric Spacers so
the gantry rolls smoothly and without “wobble”.

Lead CNC Assembly Instructions 8 v1.0
© Bulk Man 3D 2019
Attach the End Mount, Stepper Motor and Coupler as shown below.
Attach the non-motor End Mount to the Y and A-Axis C-Beam rail. Make sure to insert 4 x T-Nuts (2
in each bottom slot) for later use to connect to the base.

Lead CNC Assembly Instructions 9 v1.0
© Bulk Man 3D 2019

Lead CNC Assembly Instructions 10 v1.0
© Bulk Man 3D 2019
X-Axis Gantry Assembly
Put the X Gantry Assembly together as below. Do not tighten the nut block yet as they will need to
be adjusted. Make sure the 4 x M5 60mm (#7) are orientated as per the drawing below. If they are
reversed, then the Assembly will not fit onto the Z-Axis Assembly (see Z-Axis Assembly section
below).

Lead CNC Assembly Instructions 11 v1.0
© Bulk Man 3D 2019
The completed X-Axis Gantry Assembly should look as below:

Lead CNC Assembly Instructions 12 v1.0
© Bulk Man 3D 2019
Z-Axis Assembly
First put together the Z-Axis Gantry Plate:

Lead CNC Assembly Instructions 13 v1.0
© Bulk Man 3D 2019
Second, put together the Z-Axis Actuator base and lead screw:

Lead CNC Assembly Instructions 14 v1.0
© Bulk Man 3D 2019
Before attaching the base, slide the Z-Axis Gantry Assembly onto the C-Beam threading the lead
screw into the nut-block.
Attach the base to complete the Z-Axis Assembly. Make sure to insert T-Nuts into the C-Beam for the
Spindle Mounting Brackets (the Spindle Mounting Bracket is an optional extra and not part of the
kit).

Lead CNC Assembly Instructions 15 v1.0
© Bulk Man 3D 2019
The Completed Z-Axis Assembly will look as below:

Lead CNC Assembly Instructions 16 v1.0
© Bulk Man 3D 2019
X-Z Assembly
Using 4 x M5 10mm screws put together the X-Axis Assembly and the Z-Axis Assembly:
Note how the 10mm screws are inside the X-Axis Assembly. Also note the orientation of both
assemblies –on the X-Axis the Eccentric spacers are on the bottom and the Z-Axis Gantry Plate is at
90 degrees to the X-Axis Gantry Plate.
Another view:

Lead CNC Assembly Instructions 17 v1.0
© Bulk Man 3D 2019

Lead CNC Assembly Instructions 18 v1.0
© Bulk Man 3D 2019
Place the X-Z Gantry onto the X C-Beam rail. Thread the lead screw through the X-Gantry Nut Blocks
and adjust and tighten. Attach both End Mount Plates to the C-Beam in the same way as the Y and X
Axis. Make sure to insert T-Nuts for mounting into the C-Beam before attaching the last End Mount.

Lead CNC Assembly Instructions 19 v1.0
© Bulk Man 3D 2019
X-Axis, A-Axis and Y-Axis Assembly
Attach the X-Axis Assembly to both the Y-Axis and A-Axis Assemblies using the 5 Hole Joining Plate
and Cast Corner Brackets. Make sure to square all assemblies before tightening.
Table of contents
Other Bulk Man 3D Control System manuals
Popular Control System manuals by other brands

Pentair
Pentair Pool and Spa Control System SunTouch Installation and user guide

Pilz
Pilz PNOZmulti installation manual

Bentel Security
Bentel Security EasyGate 3 Installation and user manual

Uni-bond
Uni-bond E-F291-2 user manual

iKarus
iKarus Easyfly Quick installation guide

SABROE
SABROE UNISAB S-Control instruction manual