7
HOW TO ANALYZE THE MILK
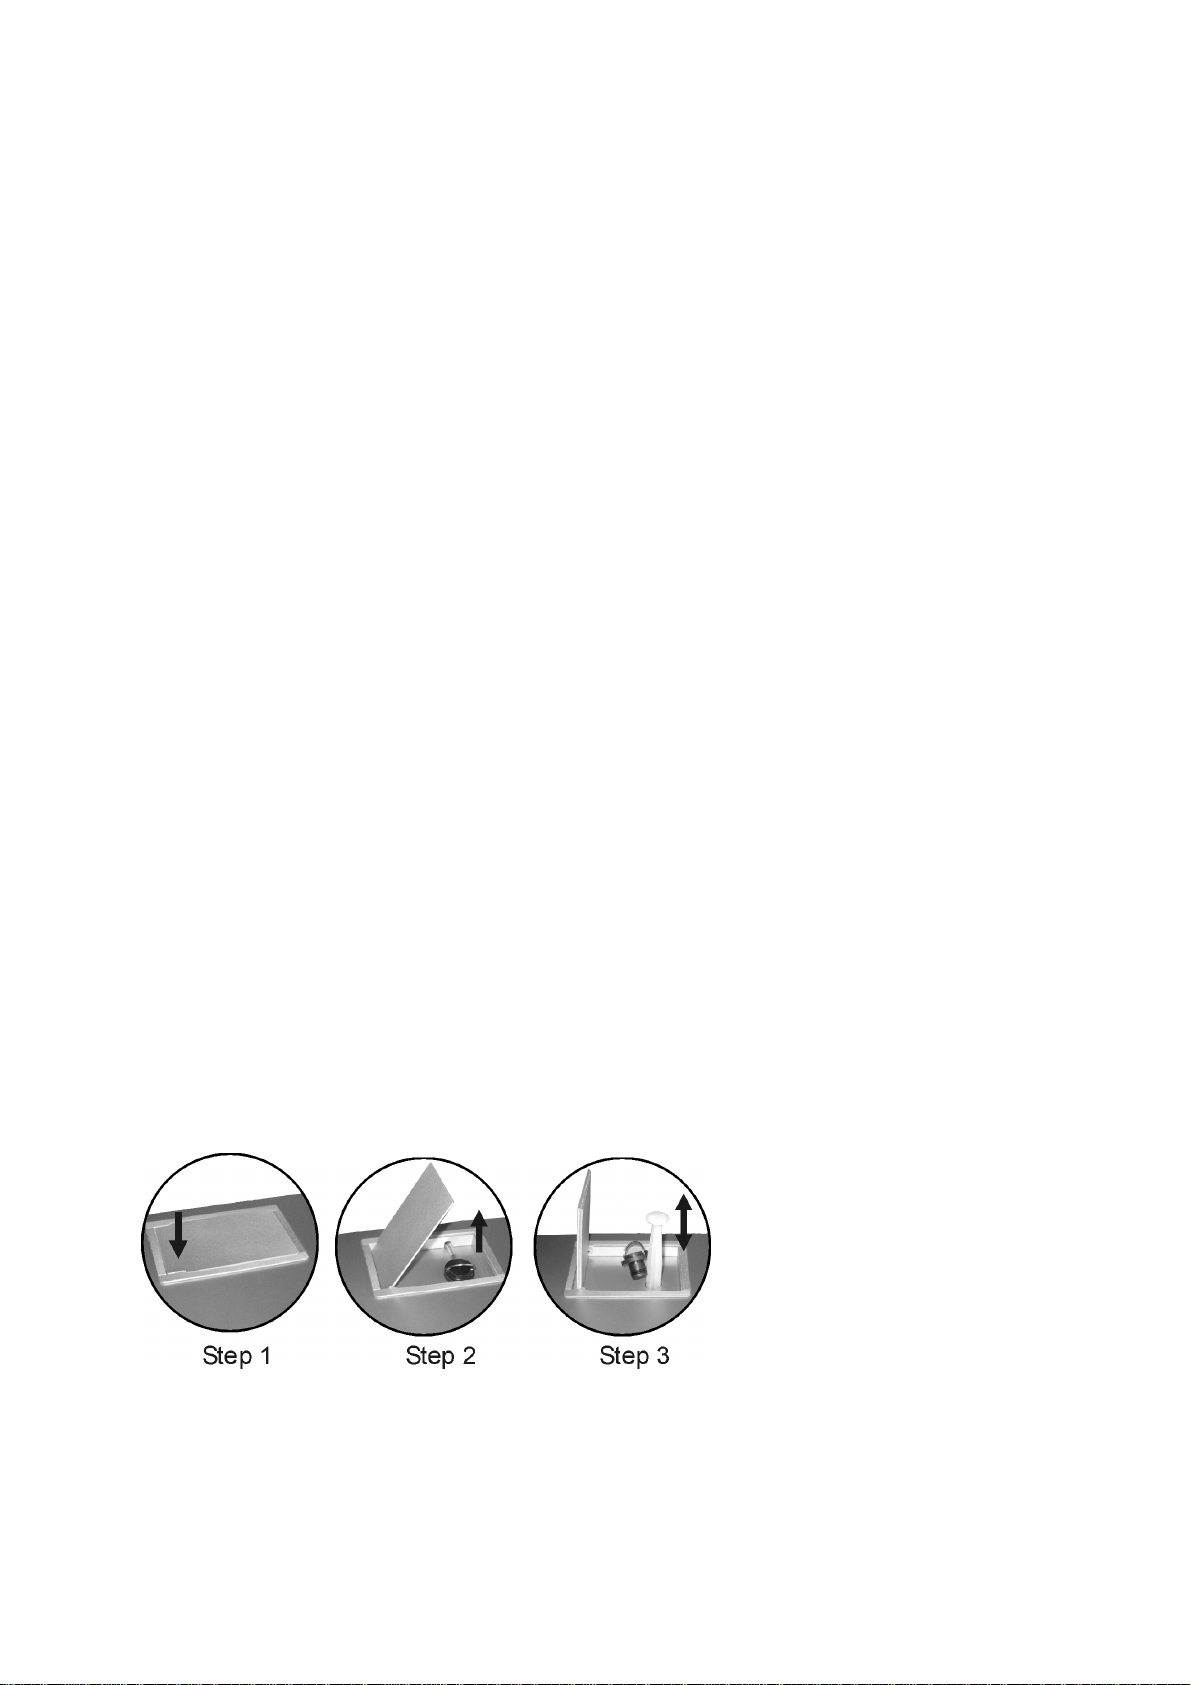
Step 1:
Fill the measuring mug with milksampleto be measured. Dipthe tube (sucker) into the milksample
and place the measuring mug on the Ekomilk working surface.
Step 2:
pH and temperature measurement:
Gentlyremove the protective plasticcap from the pH electrode beforeproceeding with measurement.
Use de-ionized ordistilled waterto rinse the electrodebeforeuse. Thiswill remove impurities that
have adhered on the electrode body. Rinsingwill also serve to activate the electrode, especiallyifit
has been dehydrated(inwhich case you may have to soak the electrodeinwaterfrom 10 minutes
onwards (See Section“pH Measurement -Additionalinformation”).Fill anothermeasuring mugwith
the same milksample. Dipthe electrode and temperaturesensor(fig.1 –pos. 6,7)intothesample. Be
surethatthe electrode iscompletelyimmersed intothe sample. Stirthe mug gentlytocreate a
homogeneous sample. Place it on the Ekomilkworking surface. Formoreinformation, see “pH
MEASUREMENT -ADDITIONAL INFORMATION”.
Remark: EKOMILK BOND uses3sensorsformilkparametersmeasuring –ultrasound, conductivity
and pH. Load on both measuring mugs the same milk and to get correct results atonce.
Step 3:
Press MODE and by means of the search buttons , ▼select the desired mode:
rCOW MILK -analysis of cow milk
rSHEEP/BUFFALO/ GOAT/HOMOG.MILK -analysis of sheep/buffalo/goat milk
When the propertype of milk is displayed, press OK to startthe measurement.
Supplier ID selection:
The message NUMBER:001 appearson the display whilemeasurement isstarted (itdoes no matter
which measuring mode is activated - COW MILK or SHEEP/BUFFALO/ GOAT MILK).
NUMBER defines the ID ofsupplier.In thiscase itisnecessarytowrite inadvance alist byID’sand
names of suppliers.
rbutton ▼changes the cursorposition;
rbutton changes the overcursorvalue;
rbutton MODE cancelsthe changes and returns COW MILK on the display;
rbutton OK confirms the ID NUMBER and QUANTITY:0000.0 appears.
QUANTITYselection:
rbutton ▼changes the cursorposition;
rbutton changes the overcursorvalue;
rbutton MODE cancelsthe changes and returns COW MILK on the display;
rbutton OK startmeasurement.
The message WORKING appears on the display whilemeasurement is goingon.
Remarks:
1. How todiscardthe currentmeasurement? Whilethemeasuring resultsareonthe display, press
button ▼and then press button not releasingbutton ▼and then release both of them. The
message RECORD DISCARDED appears on the display.
2. The maximum numberof records is120. Ifyou tryto write overthen 120 records, NOMEMORY
SPACE errormessage appears on the display. There are 2 possibilities:
a. To send the datatoacomputer and clear(empty)the analyzermemory (See procedure
described in "Data transferring").
b. Deactivating ofdata storage