Buoyant WMC24 User manual

DOUBLE COLUMN WALL MOUNT WITH
BOTTOM AND TOP WALL MOUNT FOR
EXTERNAL CORNER 24 BOTTLES
BUOYANT
CABLE WINE STORAGE CONCEPT
www.buoyantwinestorage.com
84”

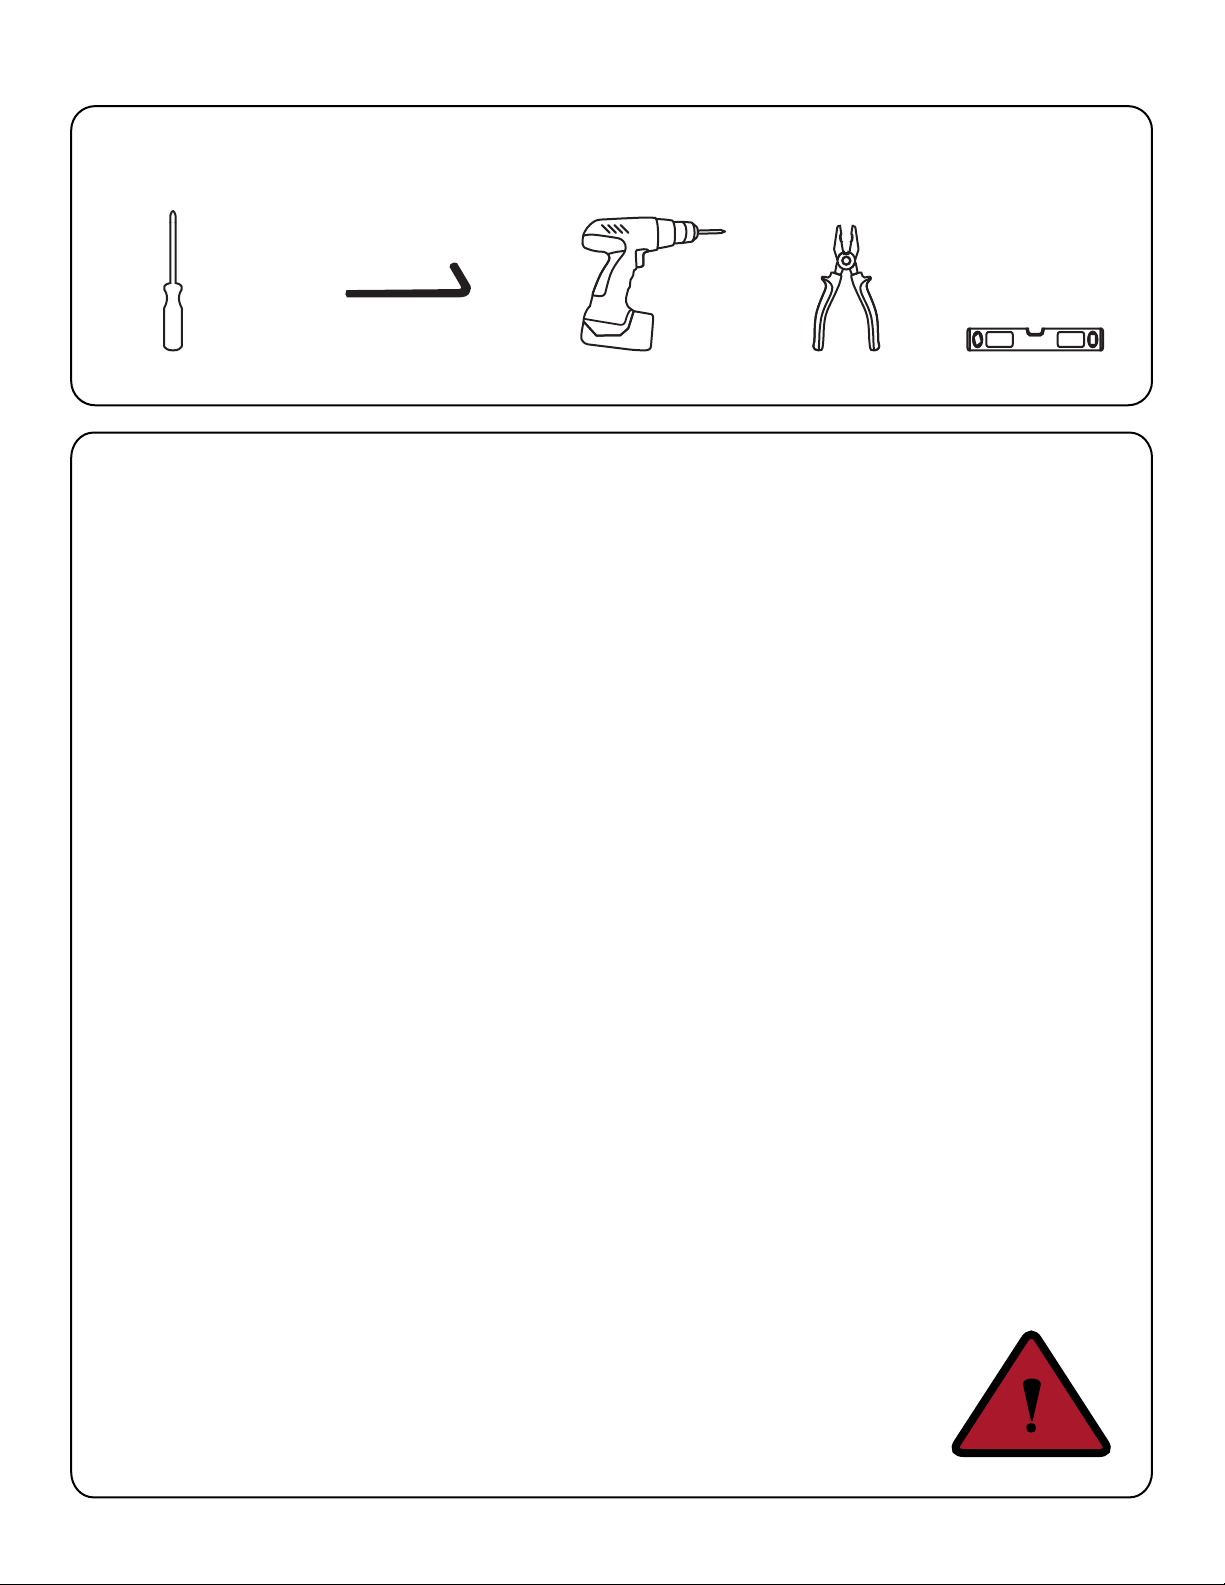
TOOLS FOR INSTALLATION
LEVEL
2
SAFETY INFORMATION
CUTTERELECTRIC DRILL
ALLEN KEYS
HEX KEY: 1.5MM (0.059” )
HEX KEY: 2.5MM (0.098” )
SCREWDRIVER
1. All parts should be installed according to the instructions provided in this installation guide. Failure to follow
these instructions may result in deformities and /or loose cables and connectors. If such issues occur remove
all bottles immediately until any issues found have been properly corrected. Pass this installation guide unto
any new buyer of this product if resold to any party.
2. Buoyant products should only be installed and rearranged by qualied professionals after reading and fully
understanding these instructions wholly. DO NOT TRY TO INSTALL THE BUOYANT CABLE WINE SYSTEM
YOURSELF! A qualied professional should always be involved in jobsite inspection, product selection,
assembly and installation of Buoyant Cable Wine Systems products.
3. Local codes regarding building, re, sanitation and seismic requirements should may apply to some installations
of the Buoyant Cable Wine System. The owner or purchaser of the system is responsible for checking with local
building authorities and ensure that installation is in compliance with such codes and requirements if any exist.
4. Products from other manufactures must not be combined Buoyant Cable Wine System with any products.
5. If any Buoyant Cable Wine System parts are damaged or in anyway compromised contact a Buoyant Cable
Wine System sales representative. NEVER USE ANY DAMAGED OR COMPROMISED PARTS!
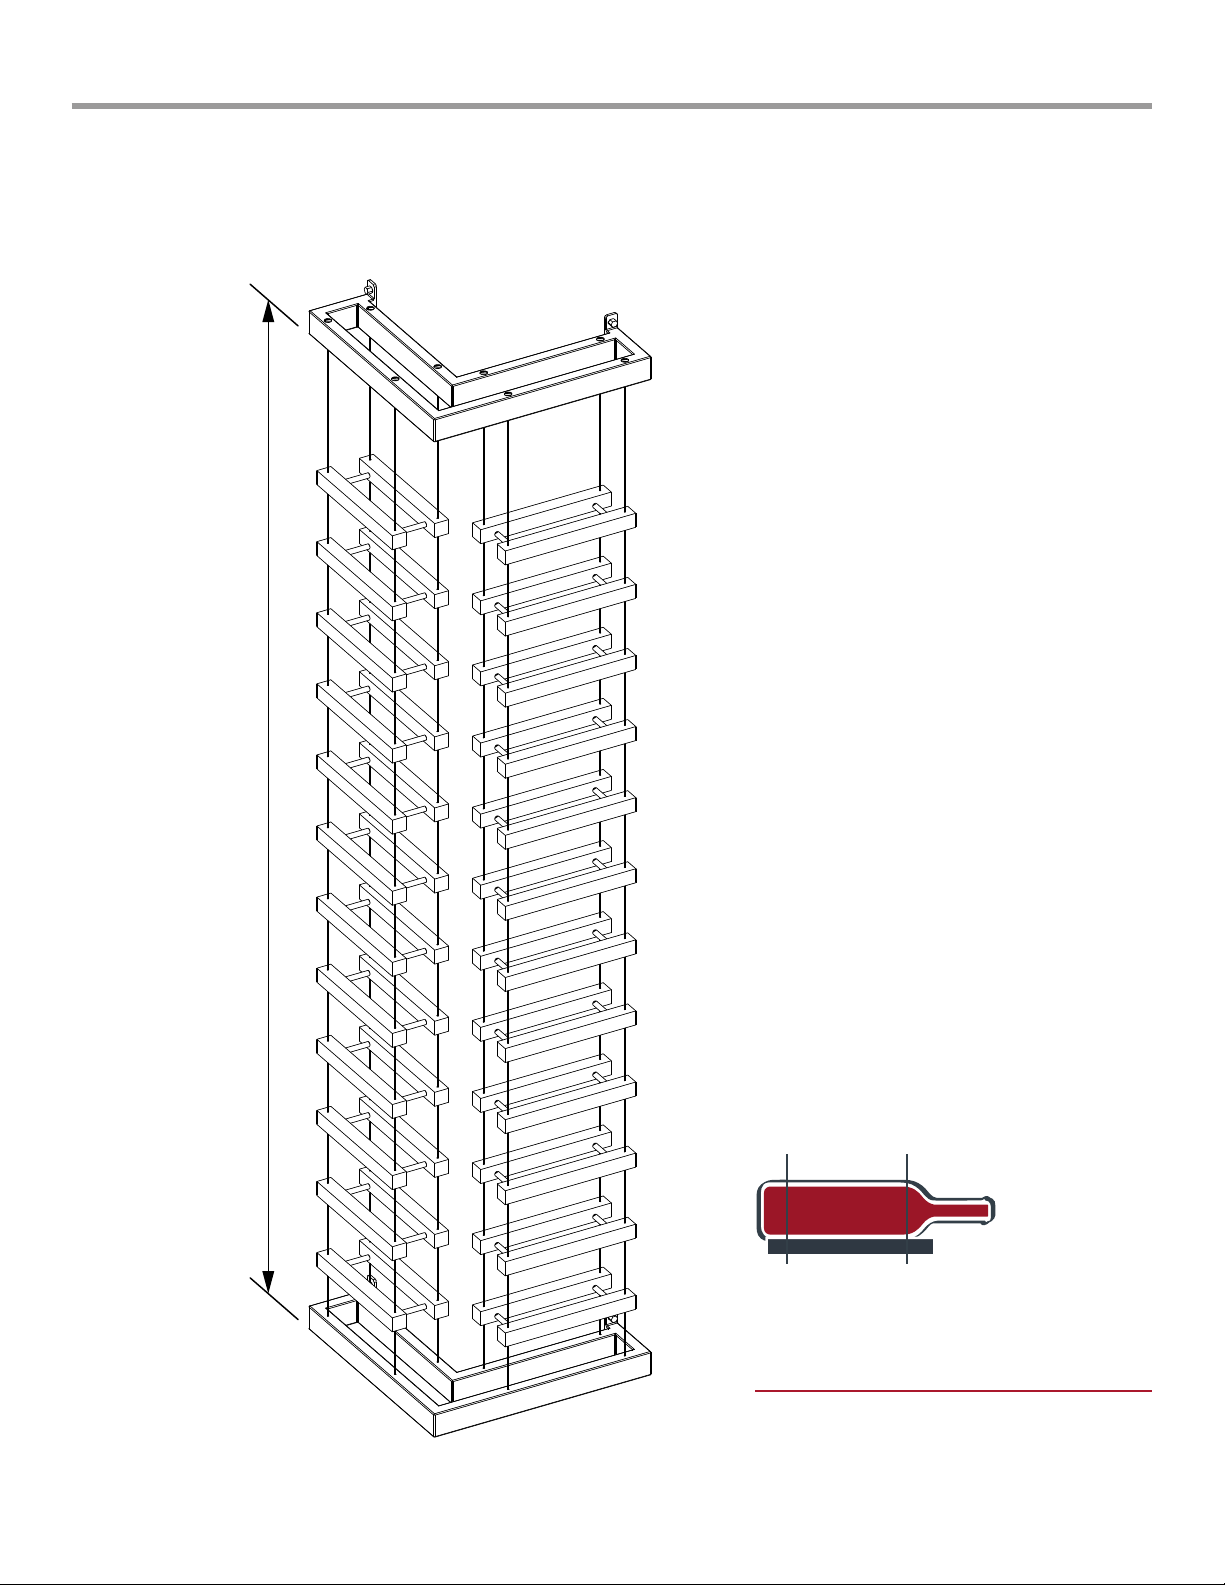
6. The Buoyant Cable Wine System is designed to support the weight and shape of standard wine bottles. Use
caution when storing other than standard wine bottles.
7. The design of Buoyant Cable Wine System only supports the weight of standard wine bottles (750ml). Do not
exceed the maximum load of the Buoyant Cable Wine System as this may compromise the integrity of the
Cable Wine System.
8. Never let any parts or bottles protrude into an aisle or doorways as this may cause accidental contact with the
Buoyant Cable Wine System.
9. Always provide safe access to all levels of the Buoyant Cable Wine System in compliance with any building or
re code that may apply locally.
10. Never let anyone stand, walk, climb, lean or pull on the Buoyant Cable Wine System.
11. Never let anyone change, alter or modify the Buoyant Cable Wine System or any of its parts as this may cause
the Buoyant Cable Wine System and/or its parts to be unsafe.
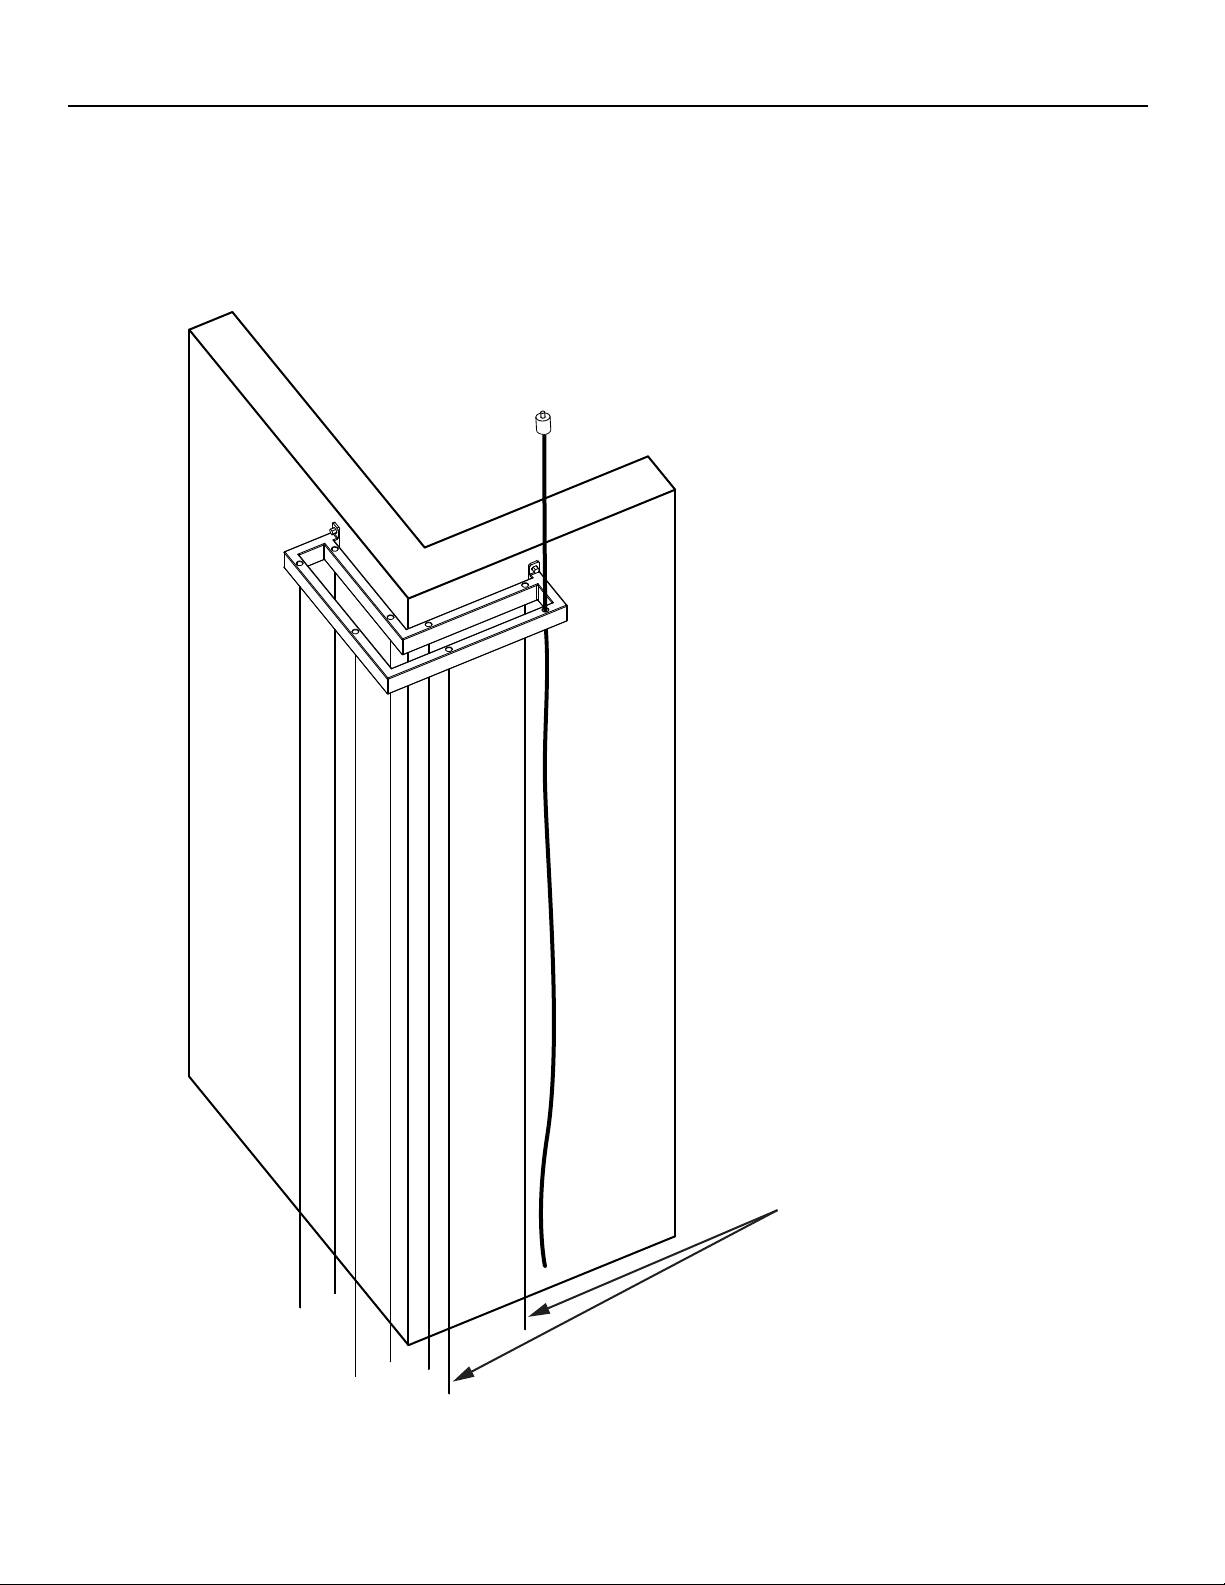
12. Always keep the wooden rods in a dry environment as humidity and moist can cause the wood to expand
and change the dimensions of the drilled holes in the rods. Also, when staining the wooden rods it is
important to avoid getting stain inside the holes as this could cause the hole dimensions to change
Buoyant Cable Wine System. Any work done unto the wooden rods to repair such dimensional
changes may eect the integrity of the system.

3
PART LIST
WALL MOUNT BRACKETS
CBL1
TENSION CABLE
FM2 FM3 FM4 FM5
FLOOR MOUNT FIXTURE
FM6
FM2
FM3 FM4
FM5 FM6
* Wall mount and anchoring screws, bolts and washers are not supplied.
Large holes
PLEASE NOTE: when assembling top wall mount
the large holes point toward the ceiling. When
assembling bottom wall mount the small holes
point toward the ceiling.
TOP CORNER MOUNT BOTTOM CORNER MOUNT
Small holes

4
WOODEN PEG END
PIECE (WR1)
WOODEN PEG CENTER
PIECE (WR2)
PLEASE NOTE: You will always
start and nish a row with a
WR1(wooden peg end).
Holes on both side
Hole only on one side
WR1 WR2 WR3 WR4 WR5 WR6
WOODEN FIXTURES AND COMPONENTS
PART LIST

PART LIST
5
6
1
8
7
4
3
2
CABLE COMPONENTS
FLOOR MOUNT FIXTURE
WOODEN PEG SUPPORT FIXTURE STEPS
5

6
PRODUCT DIMENSIONS
The total load of the WMC24 model series after assembled and wholly loaded with wine bottles is
approximately 146.50lbs.
90"
6" 12"
5.16"
18.35"
12"
6"
(ADJUSTABLE)

7
ASSEMBLE SHELVES
Assemble 1 bottle shelves by inserting WR5
tubes into wooden pegs and use WR6 screws
to hold tubes in position as shown below.
After assembly you should have a total of 24
sets of 1 bottle shelves.
1

8
2FLIP THE WALL MOUNT
Flip the wall mount so that the large holes point
toward the ceiling, and small holes point
downward.
PLEASE NOTE: THIS POSITION OF THE WALL
MOUNT ONLY APPLIES WHEN INSTALLED AS A TOP
WALL MOUNT.

SECURE TOP BRACKET TO THE WALL
Use the appropriate screws, bolts and washers
(4 sets) to secure top bracket to wall and
ensure that the wall has been properly rein-
forced to carry this load.
3
9
PLEASE NOTE: when assembling top wall mount
the large holes point toward the ceiling.

4
10
Insert all 8 crimped cables through the large
holes on top of the wall mount bracket and pull
them through the small holes on the bottom .
CBL1
INSERT CABLES ON TOP OF BRACKET
DO NOT CUT CABLES

11
5SLIDE SHELVES ONTO CABLES
Slide all shelves onto cables, by running cables
through the small holes on the top of the
wooden pegs. The large drilled holes on the
pegs should point downwards.

12
6FLIP THE WALL MOUNT
Flip the wall mount so that the small holes point
toward the ceiling, and large holes point
downward.
PLEASE NOTE: THIS POSITION OF THE WALL
MOUNT ONLY APPLIES WHEN INSTALLED AS A
BOTTOM WALL MOUNT.

7
13
Insert all 8 crimped cables through the small
holes on top of the bottom wall mount
bracket and pull them through the large holes
on the bottom .
INSERT CABLES INTO BOTTOM BRACKET

8
14
ASSEMBLE BOTTOM ANCHORS
Mount the male piece of the anchor(FM2) on
the cables along with the spring(FM3) and
FM4. Clamp FM5 unto cables using 2 hex
screws (FM6) so that they are all at the desired
height and all level.
ALLEN KEY REQUIRED:
HEX KEY: 1.5MM (0.059” INCHES)

Slide the anchor assembly inside the large
holes of the bottom wall mount.
9SLIDE ANCHOR ASSEMBLY
15

10 SECURE BOTTOM BRACKET TO THE WALL
16
Pull down on the wall mount on both sides to
create tension in the cables before screwing
the bottom wall mounts into the wall. Before
you pull down your installer can draw a level
line on the wall to ensure that the wall mount
screwed into the wall leveled. Use the appro-
priate screws, bolts and washers (4 sets) to
secure bottom bracket to wall.

17
Cut cables below the bottom wall mount. Be
sure you do not cut the cable too short. NOTE:
Use cable cutter to cut cable.
11 CUT CABLES
CUT LINE FOR CABLE IS SHOWN BELOW.

Position each shelf one at the time by lift
them up above the position where you want
to place each shelf. Hold each shelf in place
while attaching peg supports on the cables
below in the position where you want each
shelf to rest and use WR3 to keep in position.
12 POSITION EACH SHELF
ALLEN KEY REQUIRED:
HEX KEY: 2.5MM (0.098” INCHES)
18

Use a leveler tool to ensure wooden shelves
are horizontally leveled. Adjust WR3 if needed.
13 LEVELING SHELVES
19

20
COMPLETED ASSEMBLY
14
Enjoy the new wine rack from BUOYANT Wine
Storage.
BUOYANT reserves the right to update or
change our installation guides without prior
notication.
Table of contents
Other Buoyant Wine Cooler manuals
Popular Wine Cooler manuals by other brands

Wine Master
Wine Master Hygromaster Installation and user guide

Magic Chef
Magic Chef MCWC50DSTF user manual

WineEnthusiast
WineEnthusiast 259 Bottle Wine Cellar instruction manual

New Air
New Air NWC012BK00 owner's manual

WHISPER KOOL
WHISPER KOOL Platinum Split H.E. PS4000 owner's manual

New Air
New Air AWR-290DB owner's manual

Wine Master
Wine Master WinePC15 Installation and user guide

Selbach
Selbach WT 40 Instructions for use

Zephyr
Zephyr PRPB24C01BG Use, care and installation guide

U-Line
U-Line Wine Captain 2115WCOL2 Use and care guide

SEVERIN
SEVERIN WKS 8892 Instructions for use

Moffat
Moffat MWR02 Owner's manual and installation