ProfiScale LEVEL PS 7061 E 2
Introduction
The LEVEL PS 7061 E electronic spirit level is handy and simple to use. The
integrated inclination sensor allows inclines in degree and percentage to be
clearly read from the large display. The device allows horizontal and vertical
alignment.
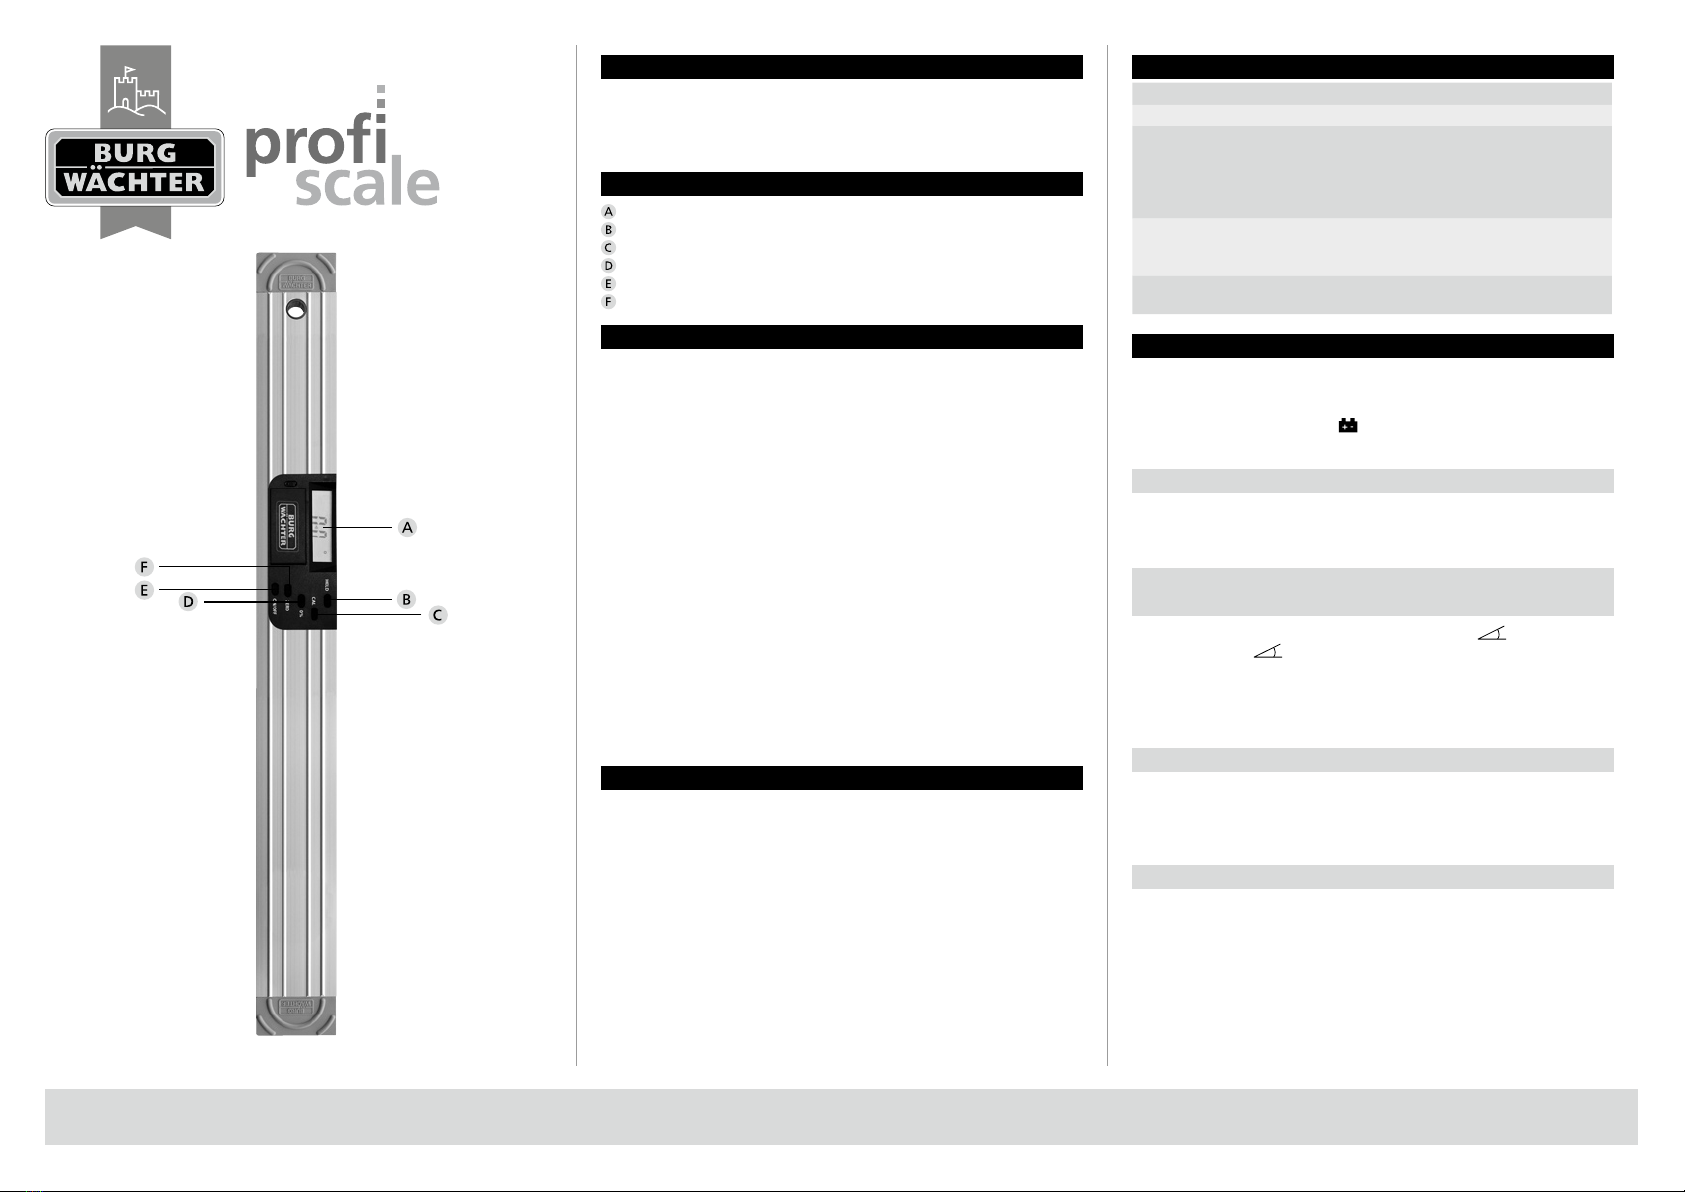
Illustration
Display
HOLD button
CAL button
Mode
ON/OFF button
ZERO button
Safety instructions
Failure to observe the following instructions may result in personal
injury:
1. Before using the device, you must read these instructions carefully to
ensure that you operate the device safely. Keep these instructions in a
safe place.
2. Keep the device away from children and unauthorized persons.
3. For safety reasons and to maintain the warranty on the device, repairs
to the measuring device must only be carried out by qualified personnel
using genuine parts.
4. Never expose the device to an electric voltage, as this could damage the
electronics.
5. Do not use the device in the vicinity of inflammable or explosive gases.
6. Do not use the device if it is defective.
7. Handle the device with care and do not drop it.
8. To avoid functional errors, do not dismantle the device.
9. Keep the device clean and dry.
10. Avoid contact with water and dust.
11. Do not use abrasive cleaners or solvents to clean the device. Use a damp
cloth and mild detergent.
12. Check the battery/batteries regularly to prevent damage.
13. Remove the battery if you are not going to use the device for a long
period.
Warranty
Congratulations!
Thank you for choosing ProfiScale quality measurement technology by
BURG-WÄCHTER. BURG-WÄCHTER offers a warranty of 2 years’ duration
from the date of purchase. The warranty does not cover damage caused
by improper use, overloading the device or incorrect storage as well as
normal wear and defects that only have an insignificant effect on the value
or usability of the device. The warranty shall be immediately invalidated if
unauthorized persons work on the device. In the event that a warranty claim
arises, please hand over the entire device incl. packaging, description and
batteries along with the sales receipt to your dealer.
Technical data
Operating temperature 0°C – 50°C
Storage temperature -20°C – 80°C
Displayed range 0° – 360°
(the display shows a range from 0°
to 90°, – displayed angle between
the inclination angle meter and the
horizontal)
Accuracy
(± 0.2° at operating temperature
25°C ± 3°C)
0°, 90°: ± 0.1°
1° – 89°: ± 0.2°
Power supply Standard 9V
compound (e.g. 6LR61)
Operating the device
Warning tone: the inclination meter issues an acoustic tone when it
displays 0° and 90°.
Low battery power indicator: This symbol lights if the battery power
is too low.
“ON/ OFF”
ON: switch on, OFF: switch off.
The device automatically switches to idle mode after approximately 5
minutes if it is not used.
“Mode”: Switching from angle
to per cent and vice versa
Press the relevant button to switch between the angle ( ) and per cent
(%) modes. Angle ( ) : the display shows the measured angle between
the horizontal or vertical (1st position) and the measuring position (2nd
position). Per cent (%): the display shows the measured value in per cent
between the horizontal or vertical (1st position) and the measuring position
(2nd position).
“HOLD”: the reading is stored
If you press the “HOLD” button, the value of the angle is shown on the
display, even if you move the spirit level. If you press the “HOLD” button
again, the device exits the “hold mode” and the display is ready to read new
values.
“ZERO” button
If you press the “ZERO” button, the device is set to zero in its current
position. The inclination meter then starts to measure the value between this
“ZERO” position and the next position. The display shows the direction with
a symbol. If you press the “ZERO” button again, the device exits the “ZERO
mode”. This function has no effect on the calibration.


