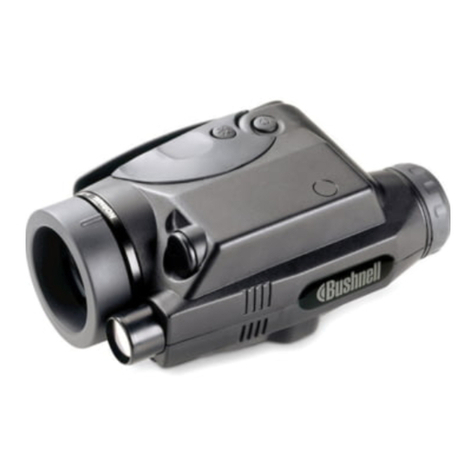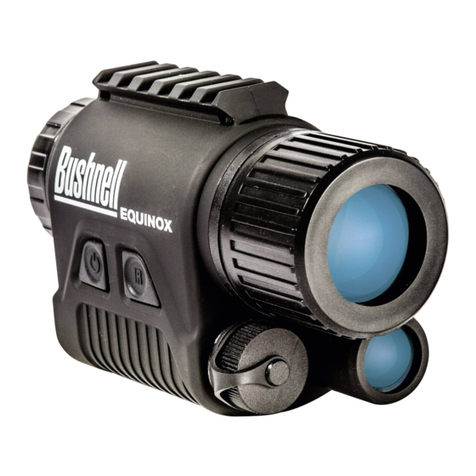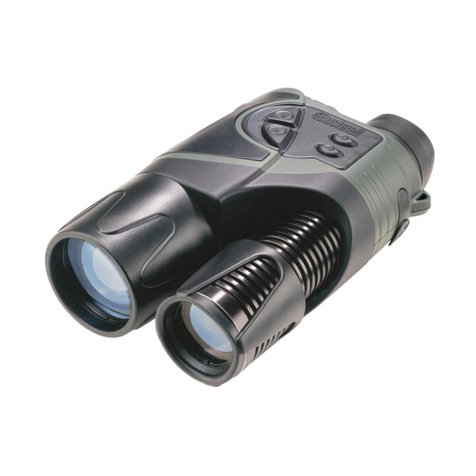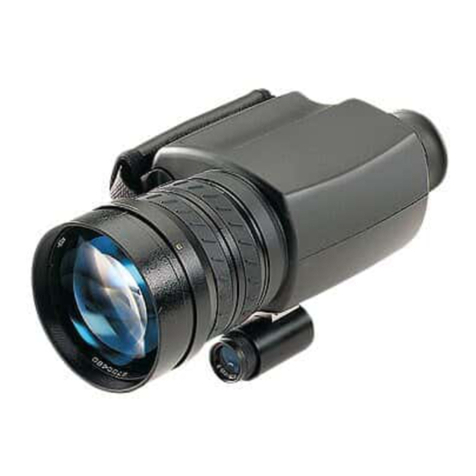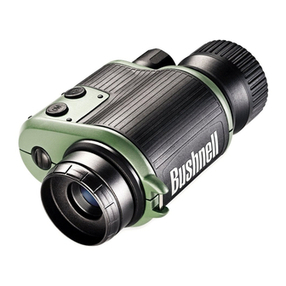
Congratulations on the purchase of your Bushnell Night Vision Product.
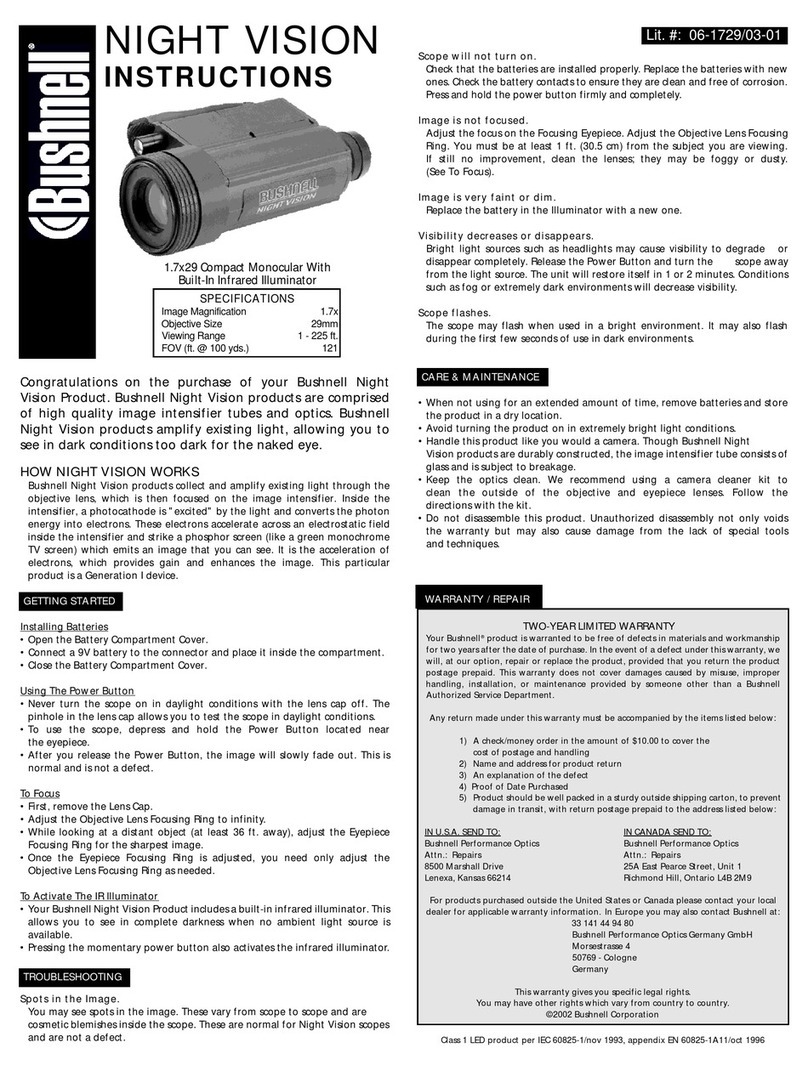
Bushnell Night Vision products are comprised of high quality image
intensifier tubes and optics. Bushnell Night Vision products amplify existing
light, allowing youto see in dark conditions too dark for the naked eye.
HOW NIGHT VISION WORKS
Bushnell Night Vision products collect and amplify existing light through the
objectivelens,whichis then focused on the imageintensifier.Insidetheintensifier,
a photocathode is “excited” by the light and converts the photon energy into
electrons. These electrons accelerate across an electrostatic field inside the
intensifier and strike a phosphor screen (like a green monochrome TV screen)
which emits an image that you can see. It is the acceleration of electrons, which
provides gain and enhances the image. This is a Generation I device.
Your Night Vision device offers a Directional Sound Amplification System (DSAS),
providing you with the added benefit of a highly sophisticated sound amplification
system. DSAS utilizes thelatest developments in electronic sound amplification by
combining our exclusive high sensitivity DIRECTIONAL microphone with a state of
the art noise reduction system, providing unparalleled sound enhancement.
Your Night Vision device is ideal for a variety of professional and recreational uses
including the following: Wild Life Observation, Astronomy, Boating / Marine Use,
Police / Law Enforcement, Search and Rescue, Security, Property Management
GETTING STARTED
Installing Batteries
This device operates on two AA batteries. To
install, unscrew the battery compartment
cover located on the bottom of the unit.
Insert the batteries into the battery
compartment so that the (+) and negative (-)
terminals of the batteries match the markings
inside the compartment. Replace the battery
cover carefully – do not over tighten.
Use and Testing
This device operates on two AA batteries.
Make sure they have beeninstalled according
to the instructions above.
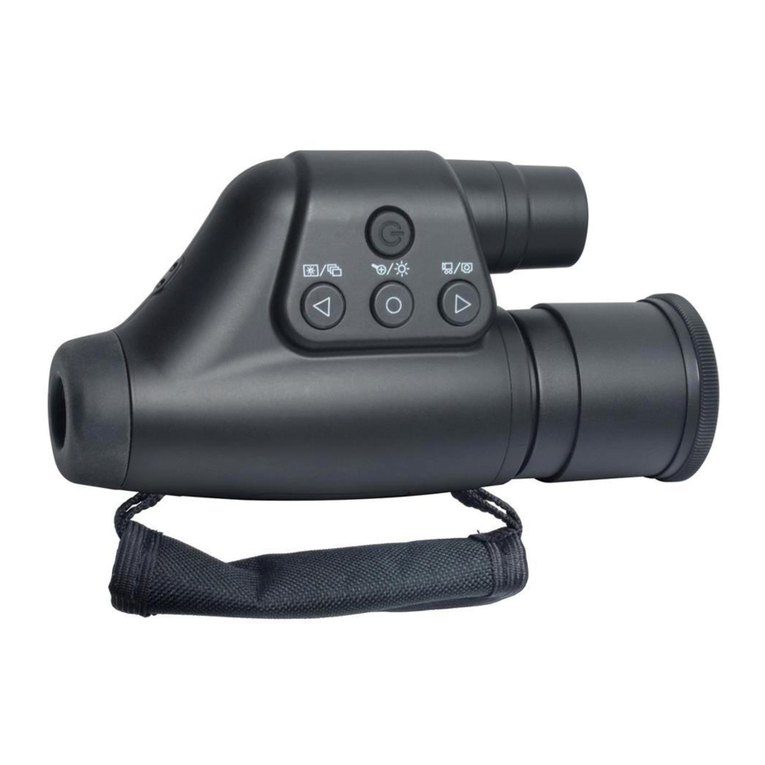
Attach the receiving antenna of the DSAS
directional microphone (1) and insert
headphone plug into the audio output jack
(2). Ifyou wish totest yournight vision device
in a lighted area, be sure the objective lens cap is covering the objective lens (3)
prior to pressing the “POWER” button. The objective lens cap has a pinhole
opening to admit a small amount of light for testing purposes.
If testing or using the device in the dark, removetheobjective lenscap andactivate
the device by pushing the “POWER” button (4).
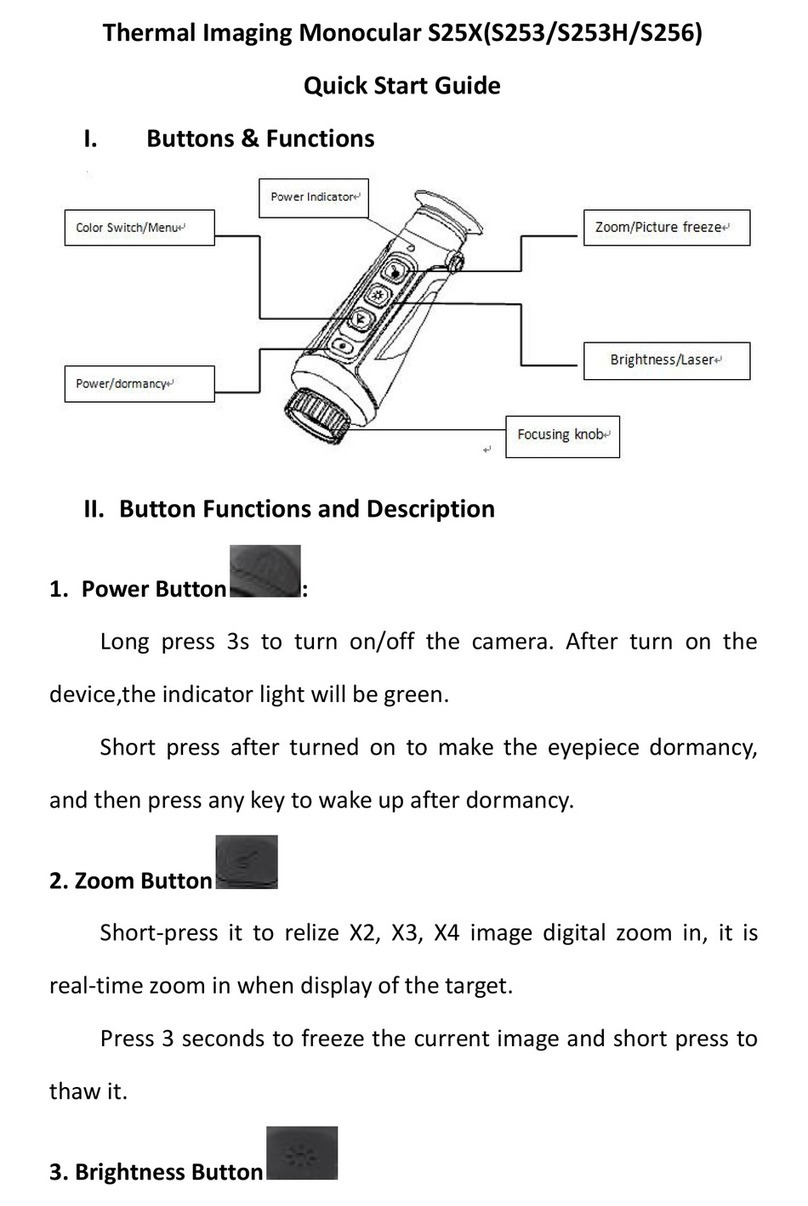
Set the preliminaryfocus adjustment by placing the adjusting mark (located on top
of the objective focusing ring) opposite the letter “N” in the word “Normal”(11).
Place headphone in ears and activate the DSAS microphone by depressing the
“ON” button (6).
If the subject is to be viewed in a completely dark area where no ambient light
source (such as moonlight)is available,activate theInfrared Illuminator by pressing
theInfrared Illuminator button (5) located next to the “POWER” button. Directthe
device at an object at a distance approximately 100 yards and rotate the eyepiece
(7) to give the best quality image. After the adjusting, do not rotate the eyepiece
any longer irrespective of the distance and other conditions. Direct the device at
the subject to be viewed and adjust the final focus by rotating the objective lens
focusing ring until the image quality is optimal.
Adjust sound amplification volume to an optimal level by pressing the volume
control buttons (8). If the sound is to be recorded, insert the tape recorder plug
into the jack (9) and start recording.
The Green LED indicates that the light amplifier unit is on. The Red LED indicates
that the Infrared Illuminator ison.TheYellow LED indicates that the DIRECTIONAL
SOUND AMPLIFICATION SYSTEM is operating. Always remember to turn the unit
off when done. Do not store this devicewhile the indicators are lit. This device can
be mounted on anytripod with a 1/4“ tripod socket (10).
Caution: This device can be used in extreme cold weather. However, when the
unit is brought back into a warm environment, you must wait approximately
5hours before using the unitagain. Damage may occur due tocondensation that
may have accumulated on the internal circuitry of the unit.
Spots In The Image
•You may see spots in the image. These vary from device to device and are
cosmetic blemishes inside the device. These are normal for Night Vision devices
and are NOT a defect.
TROUBLESHOOTING
Scope will not turn on.
Check that the batteries are installed properly. Replace the batteries with new
ones. Check the battery contacts to ensure they are clean and free of corrosion.
Check that the power is in the “ON” position.
Image is not focused.
Adjust the focus on the Eyepiece (7). Adjust the Objective Lens Focusing Ring.
If still no improvement, clean the lenses; they may be foggy or dusty.
Visibility decreases or disappears.
Bright light sources such as headlights may causevisibilityto degrade or disappear
completely. Turn the Power OFF (4) and turn the scope away from the light source.
The unit will restore itself in 1 or 2 minutes. Conditions such as fog or extremely
dark environments will decrease visibility.
Scope flashes.
The scope may flash when used in a bright environment. It may also flash during
the first few seconds of use in dark environments.
The sound amplification system is not amplifying properly.
Make sure the DIRECTIONAL antenna is tightly connected to the microphone.
Check your headset connection; make sure your batteries are fresh.
CARE AND MAINTENANCE
Your Bushnell Night Vision device was designed to provide many years of reliable
service. To ensure thatyou get the most enjoyment out of your Night Vision device,
always obey the following warning and precautions:
•Do not point this device toward any light source greater than 1 lux such as car
headlights, for an extended period of time. This device utilizes an internal flash
protection system whichminimizespotentialdamage,but long-term exposureto
bright lights can damage the unit. Any such damage may void your warranty.
•This device was designed to be self-contained. Do not open the body of the
device or otherwise attempt to service this device.
•Always store the device in a dry, well-ventilated room.
•Remove the batteries if the device is to be stored for longer than 2 months.
•Keep the device away from any heating and air conditioning vents or other
heating devices, direct sunlight, and moisture.
•Avoid dropping or otherwise shocking the unit. Although designed for rugged
outdoor use, this device incorporates a sophisticated optical system, which could
be damaged in extreme cases of misuse.
•Clean the optical lenses with professional lens cleaning supplies.
•Clean the exterior of the device with a soft clean cloth.
(continued on page 2) 1
NIGHT VISION
INSTRUCTIONS
Lit. #: 91-0231/11-01
Audio Monocular • Monoculaire Audio
Audio Monocular • Audio-Spektiv
2.5x42 Model:
26-0300
Infrared
Power
