8
Machine Data Sheet
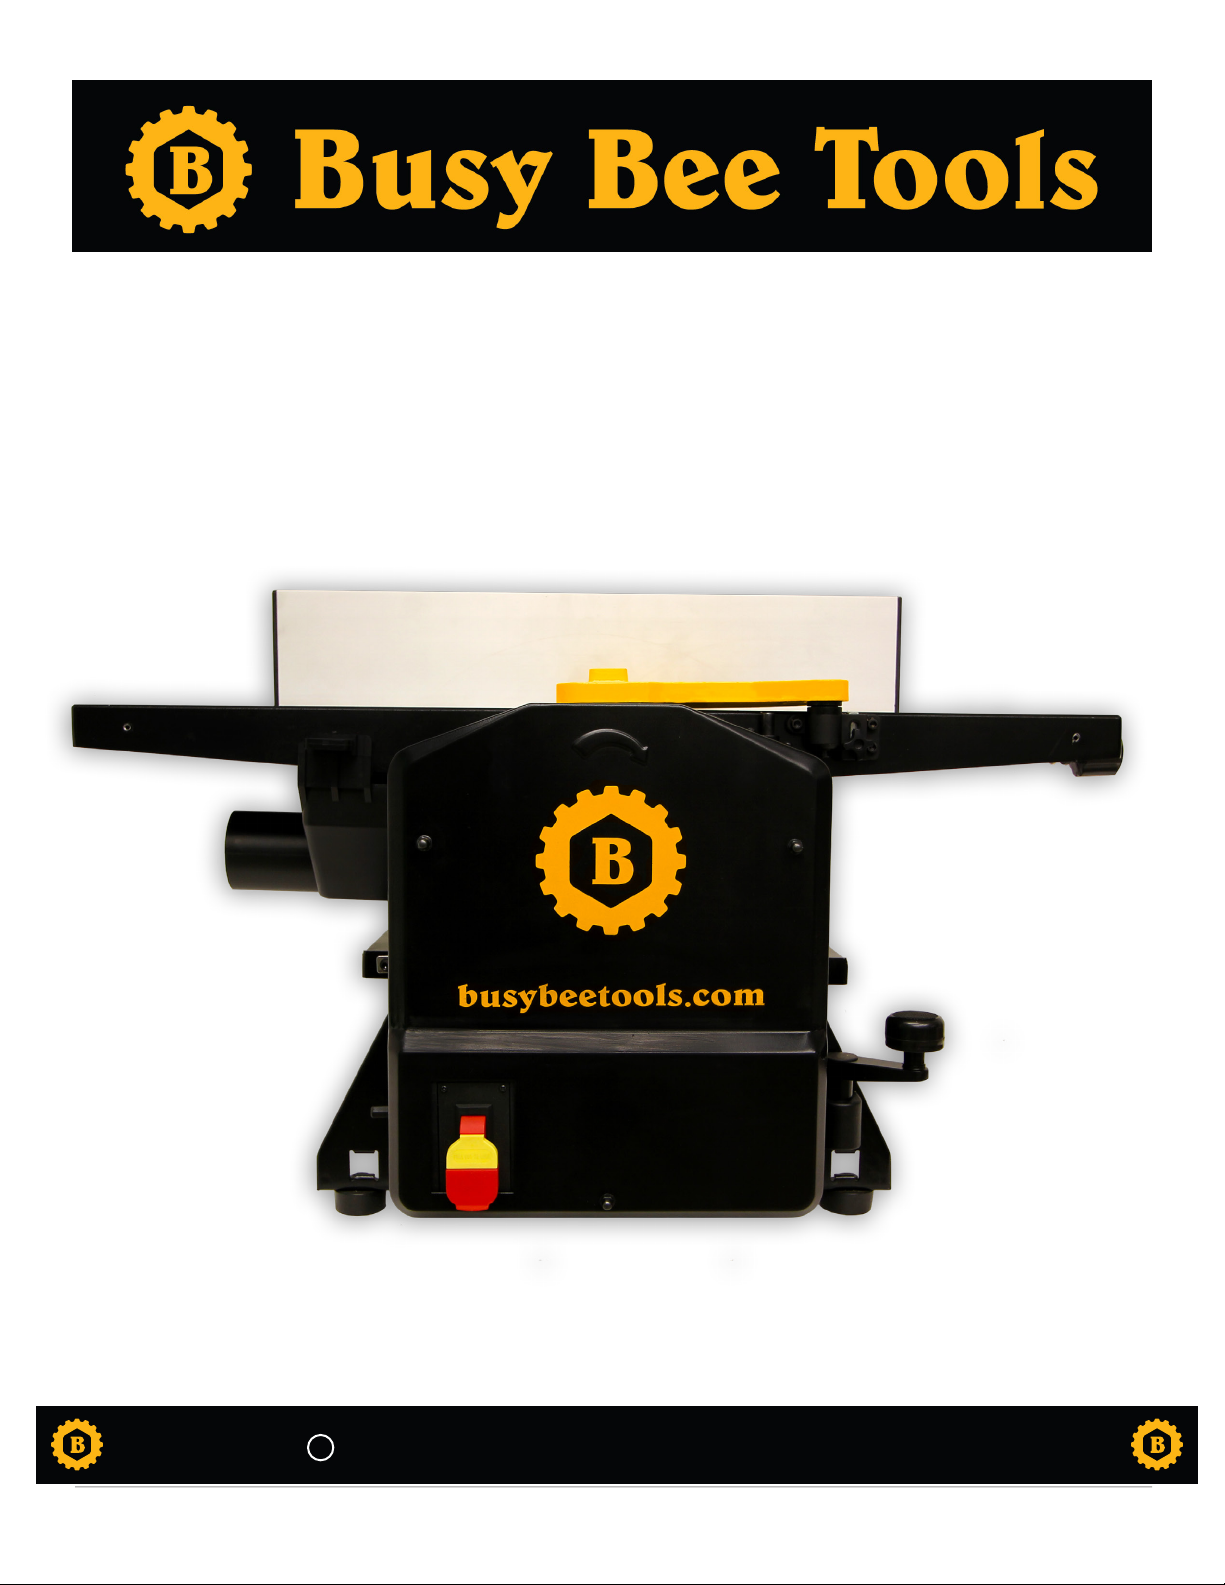
8” Jointer/ Planer with Helical Cutterhead:
Product Dimensions:
Weight ............................................................. 48lbs.
Width X Depth X Height............................. 31” X 17-1/2” X 18-1/2”.
Footprint ......................................................... 15-1/2” X 10-1/2”.
Shipping Dimensions:
Package type................................................. Cardboard box.
Weight ............................................................. 57lbs.
LXWXH............................................................ 34” X 19” X 18”.
Must ship upright.......................................... Yes.
Electrical:
Power Requirement ..................................... 120V, 1PH, 60Hz.
Full-Load current rating .............................. 15A.
Minimum circuit breaker size .................... 20A.
Connection type ........................................... Cord and Plug.
Power cord included ................................... Yes.
Power cord length........................................ 72”.
Power cord gauge........................................ 14AWG.
Switch type..................................................... Paddle safety
switch w/ key.
Motor:
Main
Horsepower................................................... 1-1/2 HP.
Phase............................................................... Single phase.
Amps................................................................ 15A.
Speed .............................................................. 15,000 RPM.
Type ................................................................. Universal.
Power transfer............................................... Belt.
Bearings.......................................................... Shielded
permanently
lubricated.
Main Specifications:
Cutting Capacities (Jointer):
Jointer size..................................................... 8”
Bevel Jointing................................................ 0° to 45°
Maximum width cut...................................... 8”
Maximum depth cut..................................... 1/16”
Minimum workpiece length ....................... 6”
Minimum workpiece thickness ................. ¼”
Number of cuts per minutes...................... 17,000
Cutting Capacity (planer):
Planer size...................................................... 8”
Maximum width of cut................................. 8”
Minimum stock length................................. 6”
Minimum stock thickness........................... 1/4”
Number of cuts per inch............................. 64
Number of cuts per minute........................ 17,000.
Planing feed rate .......................................... 22FPM.
Maximum cut depth planing full width.... 3/64”.
Max. cut depth planing 6” wide boards . 1/16”.
Fence Information:
Fence length.................................................. 21”.
Fence width ................................................... 1/2”.
Fence Height................................................. 4”.
Fence stops ................................................... 0° to 45°.
Cutterhead information:
Cutterhead type............................................ Helical.
Cutterhead diameter ................................... 2”.
Number of cutter rows................................ 2.
Number of indexable inserts..................... 18.
Cutterhead speed ........................................ 8500RPM.
Cutterhead inserts information:
Cutter inserts type........................................ 4-side indexable
carbide.
Cutter inserts length.................................... 15mm.
Cutter inserts width...................................... 15mm.
Cutter inserts thickness.............................. 2.5mm.
Table information (Jointer):
Table length ................................................... 29-1/4”.
Table width..................................................... 8-1/4”.
Table thickness ............................................. 1-1/2”.
Floor to table height .................................... 14”.
Table adjustment type................................. Knob.
Table movement type ................................. Swing.
Table information (planer):
Table length ................................................... 13-3/4”.
Table width..................................................... 8”.
Table Thickness ............................................ 3/4”.
Floor to table height .................................... 7-1/2”.
Construction:
Body assembly.............................................. Steel.
Cutterhead ..................................................... Steel.
Infeed roller.................................................... Rubber.
Outfeed roller................................................ Rubber.
Fence assembly............................................ Aluminium.
Guard............................................................... Plastic.
Table (Jointer)................................................ Die-cast Aluminum.
Table (Planer)................................................. Die-cast Aluminum.
Paint type/Finish ........................................... Powder coated.
Other information:
Number of dust ports .................................. 1.
Dust port size ................................................ 2-1/2”.
Measurement scale (Jointer)..................... Inch.