(9)
【Camera Pan/Tilt Reset 】:Camera Pan/Tilt reset;
(10)
MENU.
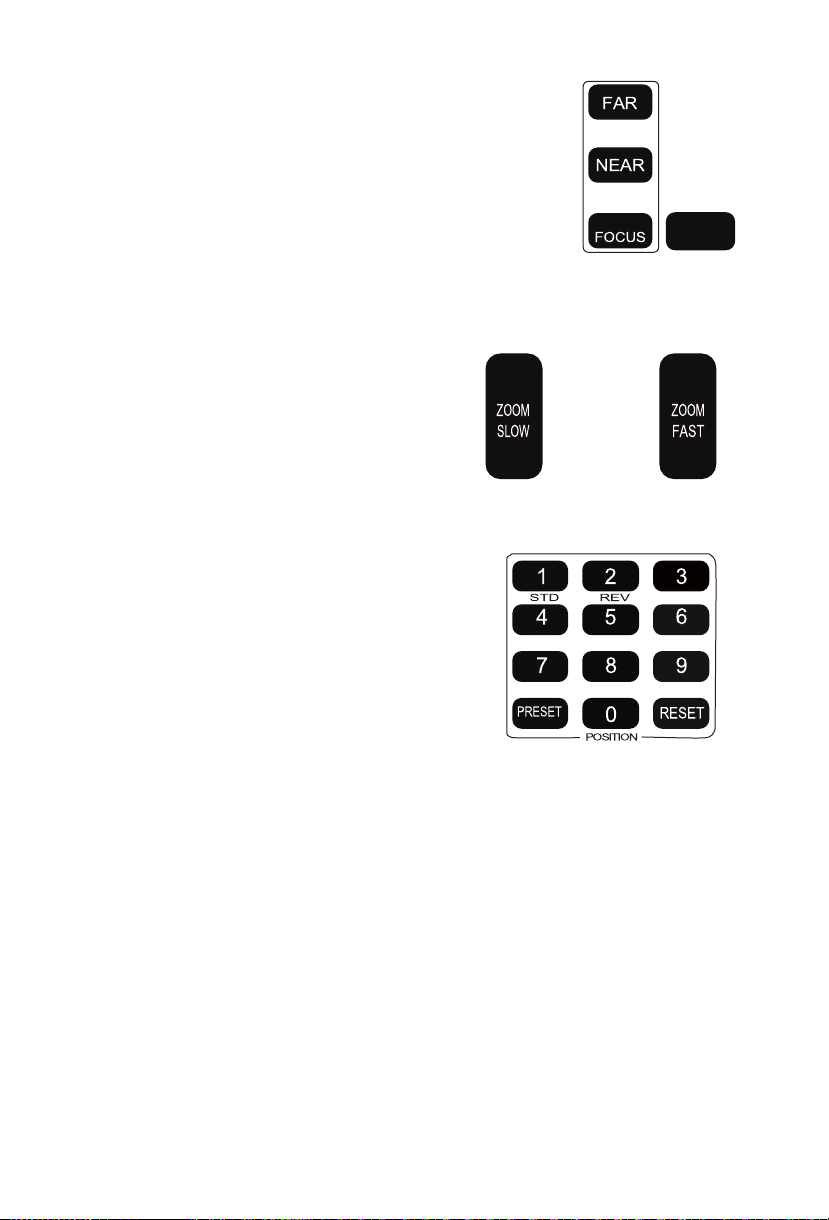
(11)Slow Zoom Key
【Zoom SLOW+】T:Zoom in at low speed
【ZOOM SLOW-】W:Zoom out at low speed
(12)
Fast Zoom Key
【ZOOM FAST +】:Zoom in at fast speed
【ZOOM FAST -】:Zoom out at fast speed
(13)
Manual Focus Mode
【MANUAL FOCUS】:Start manual focus function
【FAR】:Manually far focus button, clearer for the
distant objects, loose finger to stop.
【NEAR】:Manually near focus button, clearer for
the nearby objects, loose finger to stop.
(14)
【AUTO FOCUS】:Auto Focusing Button
ATTENTION
1. If there is an object between remote control and camera
sensor, the camera will not respond. Please make sure the
remote control is aimed directly at the sensor during operation.
2. L/R SET and Menu keys are not applicable for this model.
3. Fast zoom key, slow zoom key, manual and auto focus keys
not applicable for fixed focus model.