Cabela's 34EGGBP User manual

34EGGBP

Do not leave safe unattended while open.
Keep ChildrenAway from safe.
Keep your safe locked and closed at all times when not in use,to avoid children being accidently
locked in safe.
Place your safe in a cool and dry location.
Remember to record the serial number of your safe from the tag on the back of your safe.You will
need this serial number for all warranty or customer service inquiries.
Electronic media, photographic media and all audio-visual media should not be stored in the safe for
re protection.These materials will not survive the rated internal temperature of the safe and may be
damaged or destroyed.
IMPORTANT NOTICES
1
2
3
4
5
6
WARNING
Safe must be secured as detailed in these instructions. A child or Adult can tip the safe
and can be killed or seriously injured. Failure to secure the safe can result in death or
serious injury.
1
You must rst install the battery which is located in the front protective styrofoam.
Batteries included: E-lock (1x9Volt)
To replace the battery, remove the cover by pressing the tab and
turning as shown in the illustration (counter clockwise). Install
new battery and align cover and install cover (clockwise).
2
BATTERY INSTALLATION AND REPLACEMENT
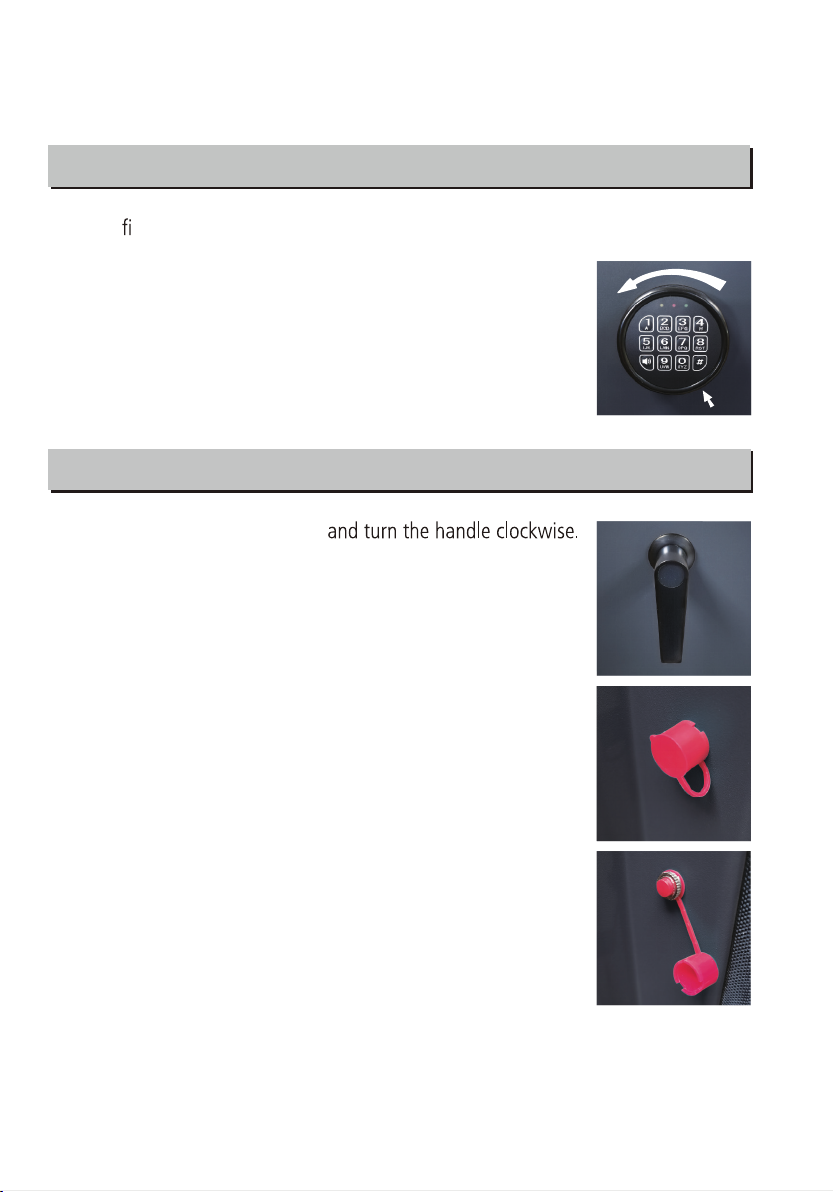
OPENING THE SAFE
Enter Factory Pass Code :1 - 5 - 9 - #
OPENING THE SAFE
SETTING THE PASSCODE & PASSCODE RESET
After opening the safe, locate the small red button on the inside
of the door, near the hinge. Remove the cap and press the red
button until you hear a beep.
Before closing door, make sure your new passcode is
functional.
Electronic Lock
You will see a yellow light on the front faceplate.
Enter your new passcode (minimum of 3, to a maximum of 8
digits) while the yellow light is illuminated, then press #.
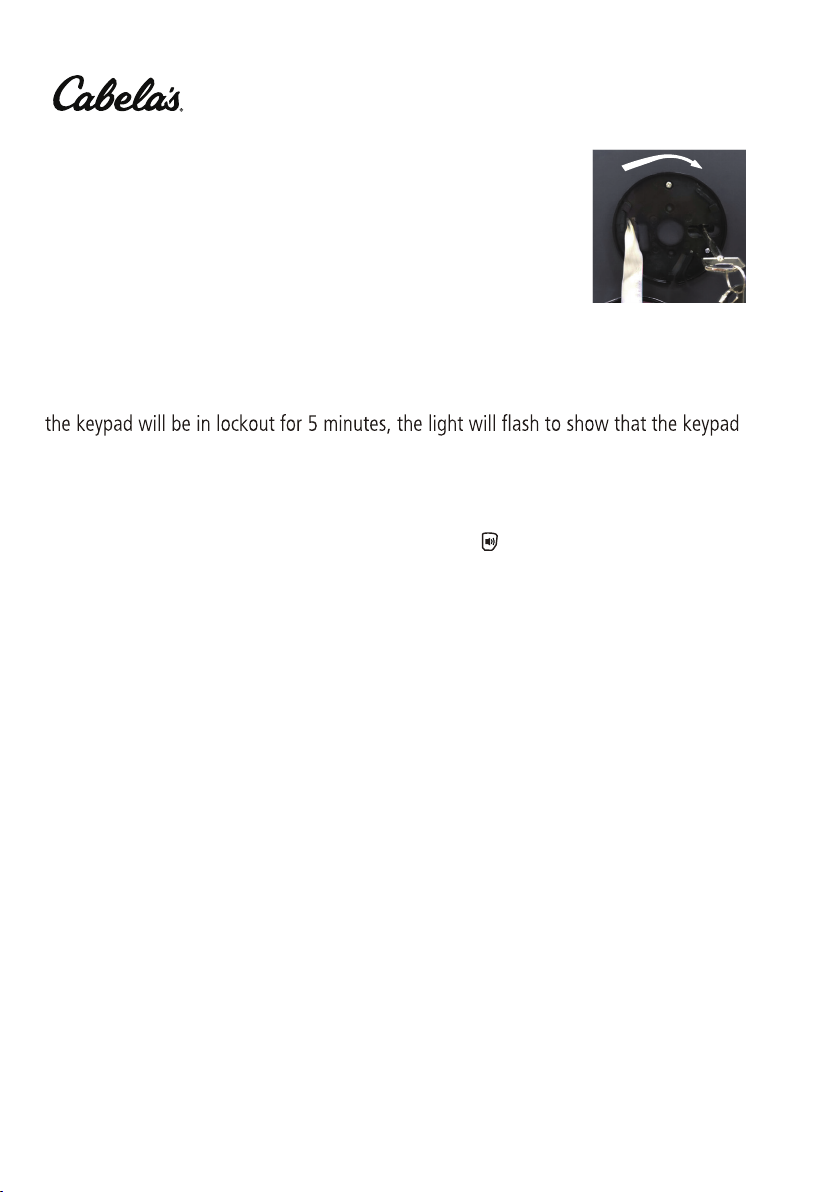
Back up key
Remove the cover by pressing the tab and turning the cover
under battery installation.
Insert the key in the key hole and turn key ¼ turn (until topped)
to unlock the safe. Rotate the handle and open the door.
E-LOCK TAB
Press “0” for three seconds to active the Alarm-U system. If
the safe is tampered with, the alarm will sound for 30 seconds.
To stop the alarm from sounding, enter the correct passcode.
Safes with the Alarm-U system
TM
TM
If 3 incorrect passcode entries are made in succession, the alarm will sound and the
safe will be in automatic lockout for 30 seconds. If 3 more failed attempts are entered,
is locked. You can use your override key at any time to open the safe.
After tampered alarm, please enter “0” to active the Alarm-U system again.
TM
You can mute/unmute the keypad by entering the button
Turning the keypad sound off/on with Mute-U system
TM
.
3

CLOSING THE SAFECLOSING THE SAFE
LOCKING THE SAFE
4

5
We are proud to stand behind our products
with a Limited Lifetime Warranty.
WARRANTY
Heritage Security Products warrants that each new safe will be free from defects in
material and workmanship. Heritage Security Products will repair or replace at no cost
(where applicable) in which the water level does not exceed 24 inches for a period of
72 hours, break-in or break-in attempt during the lifetime of the original purchase if
the homeowner’s insurance policy will not cover the damage. It does not include water
include the lock or painted surface.
Locks and painted surfaces are warranted to be free from defects in workmanship and
materials for a period of two years from the date of purchase. Heritage Security
Products obligation under the Limited Lifetime Warranty is limited to the repair
(including labor) or replacement of any product that proves to be defective or damaged
break-in or break-in attempts must be accompanied by a copy of your homeowner
marshal report. A claim must be made within three months of the break-in. Proof of
purchase is required to obtain service and/or to make a claim.
LIMITED LIFETIME WARRANTY
LOCK AND PAINTED SURFACE WARRANTY

6
Heritage Security Products takes seriously its obligation to stand behind
its product with this warranty as long as the safe is properly installed and
cared for as instructed in the Owner’s Instruction Manual. The warranty
does not apply to safes or parts that have been misused, neglected or
subjected to unusual or extreme conditions and/or environments, or to
unreasonable wear and tear. Changing or modifying the safe in ways that
affect its intended use will void this warranty. The safe must be registered
within 60 days of the purchase and must be on file at the time of the incident.
As a special service to you, the limited lifetime warranty can be transferred,
for a fee, to subsequent purchasers or owners with the prior written consent
from Heritage Security Products. Simply contact our Customer Service team
with your request. Heritage Security Products reserves the right to deny a
request or transfer for any reason.
Limitation of Remedies: In no case shall Heritage Security Products be
liable for any special, incidental, or consequential damages based upon
breach of warranty, breach of contract, negligence, strict tort, or any other
legal theory. Such damages include, but are not limited to, loss of profits,
loss of savings or revenue, loss of the contents of the safe or vault door, loss
of use of the safe or vault door, or any associated equipment, cost of
capital, cost of any substitute equipment, facilities or services, downtime,
the claims of third parties including customers, and injury to property.
Heritage Security Products provides this warranty in place of all other
warranties and assurances whether expressed or implied. Heritage Security
Products accepts no liability for incidental or consequential damage or loss
by anyone as a result of using this safe.
This warranty is only applicable to the Safe itself and does not extend
Please go to www.Fortresssafe.com to register your product.
to the contents of the Safe. For optimal security and protection, safes
should be bolted to the floor. Please refer to your Instruction Sheet for
details on anchoring your safe to the floor.

8
7
UponVeri cation of ownership, replacement keys are available for purchase through
customer service.
Contact Customer Service for more information.

NOTES
8

V-2021-draft
Table of contents
Languages:
Popular Clock manuals by other brands

Silicon Laboratories
Silicon Laboratories SI5324 manual

Heathkit
Heathkit GC-1005 Assembly manual

Oregon Scientific
Oregon Scientific PRYSMA RMR221P manual

Andrew O'Malley
Andrew O'Malley DOTKLOK Assembly instructions

ALGE-Timing
ALGE-Timing ASC3 manual

Bodet
Bodet Profil 960 Installation and operating instructions


Progetti
Progetti KALIMERO Directions

La Crosse Technology
La Crosse Technology WT-3141b Quick setup instructions

La Crosse Technology
La Crosse Technology W86531 owner's manual

Sharp
Sharp SPC900 instruction manual

La Crosse Technology
La Crosse Technology 404-50447 quick start guide

Datexx
Datexx DF0063 quick guide