cabinaid Pro User manual

Installation manual
Cabinaid Pro

Parts list
Your Cabinaid Pro box contains:
•Installation manual
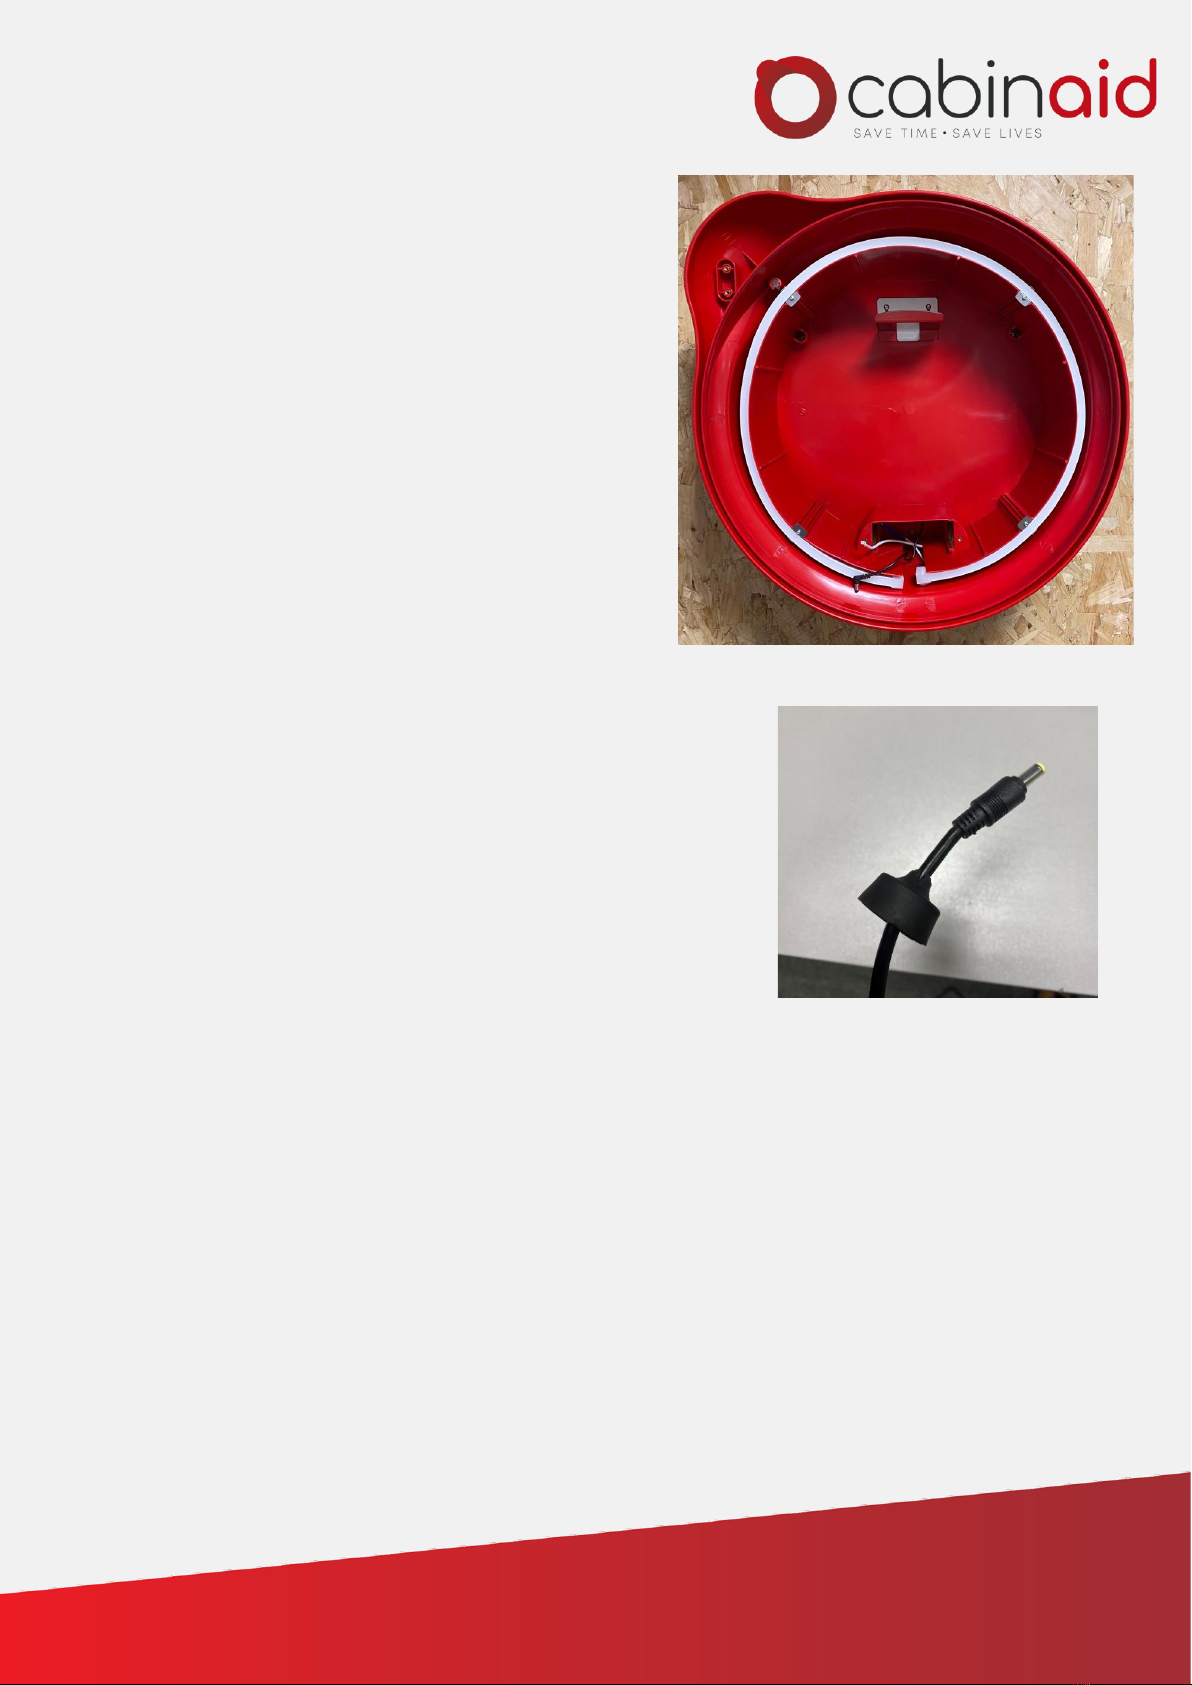
•Cabinaid cup (storage compartment)
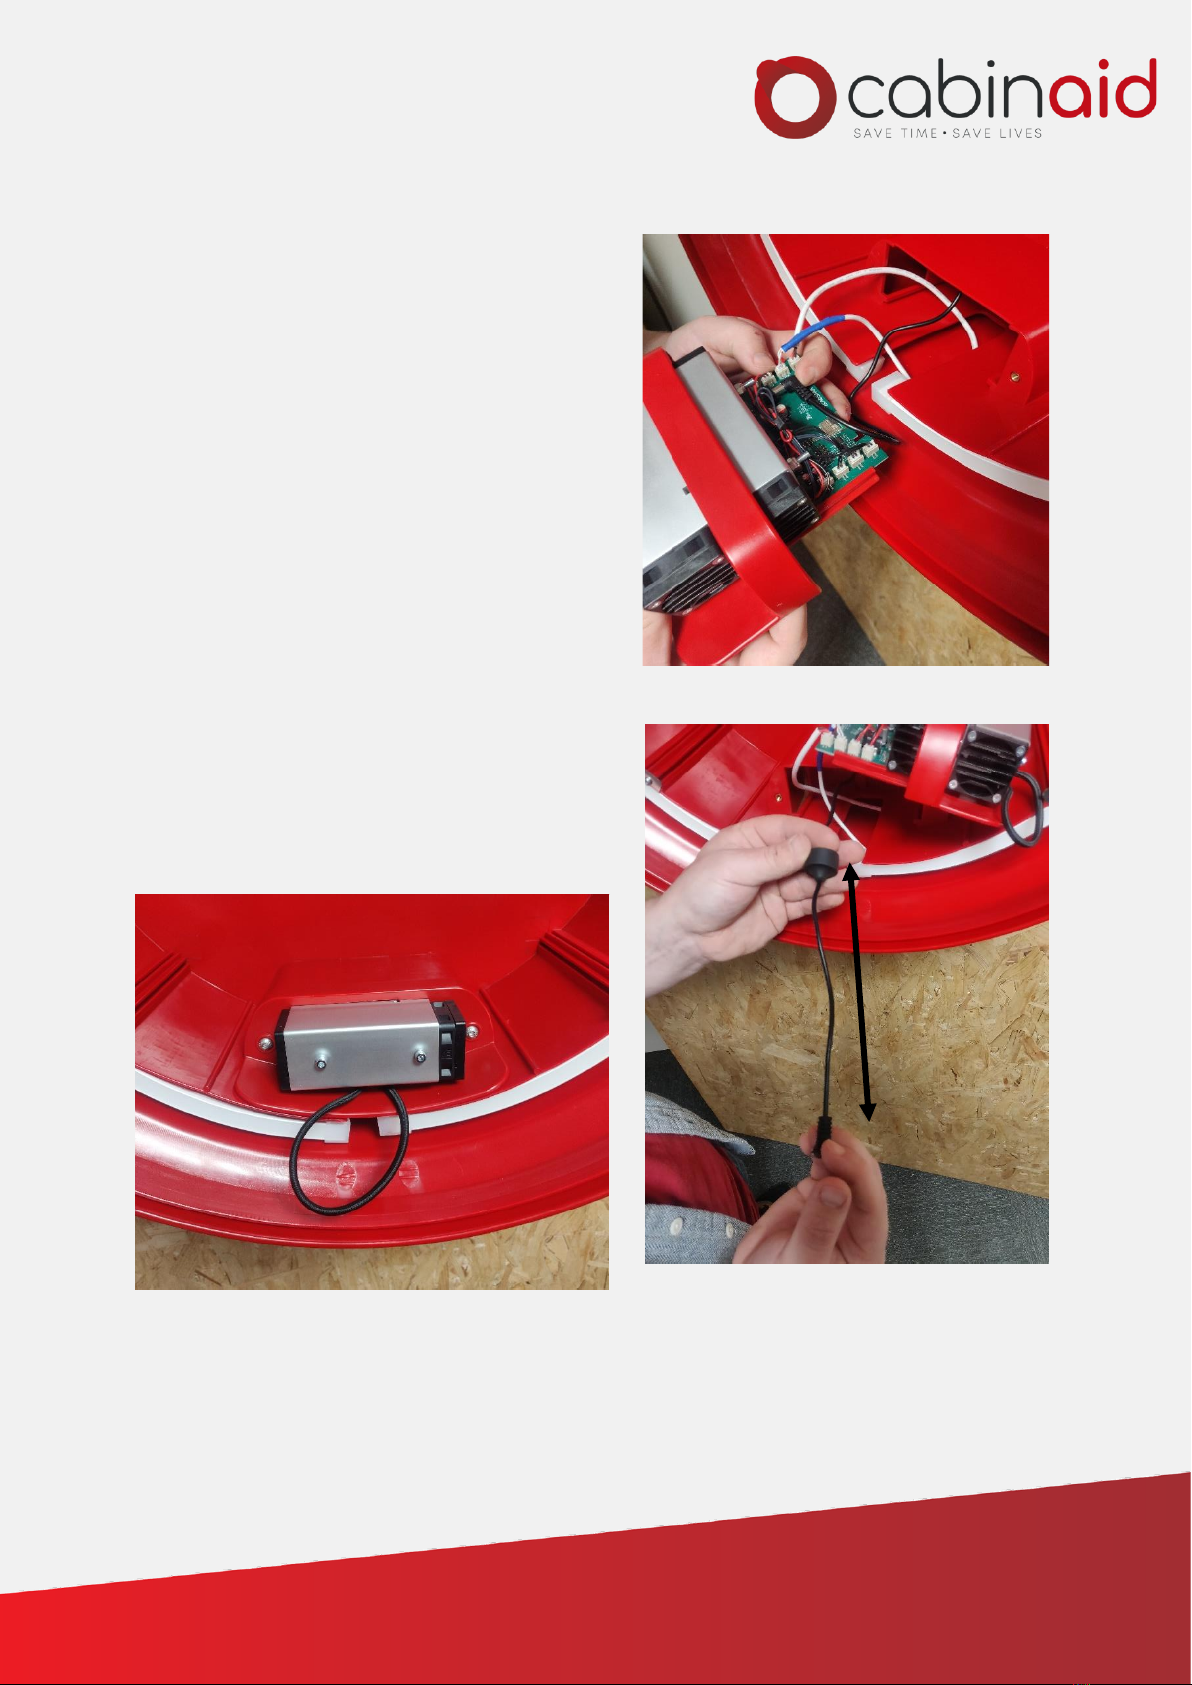
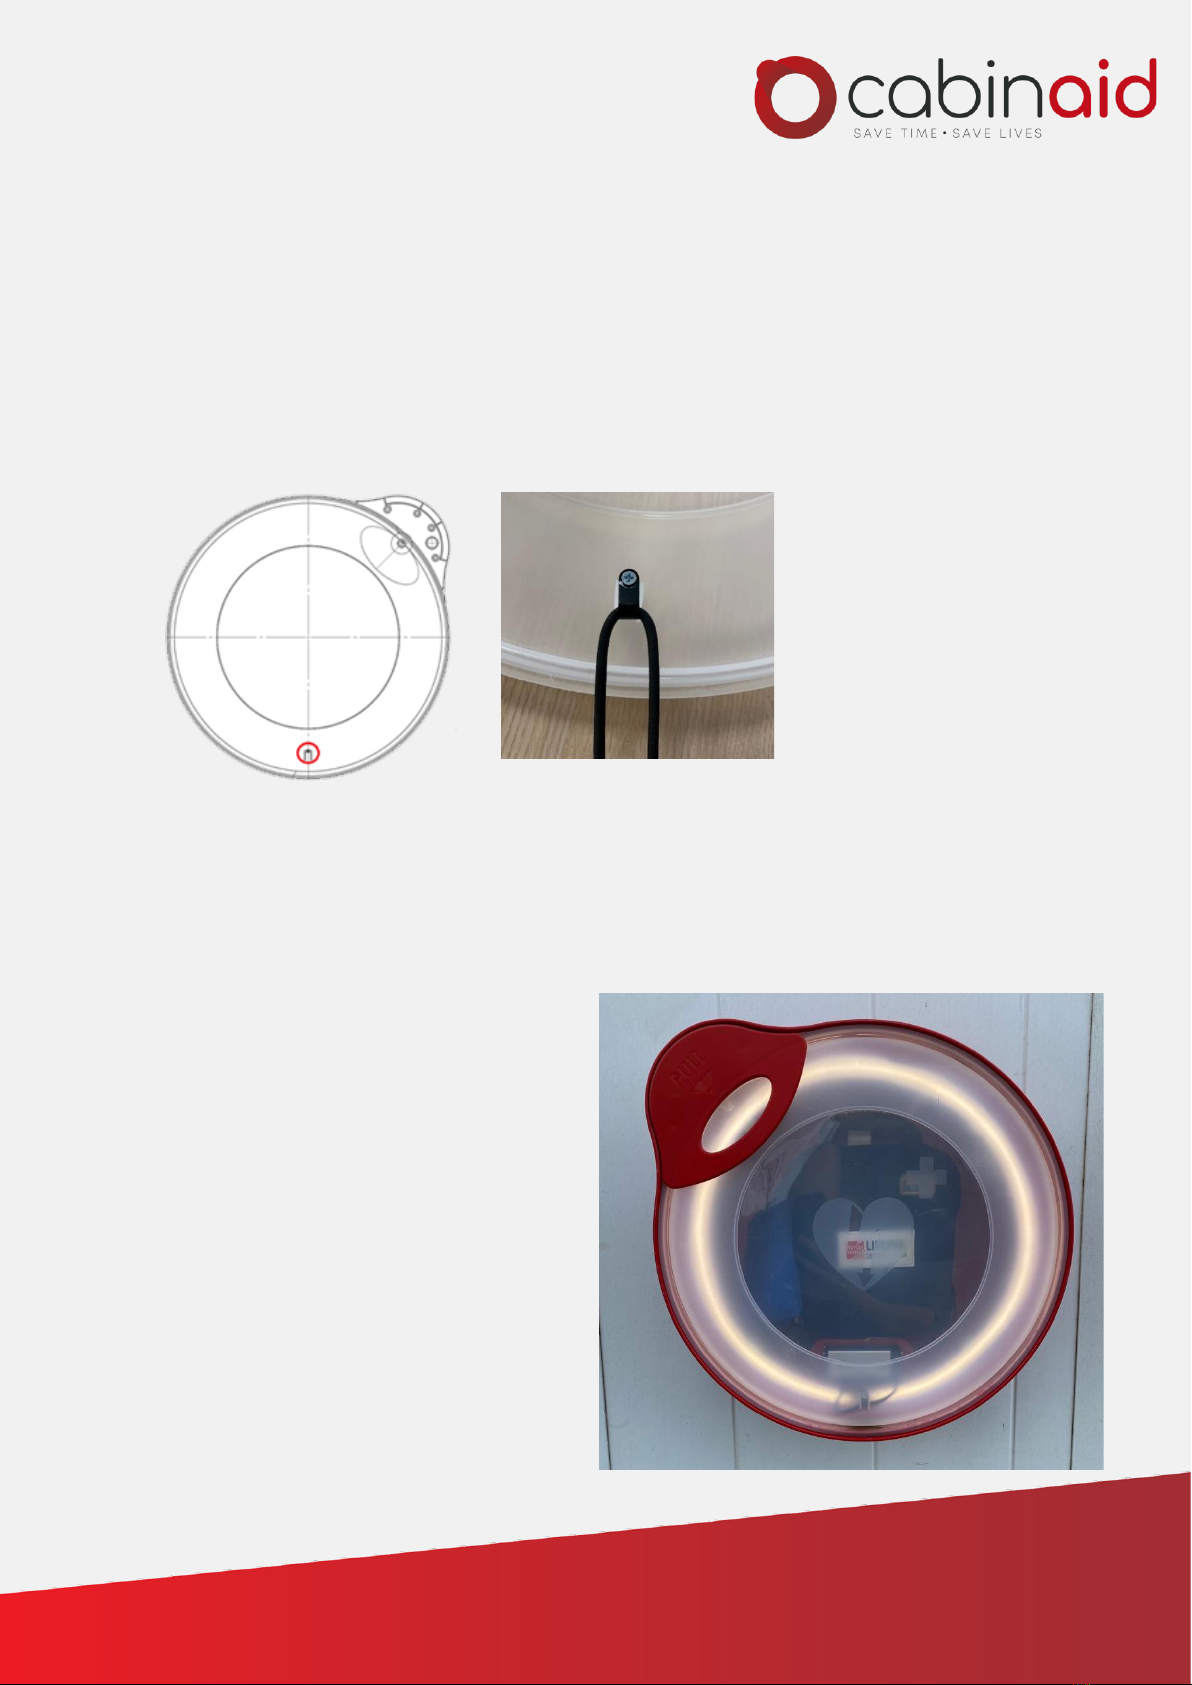
oIncluding: magnet sensor and fixed LED lighting
•Cabinaid climate control unit Pro
•Cabinaid lid
•Cabinaid AED hanging bracket
•Cabinaid lock bracket (If ordered)
•Cabinaid divider plates (If ordered)
•Rubber tule
•12V power adapter
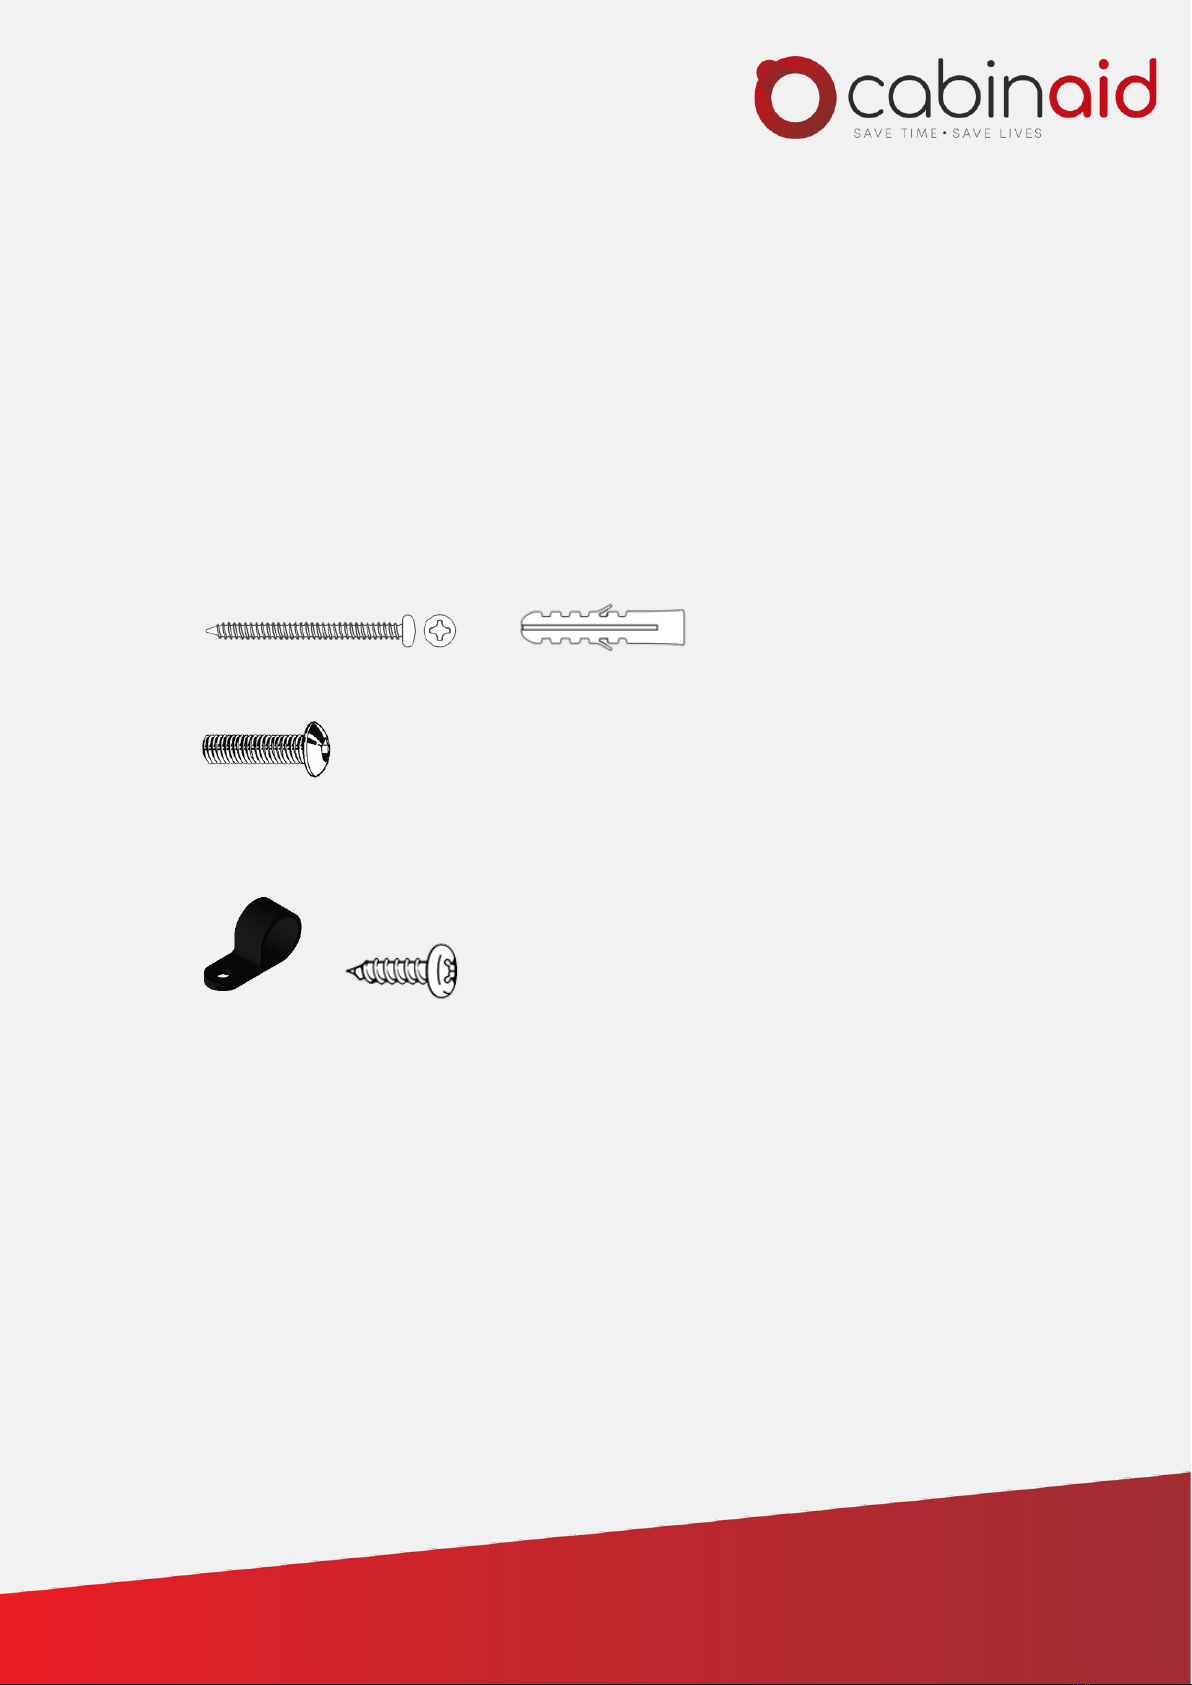
•Fastening materials, see below
Grip bag with 3x Wall screw & 3x Wall plug
4x or 6x Hexagon cap screw
(Depending on what version has been ordered, 2x used for the climate control unit, 2x
used for the AED bracket and 2x for the Cabinaid lock bracket (optional))
1x P-clip with one small taping screw, to attach the lid to the cup
Determining the location of the AED cabinet
Carefully determine where you want to hang your Cabinaid AED cabinet. First make sure that
the desired location is suitable for the installation of the cabinet. It may be helpful to consult
the fire and safety regulations to find the most suitable location. Don’t hang the top of the
cup higher than 170cm. Otherwise some people can’t open or close the cabinet properly. If a
brick wall is used as the mounting location, check that the wall anchors have been used
before mounting the cabinet.
In addition, it is best to hang the Cabinaid AED cabinet out of direct sunlight and weather
influences when possible. Although the AED cabinet is climate proof, it is the best way to
keep the conditions for the AED inside the cabinet as stable as possible.

Installation of the Cabinaid Pro AED cabinet
Step 1: Remove the Cabinaid from the packaging and remove the lid from the cup. You can do
this by pulling the red handle and applying pressure to the ear.
Step 2: Remove the climate control unit from the bottom of the Cabinaid Pro and put it aside
for now. The climate control unit is not fastened or connected yet.
You should now have an empty cup with only the hanging bracket to install to a wall.
Step 3: Place your Cabinaid AED cabinet in the correct position against the wall. Use a marker
to indicate the location of the 3 boreholes. Please use the image below as reference for the
locations of the holes and the correct orientation.
The red marked holes are for wall screws and black circle is location of the hole for the power
supply cable.
Step 4: After marking the holes put the
Cabinaid storage compartment aside and use
a drill to make the holes in the wall.
For the red Mark holes:
Use a 6MM drill bit
For the black marked Power supply hole:
use a 14 MM drill bit
If applicable, place the wall plugs in the drilled
screw holes.
Step 5: After drilling the holes, run the power supply cable through the wall. Make sure the
cable length can be adjusted by gently pulling the cable. For installation to the climate control
unit about 10cm of cable should be outside. Please use the image on the left as a reference.

Step 6: Place the back of the Cabinaid cup against
the wall and align the cabinet with the previously
drilled holes. Put the power supply lead through
the designated hole in the back of the Cabinaid.
Now you can mount the Cabinaid AED cabinet
firmly to the wall using the wall screws delivered
with the Cabinaid.
Once installed and mounted to the wall. The
Cabinaid Pro cup should look like the image on
the right.
Step 7: Take out the rubber tule delivered with the Cabinaid
and put the cable through. The end result should look like the
image on the right.
NOTE: Do not plug in the adapter until finishing the complete
installation manual.

Installation of the climate control unit
After mounting your Cabinaid Pro cabinet to the wall and running the power lead into the
main compartment. You can follow the following steps the instal the climate control unit.
WARNING: The power supply should not be connected to the power at this stage!
The connections should be made close to the Cabinaid AED cabinet on the wall as the cables
don’t have many spare length.
Step 1: Take the climate control unit and stand in front of the AED cabinet. Carefully connect
the LED light, magnet sensor and power supply to the correct part on the circuit board. First
indicate the cables:
The connections are highlighted in the images below:
1. Black: Power Supply cable
2. BLUE: Magnet sensor
3. WHITE: LED light

Step 2: Connect the cables to the circuit board:
Firstly attach the blue marked cable to the blue highlighted position as seen on the image
below.
Secondly attach the white cable to the white highlited position as seen on the left image.
The white cable is connected to the connecter the most on the back of the board.
The bleu cable is connecte to the connecter in front of the white cable.
As third attach the black power cable to the black highlighted position as seen on the image
below. This is next to where the other cables are connected.

If you have attached everything correctly the
connections should look like the image on the
right side.
Step 2: Check that the power lead is no longer
then +/- 10 cm removed from the Rubber tule
relieve. Use your feeling to make sure that the
power lead does not roll-up in the compartment.
You can gently pull on the power lead on the
inside of the wall until satisfied. See the second
image on the right for a reference.
Step 3: Fasten the Climate control set loosely by
using 2 hexagon cap screws like on the image
below.
Don’t fasten the screws to tight as this may harm
the cables or circuit board!
+/- 10CM

Step 4: Use the P-clip and the small cross head screw to attach the elastic band leading from
the climate control unit to the Cabinaid lid. Please use the image below to see the allocated
point where the screw needs to be placed. The right side picture shows how it should look
when the elastic band is attached to the lid.
Please be aware that the elastic band is not tangled before attachment.
Step 5: Keep the lid of the cup and plug the adapter into a wall socket to start powering the
Cabinaid Pro. If all steps were followed correctly the Cabinaid should give an Audible alarm
and the LED lighting should be flashing.
Step 6: Close the Cabinaid by placing the lid
onto the Cabinaid cup. Push firmly around
the edge, you should hear several audible
clicks when the Cabinaid lid has sealed off
the cup compartment. The audible alarm
should stop and the LED lighting should stop
flashing and burn continuously.
When closed the Cabinaid Pro AED cabinet
should look like the picture on the right.
As a final check; check if the seal is closed all
around the cup by applying pressure all-
round the edge of the lid.

Installation of the AED hanging bracket
The AED hanging bracket is supplied as standard in your Cabinaid AED Cabinet. The following
instruction will help you optimally install the hanging bracket.
Step 1: Open the Cabinaid AED cabinet by pulling the handle and removing the lid from the
storage compartment. The hanging bracket is already attached to the indicated location using
2x hexagon cap screws. See the images below for your reference.
Step 3: By loosening and tightening the hexagon cap screws the bracket can moved up and
down. You can use this to adjust the hanging bracket to the desired height.
Installation of the optional lock bracket
If you purchased the optional lock bracket with your Cabinaid AED cabinet it is probably
already installed. If not, please follow the following instruction for installation.
Step 1: Open the Cabinaid AED cabinet by pulling the handle and remove the lid from the
storage compartment.
Step 2: Take the lock bracket and attach it to the allocated location using two hexagon cap
screws that come with the lock bracket. Please use the images below as a reference.

Step 3: Use a drill to drill a hole into the handle of the Cabinaid lid. It is best to drill from the
back through the handle at the indicated location. See the image below for the location of the
hole.
Step 4: Align the drilled hole in the handle with the lock bracket and close the Cabinaid AED
cabinet. You are now able to attach a locking mechanism of choice to the Cabinaid.
Installation of the optional divider plates
When you purchased the optional divider plates with your Cabinaid AED cabinet, please
follow these instructions to install the divider plates.
Step 1: Open the Cabinaid by pulling the handle and remove the lid from the storage
compartment.
Step 2: Carefully losen the LED clips and hexagon cap screws with the LED lighting hose to be
able to install the divider plates.
Step 3: Take the divider plates and place them at the indicated locations using 2 hexagon cap
screws and LED clips per plate to fasten the plates. The total of 4 screws and 4 washers come
with the 3 divider plates. Please use the can use the image below as a reference. Please note
that this is a reference without LED lighting.
Table of contents
Popular Personal Care Product manuals by other brands

drybar
drybar The Single Shot 900-2840-4 Operating instructions & safety guide

Handicare
Handicare OneWaySlide quick start guide

Abbott
Abbott Agilis HisPro DS3H010-38 Instructions for use

Raritan
Raritan SeaEra Toilets Operation and installation instructions

Philips
Philips Lumea BRI940 manual

mychway
mychway MS-54D1S user manual