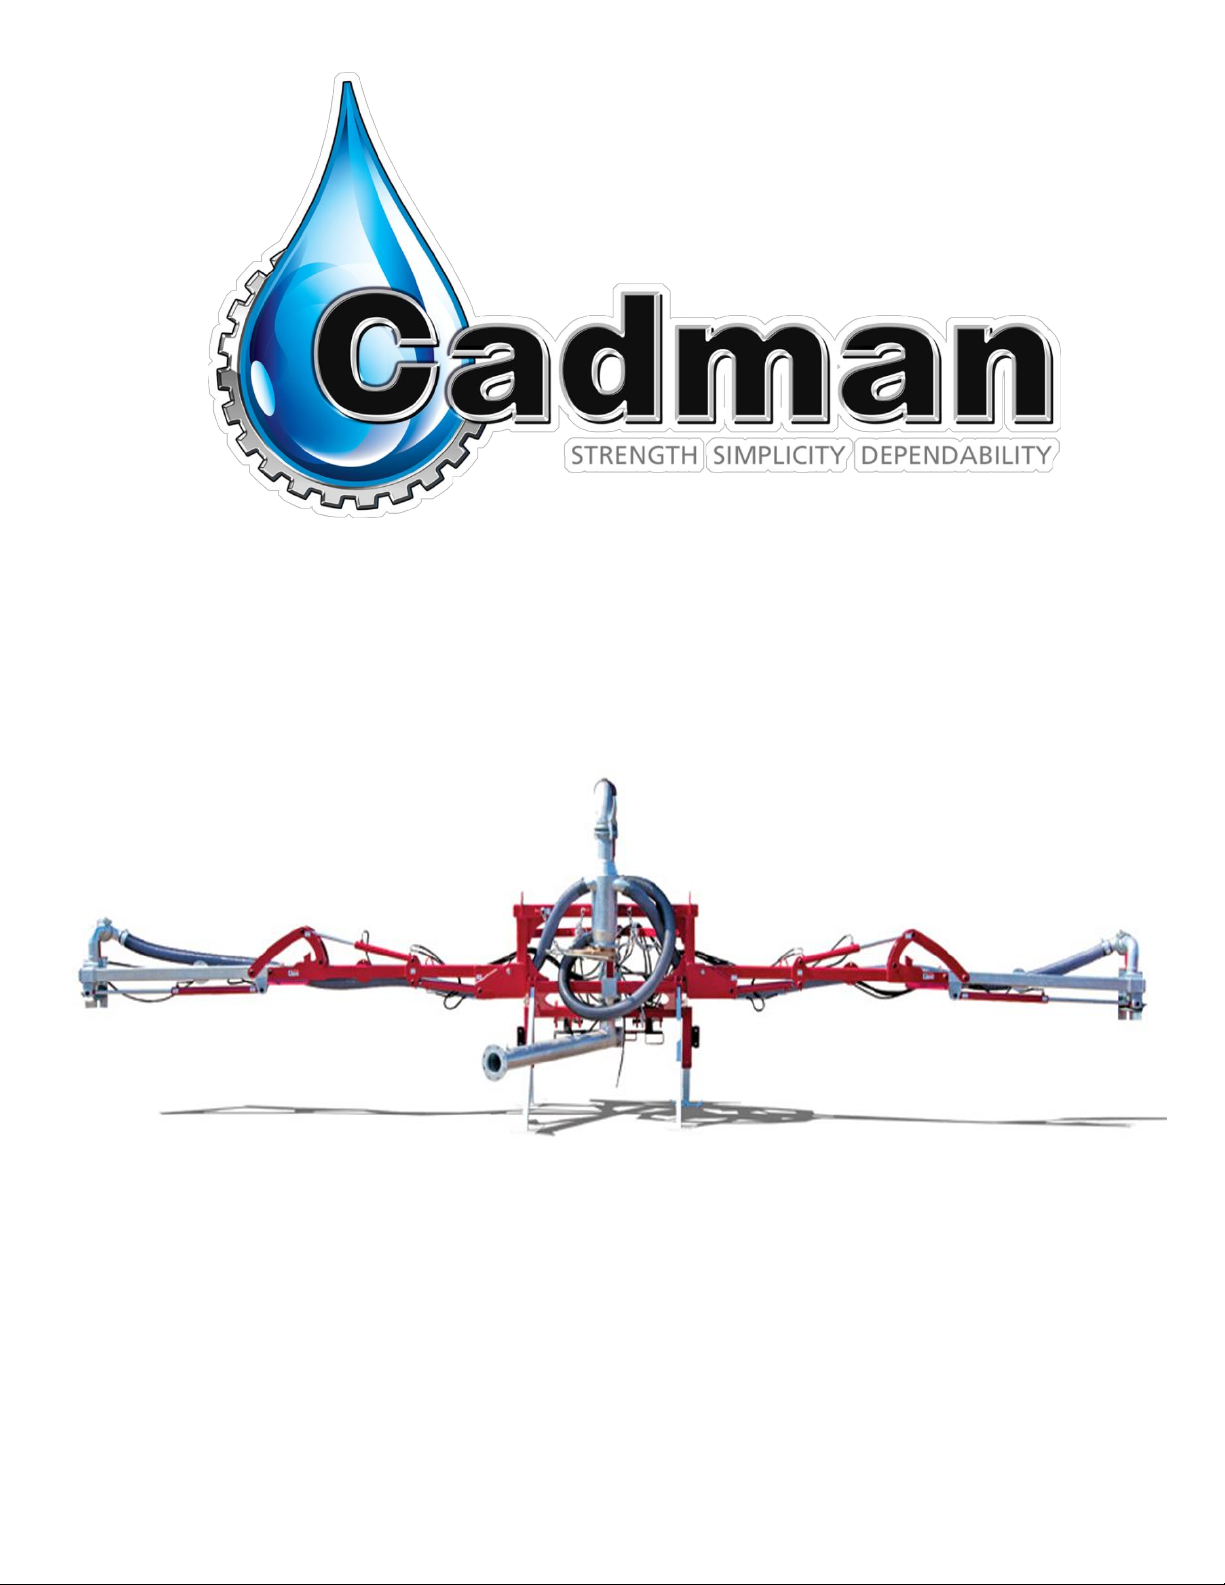
Cadman Power Equipment ▪BOX 100, Courtland, Ontario, Canada N0J-1E0 ▪Phone: 519-688-2222 ▪Fax: 519-688-2100 ▪www.cadmanpower.com
Warranty Policy
CADMAN POWER EQUIPMENT LIMITED warrants that each machine it
manufactures shall be free from defects in materials and workmanship. The terms of
this warranty are as follows:
All components manufactured by CADMAN POWER EQUIPMENT LIMITED shall
be warranted for a period of one (1) year from the date of delivery, except the frame
and hose drum structures which shall be warranted for a period of three (3) years.
CADMAN POWER EQUIPMENT LIMITED makes no warranty whatsoever in
regard to tires, engines, and other trade accessories used on its equipment. The
customer shall rely solely on the warranties offered (if any) by the respective
manufacturer of these trade accessories.
The sole obligation to CADMAN POWER EQUIPMENT LIMITED under this
warranty is limited to the repair or replacement of any part it manufactured, which, in
the judgment of CADMAN POWER EQUIPMENT LIMITED, failed under normal and
proper use and maintenance due to defective materials or workmanship. All freight
charges incurred shall be the sole responsibility of the customer.
CADMAN POWER EQUIPMENT LIMITED and its dealers (who are neither
authorized nor qualified to undertake any obligations on behalf of CADMAN
POWER EQUIPMENT LIMITED) DO NOT, under any circumstances, accept any
responsibility for any losses or costs incurred due to parts failure and/or delays during
the parts replacement process.
This warranty will be considered void if any alterations or modifications have been
made to the machine without the express written consent of CADMAN POWER
EQUIPMENT LIMITED outlining the nature and the extent of such modifications.
CADMAN POWER EQUIPMENT LIMITED will not provide any warranty express or
implied to any overdue accounts.
CADMAN POWER EQUIPMENT LIMITED, whose policy is one of continuous
improvement, reserves the right to change specifications and designs without notice or
incurring obligation.
The warranties expressed herein are non-transferable and replace any other
warranties, either written or verbal, which may have been given or implied.