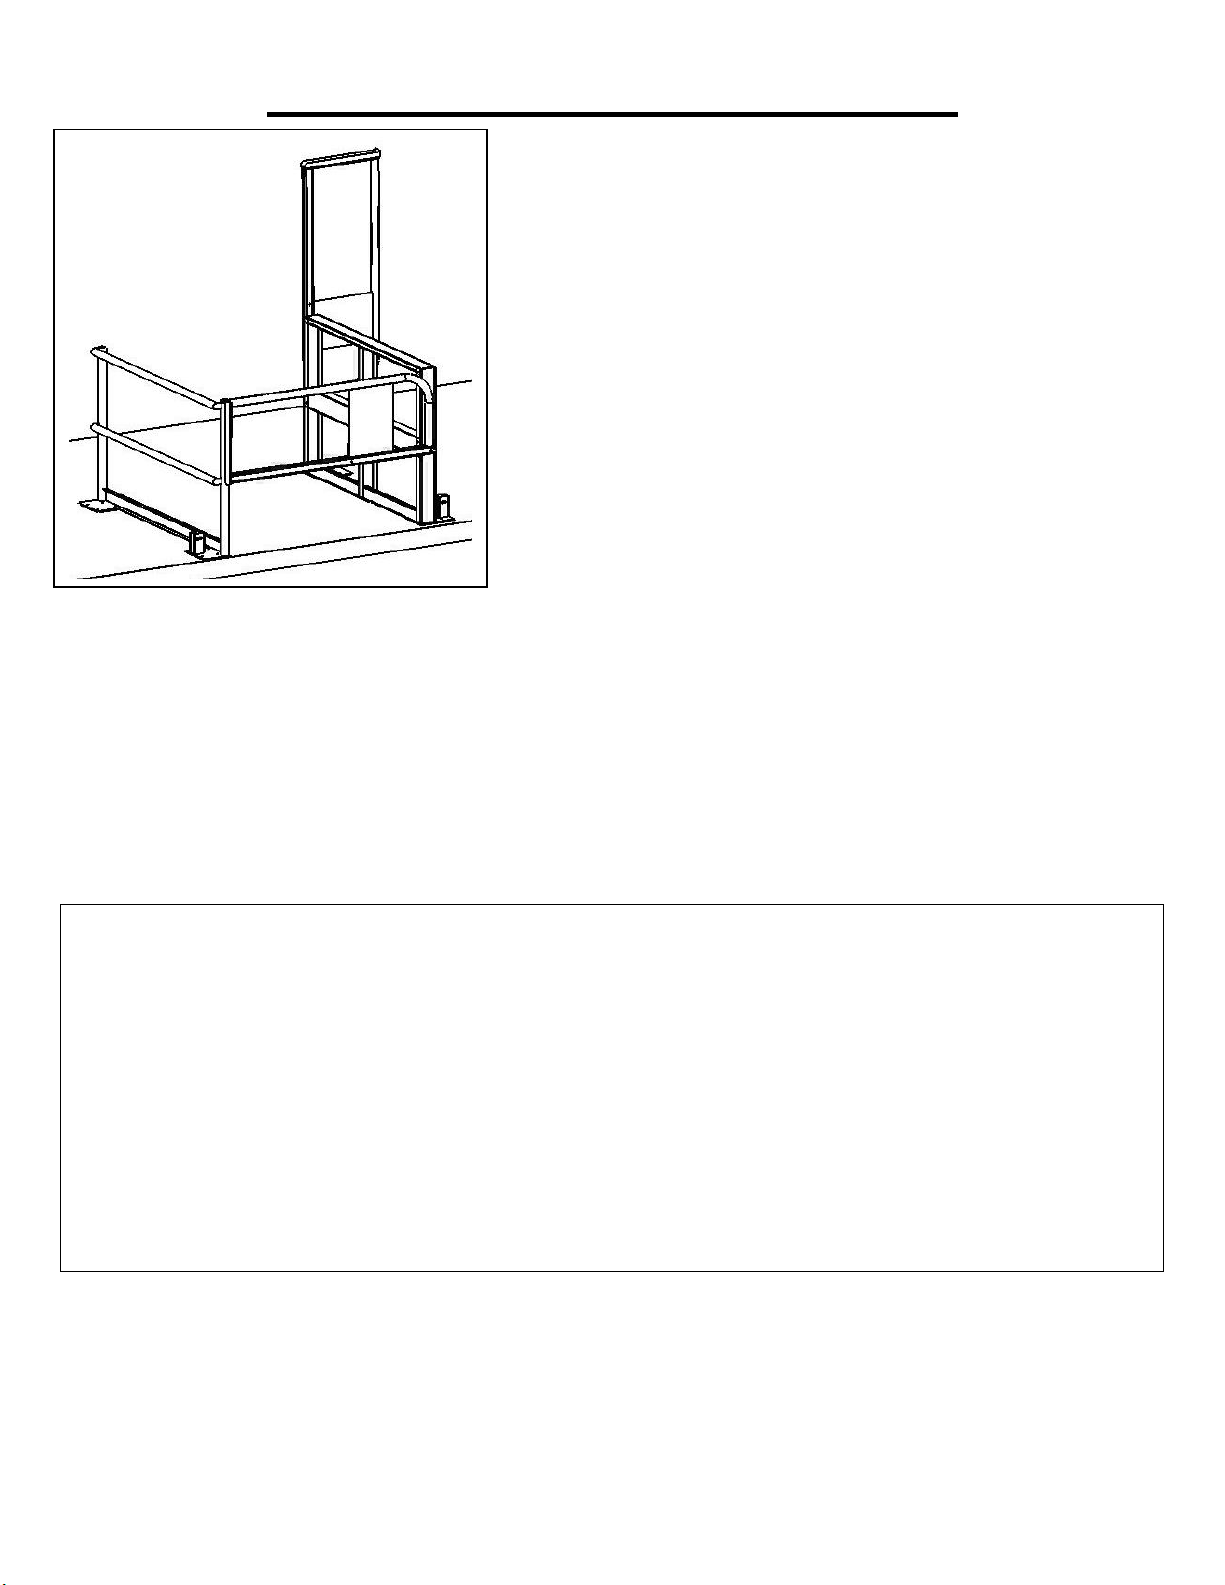
MEZZANINE GATE SYSTEM
INSTALLATION
AND OPERATION
INSTRUCTIONS
Keep this Manual with the MEZZANINE
GATE system at all times. This will allow
new users to read it before using system.
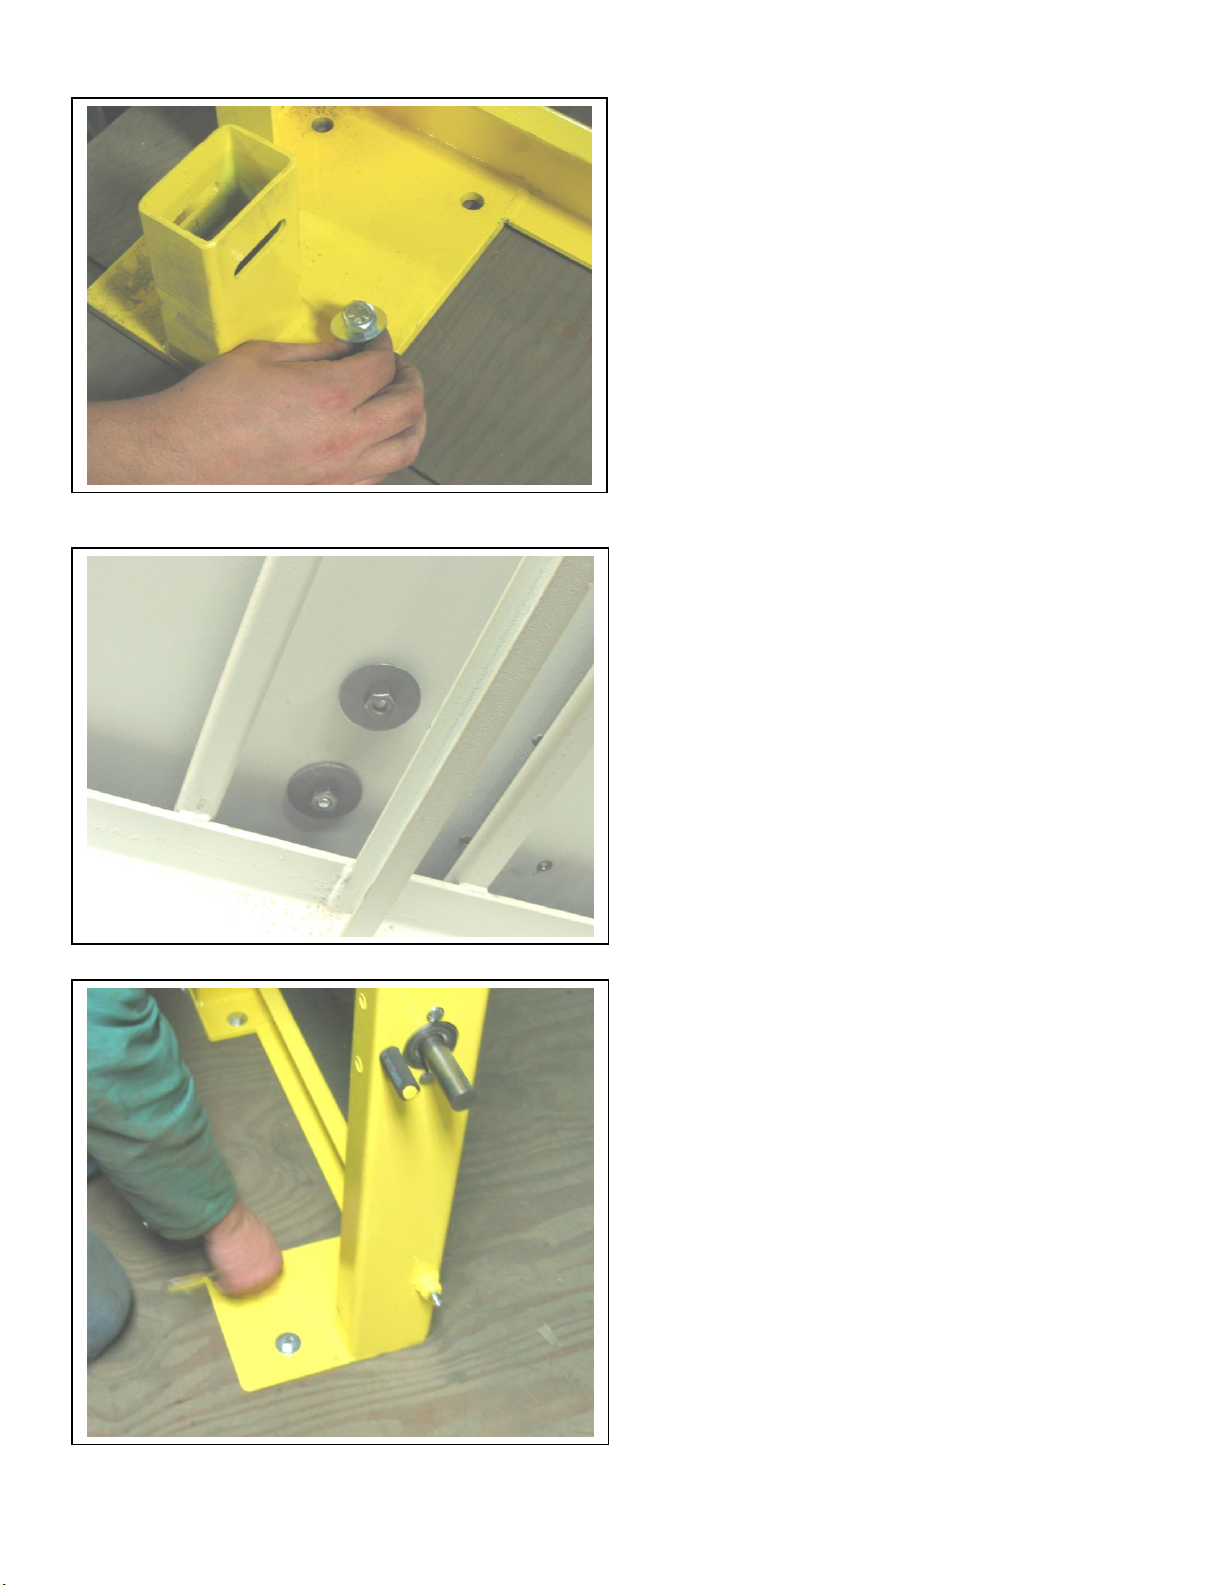
It is the MEZZANINE GATE owner’s responsibility to ensure that all
workers installing or using this system are thoroughly trained. Provide
workers with this Installation Manual and make sure they understand
its contents. Read it to them if necessary. Letting poorly trained
workers use this system can result in property damage and/or serious
injury or death to personnel.
WARNING!
MEZZANINE GATE System must be installed according to the
instructions outlined in this manual. Failure to do so could result in
serious injury or death to personnel!
To prevent serious injury or death, MEZZANINE GATE System must be
installed using hardware provided by Garlock Equipment Company!
To prevent serious injury or death, Installers of System must use
OSHA-approved Tie-Off device to install or remove this System.
Distributed by
CAI Safety Systems