2011
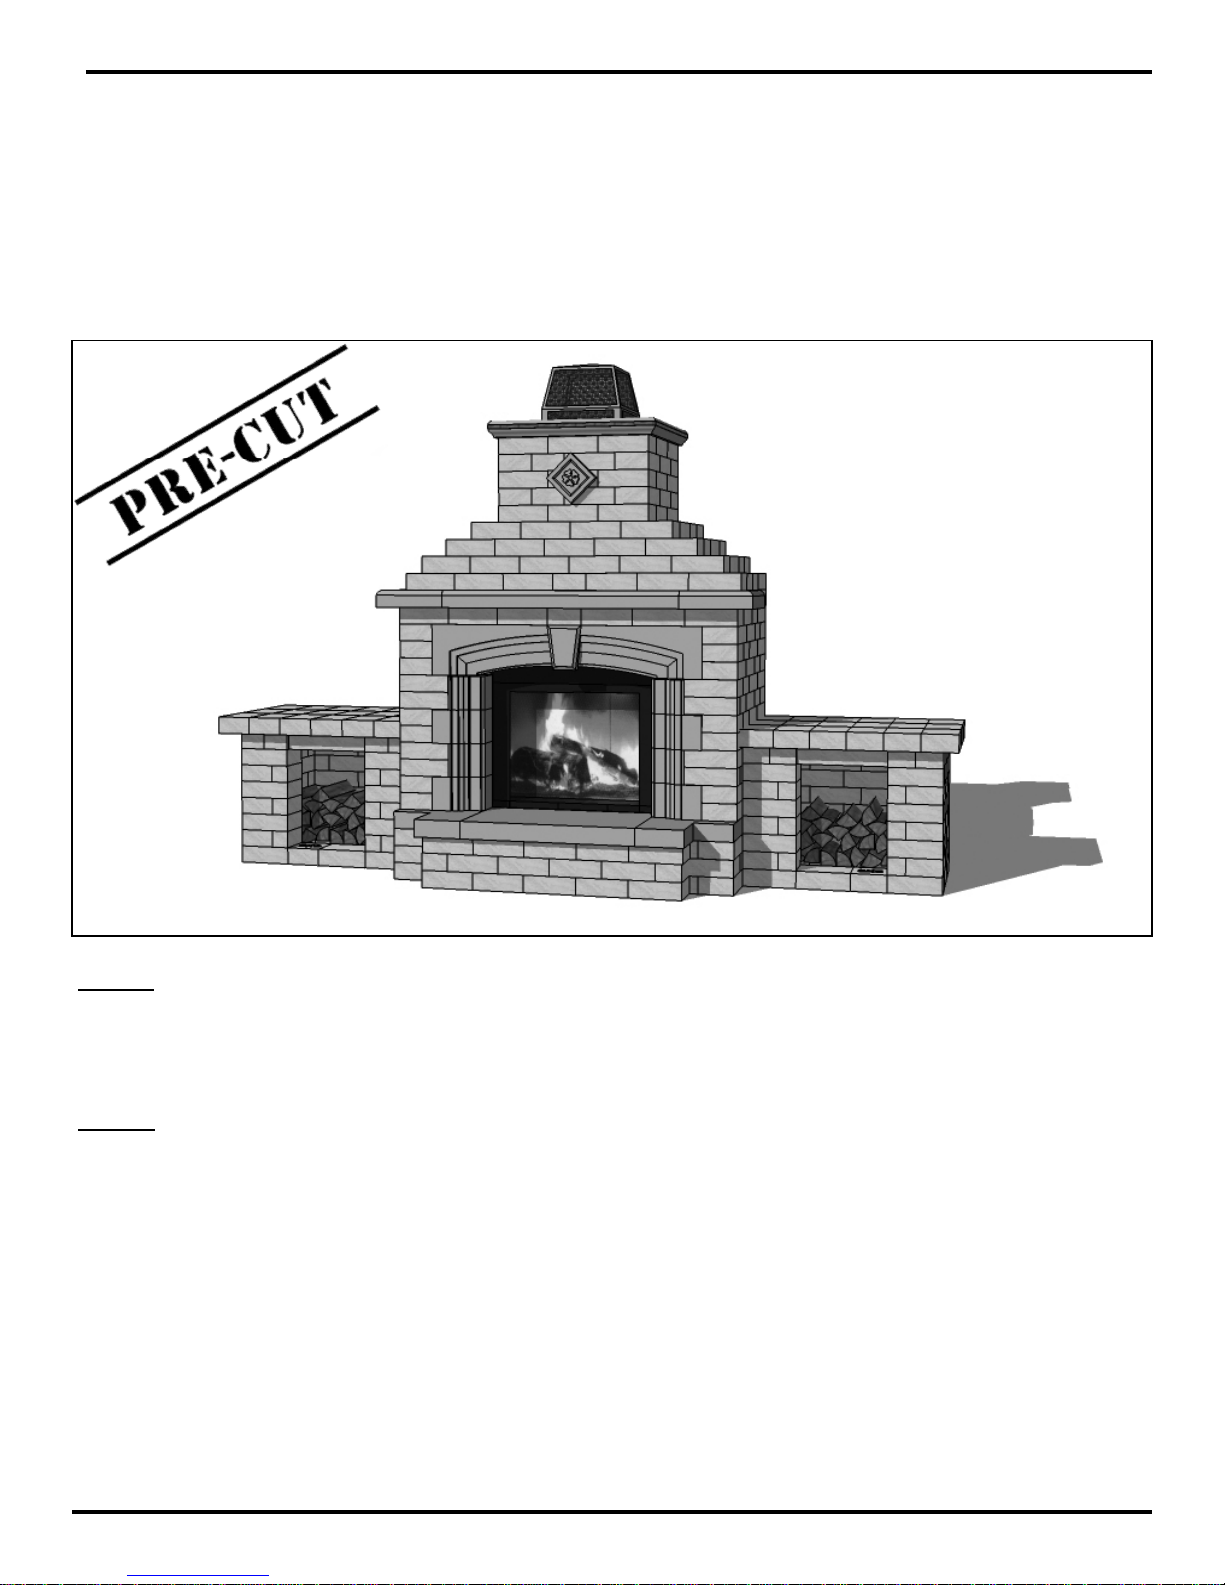
Cambridge Pre-Packaged / Pre-Cut
Olde English Wall Firewood Box (Left Hand)
3
Herramientas Necesarias para Instalación:
Gafas de seguridad
Protección auditiva
Máscara de polvo
Guantes
Palas (excavación y plano)
Cortadores de Metal de bandas en los cubos
Mason Hammer (astillado, martillo)
Camino del rastrillo de Piedra
Sabotaje (manual o mecánica)
Carretilla
(Nivel (2’y 6’ recomendado)
Velocidad de la Plaza
Pistola para calafatear 10 oz o 28 oz (depende de
qué tamaño es comprar pegamento)
Martillo de goma
14” Demo sierra con disco de diamante
Cinta métrica
Dispositivo de marcado (lápiz, piedra jabón, etc)
Línea de tiza
Escoba de mano
Herramientas concretas (paleta / flotadores)
2 abrazaderas Carpintero
Taladro y 1/16” bits
5/16”tuerca conductor
7 ¼” Sierra circular con hoja de madera
4” molinillo eléctrico
4” Diamante trituradora taza
Los Artículos Incluidos en el Kit de la Chimenea:
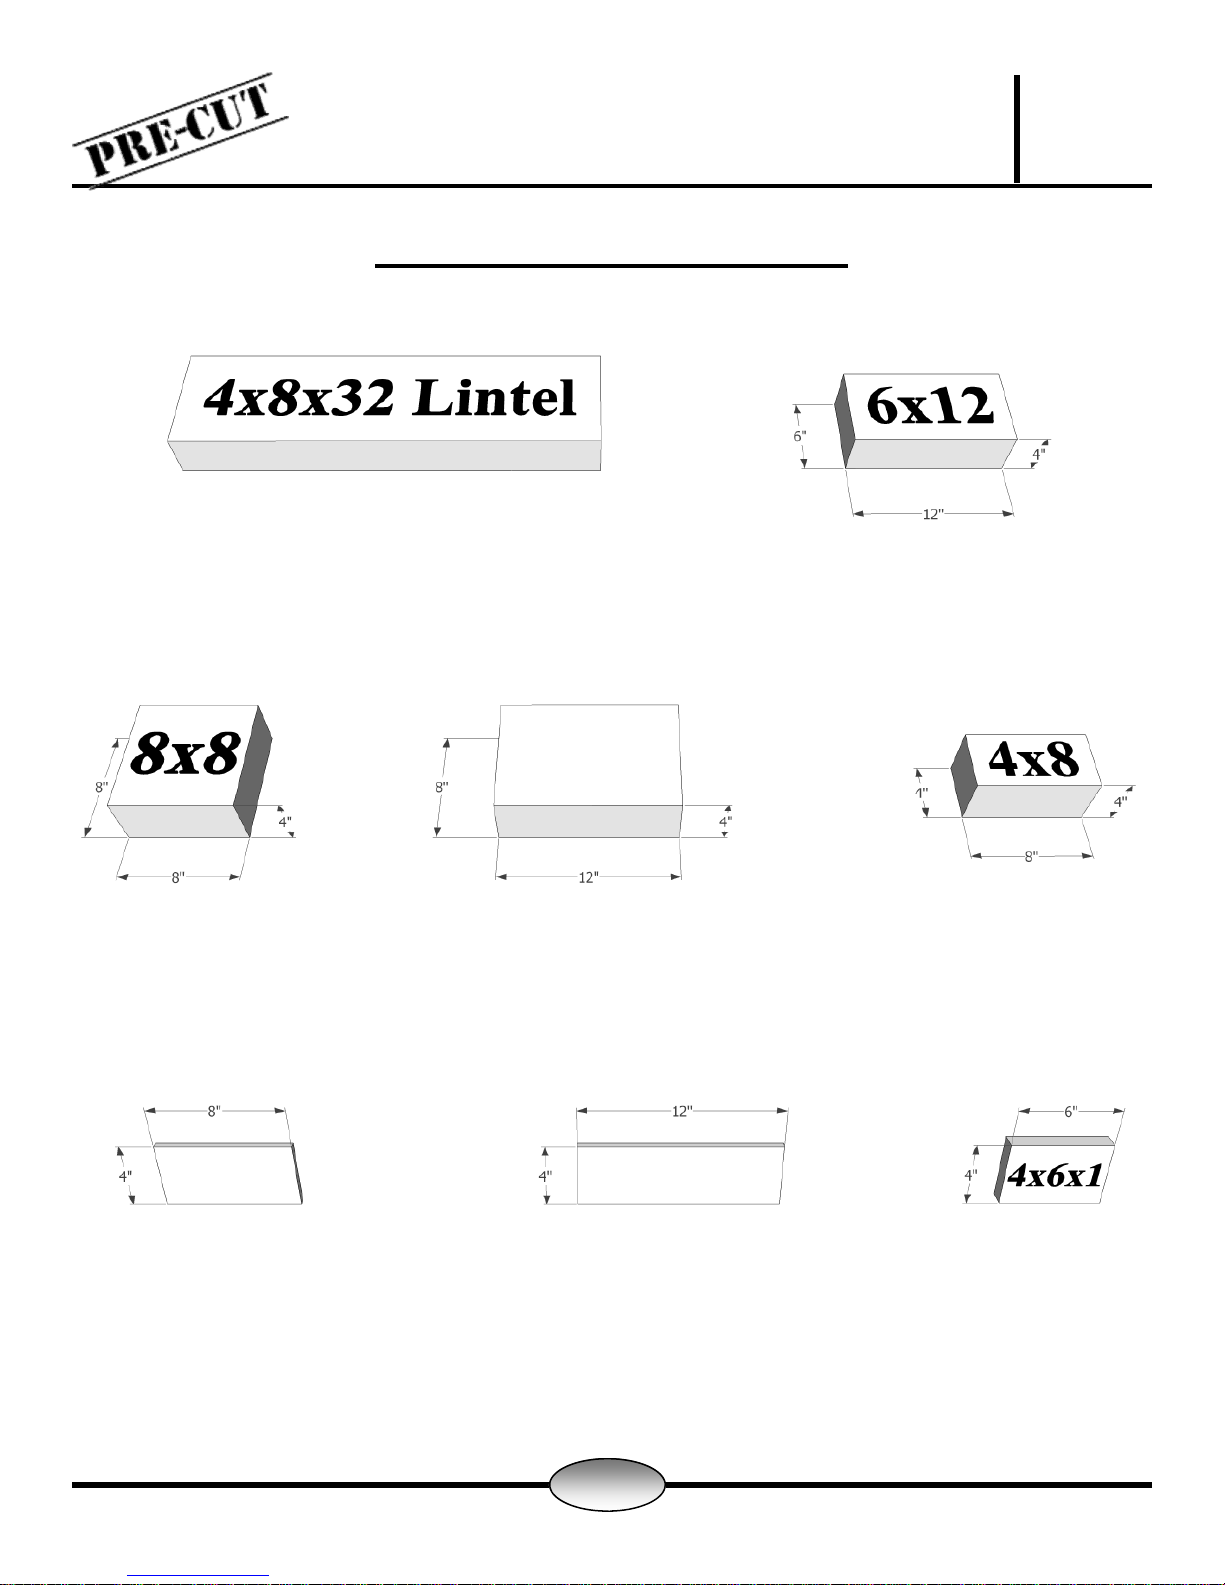
2 - Dinteles de hormigón armado de 32”x 4” x 8”
3 - Cuña de plástico hoja de paquete para nivelar
dinteles o bloquear cuando sea necesario
Importados baldosas de granito pulido para hacer
frente a frente de la chimenea (4”x 12” y 4”x 8” azu-
lejos)
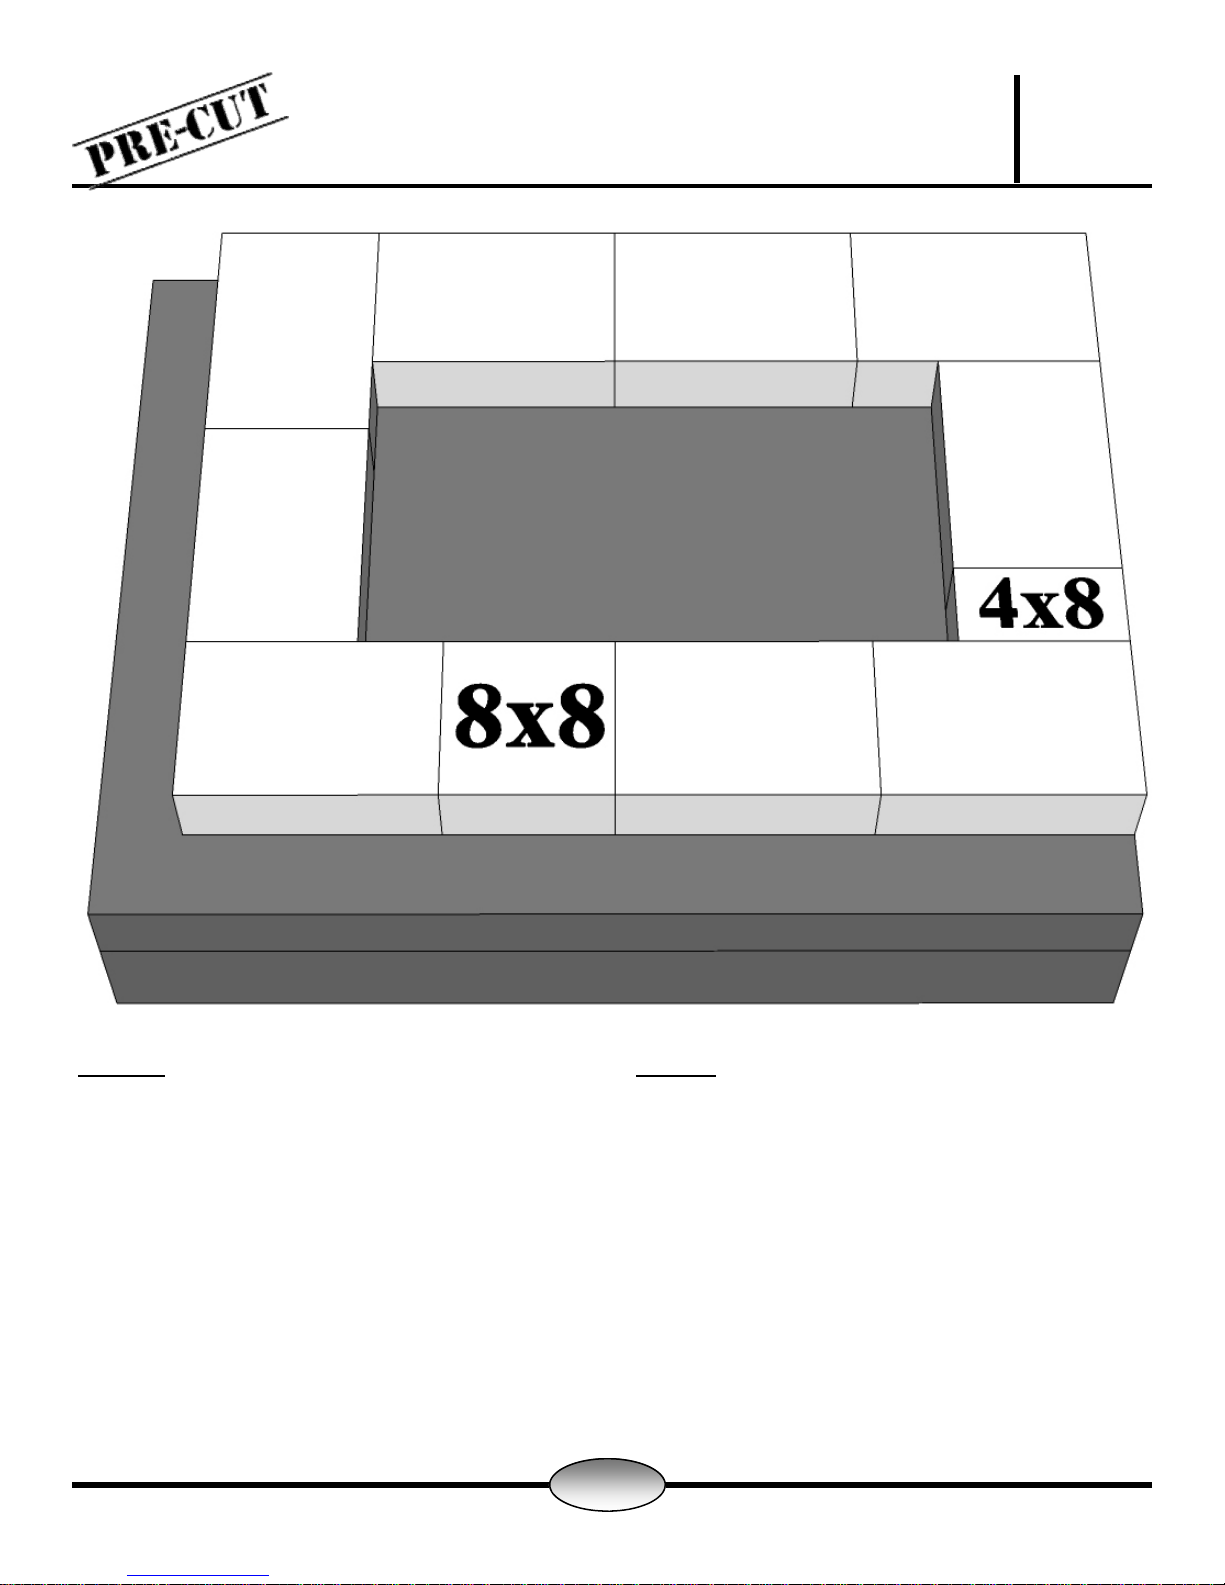
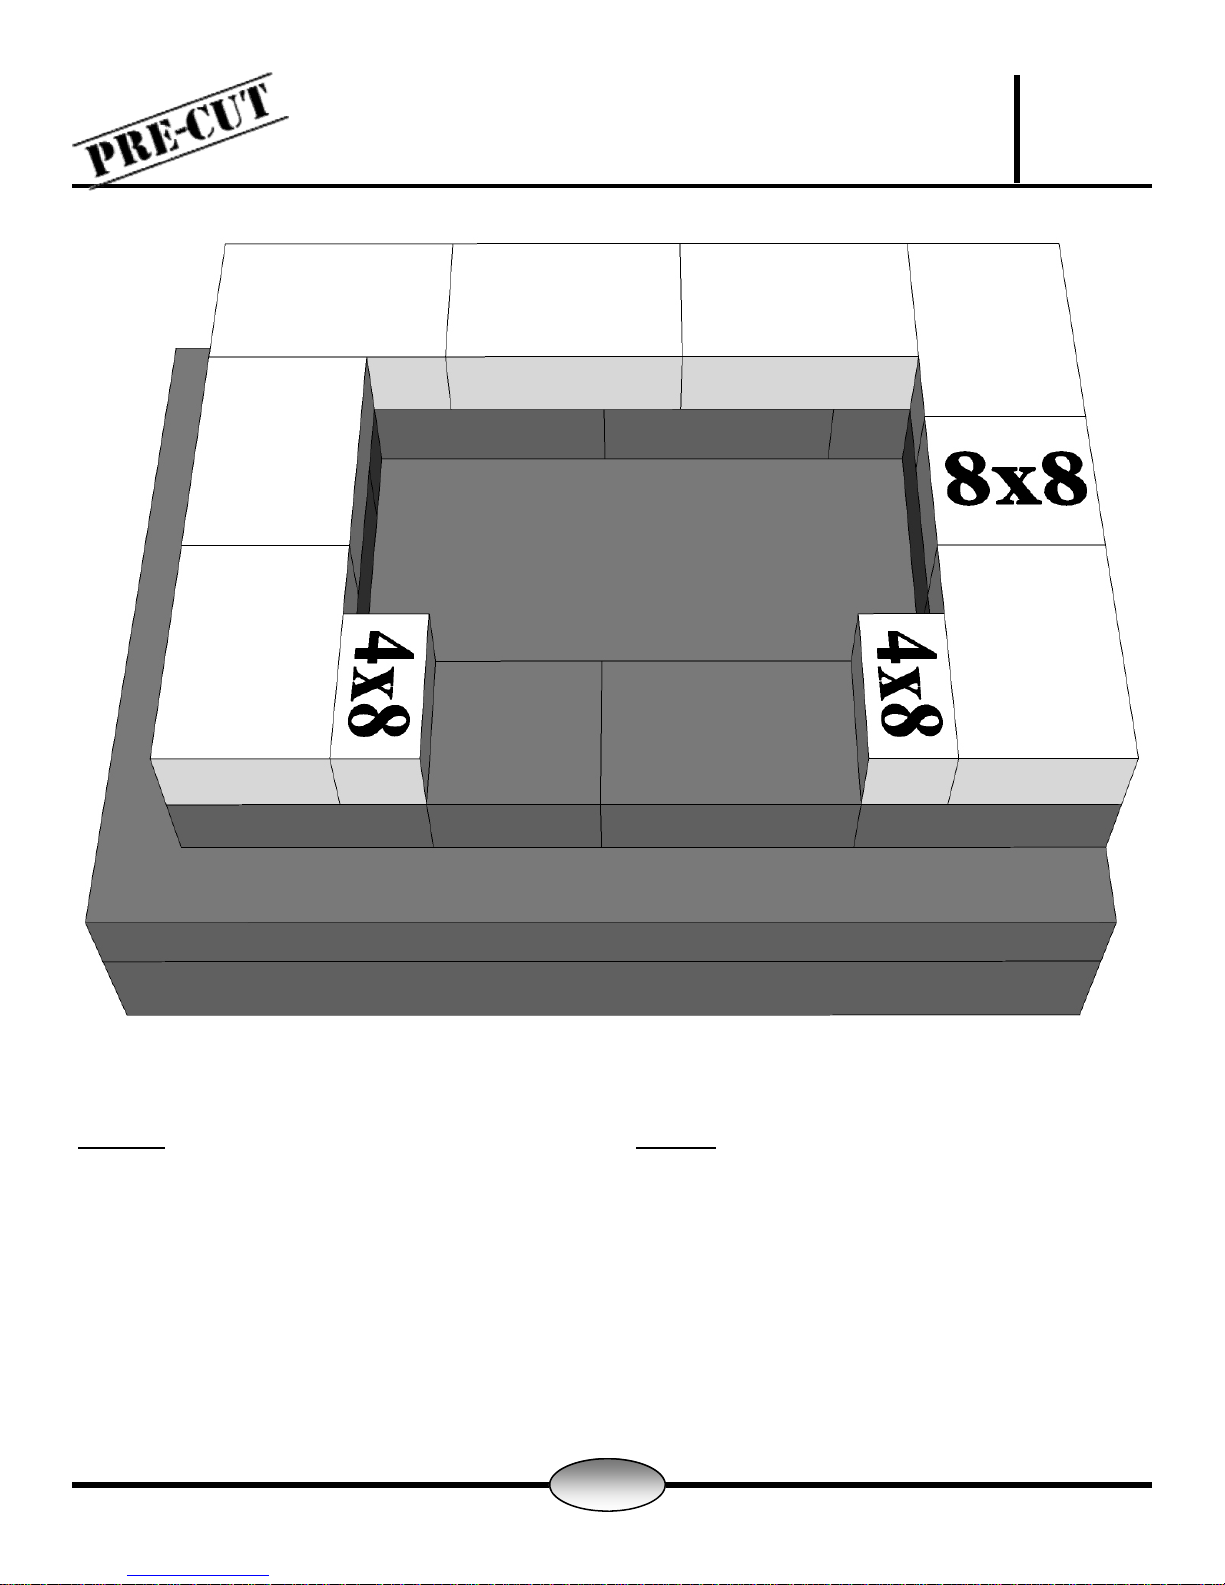
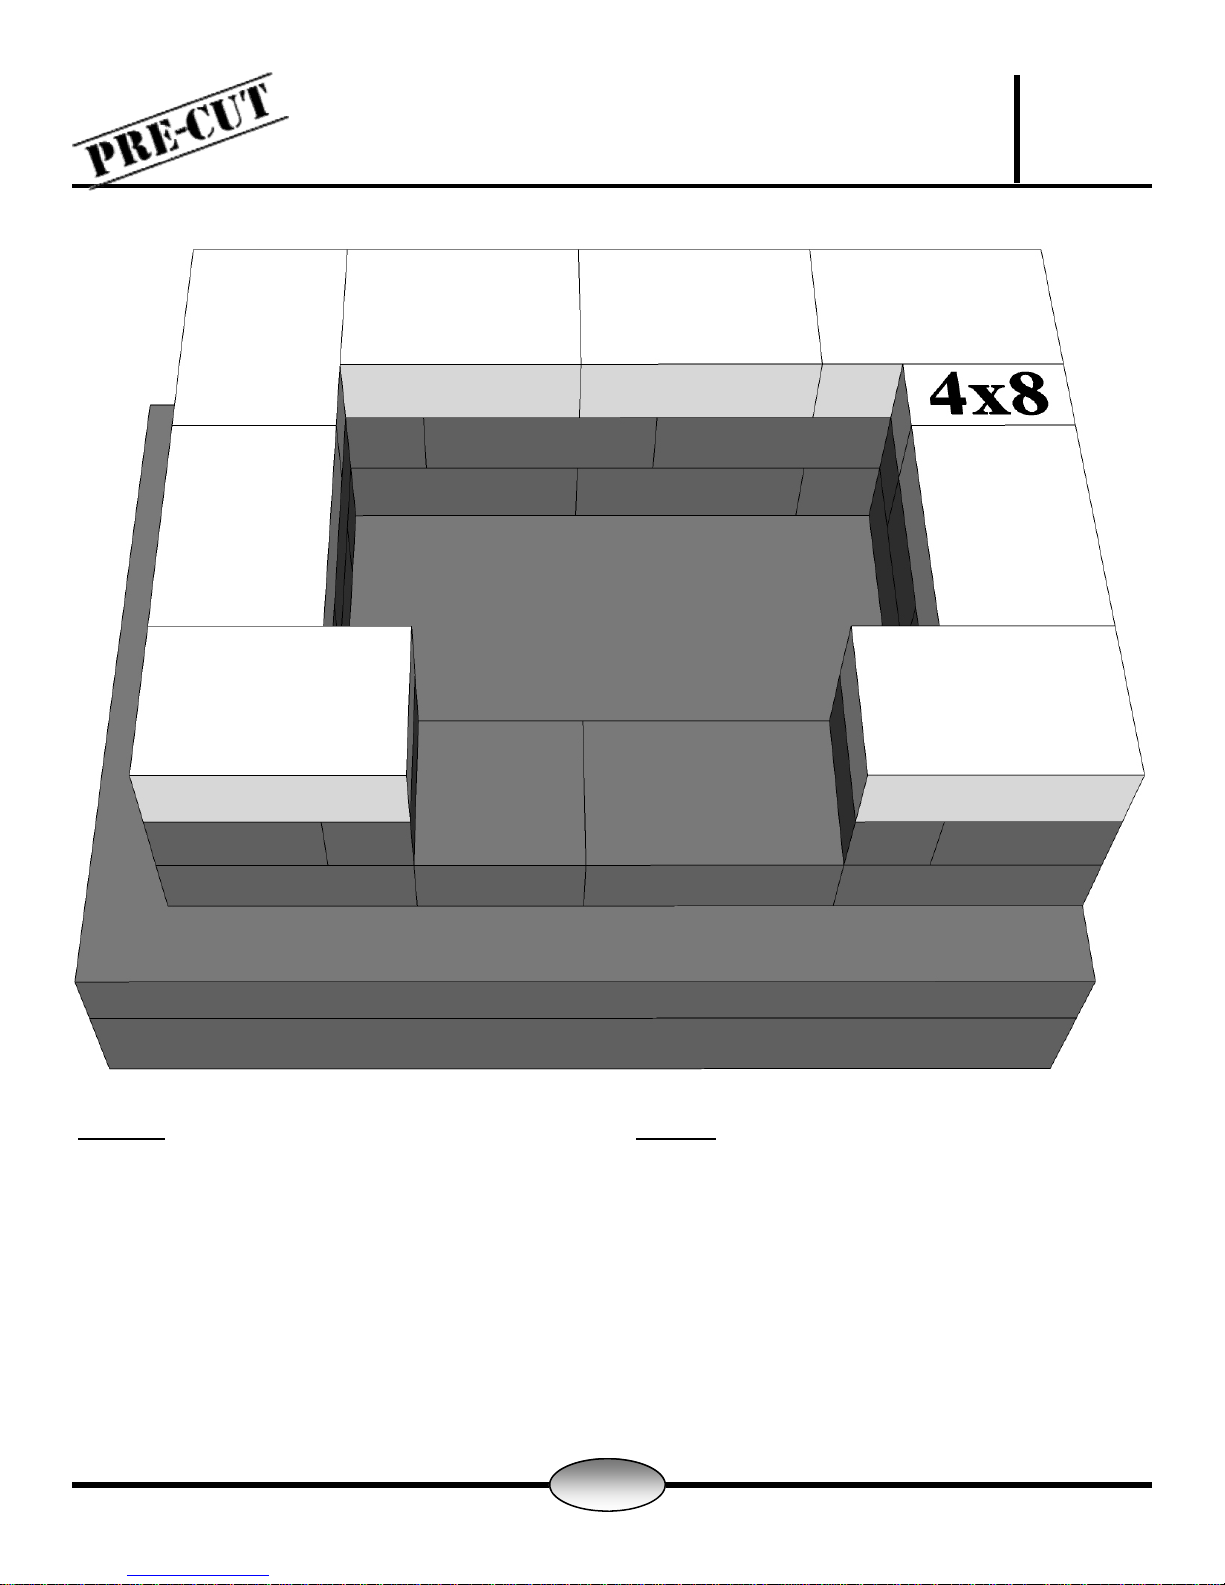
1 - Cubo de Olde Cambridge Inglés Pared
1 - Manual de instalación para la plataforma de
concreto y Olde Inglés pared
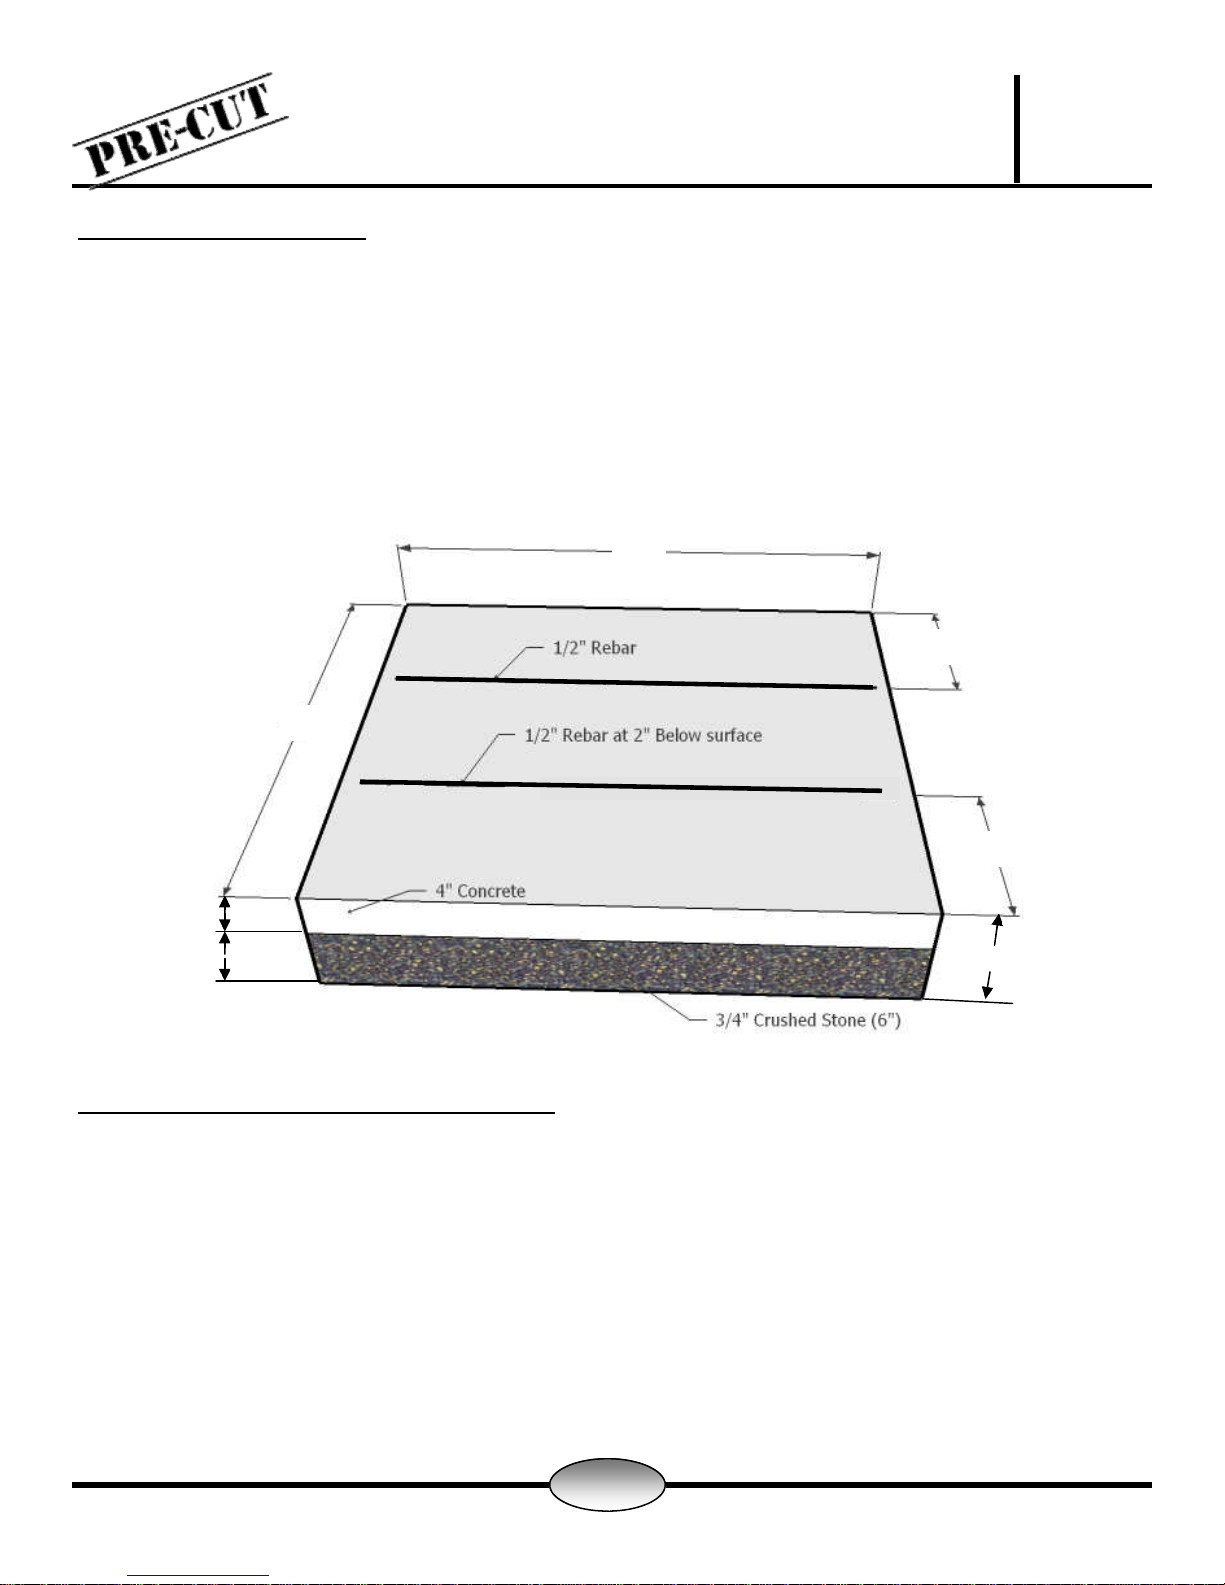
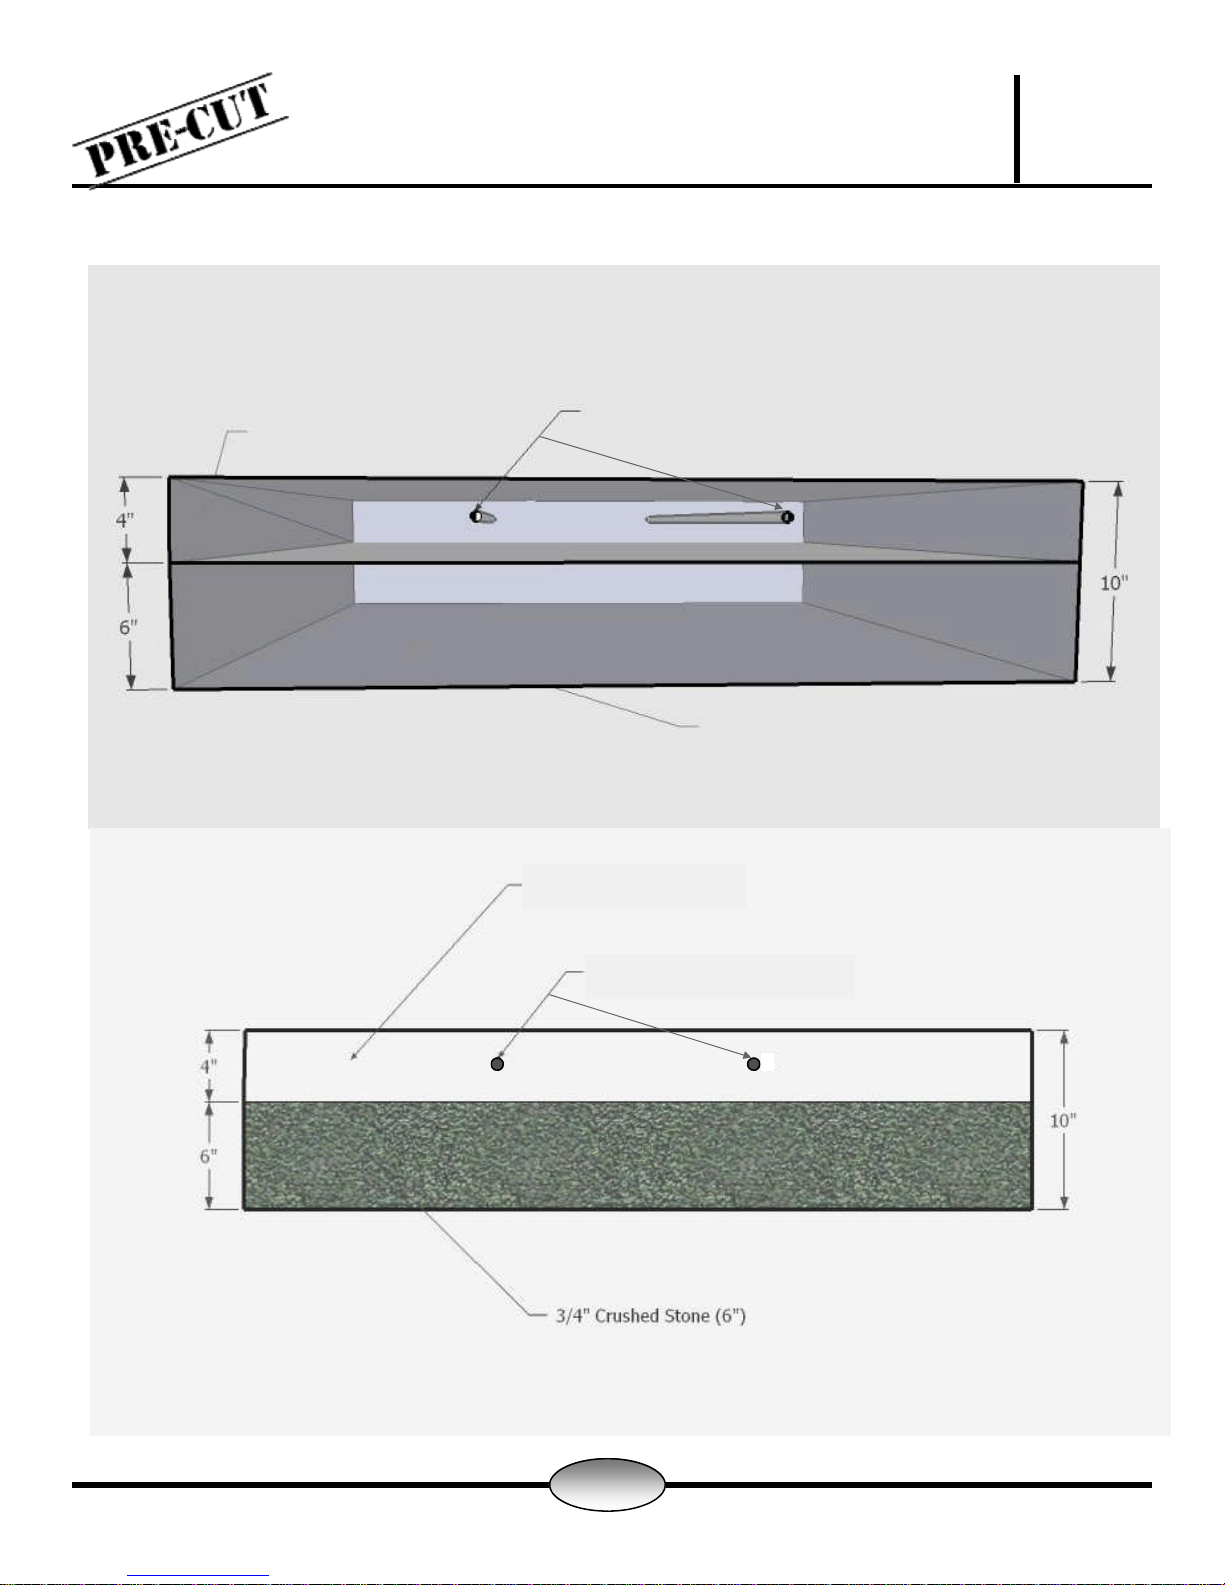
Material Necesario:
¾”piedra limpia (aprox. 1/4 de tonelada)
Hormigón (aproximadamente 9-bolsas de 80
libras)
Cambridge concretas adhesivo (aprox. 2-29oz
o de 6-10.3 oz. tubos)
(4 piezas) de 2”x 4” x 8’de madera
2 ½”tornillos para madera
½”barra de refuerzo (aprox. 8’)