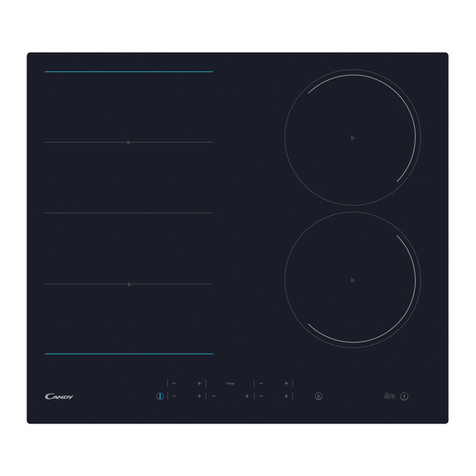
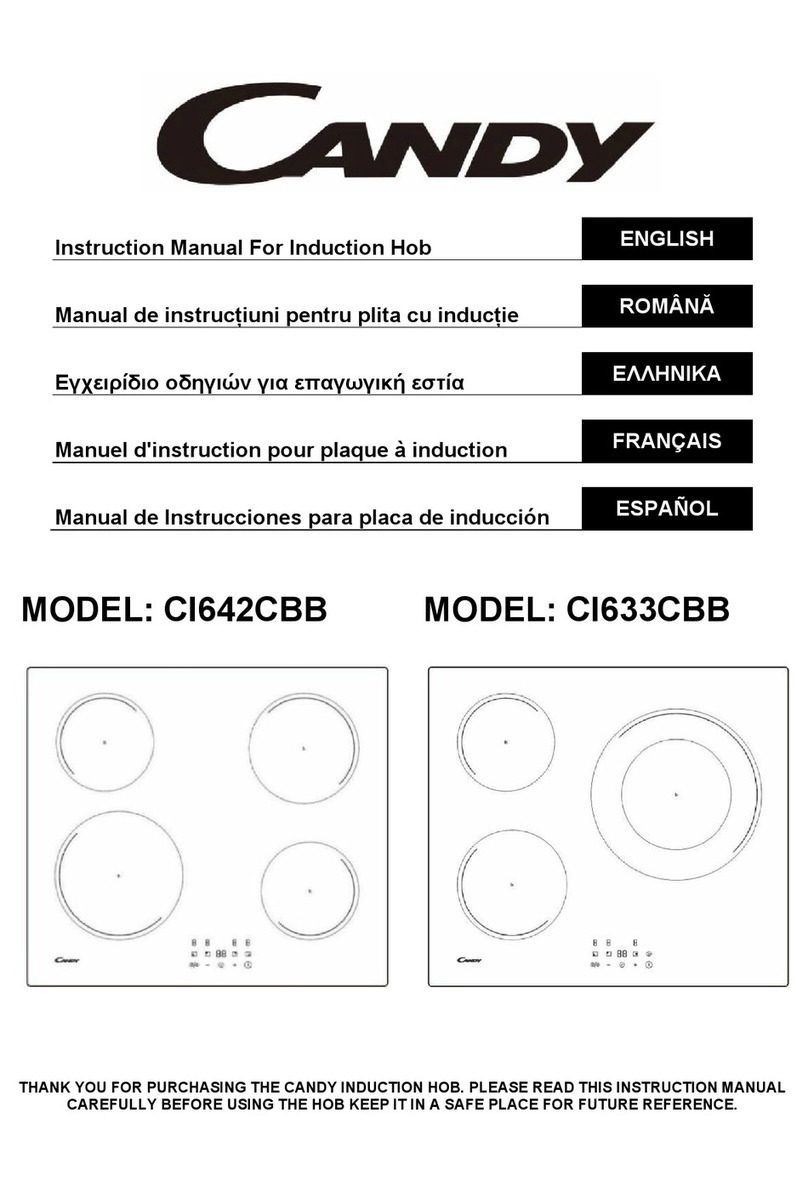
Candy CI642C/E14U User manual

PN:**
Candy-MC-IF7251J1-A(IF7251J1-A)
CI642C/E14U
*┡剋倍
20220323
ѲⓅ⎌槱叇ϸ剋娚Ϫ⒪瀦Ϲ
180X250mm

Instructions Manual For Induction Hob ENGLISH
Manuale di istruzioni per il piano cottura a induzione ITALIANO
Návod k pRXåLWí pro indukþní varnou desku ýEŠTINA
Návod na obsluhXLQGXNþnej varnej dosky SLOV(1ý,1$
Bedienungsanleitung für Induktionskochfeld DEUTSCH
Manuel d’utilisation de la table de cuisson à induction FRANÇAIS
ȱɧɫɬɪɭɤɰɿɹɡɟɤɫɩɥɭɚɬɚɰɿʀɞɥɹɿɧɞɭɤɰɿɣɧɨʀɜɚɪɢɥɶɧɨʀɩɨɜɟɪɯɧɿ ɍɄɊȺȲɇɋɖɄȺ
Navodila za uporabo indukcijskeNXKDOQHSORãþH SLOVENŠý,1$
Ɋɴɤɨɜɨɞɫɬɜɨɡɚɭɩɨɬɪɟɛɚɧɚ ɢɧɞɭɤɰɢɨɧɟɧɩɥɨɬ ȻɔɅȽȺɊɋɄɂ
Uputstvo za upotrebu indukcLRQHSORþH]DNXYDQMH SRPSKI
Ɋɭɤɨɜɨɞɫɬɜɨ ɩɨ ɷɤɫɩɥɭɚɬɚɰɢɢ ɢɧɞɭɤɰɢɨɧɧɨɣ ɜɚɪɨɱɧɨɣ ɩɚɧɟɥɢ ɊɍɋɋɄɂɃ
Instrukcja oEVáXJLSáyty indukcyjnej POLSKI
Brugsanvisning til induktionskogesektion DANSK
Bruksanvisning för induktionshäll SVENSKA
Induktiolieden käyttöohje SUOMI
Bruksanvisning for induksjonstopp NORSK
3ULUXþQLNV uputama za indukciMVNXSORþX]DNXKDQMH HRVATSKI
Manual de instruc܊iuni pentru plita de inGXF܊LH ROMÂ1Ă
Használati utasítás az indukciós fĘ]ĘODShoz MAGYAR
Manual de instruções para placa de indução PORTUGUÊS
Thank you for purchasing the Candy induction hob. Please read this instruction manual
carefully before using the hob and keep it in a safe place for future reference.
CI642C/E14U

EN-2

EN-3

EN-4

FP FP
FP FP
EN-5

1. Max. 1300/1500W zone
2. Max. 2300/2600W zone
3. Max. 1800/2000W zone
4. Max. 1800/2000W zone
5. Glass plate
6. Control panel
1.On/Off control
2.Timer control
3.Boost
4.Heating zone selection controls
5. Power / Timer regulating key
6. Keylock control
four
3
2 1
4 56
EN-6
2
1
3
4
6
5

EN-7

How to use
Start cooking
7RXFKWKH212))FRQWUROIRUWKUHHVHFRQGV$IWHUSRZHU
RQWKHEX]]HUEHHSVRQFHDOOGLVSOD\VVKRZ³±´RU³±±´
LQGLFDWLQJWKDWWKHLQGXFWLRQKREKDVHQWHUHGWKHVWDWHRI
VWDQGE\PRGH
3ODFHDVXLWDEOHSDQRQWKHFRRNLQJ]RQHWKDW\RXZLVKWR
XVH
0DNHVXUHWKHERWWRPRIWKHSDQDQGWKHVXUIDFHRIWKH
FRRNLQJ]RQHDUHFOHDQDQGGU\
7RXFKLQJWKHKHDWLQJ]RQHVHOHFWLRQFRQWURODQGDQ
LQGLFDWRUQH[WWRWKHNH\ZLOOIODVK
Select a heat setting by touching the “-”or “+” control.
•If you don’t choose a heat setting within 1 minute, the
Induction hob will automatically switch off. You will need to
start again at step 1.
•You can modify the heat setting at any time during
cooking.
If the display flashes alternately with the heat setting
This means that:
•you have not placed a pan on the correct cooking zone or,
•the pan you’re using is not suitable for induction cooking or,
•the pan is too small or not properly centered on the cooking zone.
No heating takes place unless there is a suitable pan on the cooking zone.
The display will automatically turn off after 1 minute if no suitable pan is placed on it.
EN-8

Finish cooking
Using the Boost function
Touching the heating zone selection control that you
wish to switch off
Turn the cooking zone off by scrolling down to “0” or
touching “-” and “+” control together. Make sure the
display shows “0”.
Turn the whole cooktop off by touching the ON/OFF
control.
Beware of hot surfaces
Hwill show which cooking zone is hot to touch. It
will disappear when the surface has cooled down to
a safe temperature. It can also be used as an energy
saving function if you want to heat further pans, use
the hotplate that is still hot.
25
Activate the boos t fun ctio n
7RXFKLQJWKHKHDWLQJ]RQHVHOHFWLRQFRQWURO
7RXFKLQJWKHERRVWFRQWURO WKH]RQHLQGLFDWRUVKRZ
³3´DQGWKHSRZHUUHDFK0D[
EN-9

x7KHFRRNLQJ]RQHUHWXUQVWRLWVRULJLQDOVHWWLQJDIWHUPLQXWHV
x,IWKHRULJLQDOKHDWVHWWLQJHTXDOVLWZLOOUHWXUQWRDIWHUPLQXWHV
Locking the Controls
x<RXFDQORFNWKHFRQWUROVWRSUHYHQWXQLQWHQGHGXVHIRUH[DPSOHFKLOGUHQDFFLGHQWDOO\WXUQLQJWKH
FRRNLQJ]RQHVRQ
x:KHQWKHFRQWUROVDUHORFNHGDOOWKHFRQWUROVH[FHSWWKH212))FRQWURODUHGLVDEOHG
7RORFNWKH FRQ WURO V
7RXFKWKHORFNFRQWURO 7KHWLPHULQGLFDWRUZLOOVKRZ³/R³
7RXQ ORF NWKH FRQWUR OV
7RXFKDQGKROGWKHORFNFRQWUROIRUDZKLOH
:KHQWKHKRELVLQWKHORFNPRGHDOOWKHFRQWUROVDUHGLVDEOHH[FHSWWKH212)) \RXFDQDOZD\V
WXUQWKHLQGXFWLRQKRERIIZLWKWKH212)) FRQWUROLQDQHPHUJHQF\EXW\RXVKDOOXQORFNWKHKREILUVW
LQWKHQH[WRSHUDWLRQ
&DQF HOWKH %RR VWIX QF WLRQ
7RXFKLQJWKH%RRVWFRQWURORUWKH³´EXWWRQWRFDQFHO
WKH%RRVWIXQFWLRQWKHQWKHFRRNLQJ]RQHZLOOUHYHUWWR
LWVRULJLQDOVHWWLQJ
7RXFKLQJ³´DQG³´FRQWUROWRJHWKHU7KHFRRNLQJ]RQH
VZLWFKRIIDQGWKHERRVWIXQFWLRQFDQFHODXWRPDWLFDOO\
25
EN-10

Timer control
<RXFDQXVHWKHWLPHULQWZRGLIIHUHQWZD\V
D <RXFDQXVHLWDVDPLQXWHPLQGHU,QWKLVFDVHWKHWLPHUZLOOQRWWXUQDQ\FRRNLQJ]RQHRIIZKHQ
WKHVHWWLPHLVXS
E <RXFDQVHWLWWRWXUQRQHRUPRUHFRRNLQJ]RQHVRIIDIWHUWKHVHWWLPHLVXS
7KHWLPHURIPD[LPXPLVPLQ
a) Using the Timer as a Minute Minder
Make sure the cooktop is turned on, if you are selecting a
cooking zone
Note: you can use the minute minder at least one zone shall
be active.
Select the zone by touching the heating zone selection
control.
When the zone is confirmed, touch the control of the timer.
The minder indicator will start flashing and “10” will show in
the timer display.
Set the time by touching the “-” or “+” control of the timer
Hint: Touch the “-” or “+” control of the timer once to
decrease or increase by 1 minute.
Touch and hold the “-” or “+” control of the timer to decrease
or increase by 10 minutes.
To cancel the minute minder
Select the zone by touching the heating zone selection
control.In a short time, touch the timer control.
Touching the “-” and “+” together, the timer
is cancelled, and the “00” will show in the minute
display.
When the time is set, it will begin to count down
immediately. The display will show the remaining
time and the timer indicator will flash for 5 seconds.
Buzzer will beep for 30 seconds and the timer
indicator shows “- -” when the setting time finished.
EN-11

E 6HWWLQ JWKHWLPHUWR WX UQ RQHFRRNLQ J]R QHRII
6HWRQH]RQH
:KHQFRRNLQJWLPHUH[SLUHVWKHFRUUHVSRQGLQJFRRNLQJ]RQH
ZLOOEHVZLWFKHGRIIDXWRPDWLFDOO\
2WKHUFRRNLQJ]RQHZLOONHHSRSHUDWLQJLIWKH\DUHWXUQHGRQSUHYLRXVO\
7KHSLFWXUHVVKRZQDERYHDUHIRUUHIHUHQFHRQO\DQGWKHILQDOSURGXFWVKDOOSUHYDLO
Touching the heating zone selection control that you want to set
the timer for. (e.g. zone 3#)
In short time, before the display stops flashing, touch the timer
control. The minder indicator will start flashing and “10” will show
in the timer display.
Set the time by touching the ”–“ or “+” control of the timer
Hint: Touch the “-” or “+” control of the timer once will decrease
or increase by 1 minute.
Touch and hold the “-” or “+” control of the timer will decrease or
increase by 10 minutes.
To cancel the timer
Select the zone by touching the heating zone selection control.In
a short time, touch the timer control.
Touching the “-” and “+” together, the timer is cancelled, and the
“00” will show in the minute display.
When the time is set, it will begin to count down immediately. The
display will show the remaining time and the timer indicator flash
for 5 seconds.
NOTE: The red dot next to power level indicator will illuminate
indicating that zone is selected.
EN-12

Power Management Function
it is possible to set a maximum power absorption level for the induction hob, choosing up to different
power ranges.
induction hobs are able to limit themselves automatically in order to work at lower power, to avoid
the risk of overloading.
It is not necessary to put any pots on the heating zones. We suggest to start setting within 5
seconds after connecting the power. You need to enter the power setting mode within 60
seconds to enter Power Management Function.
To enter Power Management Function
1. Please be noted that do not turn on the
hob. At this stage, press “Boost” and “Lock” at the
same time.
The “S” symbol will be displayed on zone #1.
2. Press “Lock” key. The symbol “S” will be displayed on zone #1 and
symbol “E” will be displayed on zone #2.
3. Press “Boost” and “Lock” keys at the same
time again.
The symbol “S” will be displayed on zone #1, “E”
will be displayed on zone #2, and “t” will be
displayed on zone #3. At the same time, the
current maximum power mode (7.2) will be
displayed on the timer indicator.
To switch to another level
short press the “Boost” key
Confirmation Power Management Function
There are 6 power levels, from “7.2”to “2.5”. The
timer indicator will show one of them.
“7.2”: the maximum power is 7.2kW.
“6.5”: the maximum power is 6.5kW.
“5.5”: the maximum power is 5.5kW.
“4.5”: the maximum power is 4.5kW.
“3.5”: the maximum power is 3.5kW.
“2.5”: the maximum power is 2.5kW.
EN-13

After the desired power setting mode is selected,
please press “Lock” key
When the timer indicator stops flickering, the power
mode is set successfully.
Exit Power Management Function
After the setting, make sure to dis-
connect the
power and connect it again.
Then the hob will be turned off.
EN-14

You may have a number of different cooking vessels
1. This induction hob can identify a variety of cooking vessels, which you can test by
one of the following methods:
Place the vessel on the cooking zone. If the corresponding cooking zone displays a
power level, then the vessel is suitable. If “U” flashes, then the vessel is not
suitable for use with the induction hob.
2. Hold a magnet to the vessel. If the magnet is attracted to the vessel is suitable for
use with the induction hob.
NB: The base of the vessel must contain magnetic material.
It must have flat bottom with a diameter according to the table 1 below.
3. Use only ferromagnetic cookwares made from enameled steel, cast iron or stainless
steel but compatible with induction
4. Use pans whose diameter of the ferromagnetic area (base of the pan) is in the range
of dimensions in the table below. (Table 1)
- If you use smaller pots, performance could be affected
- If you use pot with a diameter smaller than the one indicated in the table 1, pots
may not be detected
According to the dimension of the zone you can use pots of different diameters as picture
below:
Iron oil frying Stainless steel Iron pan Iron kettle
Enamel
stainless steel
kettle
Enamel cooking
utesil
Iron plate
EN-15

5. If the ferromagnetic part covers only partially the base of the pan, only the
ferromagnetic area will heat up, the rest of the base may not heat up a sufficient
temperature for cooking.
6. If the ferromagnetic area is not homogeneous, but presents others material such as
aluminum this may affect the heating up and the pan detection.
If the base of the pan is similar to the pictures below the pan could be not detected.
The base diameter of induction cookware
Cooking zone
Minimum Maximum
7KHDERYHPD\YDU\DFFRUGLQJWRWKHVL]HRIWKHSDQDQGWKHPDWHULDOLWLVPDGHIURP
EN-16

EN-17

EN-18

EN-19
Table of contents
Languages:
Other Candy Hob manuals

Candy
Candy CI640C User manual

Candy
Candy CDI 30 User manual

Candy
Candy HOBS User manual

Candy
Candy ICS36X User manual

Candy
Candy CI642MCBB User manual

Candy
Candy PVK 640 User manual

Candy
Candy CDHC30 Specification sheet

Candy
Candy HOBS User manual

Candy
Candy CIDC633TT User manual

Candy
Candy S60HBGS User manual

Candy
Candy CIES633MCTT User manual

Candy
Candy CVG6DPB User manual

Candy
Candy CEH6DXECTT/1 User manual

Candy
Candy PVS 640 User manual

Candy
Candy PLE 64 User manual
Candy
Candy CDH 30 Specification sheet

Candy
Candy CVG 64 User manual

Candy
Candy CDH 30 Specification sheet

Candy
Candy CPG64 User manual

Candy
Candy CHG6L User manual