A. MANUFACTURER SAFETY INSTRUCTIONS
WARNING: 208-240 volts (single phase) may cause serious
injury from electric shock.
1. The working temperature of the dehumidier is 60°F –100°F |
16°C-37°C
2. Installation and servicing should be conducted without
dehumidier power. Leave the power disconnected until
installation/service is completed.
3. Do NOT roll, damage, or stress the power cord when installing
or moving the dehumidier. It is dangerous to insert ngers or
any other objects into the dehumidier. Do not attempt.
4. To avoid damage to the compressor, do NOT tilt the
dehumidier more than 45°. If the dehumidier is on an angle
during shipping or installation, ensure to let it sit upright 24
hours before applying power and starting.
5. Regarding the compressor: the room temperature will go
up around 3℃ from compressor heat dissipation when the
dehumidier is running- this is typical and harmless.
6. The dehumidier should never have direct contact with
chemicals and/or water. Place and situate the dehumidier in
an area in which it will not have any contact with water and/or
chemicals.
7. Never connect other equipment to the dehumidier: do NOT
use ANY relay, extension cords, or adapters to connect power
between the CAN-380, CAN-210, or any other dehumidier.
8. Do NOT place the CAN-210 or CAN-380 dehumidier next
to other equipment that will manipulate and deplete the
dehumidier’s heat.
9. Clean any and all dirt or debris off the power cord before
inserting the plug.
10. Do not damage or modify the power line, do not repair by
yourself or disassemble and re-congure any parts in the
dehumidier.
11. To attain a steady drain, ensure that the drainage tube has been
inserted smoothly in place.
12. In the case of malfunction, ALWAYS cut the power AFTER
shutting down the dehumidier.
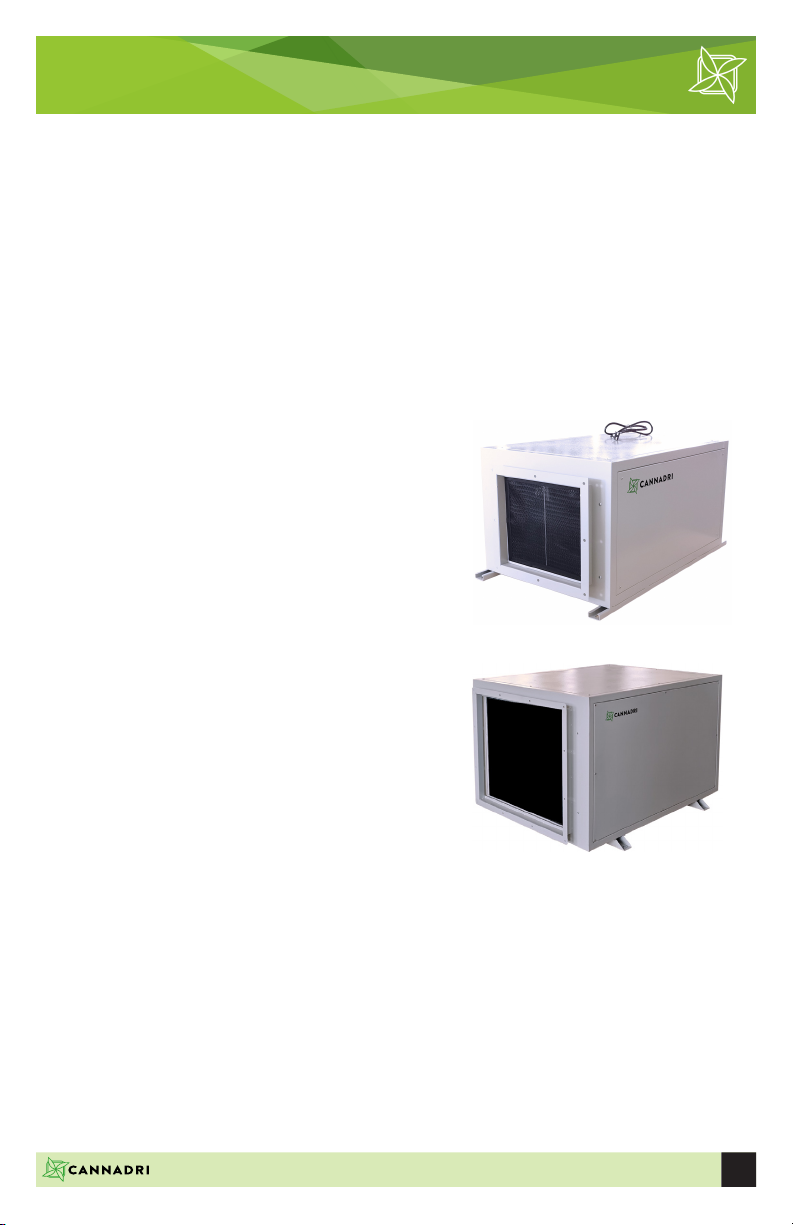
INSTRUCTION MANUAL 1.0 |DEHUMIDIFIER |CAN-210/CAN-380
1