3.
Zooming
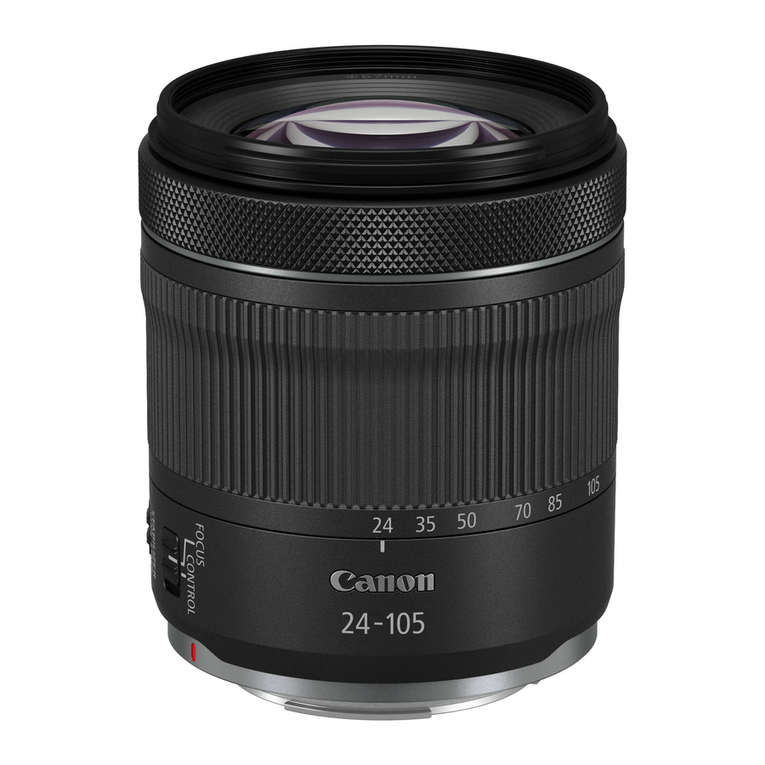
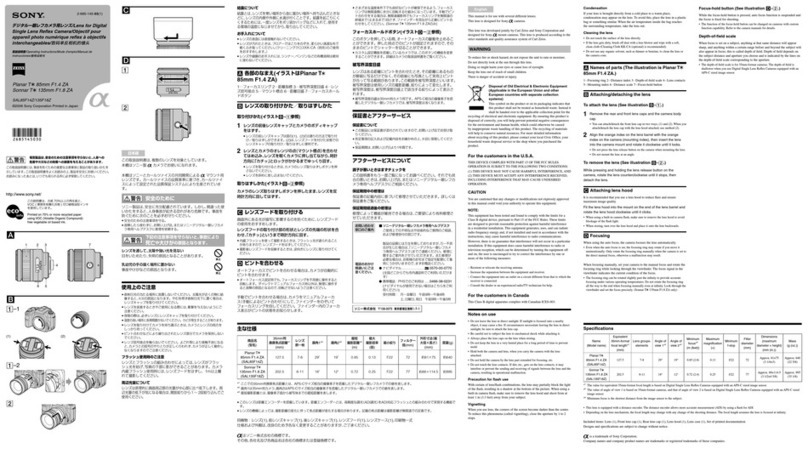
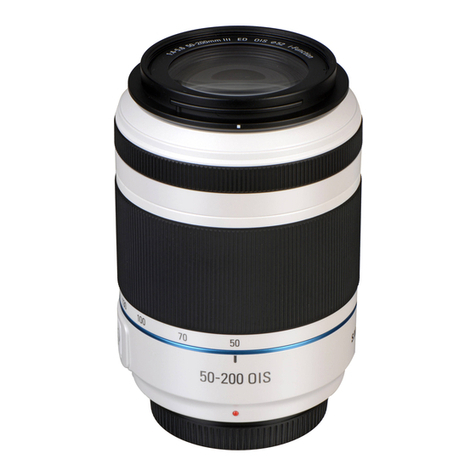
Turn the lens' zoom ring to adjust the size of the photo field or subject.
(fig.8)
• For wide shots, turn the zoom ring toward the wide end.
• For close-ups, turn the zoom ring toward the telephoto end.
0 •Be sure to finish zooming before focusing. Zooming after focusing can affect
the focus.
• Blurring may temporarily occur
if
the zoom ring is quickly rotated.
• Zooming during still image exposure will result
in
delayed focus. This causes
any streaks
of
light that are captured during exposure to be blurred.
4.Manua1Focus
When the camera's focus mode is set to [MF], focus manually by turning the
focusing ring.
(fig.8)
0 Quickly rotating the focusing ring may result
in
delayed focus.
[it·Focus mode is set using the camera. Please refer to the camera's instructions.
• After autofocusing in [AF+MF] mode, focus manually by pressing the shutter
button halfway and turning the focusing ring (full-time manual focusing).
5.
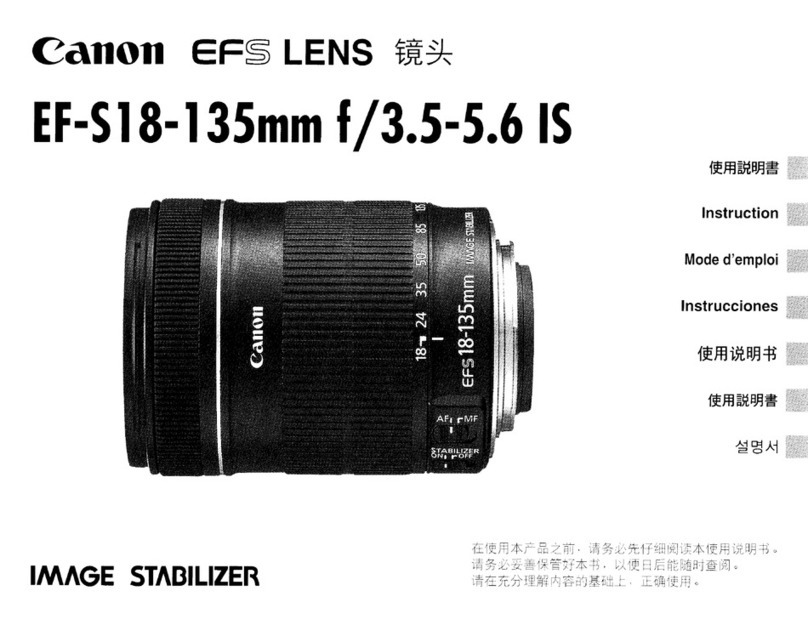
Image Stabilizer
This lens is equipped with
an
Image Stabilizer. This function corrects camera shake,
allowing users to capture sharp images. Also, the Image Stabilizer automatically
provides optimal image stabilization depending
on
shooting conditions (such as
shooting still subjects and following shots). Please set the Image Stabilizer
ON
or
OFF using the camera settings. See your camera's instructions for details.
0 •The Image Stabilizer cannot compensate for a blurred shot caused by a
subject that moved.
• The Image Stabilizer may not be fully effective
if
you shoot from a violently
shaking vehicle or other transportation.
• The Image Stabilizer consumes more power than normal shooting, resulting in
fewer shots and a shorter movie shooting time.
[it·When shooting a still subject, it compensates for camera shake
in
all directions.
•
lt
compensates for vertical camera shake during following shots in a tiorizontal
direction, and compensates for horizontal camera shake during following
shots in a vertical direction.
• When you use a tripod, the Image Stabilizer should be turned offto save
battery power.
• Even with a monopod, the Image StabUizer will be as effective as during
hand-held shooting.
However, depending on the shooting environment, the Image Stabilizer effect
may be less effective.
6.
Hood (sold separately)
The EW-53 hood cuts out unwanted light and protects the front of the lens from
rain, snow, and dust.
To
attach the hood, align the hood's attachment position mark with the red dot
on
the front of the lens, then turn the hood as shown by the arrow until the lens'
red
dot
is
aligned with the hood's stop position mark.
(fig.(t)
The hood can be reverse-mounted
on
the lens for storage.
0 •Ifthe hood is not attached properly, vignetting (darkening of the perimeter
of
the picture) may occur.
• When attaching or detaching the hood, grasp the base ofthe hood to turn it.
To
prevent deformation,
do
not grasp the rim
of
the hood to turn
it.
7.
Filters (sold separately)
You
can attach filters (which are 49 mm
in
diameter)
to
the filter mounting thread
on
the front of the lens.
0 Only one filter may be attached.
