manuals.online logo
Brands
  1. Home
  2. •
  3. Brands
  4. •
  5. Canon
  6. •
  7. Digital Camera
  8. •
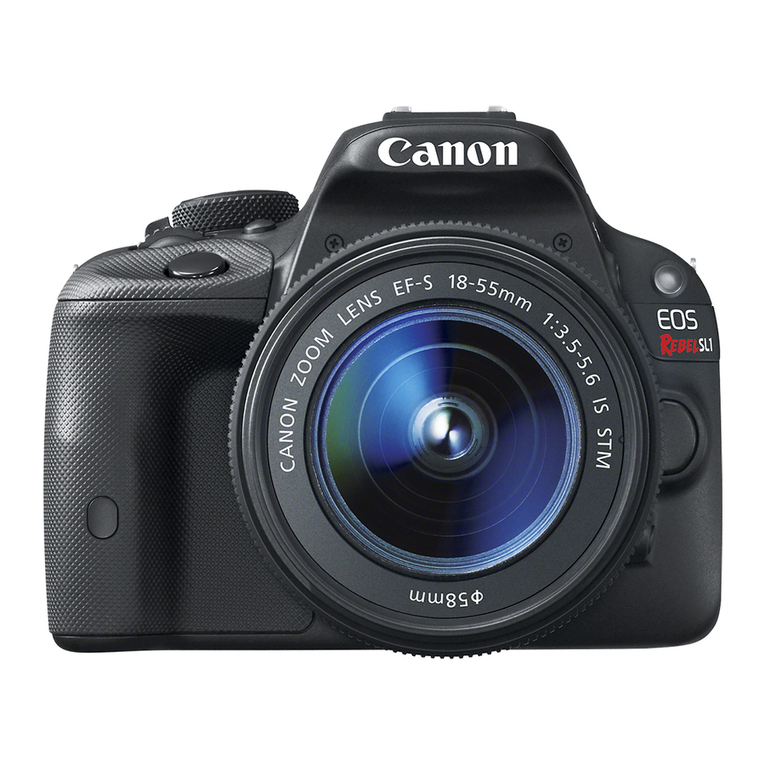
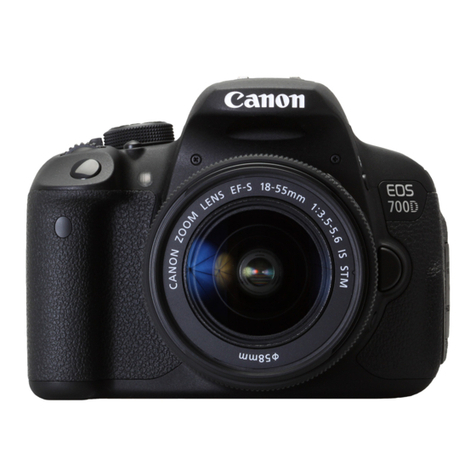
  9. Canon EOS REBEL T5I EOS 700D User manual

Canon EOS REBEL T5I EOS 700D User manual

Other manuals for EOS REBEL T5I EOS 700D

1

This manual suits for next models

2

Other Canon Digital Camera manuals

Canon 450D User manual

Canon

Canon 450D User manual

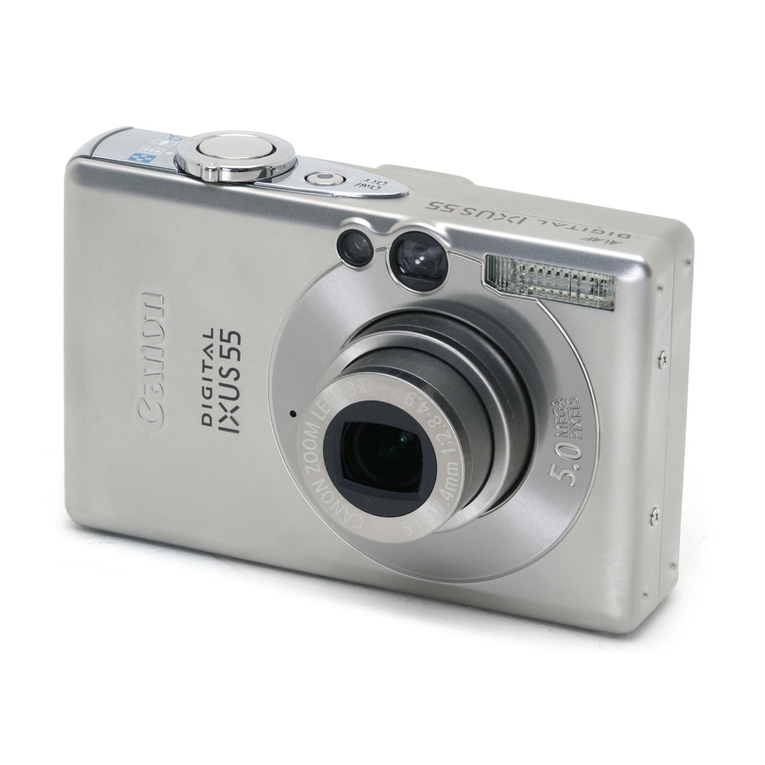
Canon Digital IXUS55 User manual

Canon

Canon Digital IXUS55 User manual

Canon PowerShot A720 IS User manual

Canon

Canon PowerShot A720 IS User manual

Canon EOS 1200D User manual

Canon

Canon EOS 1200D User manual

Canon SC A60 User manual

Canon

Canon SC A60 User manual

Canon EOS1 Ds MARKII Guide

Canon

Canon EOS1 Ds MARKII Guide

Canon WP-DC340L User manual

Canon

Canon WP-DC340L User manual

Canon DIGITAL IXUS 70 User manual

Canon

Canon DIGITAL IXUS 70 User manual

Canon ivy CLIQ 2 User manual

Canon

Canon ivy CLIQ 2 User manual

Canon IXUS 115 HS User manual

Canon

Canon IXUS 115 HS User manual

Canon EOS 5D Mark III User manual

Canon

Canon EOS 5D Mark III User manual

Canon Powershot SD980 IS Digital Elph User manual

Canon

Canon Powershot SD980 IS Digital Elph User manual

Canon IXUS 310 HS User manual

Canon

Canon IXUS 310 HS User manual

Canon EOS 400D Digital User manual

Canon

Canon EOS 400D Digital User manual

Canon PowerShot S80 User Guide Basic User manual

Canon

Canon PowerShot S80 User Guide Basic User manual

Canon EOS 750D User manual

Canon

Canon EOS 750D User manual

Canon PowerShot SX170 IS User manual

Canon

Canon PowerShot SX170 IS User manual

Canon PowerShot SX500 IS User manual

Canon

Canon PowerShot SX500 IS User manual

Canon EOS-1 User manual

Canon

Canon EOS-1 User manual

Canon PowerShot SD580 IS User manual

Canon

Canon PowerShot SD580 IS User manual

Canon EOS 600D User manual

Canon

Canon EOS 600D User manual

Canon PowerShot A100 User manual

Canon

Canon PowerShot A100 User manual

Canon PowerShot SD750 Digital ELPH User manual

Canon

Canon PowerShot SD750 Digital ELPH User manual

Canon EOS 7D Mark II (G) User manual

Canon

Canon EOS 7D Mark II (G) User manual

Popular Digital Camera manuals by other brands

Xiaomi 70mai Dash Cam Lite user manual

Xiaomi

Xiaomi 70mai Dash Cam Lite user manual

Samsung PL70 Quick start manual

Samsung

Samsung PL70 Quick start manual

GE E1680W user manual

GE

GE E1680W user manual

Tevion MD 86497 user guide

Tevion

Tevion MD 86497 user guide

Exakta VX Features

Exakta

Exakta VX Features

Kodak Digital Science DC120 user guide

Kodak

Kodak Digital Science DC120 user guide

Nikon FM3A Specifications

Nikon

Nikon FM3A Specifications

Vectra Fitness H1 Quick reference guide

Vectra Fitness

Vectra Fitness H1 Quick reference guide

Nikon COOLPIX 775 quick start guide

Nikon

Nikon COOLPIX 775 quick start guide

Olympus IR 500 - 4MP Digital Solutions Camera Manuel de Référence

Olympus

Olympus IR 500 - 4MP Digital Solutions Camera Manuel de Référence

Samsung EC-L100ZBBA brochure

Samsung

Samsung EC-L100ZBBA brochure

FujiFilm FINEPIX BL01124-201 owner's manual

FujiFilm

FujiFilm FINEPIX BL01124-201 owner's manual

Panasonic DMC-L10KPP Service manual

Panasonic

Panasonic DMC-L10KPP Service manual

Hyundai Electric HYU-CC-CHBF12001 Quick installation guide

Hyundai Electric

Hyundai Electric HYU-CC-CHBF12001 Quick installation guide

Sony DSC-WX80 specification

Sony

Sony DSC-WX80 specification

Nikon Nuvis S - Point & Shoot instruction manual

Nikon

Nikon Nuvis S - Point & Shoot instruction manual

Olympus CAMEDIA C-3030ZOOM overview

Olympus

Olympus CAMEDIA C-3030ZOOM overview

Teledyne Piranha4 user manual

Teledyne

Teledyne Piranha4 user manual

manuals.online logo
manuals.online logoBrands
  • About & Mission
  • Contact us
  • Privacy Policy
  • Terms and Conditions

Copyright 2025 Manuals.Online. All Rights Reserved.

Slide Show (Auto Playback)
You can play back the images on the card as an automatic slide show.
Select [Slide show].
_ Under the [[_2] tab, select [Slide
show], then press <_)>.
Numberofimagestobe played _ Select the images to be played.
_ Press the <AT > key to select the
desired option, then press < _)>.
[All imageslMovieslStills]
_ Press the <AT> key to select one of
the following: [@All images/
_=RMovies/l_Stills]. Then press
<(_>.
[DatelFolderlRating]
_ Press the <AT> key to select one of
the following: [[]Date/hFolded
Rating].
_ When <_---_> is highlighted,
press the <INF0.> button.
_ Press the <AT > key to select the
desired option, then press < _)>.
[Date] [Folder] [Rating]
258
Slide Show (Auto Playback)
_ii_ii_iiiii_i_i!_!:!_iii_!i_ii_i_i_i_i_i_i_i_i_i_i_ii_iiiii_i_!i!ii_i_i_i_i_i_ii_i_ii_!i!i_i_i_ii_i_ii_!i_iiii_i_i_ii_i_ii_i_ii!_i_ii!_ii!i_i_i_i_i_i_i_i_i_i_i_i_!_i!i_i!i!i!_i!ii_ii!i!_!:_!_!_ii!l_:_!_:_;!i_!!_:!_!_:_:_:_i_i:_!_i_i_i_i_i_ii_iii_ii_i_i_i_i!i!_ii_ii_ii_ii_i_ii_i_ii_i_i_i_ii_ii_ii_ii_i_i_i_i_ii_ii_i_!!_!!_!_i_i_i_i!_!i_i!_!i_ii_ii_!i!ii_!i_i_ii_ii_i_ii_i_i_!ii!_i!!i_i_i_i_i_i_i_i_!!_!i
@All images All the still photos and movies on the card will be played back.
Still photos and movies taken on the selected shooting date will
[] Date be played back.
Still photos and movies in the selected folder will be played
mFolder back.
_Movies Only the movies on the card will be played back.
8Stills Only the still photos on the card will be played back.
_r Rating Only the still photos and movies with the selected rating will be
played back.
Set [Set up] as desired.
_ Press the <AT> key to select [Set
up], then press <0>.
®_Set the [Display time], [Repeat],
[Transition effect], and
[Background music] for the still
photos.
_ The background music selection
procedure is explained on page 261.
_ After selecting the settings, press the
<MENU> button.
[Display time] [Repeat]
259
Slide Show (Auto Playback)
[Transition effect] [Background music]
_Start the slide show.
_ Press the <AT> key to select [Start],
then press <0>.
_y,,After [Loading image...] is displayed,
the slide show will start.
5Quit the slide show.
_ To quit the slide show and return to
the setting screen, press the <MENU>
button.
[]
260
To pause the slide show, press <_>. During pause, [11]will be
displayed on the upper left of the image. Press <@> again to resume
the slide show. You can also pause the slide show by tapping the screen.
_ During auto playback, you can press the <INFO.> button to change the
still photo display format (p.84).
During movie playback, you can adjust the sound volume by turning the
<_> dial.
During auto playback or pause, you can press the <41_> key to view
another image.
During auto playback, au[o power off will not work.
The display time may vary depending on the image.
To view the slide show on a TV set. see page 262
SlideShow(AutoPlayback)
Selecting the Background Music
Select [Background music].
_ Set [Background music]to [On],
then press <_>.
2
,3
Select the background music.
®_Press the <AT> key to select the
desired background music, then
press <_)>. You can also select
multiple background music tracks.
Play the background music.
®_To listen to a sample of the
background music, press the <INFO.>
button.
_ Press the <AT> key to play another
background music track. To stop
listening to the background music,
press the <INFO.> button again.
_ Adjust the sound volume by turning
the <_> dial.
_ To delete a background music track,
press the <AT > key and select the
track, then press the <_> button.
At the time Of purchase, you cannot select background music With the
carnera, You must f![st use EOS Utility (provided software) to copy the
background music to the Card. For details, refer to the EOS Utility instruction
Manual on the CD-RQM.
261
Viewing the images on TV
You can view the still photos and movies on a TV set.
Viewing on High,Definition (HD) TV Sets (Connected with aDIVll)
HDMI Cable HTC-100 (sold separately) is required.
Connect the HDMI cable to the
camera.
_ With the plug's <AHDMI MiNi> logo
facing the front of the camera, insert it
into the <HDMI OUT> terminal.
Connect the HDMI cable to the TV
set.
_ Connect the HDMIcable to the TV's
HDMI IN port.
_:_j Turn on the TV and switch the
TV's video input to select the
connected port.
_:, Set the camera's power switch to
<ON>.
_[_ Adjusi the movie:_ sound v01u_e With the TV set: The Sound volume
cannot be adjusted With the£amera,
Before connecting or disconnecting the cable between the camer a and
televisio n, turn off the camera and TV set,
4_ Depending on the TV set, part of the image displayed may be cut off,
262
Viewing the Images on TV
£_ Press the <F_I> button.
S,,The image wiii appear on the TV
screen. (Nothing wiii be displayed on
the camera's LCD monitor.)
_#,The images wiii automatically be
displayed at the TV's optimum
resolution.
® By pressing the <INFO.> button, you
can change the display format.
_ To play back movies, see page 254.
O The imagescannot beoutput at thesame time from boththe <HDMI OUT>
and<A/V OUT>terminals.
¢_Do not connect any other device's output to the camera's <HDMI OUT >
terminal. Doing so may cause a malfunction.
Certain TVs may not be able to play back the captured images. In such a
case. use the stereo AV cable AVC-DC400ST (sold separately) to
connect to the TV.
Using HDM| CEC Sets
if the TV set connected to the camera with an HDMI cable is compatible
with HDMI CEC*, you can use the TV set's remote control for playback
operations.
* An HDMI-standard function enabling HDMI devices to control each other so that
you can control them with one remote control unit.
Set [Ctrl over HDMI] to [Enable].
®_Under the [1_]2] tab, select [Ctrl over
HDMI], then press <_)>.
®_Select [Enable], then press <_)>.
263
ViewingtheImagesonTV
$till photo playback menu _
Movie playback menu
• Return
_ : 9-image index
• Play movie
@ • Slide show
INFO.: Disp. shooting info
• Rotate
Connect the camera to a TV set.
®_Use an HDMI cable to connect the
camera to the TV.
_y,,The TV's input will switch
automatically to the HDMI port
connected to the camera.
,_./_Press the camera's <[_> button.
_y,,An image will appear on the TV
screen and you can use the TV's
remote control to play back images.
_,, Select an image.
_ Point the remote control toward the
TV set and press the *-/_ button to
select an image.
Press the remote control's Enter button.
_y,,The menu appears and you can
perform the playback operations
shown on the left.
®_Press the *-/-_ button to select the
desired option, then press the Enter
button. For a slide show, press the
remote control's t/_ button to select
an option, then press the Enter button.
® If you select [Return] and press the
Enter button, the menu will disappear
and you can use the ,-/--* button to
select an image.
;_ some TV Sets require you to first enable the HDMI CEC Connectionl For
detailsl refer to the TV set's inst[uction manual.
® Certain TV setsl even those compatible with HDMI CEC, may not
operate Properly. In such a case, disconnect the HDM! Cable, set [[_2:
Ctd over HDMI] to [Disab!e], and use the camera to control the
playback operation.
264
Viewing the images on TV
VieWing on Non,HD TV Sets(Connected with AV Cable)
Stereo AV Cable AVC-DC400ST (sold separately) is required.
Connect the AV cable to the
camera.
_ With the plug's <Canon> logo facing
the back of the camera, insert it into
the <A/V OUT > terminal.
...........................................................................
_j Turn on the TV and switch the
TV's video input to select the
connected port.
_, Set the camera's power switch to
<ON>.
Connect the AV cable to the TV
set.
®_Connect the AV cable to the TV's
video IN terminal and audio IN
terminal.
5Press the <_> button.
_y,,The image will appear on the TV
screen. (Nothing will be displayed on
the camera's LCD monitor.)
® To play back movies, see page 254.
_'_ _ Donotuse a_yAVcabieothe[thanthe Stereo AV caMe AVC-DO400ST
(sold separately), images may not be displayed if you use a different
cable.
® !fthe video system format doe_ not match the TV!s, the images wi!! not
be disp!aYed propedy, lf this happens, switch to the proper video system
format with [_'2: Video system].
265
[] Protecting images
Protecting an image prevents it from being erased accidentally.
Protecting aSingle image
,,_ Select [Protect images].
® Under the [1_1] tab, select [Protect
images], then press <0>.
_y,,The protect setting screen will
appear.
Image protect icon
2Select [Select images].
® Select [Select images], then press
<(_>.
_y,,The images will be displayed.
°SProtect the image.
® Press the <41_ > key to select the
image to be protected, then press
<(_>.
_y,,When an image is protected, the
<_]> icon wifl appear on the top of
the screen.
® To cancel the image protection, press
<_)> again. The <r_q> icon wiii
disappear.
® To protect another image, repeat step
3.
® Press the <MENU> button to return to
the menu.
266