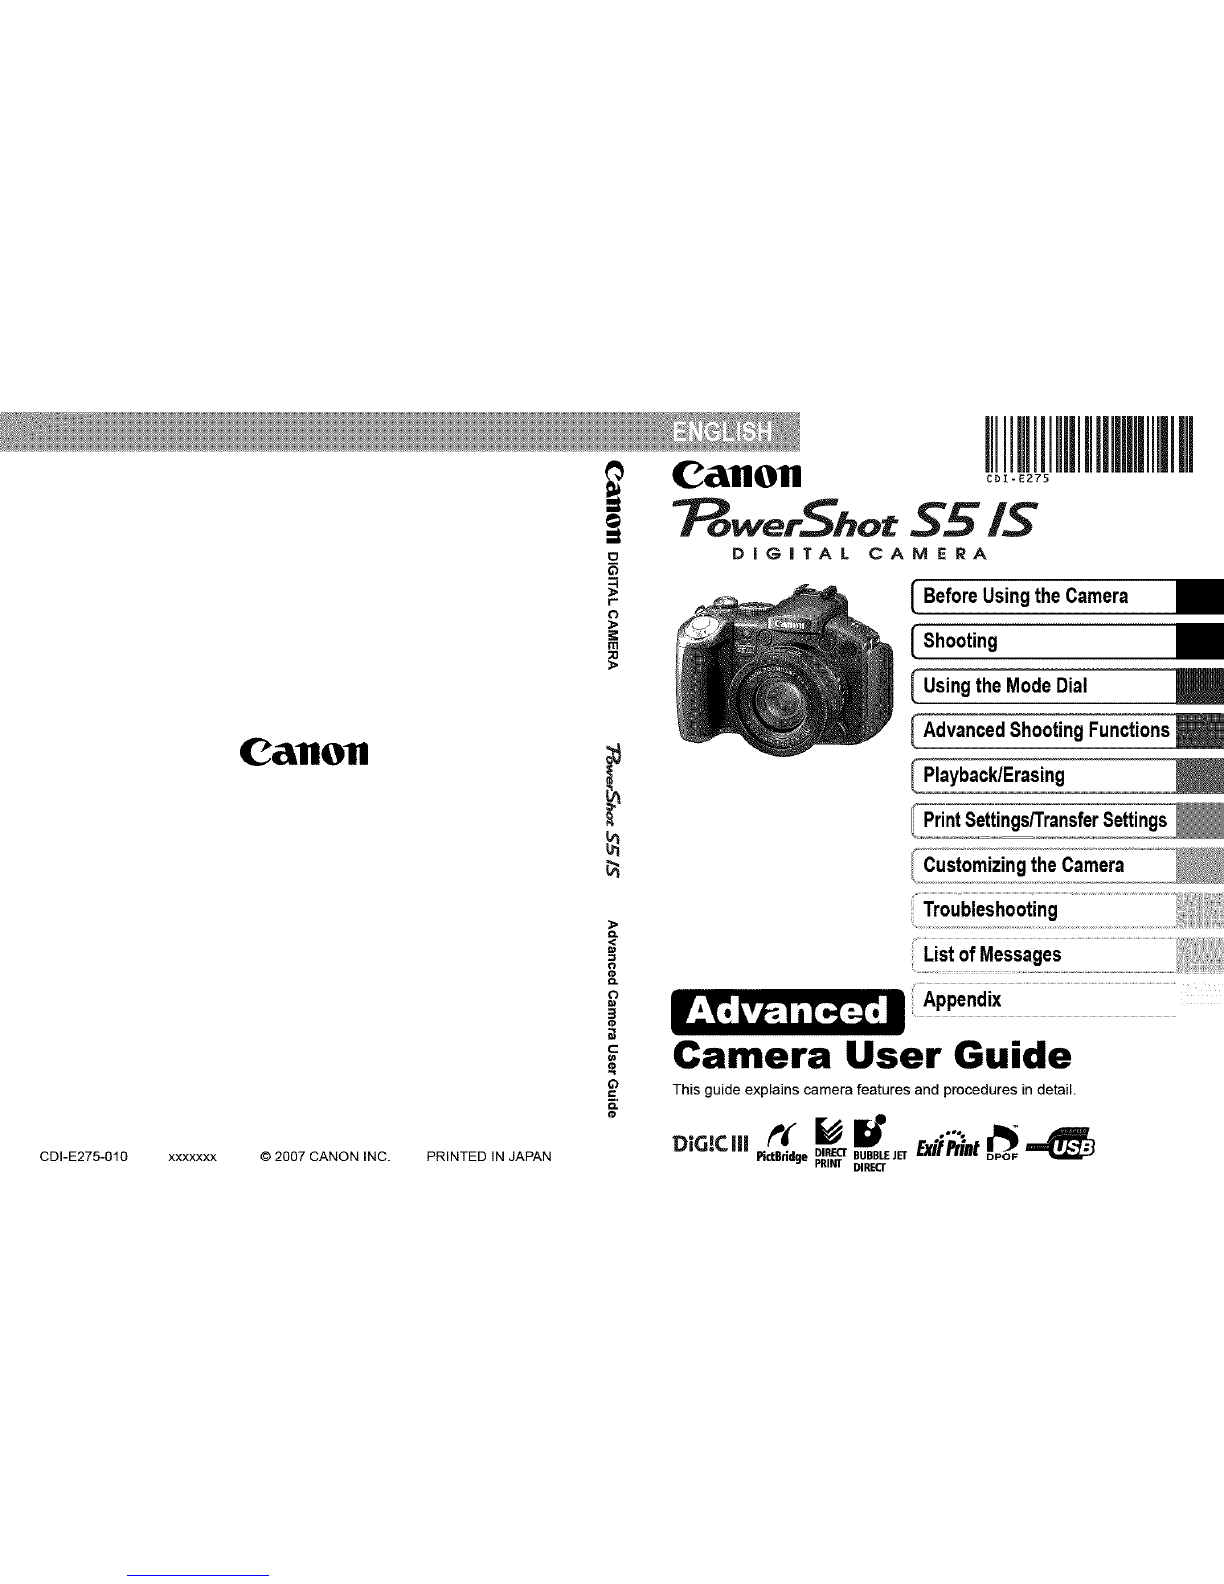
Canon POWERSHOT S5IS User manual
Other Canon Digital Camera manuals

Canon
Canon power shot S51S Operating and maintenance manual

Canon
Canon EOS 70D User manual

Canon
Canon Super 8 User manual

Canon
Canon PowerShot A100 User manual

Canon
Canon POWERSHOT A2300 User manual

Canon
Canon EOS 3 User manual

Canon
Canon SD450 - PowerShot Digital ELPH Camera User manual

Canon
Canon EOS 5D Mark 2 s Operation instructions

Canon
Canon Powershot Pro70 Quick start guide

Canon
Canon EOS 1D Mark III User manual

Canon
Canon EOS 60Da User manual

Canon
Canon PowerShot A560 Operating and maintenance manual

Canon
Canon PowerShot G3 User manual

Canon
Canon PowerShot S1OO User manual

Canon
Canon EOS-1D Mark II Digial Assembly instructions

Canon
Canon PowerShot S3 IS Digital Camera Assembly instructions

Canon
Canon PowerShot SX50 HS User manual

Canon
Canon EOS R5 Assembly instructions

Canon
Canon POWERSHOT A700 User manual

Canon
Canon PowerShot SD300 Mounting instructions