Instruction manual C2237
14 15
Please keep this instruction manual for future reference Please keep this instruction manual for future reference Instruction manual C2237
USING YOUR OVEN
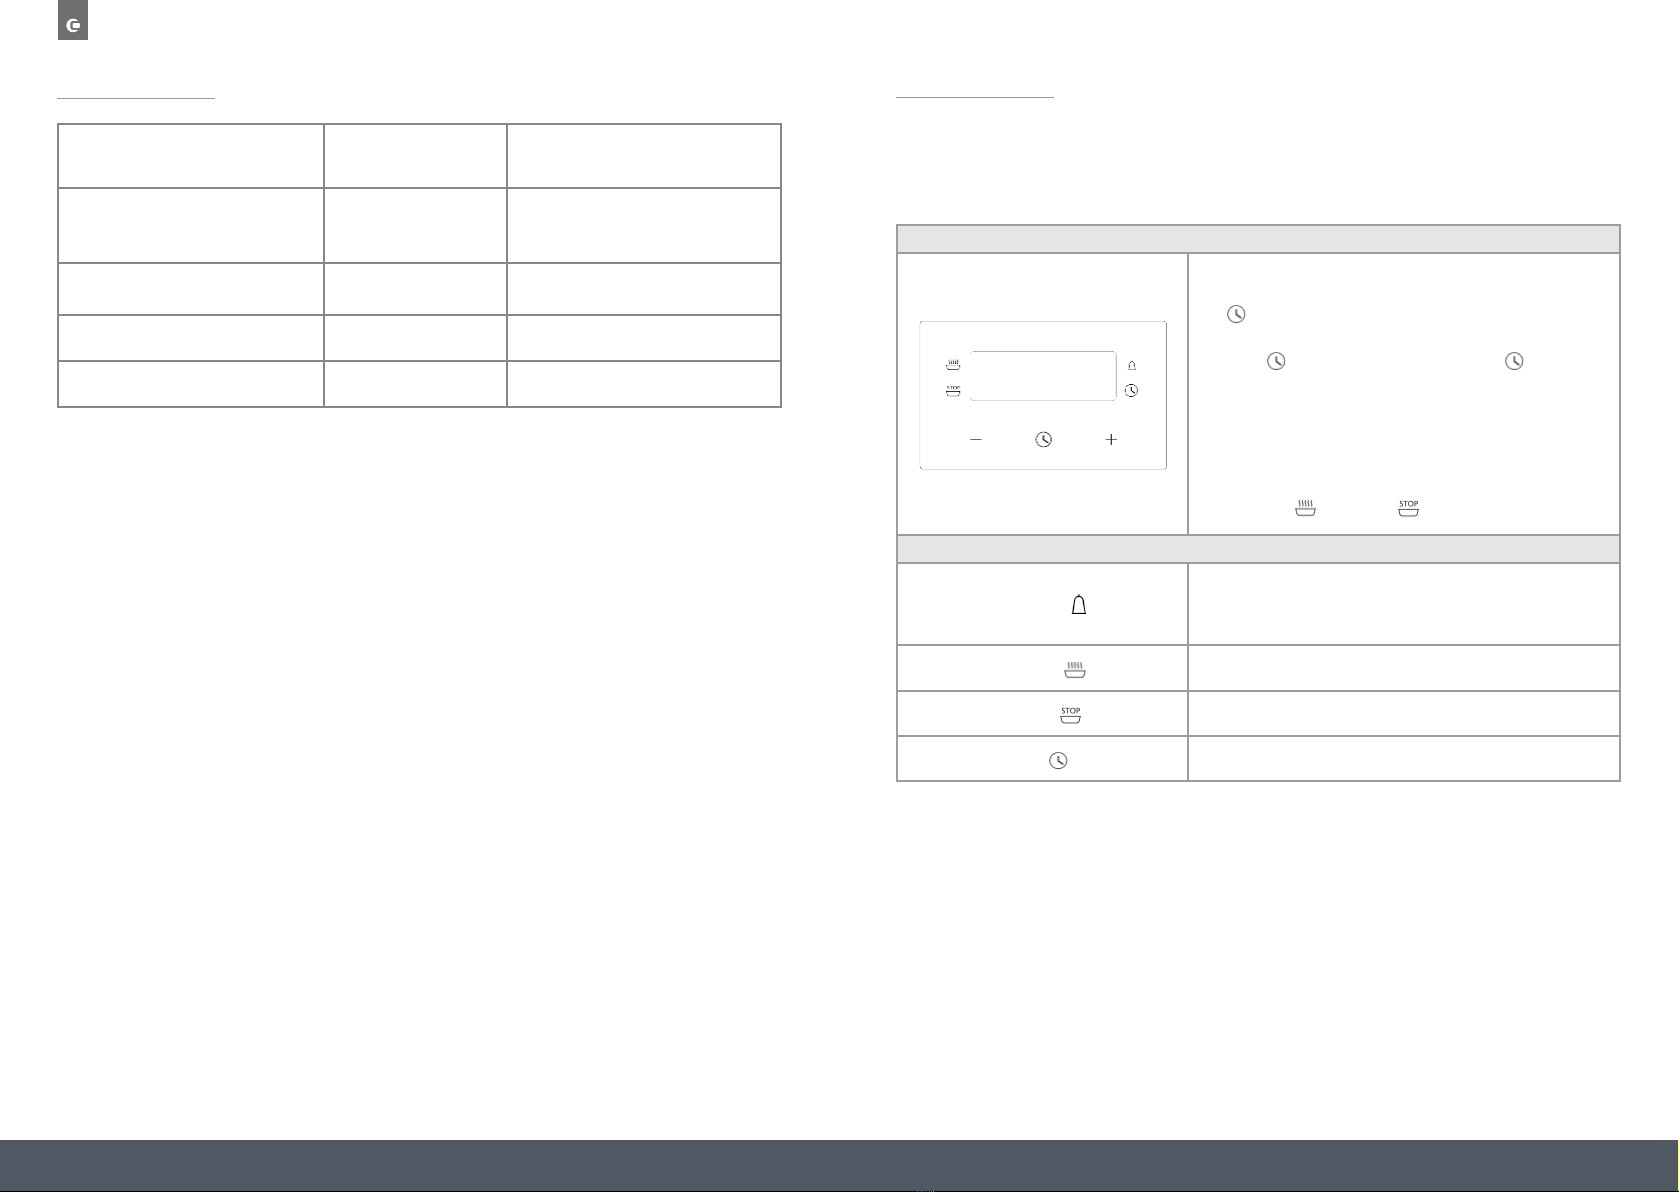
CONTROL PANEL:
OVEN FUNCTIONS
1. Function control knob
2. Temperature control knob
3. Plus/Minus (+/-) touch control buttons
4. Timer touch control button
5. Temperature indicator
6. Display screen
˚
1. 2.
3. 4. 3.
5.
6. LIGHT Internal oven light.
CONVENTIONAL
HEAT
Both the lower and upper heating elements operate together.
This is the traditional cooking method, perfect for roasting joints, cooking
pastry and baking cakes.
TURBO DEFROST The air at ambient temperature is distributed inside the oven to speed up
defrosting time.
FAN HEAT
Both the fan and the circular heating element operate together. The fan evenly
distributes the hot air (between 50˚C and MAX) inside the oven. This is ideal
for cooking several types of food e.g. meat and fish, at the same time without
affecting taste and smell. It is also ideal for delicate pastries.
TURBO BASE
HEAT
Both the fan and the lower heating element operate together. The air which
is heated by the lower heating element is circulated by the fan helping to
distribute the heat. This function can be used for sterilising glass jars.
ECO GRILL
This function can be used for grilling and gratinating small quantities of food.
This function can be used with the door closed.
FULL GRILL This function can be used for grilling and gratinating food. When grilling, the
oven door must be closed.
TURBO GRILL This function can be used for grilling and gratinating food quicker than other
grill functions. When grilling, the oven door must be closed.
TURBO
CONVENTIONAL
HEAT
This function uses both top and bottom heating elements simultaneously.
The heat produced by these is then circulated around the oven by the fan to
help distribute the heat more evenly.
Instruction manual C3371
Please keep this instruction manual for future reference
16
USING YOUR OVEN
Control panel
C3371 - Instruction Manual.indd 16 07/12/2017 10:13
MAX
˚
1. Function control knob
2. Temperature control knob
3. Plus/Minus (+/-) touch control buttons
4. Timer touch control button
5. Temperature indicator
6. Display screen
PPLLEEAASSEE CCAANN YYOOUU AADDDD NNUUMMBBEESS AANNDD LLIINNEESS TTOO TTHHEE CCOONNTTRROOLL PPAANNEELL
TTOO MMAATTCCHH TTHHEE BBEELLOOWW
CONVENTIONAL HEAT
Both the lower and upper heating elements operate together.
This is the traditional cooking method, perfect for roasting joints, cooking pastry and
baking cakes.
TURBO DEFROST
The air at ambient temperature is distributed inside the oven to speed up defrosting
time.
OOvveenn ffuunnccttiioonnss
LIGHT
Internal oven light
Instruction manual C3371
Please keep this instruction manual for future reference
17
FAN HEAT
Both the fan and the circular heating element operate together.
The fan evenly distributes the hot air (between 50˚C and MAX) inside the oven. This
is ideal for cooking several types of food i.e. meat and fish at the same time without
affecting taste and smell. It is also ideal for delicate pastries.
TURBO BASE HEAT
Both the fan and the lower heating element operate together.
The air which is heated by the lower heating element is circulated by the fan helping
to distribute the heat. This function can be used for sterilising glass jars.
ECO GRILL
This function can be used for grilling and gratinating small quantities of food. This
function can be used with the door closed.
FULL GRILL
This function can be used for grilling and gratinating food. When grilling, the oven
door must be closed.
TURBO GRILL
This function can be used for grilling and gratinating food quicker than other grill
functions. When grilling, the oven door must be closed.
C3371 - Instruction Manual.indd 17 07/12/2017 10:13
TURBO CONVENTIONAL HEAT
This function uses both top and bottom heating elements simultaneously. The
heat produced by these is then circulated around the oven by the fan to help
distribute the heat more evenly.