3
ENJOY YOUR CAPTIVA DESIGNS
WARNING:
This
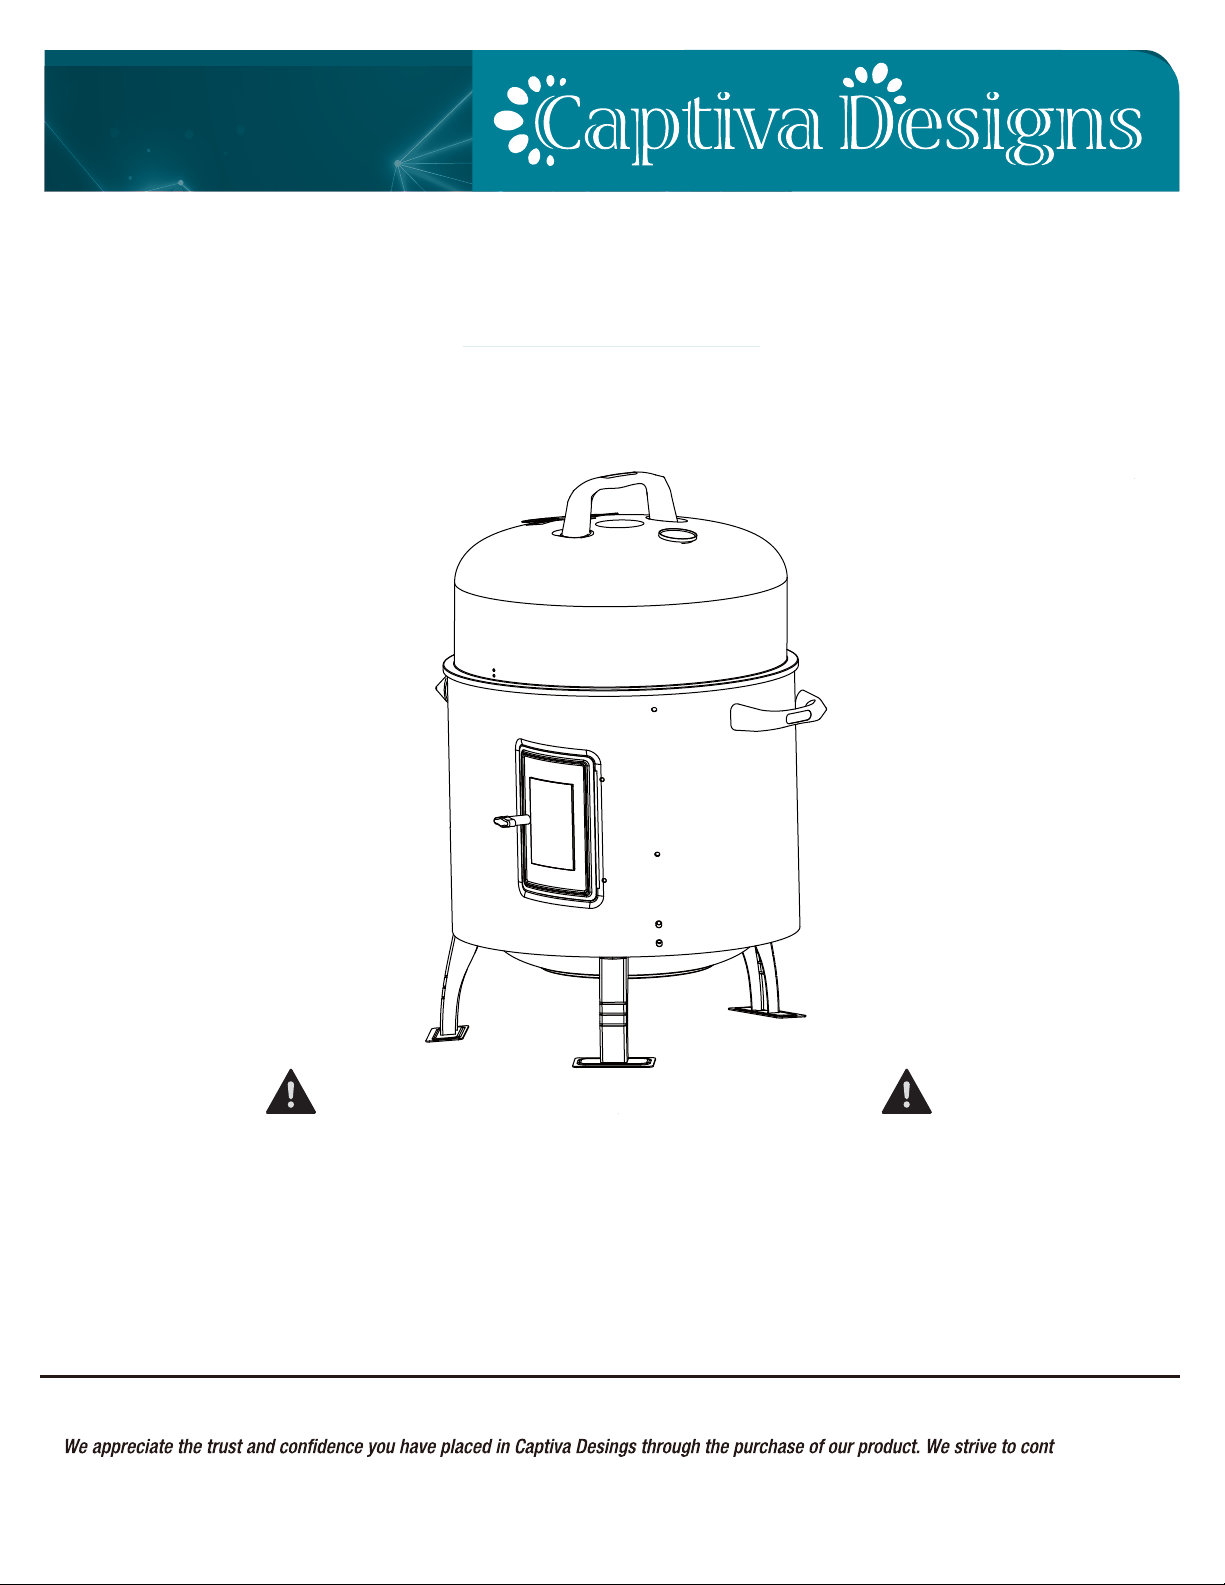
smoker
will become very hot, do not move it during operation!
• Always wear
smoker
gloves when grilling or adjusting the vents as well as when using a chimney
starter.
• When preparing food, adjusting the vents, placing charcoal and using the thermometer or lid always
wear barbecue gloves.
• Grill gloves must be tested in accordance with local code.
• For grilling use only qualied barbecue charcoal or
barbecue
charcoal briquettes.
• Do not BBQ before the fuel has a coating of ash.
• Use grilling tongs with long, heat-resistant handles.
• Allow the
smoker
to cool down completely before cleaning it.
WARNING:
• Do not use spirit or petrol for lighting or
re-lighting!
• Never use water to extinguish the charcoal.
WARNING:
Risk of burning!
• Make sure that the
smoker
is standing on a at and reproof surface that is not made of glass or
plastic.
WARNING:
DANGER to children and pets!
• Never leave the hot smoker unattended.
• WARNING! Keep children and pets away!
Warning
WARNING:
Risk of carbon monoxide poisoning!
• Do not use indoors !
Information for safe operation of the smoker
•The
smoker
must be positioned in a stable and secure surface.
Do not use in enclosed areas or on covered areas.
•Only use safe lighting materials.
•The
smoker
should be heated up and the fuel kept red hot at least 30 minutes before it is used for
the rst time.
•When smoker is in use, maintain clearance of 36” between the hot smoker and any combustible
materials, such as beshes, trees, wooden decks, wooden fences, buildings, etc. Do not place hot smoker
under roof overhang or in any other enclosed area.