Care Messenger Infobox Manual

Infobox !
Install Manual!
!
powered by
!
!
1

CONFIGURING THE
INFOBOX REMOTE
1. Put 2 x AAA batteries in the
remote by removing the rear
cover and inserting as shown
inside the battery compartment.
Ensure the batteries are the
correct way round.
2. To program the Infobox remote,
begin by pressing the yellow and
green buttons at the same time
until the right hand button at the
top of the remote flashes twice.
3. Now press 0820 - the top right
button should flash again.
!
2
WE RECOMMEND THAT YOU COPY THE VOLUME
UP/DOWN, MUTE AND ALSO ON/OFF BUTTONS
FROM YOUR EXISTING TV REMOTE TO THE
INFOBOX REMOTE. IF YOU WISH TO DO THIS
PLEASE READ THE FOLLOWING SECTION
CAREFULLY BEFORE BEGINNING AS THE
OPERATIONS MUST BE COMPLETED SWIFTLY
ONCE BEGUN. ALSO ENSURE THAT THE
REMOTE YOU ARE COPYING FROM HAS
STRONG BATTERIES OR THE OPERATION MAY
FAIL TO WORK CORRECTLY.

3
4. To copy commands from your TV remote to your
Infobox remote (so that you only have to use one
remote to perform all basic actions), place both
remote controls on a flat surface. Make sure that
the ends you normally point at your TV are
facing each other.
5. Press and hold the Copy button on the Infobox
remote for 3 seconds. The two lights at the top
of the Infobox remote will blink twice.
6. Press the On/Off button on the top left hand side
of the Infobox remote until the two buttons at the
top begin to flash quickly. This will be the button
that will turn your TV on and off in the future.
7. Press the On/Off button on your TV remote to
send the signal to the Infobox remote.
a) If the two lights at the top of the "
Infobox remote blink twice, copying"
has been successful."
b) If you get a long blink, repeat steps 6 "
& 7.
8. Now repeat steps 6 & 7 for:"
"
a) Volume up"
b) Volume down"
c) Mute
9. When all keys are copied, press and hold the
copy button until the two lights at the top of the
Infobox remote blink twice again. This exits the
Copying mode.

!
4
LOCATING THE INFOBOX
IT IS VERY IMPORTANT THAT ALL ELECTRICAL
EQUIPMENT HAS ADEQUATE VENTILATION. TO
ENSURE THIS PLEASE DO NOT LOCATE THE
INFOBOX UNDERNEATH OR ON TOP OF ANY
OTHER AUDIO VISUAL EQUIPMENT. THE INFOBOX
MUST NOT BE STACKED ON TOP OF ANY OTHER
EQUIPMENT SUCH AS SKY, ANOTHER SET TOP
BOX OR DVD/BLU-RAY PLAYER.

5
CONNECTING THE INFOBOX TO YOUR TV
What does the box look like?
What do the cables look like?
Aerial / Antenna
SD / CVBS / L-R Audio
HDMI
Ethernet

6
CONNECTING THE INFOBOX TO YOUR TV
What do you already have connected to your TV?
If your TV aerial is plugged directly into your TV with an
aerial connector, and you don’t have Sky, YouView, Virgin
or similar, then you need Setup 1.
If you have Sky, YouView, Virgin or a similar service that
provides you with your TV that is plugged into your TV with
an HDMI cable, then you need Setup 2.
If you have Sky, YouView, Virgin or a similar service that
provides you with your TV that is connected to your TV but
NOT with an HDMI cable, then you need Setup 3.
!
Setup 1
1. Connect the Infobox HDMI OUT port to an HDMI
port on your TV using the HDMI cable provided. The
cable only goes into the port one way, and it doesn’t
matter which end of the cable goes into the box or
TV, either way will work.
2. Disconnect the aerial from your TV and plug it into
the ANT IN port on the Infobox.
Optional step
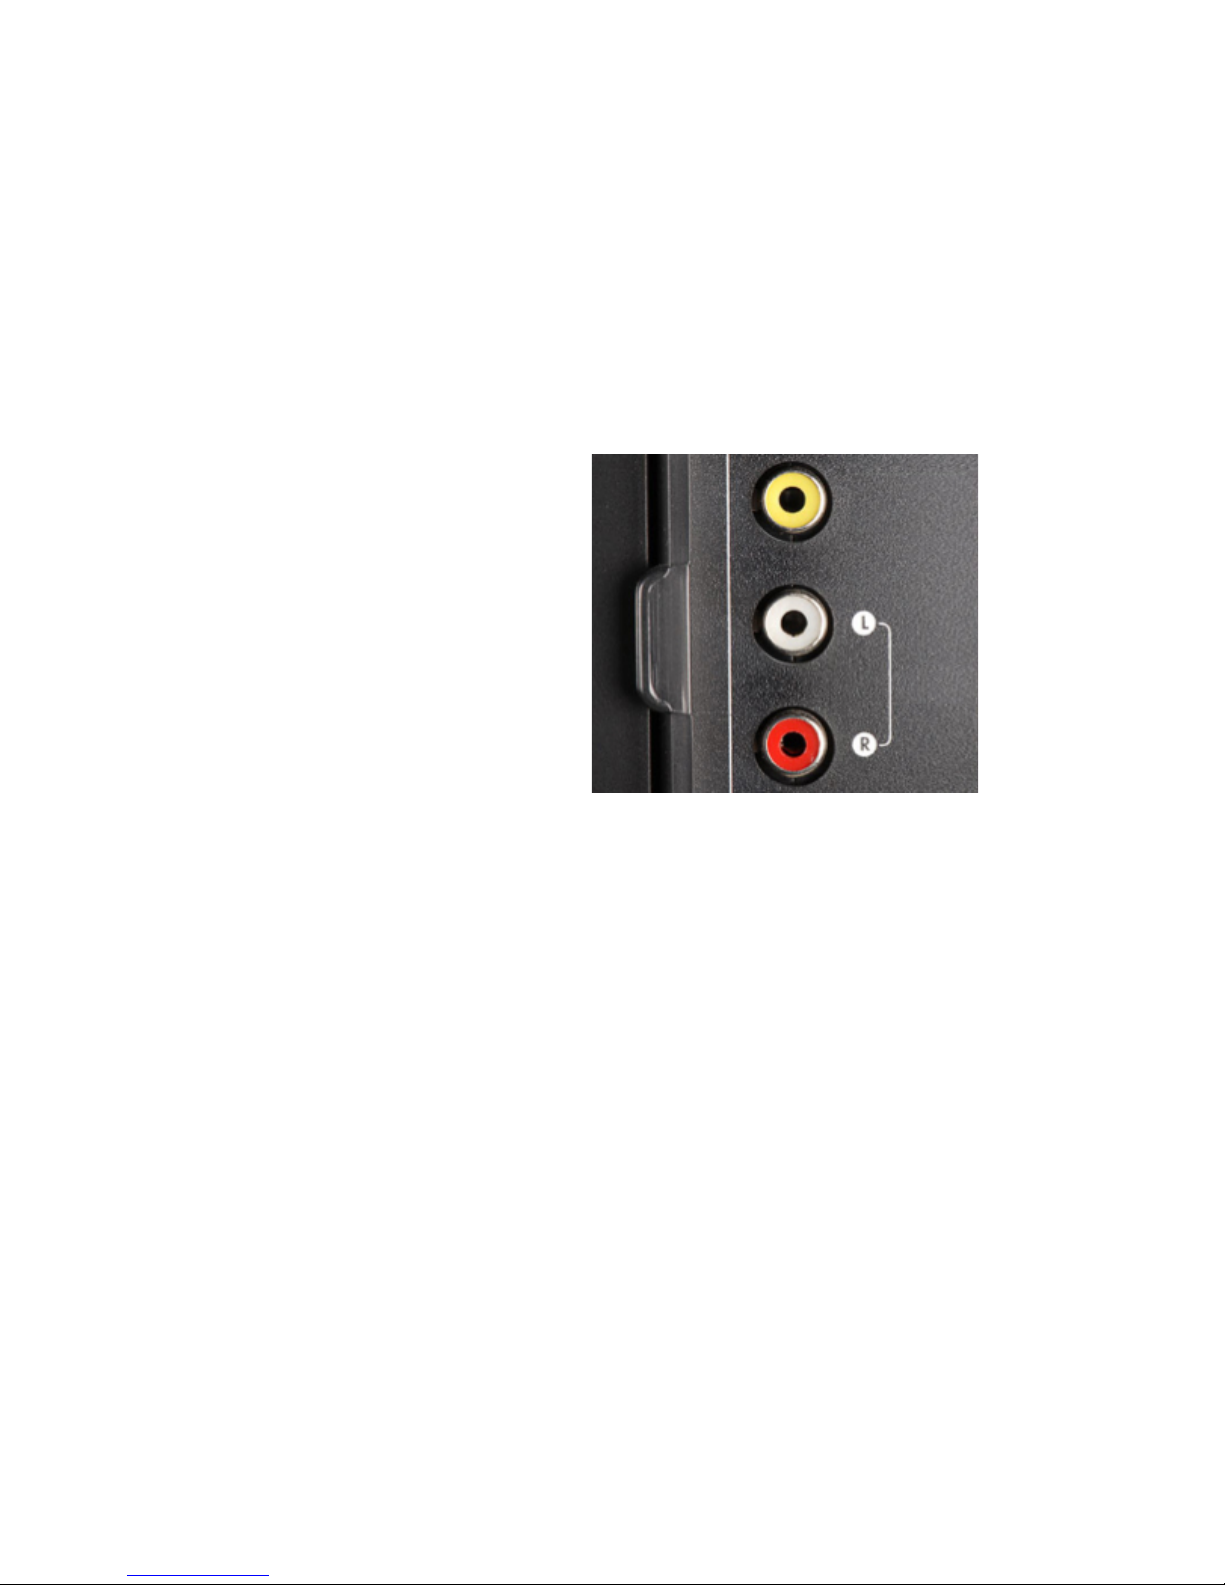
3. If you wish to plug in a Blu-Ray player connect the
HDMI cable from the Blu-Ray on to the HDMI IN
port.

!
7
Setup 2
1. First disconnect the HDMI cable that comes
from your existing set top box from the HDMI
port on your TV.
2. Plug this HDMI cable into the HDMI IN port on
the Infobox.
3. Using the HDMI cable provided, plug one end
into the HDMI OUT port on the Infobox, and the
other into the HDMI port on the TV from which
you removed the cable in point 1 above. The
end of the cable needs to be the correct way up
as it will only go into the port one way round,
and it doesn’t matter which end of the cable
goes into the box or TV, either way will work.
Optional step
4. If you also wish to use the HD tuner on the
Infobox you will also need to plug the aerial
cable into the ANT IN port (most users who use
Setup 2 do not require this as their TV is
provided by their existing set top box).

8
Setup 3
1. Using the HDMI cable provided, plug one end into
the HDMI OUT port on the Infobox, and the other
into the HDMI port on the TV. The end of the cable
needs to be the correct way up as it will only go into
the port one way round, and it doesn’t matter which
end of the cable goes into the box or TV, either way
will work.
2. Locate the Video
(yellow connector)
and L and R Audio
ports on your set
top box, on most
equipment it will
look something
like this.
3. Using the 3 ended
cable provided,
connect your set top box to the Infobox ensuring you
connect the same coloured connectors together, if
your equipment does not have coloured connectors
or labels then use the following guide.
a) Yellow- CVBS/Video"
b) White – Left Audio"
c) Red – Right Audio
Optional step
4. If you also wish to use the HD tuner on the Infobox
you will also need to plug the aerial cable into the
ANT IN port (most users who use Setup 3 do not
require this as their TV is provided by their existing
set top box).

9
CONNECTING YOUR INFOBOX TO THE
NETWORK
If you are using a wired connection to connect to your
internet service, this must be plugged into the Ethernet
port. If you are using a wireless/Wi-Fi connection there
is no need to connect a network cable.
POWERING UP YOUR INFOBOX
Connect the small round plug on the cable from the
power supply provided into the port on the Infobox
marked ‘DC 12V/1.5A', then plug the power supply into
the wall socket and switch on.
You will have t o se l e c t t h e c o r r e c t i n p u t o n y o u r TV
to be able to see the following screens, to do this you
need to use your existing TV remote. To switch inputs
you will need to press whichever button
cycles through the list of inputs, this
could be labelled AV, INPUT, SOURCE, or
may look like this.
Your inpu t w i l l m o s t l i k e l y b e H D M I 1 o r
HDMI 2, you will have the correct input
once you see the image shown on Page
10 of the manual on your screen. If you can, make
this the default input for your TV.

!
!
!
!
!
10
First you are asked for your location. UK is the default,
press OK to continue using your Infobox remote.
SETUP AND CONFIGURATION
Location Settings

!
11
Next you are asked to set preferences. Choose your
network type. Using the Up/Down arrow keys on your
Infobox remote, if you used a cable (Ethernet), choose
wired; if using Wi-Fi, select wireless.
DO NOT PRESS OK AT THIS POINT AS THERE IS
ANOTHER SETTING TO BE SELECTED FIRST
Press the down arrow to move to the next step.
You also need to choose the Default Input to your box
using the left/right arrows on your Infobox remote..
a. If you used Setup 1 select Tuner"
b. If you used Setup 2 select HDMI"
c. If you used Setup 3 select CVBS
When you have selected the correct input, press OK to
continue.
Preferences

!
!
!
!
!
12
If you chose Wireless networking you will be asked to
choose your Wi-Fi network from the list of detected
networks. Select your network using the up/down arrow
keys and when selected press OK.
THIS CAN TAKE A FEW SECONDS TO CONNECT -
PLEASE WAIT AFTER PRESSING THE OK BUTTON
THE FIRST TIME OR YOU MAY SKIP THE NEXT
SCREEN BY ACCIDENT.
Select Wireless Network

!
!
!
13
Wi-Fi password entry
You need to input your Wi-Fi password on the next
screen, using the remote control number keys. When
you press a number key on the remote control, the
number will appear. however, by pressing the same
key multiple times, the character will step on and
change to the next one in the list as per the characters
besides each number as shown on screen. When you
have the number/letter required, wait for 2 seconds
until the cursor moves waiting for the next character.
Press OK when password has been entered. If you
need to switch between upper and lower case options
please use the key at the bottom left of the Infobox
remote.

!
!
!
14
On the next screen, select the DHCP option and
Press OK to continue. Note: If you have the knowledge
and are able to use the advanced settings, you may
enter a static IP address and associated configuration.
!
IP settings

!
!
!
15
ON THE NEXT SCREEN YOU ARE ASKED IF YOU
WISH TO USE THE AERIAL TO VIEW LIVE TV. IF
YOU DO, PRESS OK, IF YOU DO NOT HAVE AN
AERIAL CONNECTED, IT IS VERY IMPORTANT
THAT YOU PRESS BACK
The final screen shows the TV tuner searching for TV
channels that are available in your area. When this has
completed, press OK on the remote to continue
watching TV.
Channel Tuning Search

!
!
!
!
!
!
!
!
!
!
!
For more information visit
www.caremessenger.co.uk
16
Table of contents