8Carolina Cooker®
844-478-4334
Model M52509, M59541, M64556, & M64557
February 2022
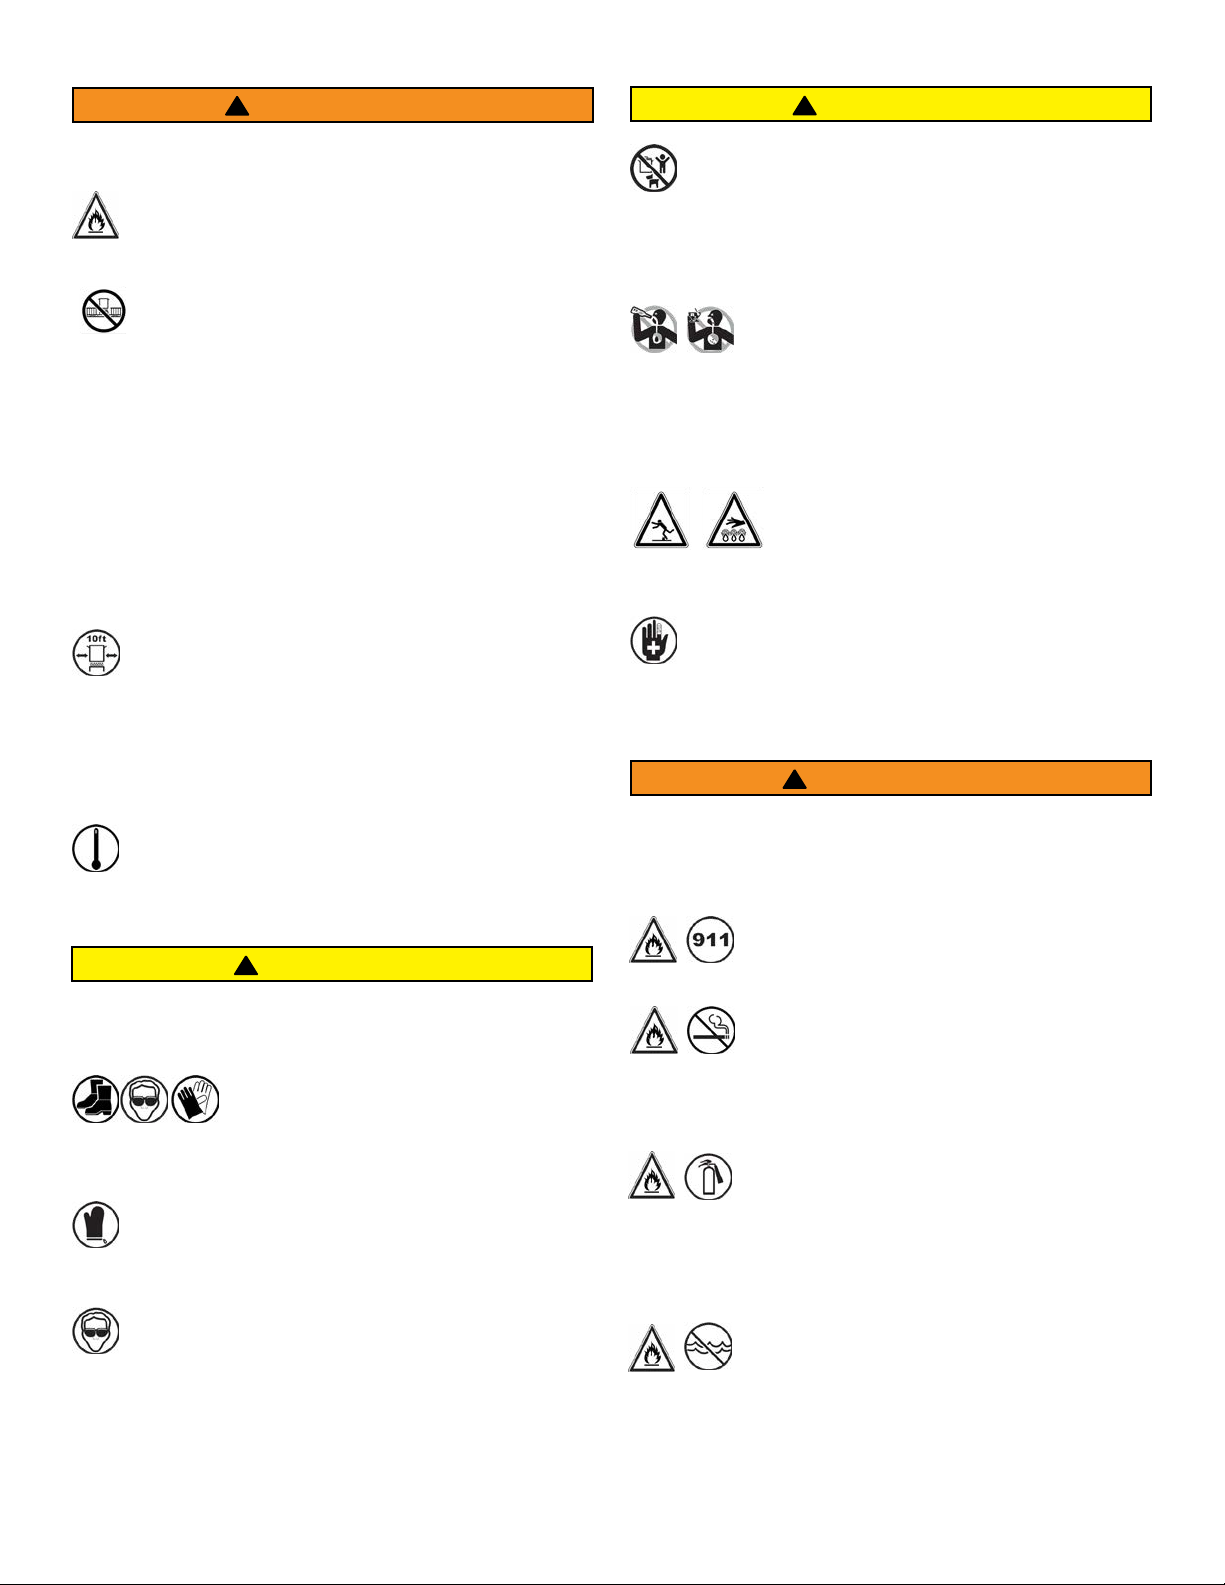
3.7 Cooking Oil or Grease Fires
Cooking Oil Flash Point
Overheatedcookingoilorgreasewillcatchre
andburn.Cookingoilorgreasehasaashpoint
temperaturerangingfrom550°Fto700°F,dependingon
thetypeofoilorgreaseused,altitude,andoutsideambi-
enttemperature.
Note:Overheatedcookingoilwillproduceahugeame.
Alargecookingvatcontainingupto3gallonsofcooking
oilcancreateaameupto15feethigh!
1. Ascookingoilapproachesitsashpoint
temperature,itbeginstovaporize.Whenheatedto
veryhightemperatures,cookingoilvaporswill
self-ignite.
2. Priortoitsashpoint,theoilrstbecomesdark
andemitsanunpleasantodor.
3. Atabout440°F,theoilbeginsemittingapale
vaporsmoke.
4. Atabout500°F,thesmoketurnsblackandwill
quicklyturnintothick,blacksmoke.
5. Atabout600°F,asmallamewilligniteintheoil.
Atthistimethecookingoilhasreachedthepoint
ofself-ignitionandtheamewillquicklygrow.
3.8 LP (Propane) Gas and LP Cylinder
Safety
Failure to follow these safety instructions and warnings
could result in a re or an explosion, which could cause
property damage, personal injury, or death.
UseCarolinaCooker®products(appliances)only
inaccordancewithFederal,state,andlocallaws
and/orordinances.Wheneverconnecting,using,
storing,ortransportinganLPcylinder,thetank
anditsconnectionsmustbeincompliancewiththe
following:
NFPA54/ANSIZ223.1:NationalFuelGasCode,
NFPA58:LiqueedPetroleumGasCode,and
CSAB149-15:TheNaturalGasandPropaneCode
3.8.1 LP Cylinder Specications
When purchasing or exchanging an LP cylinder for
this appliance, it must be constructed and marked in
accordance with the specications for LP gas cylinders,
U.S. Department of Transportation (DOT) or the Standard
for Cylinders, Spheres and Tubes for the Transportation
of Dangerous Goods, CAN/CSA-B339.
WARNING
!
The cylinder must also be equipped with:
• A shut-o valve terminating in a Type 1 LP cylinder
valve outlet.
• A Type 1 valve that prevents gas ow until a positive
seal is obtained.
• A collar to protect the cylinder shut-o valve.
• An overlling prevention device (OPD).
• The cylinder supply system must be arranged for
vapor withdrawal.
Note: For use with 20, 30, or 40 lb. cylinders of LP gas only.
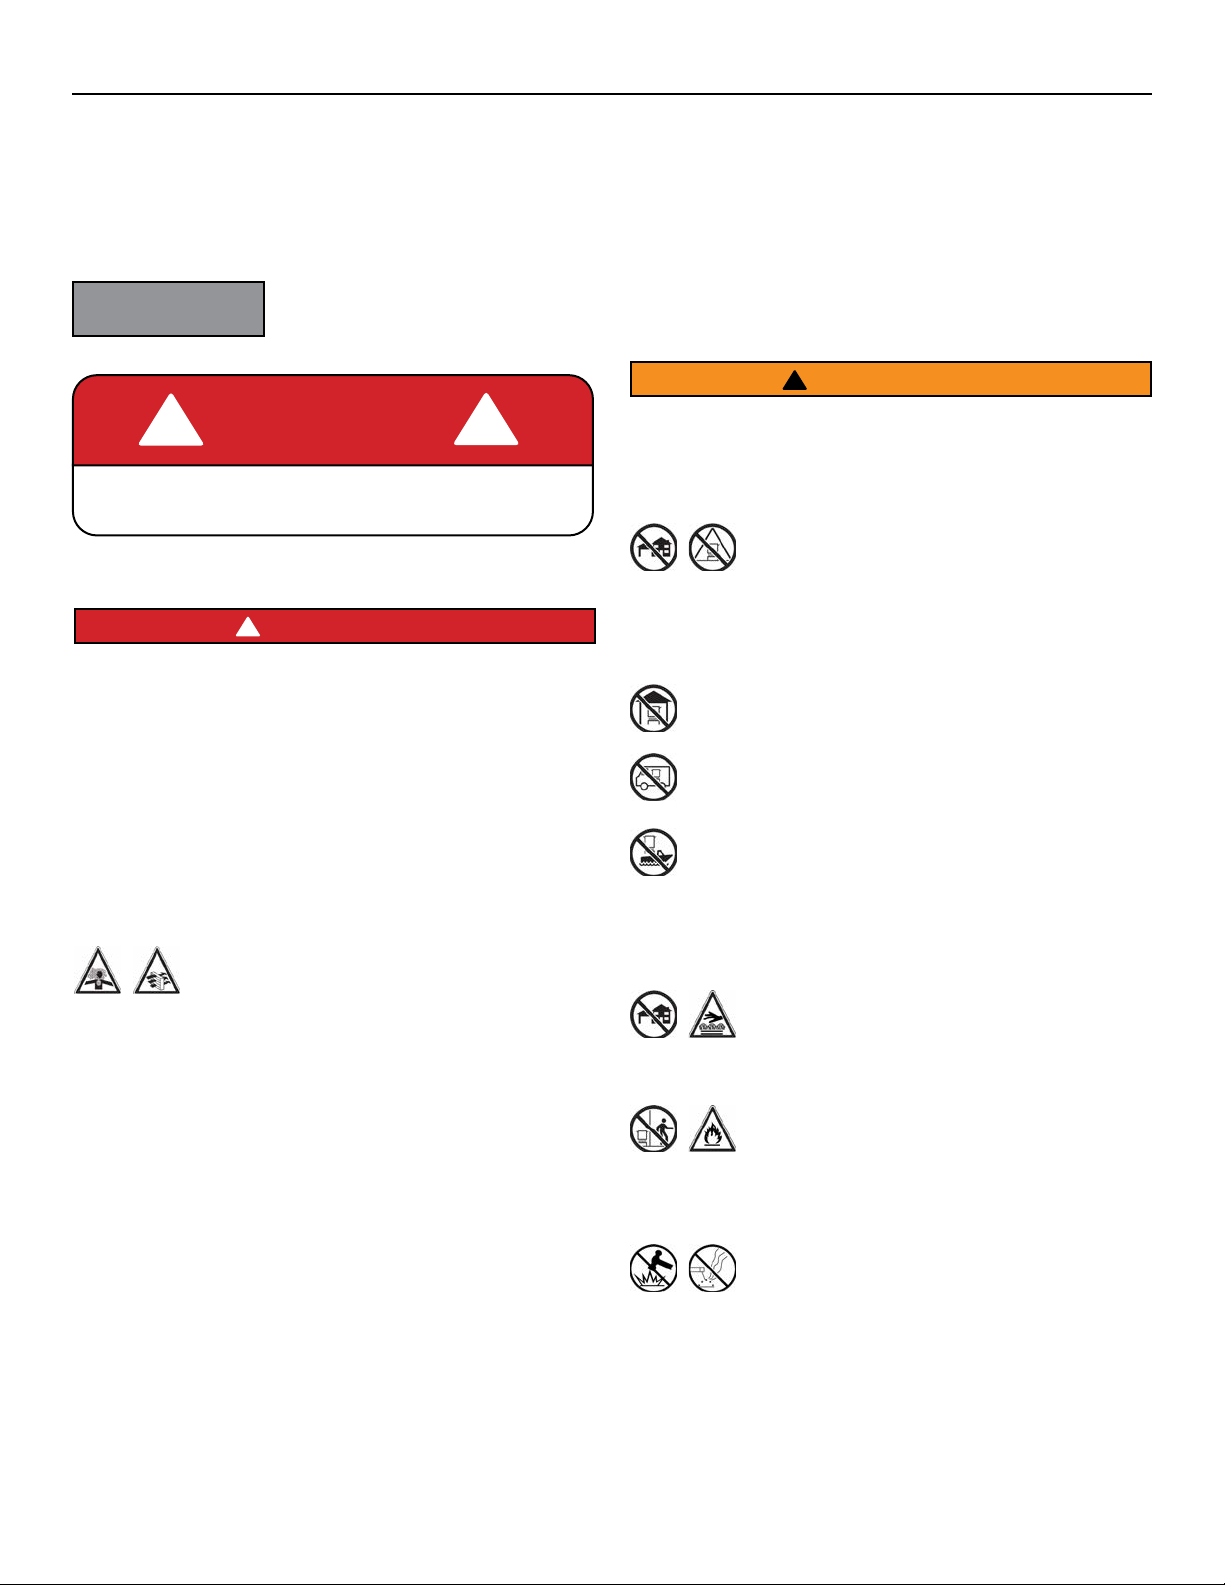
3.8.2 Transporting and Relling an LP Cylinder
1. Never transport an LP cylinder inside a car or in
the trunk of a car. Use an open vehicle, such as a
pickup truck.
2. Allow only qualied LP gas dealers to properly ll
or repair the LP cylinder. DO NOT OVER FILL.
3. Check the dates on the cylinder collar, and if the
cylinder is past its re-qualication date, return it
for a new LP cylinder. Do not rell an out-of-date
LP cylinder.
3.8.3 Using an LP Cylinder
1. Never use the LP cylinder in a position other
than upright. Do not lay an LP cylinder on its side
during use.
2. Propane gas is heavier than air and will collect
in low areas. Proper ventilation is extremely
important.
3. When the appliance is not in use, the gas must
be turned OFF by closing the LP cylinder valve
and the gas pressure shut-o valve.
4. Before storing the appliance after use, always
disconnect the LP cylinder.
5. Never use an LP cylinder if it shows signs of
dents, gouges, bulges, re damage, corrosion,
leakage, excessive rust, or other forms of visual
external damage. The cylinder may be hazardous
and should be checked by a qualied LP supplier.
3.8.4 Storing an LP Cylinder
1. LP cylinders must be stored outdoors, out of
reach of children, and must not be stored in
a human dwelling place, garage, or any other
enclosed area.
2. Never place a connected LP cylinder under the
appliance. Keep LP cylinder in upright position.
3. Do not store an LP cylinder within 10 feet (3m)
of any cooking appliance.
WARNING
!