Carson CAMEDIAXBR User manual

© 2019 Target. The Bullseye Design is a trademark of Target Brands, Inc. All rights reserved.
carson
media stand
>> assembly instructions
style # CAMEDIAXBR (rustic)
dpci # 249-10-0807
style # CAMEDIAXWL (walnut)
dpci # 249-10-2028

2
Congratulations on your latest Target purchase.
Now what? Don’t start sweating over this box of parts. This will be easy. We did the hard work for you.
All you need to do is follow our simple instructions and you’ll be on your way to transforming your
room in no time. Good luck—though we’re condent you won’t need it.
before you begin
1. Check for damaged or missing parts. Call 1-855-MYTGTHOME (855-698-4846) to order missing supplies.
2. Use the carton as a working surface to prevent product damage during assembly.
3. Read through and review assembly steps.
4. Gather all tools prior to assembly.
tools needed


4
hardware
(H1) x 14
wooden dowel
(H2) x 12
at head screw
(H3) x 14
cam bolt
(H4) x 14
cam
(H5) x 19
12mm pan head screw
(H6) x 8
shelf pin
(H7) x 1
15mm truss head screw
(H8) x 1
wall strap
(H9) x 1
wall anchor
(H10) x 1
wall screw
(H11) x 2
5/8” washer

5
exploded diagram
ITEM DESCRIPTION QUANTITY
A top panel 1
B bottom assembly 1
C left side assembly 1
D right side assembly 1
E center assembly 1
F adjustable shelf 2
G back panel 1
H front beam 1
I side trim 2
J front trim 1

6
how to use the cam lock system
1.
Screw cam bolt into panel
2.
Align cam bolt(s) with cross-bored
hole(s) and insert all the way until
panel(s) are ush
3.
Push cam into panel - arrow feature
on cam top points to panel edge
4.
Rotate cam(s) clockwise 180° to
lock panels together
5.
Panels should be tight against each
other and connection should be rigid
1. 2. 3.
4. 5.

7
step 1: attach center assembly to bottom assembly
(H1) x 2
wooden dowel
(H2) x 2
at head screw
1.1. Carefully tap small wooden dowels into place in bottom assembly. Leave 1/2” of the dowels sticking out.
1.2. Do not over tighten screws.
front

8
step 2: attach front beam and side assemblies
(H1) x 6
wooden dowel
(H3) x 6
cam bolt
(H4) x 6
cam
2.1. Carefully tap small wooden dowels into place in left side assembly and right side assembly. Leave 1/2” of the dowels sticking out.
2.2. Screw-In cam bolts must be screwed down ush in left side assembly and right side assembly.
2.3. Refer to page 6 for instructions on how to use the cam lock system.
2.4. Do not over tighten bolts.

9
step 3: attach front and side trim
(H2) x 10
at head screw
1.1. Do not over tighten screws.

10
step 4: attach top panel
(H1) x 6
wooden dowel
(H3) x 8
cam bolt
(H4) x 8
cam
4.1. Carefully tap small wooden dowels into place in top panel. Leave 1/2” of the dowels sticking out.
4.2. Screw-In cam bolts must be screwed down ush in top panel.
4.3. Refer to page 6 for instructions on how to use the cam lock system.
4.4. Do not over tighten bolts.
front

11
** **
step 5: attach back panel
FAILURE TO FOLLOW ALL DIRECTIONS ON THIS PAGE MAY RESULT IN DOOR NOT SLIDING SMOOTHLY
Begin by installing all of the screws along one
edge of the back panel. Next, using a square
or tape measure, make sure that the cabinet is
square. (If using a tape measure, the distance
from one corner, diagonally to the other corner
should be the same in both directions.) If not,
apply gentle pressure to the diagonally opposite
corners to shift case into alignment. Re-measure
to ensure equal distances. Install the remaining
screws, starting with the corners.
(H5) x 19
pan head screw
5.1. Make sure the screws go through the pre-drilled holes properly.
5.2. Do not over tighten screws.
hole for anti-tip

12
step 6: install adjustable shelves
(H6) x 8
shelf pin
6.1. Insert shelf supports into desired hole. Dierent holes accommodate dierent shelf heights.
6.2. Angle shelf to t between the rails and set on top of shelf supports.

step 7: install anti-tip kit
(H7) x 1
truss head
screw
(H8) x 1
wall strap
(H9) x 1
wall anchor
(H10) x 1
wall screw
(H11) x 2
5/8” washer
Position against wall
Mark position of strap hole on wall
Drill 1/4” hole
Tap in wall anchor
Fasten anti-tip strap with wall screw
provided
13
(H10)
(H8)
(H11)
(H7)
(H9)
(H11)
Position against wall (H9)
(H8) Mark position of strap hole on wall
(H11)
(H7) Drill 1/4” hole
Tap in wall anchor
(H11)
(H10)
Fasten anti-tip strap with wall screw
provided
(H7) x 1 (H8) x 1 (H9) x 1 (H10) x 1 (H11) x 2
truss head wall strap wall anchor wall screw 5/8” washer
screw
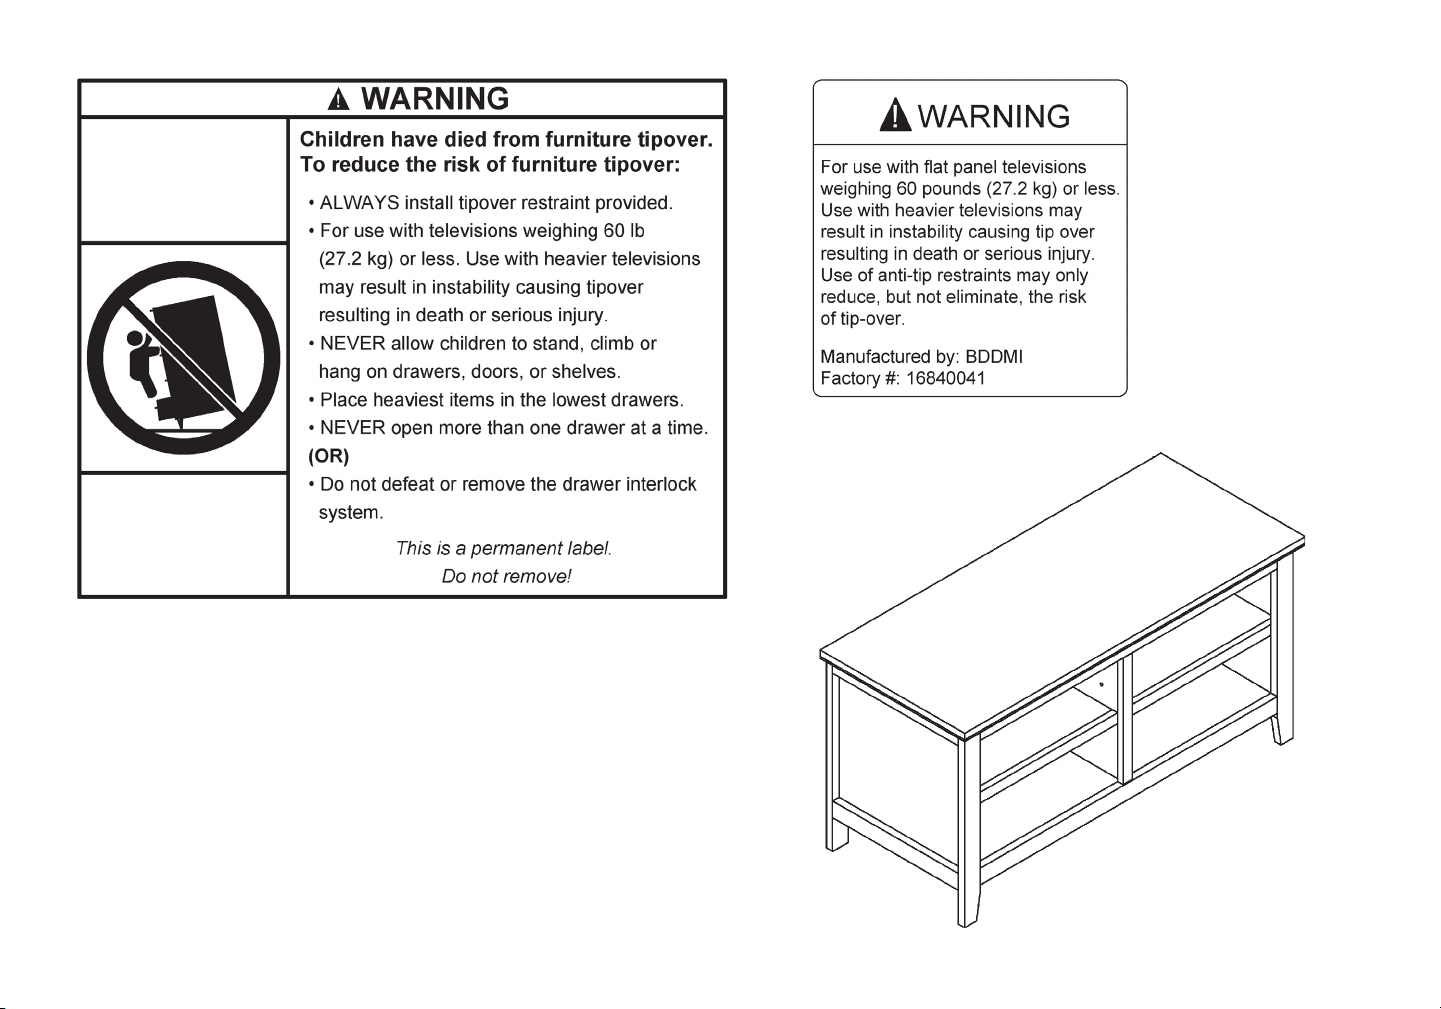
WARNING
Children have died from furniture tipover.
To reduce the risk of furniture tipover:
• ALWAYS install tipover restraint provided.
• For use with televisions weighing 60 lb
(27.2 kg) or less. Use with heavier televisions
may result
in
instability causing tipover
resulting
in
death or serious injury.
• NEVER allow children to stand, climb or
hang
on
drawers, doors, or shelves.
• Place heaviest items
in
the lowest drawers.
• NEVER open more than one drawer at a time.
(OR)
•
Do
not defeat or remove the drawer interlock
system.
This
is
a permanent label.
Do
not
remove!
For use with flat panel televisions
weighing 60 pounds (27.2 kg) or less.
Use with heavier televisions may
result
in
instability causing tip over
resulting
in
death or serious injury.
Use
of
anti-tip restraints may only
reduce, but not eliminate, the risk
of tip-over.
Manufactured by: BDDMI
Factory #:
16840041
1. WARNING - Death or serious injury may occur when children climb on
audio and/or video equipment furniture. A remote control or toys placed
on the furnishing may encourage a child to climb on the furnishing and as a
result the furnishing may tip over on to the child.
2. WARNING - Relocating audio and/or video equipment to furniture not
specically designed to support audio and/or video equipment may result
in death or serious injury due to the furnishing collapsing or over turning
onto a child.
3. This unit has been designed for the weight shown. Exceeding this recom-
mended weight could result in excessive “sagging” of the top. Extreme
overloading can cause failure of the top and possible injury.
4. Furniture Care Instructions: Dust with a clean, lint-free cloth. Use a spray
furniture polish as needed.
14
QUESTIONS? Just call 1-855-MYTGTHOME (855-698-4846) for parts and service. For faster service, have the style number and DPCI number ready when calling.
holds at panel TVs
up to 54” or 60 lbs.
45 lbs. per shelf

© 2019 Target. The Bullseye Design is a trademark of Target Brands, Inc. All rights reserved.
This manual suits for next models
3
Other Carson Indoor Furnishing manuals


Popular Indoor Furnishing manuals by other brands

KEUCO
KEUCO X Series Mounting instruction

Honey Can Do
Honey Can Do CRT-03937 manual

Blanco
Blanco BLANCODIAMOND 511-650 Specification sheet

CRISA
CRISA linea italia ZU103 Assembly instructions

Seconique Furniture
Seconique Furniture Salvador 52698 Assembly instructions

Britec
Britec WASHERBASE Assembling instructions


