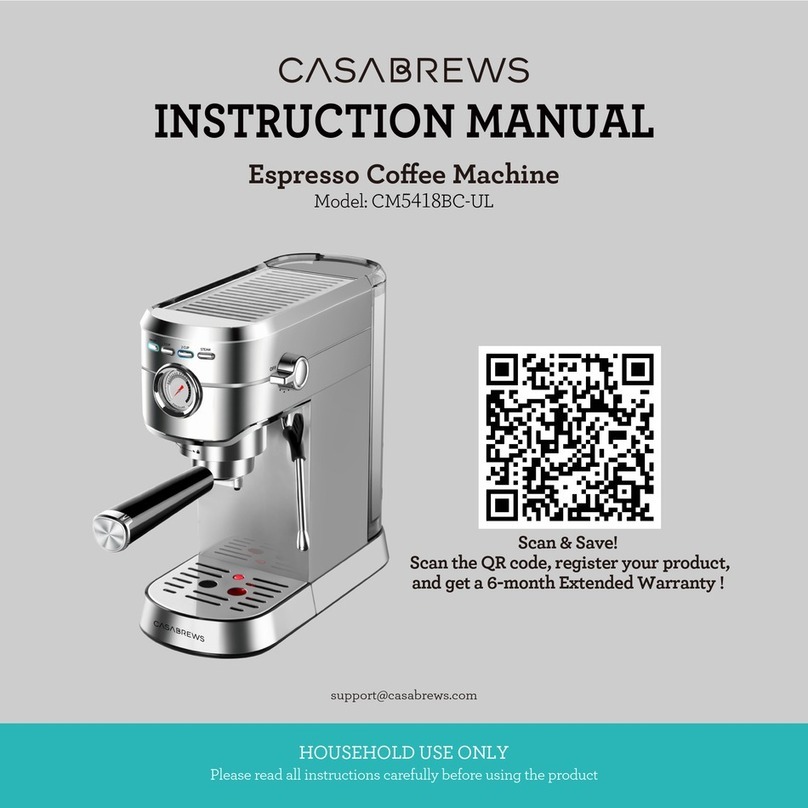
CASABREWS KCM010A User manual

Contents
Important Safeguards ---------------------- 2 - 4
Know your Coffee Maker----------------------- 5
Using your Coffee Maker------------------- 6 - 11
Care and Cleaning-------------------------12 - 13
Decalcifying----------------------------------- 13
Trouble Shooting------------------------------ 14
1

2
IMPORTANT SAFEGUARDS
When using electrical appliances, basic safety precaution should
always be followed to reduce the risk of fire, electric shock and
personal injury.
Including the following:
1. Read all instructions carefully before use.
2. To protect against electric shock, do not immerse cord, plug, or in
water or any other liquid.
3. Unplug from outlet when not in use and before cleaning. Allow the
coffee maker to cool down before putting on or taking off parts and
before cleaning the appliance.
4. Do not operate any appliance with a damaged cord or plug, or
after the appliance malfunctions or has been dropped or damaged in
any manner. Return the appliance to an authorized service facility for
an examination, repair or adjustment.
5. Close the supervision is necessary when any appliance is used by
or near children. Not recommended for used by children.
6. Do not use this appliance for anything other than its intended use.
7. Do not touch hot surfaces. Use handles or knobs.
8. The use of accessory attachments not recommended by the appli-
ance manufacturer may result in fire, electric shock, or personal
injury, and will void warranty.
9. Do not use outdoors.
10. Do not let cord hang over the edge of table or counter, or touch hot
surfaces including the stove.
11. Do not place on or near a hot gas or electric burner, or in a heated
oven.
12. The appliance must be used on flat surface away from the edge of
counter accidental tipping.
13. Do not clean the appliance with scouring powders, steel wool
pads,or other abrasive materials.
14. Do not overfill the cold water reservoir with water.
15. Use only cold water in this appliance. Do not put any other liquids
or foods in the water reservoir except as instructed in this user guide.

3
SAVE THESE INSTRUCTIONS
HOUSEHOLD USE ONLY
POWER CORD INSTRUCTIONS
1. A short power-supply cord is provided to reduce the hazard result-
ing from entanglement or tripping over a long cord.
2. Extension cords may be used if care is exercised. If it is necessary to
use an extension cord, it should be positioned so that it does not
drape over the counter or tabletop where it can be pulled on by
children or tripped over unintentionally.
3. The electrical rating of the extension cord must be the same or
more than the wattage of the appliance (the wattage is shown on the
rating label located on the underside or back of the appliance).
4. Avoid pulling or straining the power cord at outlet or appliance
connections.
16. Unplug and allow the appliance to cool before putting on or taking
off parts, and before cleaning the appliance.
17. CAUTION: Water shower head and capsule holder contain a
sharp piercing needle. Use with caution when cleaning these areas.
18. Never lift lid during brewing cycles as hot water will spay from the
piercing needle and scalding may occur.
19. Do not twist, kink or wrap the power cord around the appliance, as
this may cause the insulation to weaken and split, particularly in the
location where in enters the unit.
20. WARNING: To reduce the risk of fire or electric shock, do not
remove any service covers. There are no user serviceable parts inside
the coffee maker. Only authorized personnel should repair the coffee
maker.
21. Do not leave the appliance unattended while in use.
22. Always attach plug to appliance first, then plug cord into the wall
outlet. To disconnect, turn any control to “off,” then remove plug from
wall outlet.
23. Do not use appliance for other than intended use
24. CAUTION: DO NOT IMMERSE IN WATER

4
POLARIZED PLUG
1. Your appliance is equipped with polarized plug (one blade is wider
than the other).
2. To reduce the risk of electrical shock, this plug is intended to fit into
a polarized outlet only one way.
3. If the plug does not fit fully into the outlet, reverse the plug. If it does
not fit, please consult a qualified electrician. Do not attempt to defeat
this safety feature by modifying the plug in any way.
WARNING: Improper use of the power cord may result in electric
shock. Consult a qualified electrician if necessary.
Before Your First Use
Carefully unpack the appliance and remove all packaging materials.
To remove any dust that may have accumulated during packaging,
wash the coffee ground holder, capsule holder and cup mug with
warm, soapy water. Rinse and dry thoroughly. Do not use harsh or
abrasive cleaners on any part of the appliance. You may wipe the
main body with a clean, damp cloth. Dry thoroughly.
DO NOT immerse the main body of the appliance, cord or plug in
water or any other liquid.
NOTE: We recommend that prior to brewing your first cup, you
“brew” a mug of water without the capsule or coffee ground.
This will remove any dust that may have settled inside the coffee
maker.
IMPORTANT: Use only cold water, the automatic brewing system
has been designed to work with cold water only.

1
2
3
4
5
6
7
89
10
11
12
Capp
Latte
Unheated
Choco
13
14
15
16
17
18
5
Know You Coffee Maker and Milk Frother
Model: KCM010A
Rated Voltage: 120V~ 60Hz
Power: Coffee maker 1000W, Milk frother 400W
Capacity of Coffee maker: 14 OZ
Max capacity of Milk frother: 300 ml
1. Coffee Ground Holder
2. Capsule Holder
3. Capsule Holder Piercing Needle
4. Lid Release Button
5. Lid
6. Cold Water Reservoir
7. Main Body
8. Brew Button
9. LED Indicator
(1. Flashing=working;
2. Steady=Standby)
10. Removable Cup Mat
11. Water Shower Head
12. Piercing Needle
13. Lid of Milk Frother
14. Mixer of Milk Frother
15. Main body of Milk Frother
16. Indicators
(Capp, Latte, Unheated, Choco)
17. Choose / Start Button
18. Base of Milk Frother

6
Using Your Coffee Maker
Use K cup capsule to brew a Single Cup Coffee
1. Place your coffee maker on a flat and dry surface such as a counter-
top, then plug it into outlet.
2. Open the lid by pressing the lid release button (see fig.1).
CAUTION: The capsule holder has a sharp piercing blade inside.
Use caution when handling.
4. Insert a K cup capsule into the capsule
holder (see fig.3).
5.Fill the water reservoir with cold water.
fig.1
Press
CAUTION: The water shower head contains a sharp piercing needle.
Use with caution when lid is opened.
3. Insert the capsule holder into place by
aligning the front of the capsule holder pointing
to the front of the unit (see fig.2).
The capsule holder handle will be positioned to
the left of the coffee maker.
fig.2
fig.3

7
8. Once the brewing cycle has completed, the coffee maker will turn
itself off automatically.
The illuminated start button will turns off when the brewing cycle is
over. Unplug the power cord when not using the coffee maker.
IMPORTANT: Use cold water only-- the automatic brewing system
has been designed to work with cold water only.
CAUTION: This coffee maker makes one fresh beverage at a time.
You will need to add fresh cold water each time you brew. This unit
does not store extra water in the water reservoir. Do not overfill the
water reservoir. Maximum amount of cold water is 0.45L (15 OZ).
Ensure that the amount of cold water added into the water reservoir
is no more than 0.45L (15 OZ) .
6.Close and lock down the lid until it
snaps into place. If using the removable
cup mat, ensure cup mat is centered in
place before placing mug onto cup mat
(see fig.4).
IMPORTANT: Do not operate the coffee
maker if the lid does not close completely.
If the lid does not stay locked down, check to ensure that the remov-
able capsule holder is inserted correctly.
fig.4
7. Press the brew button (see fig.5).
The indicator button will illuminate,
means that the coffee maker has
begun heating the water to prepare
to brew. Once the heating was done,
the coffee maker will brew coffee
automatically.
fig.5
Press

8
Use coffee ground to brew a Single Cup Coffee
1. Place your coffee maker on a flat and dry surface such as a counter-
top, then plug it into outlet.
2. Open the lid by pressing the
lid release button (see fig.1).
3. Insert the capsule holder into place by
aligning the front of the capsule holder pointing
to the front of the unit (see fig.2).
The capsule holder handle will be positioned to
the left of the coffee maker.
Press
fig.1
fig.3
4. Add coffee ground into the ground coffee
holder. Then insert the coffee ground holder into
capsule holder by aligning the front of the
coffee ground holder pointing to the front of
coffee maker. (see fig.3).
fig.2
5. Fill the water reservoir with cold water.

9
6. Close and lock down the lid until it
snaps into place. If using the removable
cup mat, ensure cup mat is centered in
place before placing mug onto cup mat
(see fig.4).
fig.4
7. Press the brew button (see fig5).
The indicator button will illuminate, means that the coffee maker has
begun heating the water to prepare to brew. Once the heating was
done, the coffee maker will brew coffee automatically.
fig.5
Press
8. Once the brewing cycle has completed, the coffee maker will turn
itself off automatically.
The illuminated start button will turns off when the brewing cycle is
over. Unplug the power cord when not using the coffee maker.

Capp
Latte
Unheated
Choco
Capp
Latte
Unheated
Choco
short touch to choose the mode
Capp
Latte
Unheated
Choco
keep touch for 3 seconds to start
the mode you chose
10
Use Milk Frother
1. Plug the base into the outlet and put the
milk frother into the base. Once the milk
frother plug in the base, the indicator light
of 4 modes will flash once and then off.
2. Short touch the button to choose the mode you want. The indicator
light will move up by one step as each time you touch the button.
Once you chose the mode you want and no operation for 3 seconds,
the milk frother will start to work the mode you chosen automatically.
3. The milk frother will stop automatically after the working finished.
You can also touch the button to stop if necessary.
4. (Special instructions covering lid placement and removal. Wording
may vary.)
2. Scalding may occur if the lid is removed during the brewing cycles.

11
NOTE:
1. Use cold, fresh, full-fat or semi-skimmed milk only.
2. Underside of the jug must be dry before using the device.
3. The internal side of jug must be cleaned with a cloth, which suitable
for non-stick surfaces.
4. Know the difference of two blender.
for Capp, Latte and Unheated milk for Choco
Preparation Times:
Capp of 150 ml (MAX): 90 seconds approximately
Latte of 150 ml (MAX): 90 seconds approximately
Unheated of 150 ml (MAX): 90 seconds approximately
Choco of 240 ml (MAX): 90 seconds approximately
CAUTION:
1. This appliance is not intended for use by persons(including children)
with reduced physical, sensory or mental capacities, or lack of experi-
ence and knowledge, unless they have been given supervision or
instruction concerning use of the appliance by a person responsible
for their safety.
2. Children should be supervised to ensure that they do not play with
the appliance.
3. If the supply cord is damaged, it must be replaced by the manufac-
turer, its service agent or similar qualified persons in order to avoid a
hazard.
4. The milk frother is non-water-proof. Never clean it in a dish washer.
Clean after each use. Only use non abrasive cloth, never use a brush.
The jug is non-water-proof, do not put it in dish washer.

12
fig.1
To clean the piercing needle and drain
hole at the bottom of the capsule holder,
you can insert a paper clip, toothpick or
similar tool from below (see fig.1).
Never use harsh detergents or abrasive
cleaners on any part of the appliance.
The main body can be wiped with a
clean, damp cloth when necessary and
dried thoroughly.
Care and Cleaning
The instruction manual shall include appropriate instructions and
caution statements for cleaning, user-maintenance (such as lubrica-
tion or nonlubrication) operations recommended by the manufactur-
er, and shall warn a user that any other servicing should be
performed by an authorized service representative. The manual or
other literature packaged with the product shall also indicate that the
product is for household use.
Other than the care and cleaning procedures in this manual, no other
servicing or maintenance of this unit is necessary.
CAUTION: Be sure to unplug the appliance and allow to cool down
completely before cleaning. To protect against electric shock, do not
immerse cord, plug or appliance in water or any other liquid.
The capsule holder, coffee ground holder and cup mat can be washed
with warm soap water, then dried thoroughly before placing back into
place.

13
Decalcifying
Calcium build-up frequently occurs in coffee makers. This build-up is
quite normal and will caused minerals commonly found in drinking
water. Your coffee maker will need to be descaled every 2-3 months
to remove any calcium or mineral deposits that might have formed.
We recommend decalcifying your coffee maker with a solution of
regular white vinegar and cold water. Use a solution of 2 tablespoons
(30 ml) white vinegar in one mug of cold water.
1. Pour the water with vinegar into the water reservoir. Insert capsule
holder into place and close the lid. Put a empty mug in place. Do not
use the coffee ground holder.
2. Switch the coffee maker on and allow it to brew the water with
vinegar. When the coffee maker finished brewing, empty the mug
and rinse it out with clean water.
3. Refill the water reservoir with clean, cold water and run a second
brew cycle. This will rinse out any remaining vinegar. If necessary, you
may need to repeat the last step.
4. The frequency of decalcifying will depend on the hardness of your
water. In normal water conditions, we suggest decalcifying your
coffee maker every 2-3 months. In hard water conditions, we suggest
decalcifying your coffee maker every 1-2 months.
IMPORTANT: Never immerse the heating stand, cord or plug in
water or any other liquid.
DO NOT try to clean the inside of the water reservoir with cloth, as this
will leave a residue of lint and may clog your coffee maker. Simply
rinse with cold water periodically.
CAUTION: Water shower head and capsule holder contain a sharp
piercing needle. Use with caution when cleaning these areas.

14
CUSTOMER SERVICE
Trouble Shooting
Case Problem Solution
The coffee maker
doesn't work.
Please check and plug in.
Please contact our service for
replace or other help. Do not try
to repair it by yourself.
Please use K cup capsule only.
The plug is not plug in outlet
well.
Please check and put the milk
frother into the base. Once put it
well, all the indicator will flash
one time.
Please contact our service for
replace or other help.
Do not try to repair it by yourself.
Please use max 150ml milk for
cappuccino, latte and unheated.
The milk frother is not put in
the base well.
Use too many milk.
There power cord or inside of
milk frother is damaged.
There power cord or inside of
coffee maker is damaged.
The water comes
out from the Lid.
The capsule is not suit for this
coffee maker.
The milk frother
doesn't work.
The milk foam
comes over the lid.
Do not take apart the appliance by yourself if the cause of failure
is not found, you had better contact certified serving center.
Customer service: support@casabrews.com
Any other servicing should be performed by an authorized
service representative.

1
R20947 Currier Rd, Unit C,
Walnut, CA 91789,
United States of America
support@casabrews.com
Sincreative Brands Inc
Table of contents
Other CASABREWS Coffee Maker manuals

CASABREWS
CASABREWS 5700 Gense User manual

CASABREWS
CASABREWS 3700 ESSENTIAL User manual

CASABREWS
CASABREWS 5700 PRO User manual

CASABREWS
CASABREWS CM5418BC-UL User manual

CASABREWS
CASABREWS CM5418BC-UL User manual

CASABREWS
CASABREWS CM5418BC-UL User manual

CASABREWS
CASABREWS 5700 Gense User manual

CASABREWS
CASABREWS CM5418BC-UL User manual

CASABREWS
CASABREWS CM1699 User manual
Popular Coffee Maker manuals by other brands

Black & Decker
Black & Decker BLACK DECKER HOME DE790 Use and care book

Philips
Philips HL3844N Service manual

Tekmatix
Tekmatix TMFM - 65 Operation manual

Russell Hobbs
Russell Hobbs RH1916 instruction manual

Rheavendors Group
Rheavendors Group CINO XS GRANDE PRO Installation and maintenance manual

Aurora
Aurora AU 414 manual