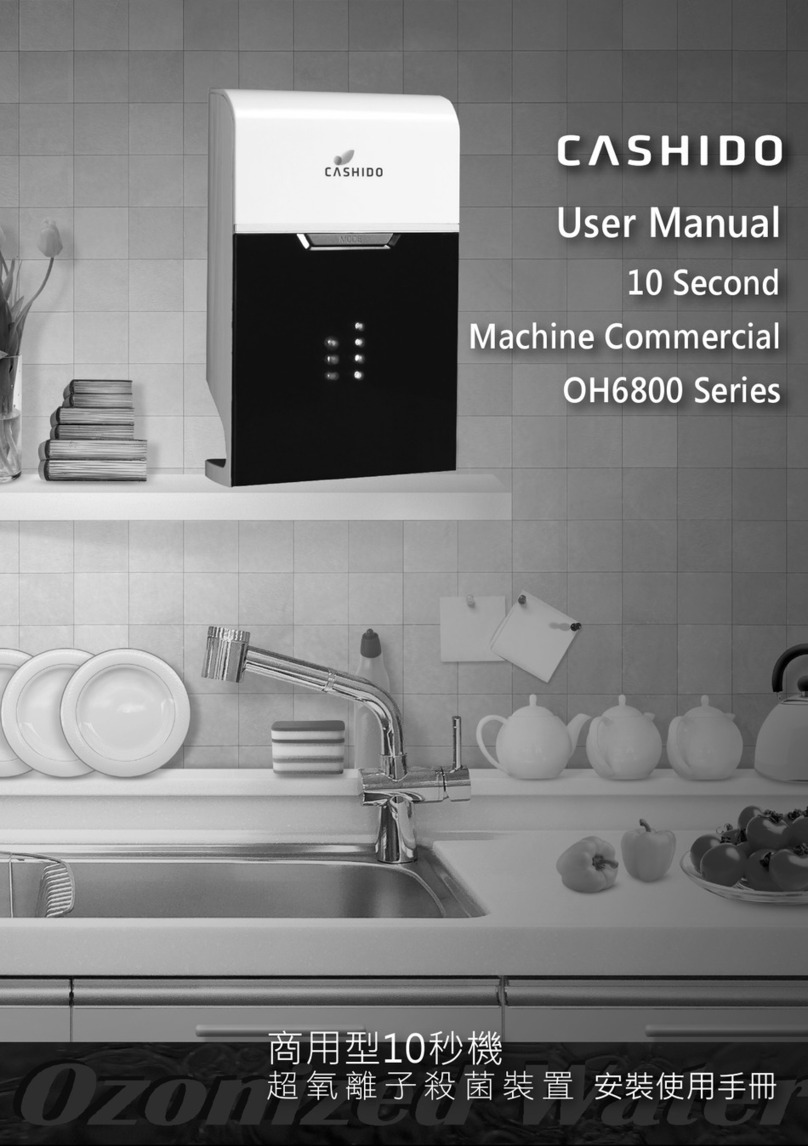
CASHIDO 10 Second Machine Commercial OH6800 Series User manual

10 Second Machine Touch
OH6800 Series
User Manual
觸控型10秒機
超氧離子殺菌裝置


10 Second Machine Touch
P-1
10 Second Machine Touch
Ozone-Water OH6800_T Ozone Sanitizer User’s Manual
OH6800_T
6W(Max.)
100mg/hr(Max.)
400g±10%
10 minutes auto-cut-off protection
7

10 Second Machine Touch
P-2
10 Second Machine Touch
1. Check to see that the machine is free from defects. If so, please contact
vendor for exchange.
1. Status Display
2. Power Button
D. Standby mode: Shown by the images above.
E. Working mode: Shown when the image animation starts.
F. Sleep mode: Shown when the monitor is off but the power is on.
「─」Indicates the power is on.
「○」Indicates the power is off.
A. Hand washing
mode
B. Vegetable
washing mode
C. Meat washing
mode
directions.
Status Display
Power Button

10 Second Machine Touch
P-3
Plug in “I. AC Adaptor.”
Connect “C. Silica Tube.”
Change “J. Filter” when necessary.
3. DC 12V Input Jack
4. Ozone Output Pipe
5. Filter
Input Jack
Ozone Output Pipe
Filter

10 Second Machine Touch
P-4
Hammer “D. Plastic Screw Holder” into the
wall. Fasten “D. Screw” into “D. Plastic
Screw Holder”, keeping a distance of about
3/16”~6/16” between the head of the screw
and wall.
(If you wish to use Velcro on the wall, be
sure to clean the tile first.)
CAUTION: The machine should hang 6” above
the tap. Velcro can only be put on tile or a
smooth surface.
Connect “C. Silica Tube” to the ozone
output pipe. The pipe is located on the back
bottom side.
Hang the ozone sanitizer on the wall.
(Apply “H. Velcro” horizontally in order to
connect both wall and the backside of the
machine.)
Adjust the position of the ozone sanitizer so
that it is upright on the wall and level.
(If “H. Velcro” is on the wall, make sure the
machine sticks to the corresponding tape.)
(Instead of using screws and Velcro, you
can also stand the machine on a flat
surface beside faucet.)
If the faucet spout is male, please attach
“B. Ozone Mixer” directly to the faucet
and insert “C. Silica Tube.”
If the faucet spout is female, please connect
“B. Adaptor” and then attach “B. Ozone Mixer”
to the faucet. Once completed, “C. Silica
Tube” can be connected.
If there is no aerator on the faucet, the
traditionat adaptor attached is needed. lnstall
the traditional faucet adaptor and tighten
"B. Ozone Mixer" to it.

10 Second Machine Touch
P-5
Use “E. Cable Tie” to secure “C. Silica Tube” To the
faucet, use “F. Wire Mounts” to secure “C. Silica
Tube” to the wall.
Plug “I. AC Adaptor” into the ozone sanitizer and the
power outlet.
Press the power button on the machine side to the “
一” position. If the monitor display is on, then the
installation is complete.
CAUTION: Do not press or squeeze on “C. Silica
Tube.”

10 Second Machine Touch
P-6
Illustration - Turn On / Standby / Activation / Sleep / Turn Off
Turn On/ Standby:
Switch the power button on the side to the “一”
position to turn on the machine. The monitor
display will turn on and the machine will enter
standby mode.
Activation:
When the tap is turned on, the animation will start
and show the machine is producing ozone.
Sleep:
The machine will be in sleep mode after one
minute of inactivity. At this time, the monitor
display is off. The machine will return to standby
mode and product ozone when you turn on the
tap.
Turn Off:
Switch the power button on the machine side to
the “O” position to turn off the machine. The
monitor will be turned off. When the tap is turned
on, the machine won’t return to standby mode or
produce ozone.
Auto-cut-off Protection:
Auto-cut-off protection will activate once the
machine has been running continuously for over
10 minutes.
(The machine won’t produce ozone at this time.
Please turn off the tap and turn it on again to
activate the machine.)
Turn OffActivation

10 Second Machine Touch
P-7

10 Second Machine Touch
P-8
Secure the traditional adapter to the faucet, then screw
“B. Ozone Mixer” onto the traditional adapter.

10 Second Machine Touch
P-9
1. Use a clean cloth to clean the surface of the device and to remove dust from the
outlet. Do not clean it through any detergent or water.
2. Replace “J. Filter” in the back side of the machine on a yearly basis. Replace “J.
Filter” when it is dirty or broken in order to prevent malfunction of the machine.
3. “B. Ozone Mixer” needs to be cleaned on a monthly basis in order to prevent water
outlet blockage to damage the machine.
Item
1
2
3
4
5
Problem Solution
Water leakage from the ozone mixer
No ozone is produced when the tap is
turned on.
The monitor displays the animation when
the tap isn’t turned on.
Water amount decreasing
Other behavior
1. Ensure the mixer parts are installed properly. Please contact
Cashido or distributors if needed.
2. Ensure the mixer matches your faucet. If doesn’t, please
contact Cashido or distributors.
1. Monitor Display (No images)
a. Check the power is on.
b. If the power is on, please contact Cashido or distributors.
2. Monitor Display (No animations)
a. Check there’s no water or solid blockage in the silica
tube.
b. If there’s no blockage in the silica tube, please contact
Cashido or distributors.
3. Monitor Display (Showing both images and animations)
a. Please contact Cashido or distributors
1. Check whether there’s noise in the installation place.
2. Check whether the noise lasts for a long time.
Both of the above will cause the malfunction of the machine.
If none of the above is happening, please contact Cashido or
distributors.
1. Check whether there’s blockage in the ozone mixer. If not,
please contact Cashido or distributors.
Return to vender.

10 Second Machine Touch
P-10
10 Second Machine Applications

10 Second Machine Touch
P-11

10 Second Machine Touch
P-12
For more information, please visit the Cashido website:
www.cashido.com.tw

OH6800
P-13
矽膠管固定座
觸控型秒機
觸控型秒機
p. 19
OH6800
OH6800_T
6W(Max.)
400g±10%
100mg/hr(Max.)

觸控型秒機
P-14
矽膠管固定座
觸控型秒機
1. 狀態顯示面板
2.電源開關
D.螢幕顯示在A、B、C,表示待機中。
E.螢幕動畫顯示表示超氧離子供應中。
F.在電源開啟狀態,螢幕未顯示,表示省電休眠中。
「─」表示觸控型10秒機開機
「○」表示觸控型10秒機關機
A.螢幕顯示左方
圖片時,表示臭
氧設定在清洗皮
膚濃度。
B.螢幕顯示左方
圖片時,表示臭
氧設定在清洗蔬
果濃度。
C.螢幕顯示左方
圖片時,表示臭
氧設定在清洗生
肉濃度。
1. 安裝前請仔細檢查觸控型10秒機是否有損傷,如發現有損傷時,請立即通知購買的廠商或
是代理商。
2. 安裝前請仔細檢查及確認所有的零配件是否有短缺,如發現有短缺時,請立即通知購買
的廠商或是代理商。
3. 安裝方式請參閱 "p.16" 圖解安裝說明。
二、認識觸控型10秒機
轉接接頭超氧離子混合器
狀態顯示面板
電源開關

OH6800
P-15
3. 直流12V電源插孔
4. 超氧離子輸出介面
5. 濾網
插入「I.電源轉接器」的圓形插頭
插入「C.矽膠管」,與介面相連接
視濾網汙損情形,進行「J.濾網」替換
三、本產品保固期限為一年,如有下列情形,華仕德有權酌收維修費用:
1. 未依說明書上之使用環境,所致之故障毀壞。
2. 產品之毀損係受不可抗力(天災、水災、火災、地震、雷擊、颱風、蟲害等),外
力破壞(液體滲入、受潮、刮傷、摔傷、卡榫斷裂、敲打、破裂、重擊等)或其他
非正常因素所致者。
3. 客戶擅自使用第三人安裝、添附、擴充、修改、修復非本公司授權或認可之零件
所致之毀壞。
四
電源插孔
超氧離子輸出介面
濾網

觸控型秒機
P-16
在牆面上鑽孔並釘入「壁虎」,鎖上「
背掛螺絲」並預留的螺絲,使觸
控型秒機可以掛置。
將「矽膠管」連接上觸控型秒機下方之
超氧離子輸出介面。
將「魔術帶」橫向黏貼於牆面及觸控型
秒機背面。
將觸控型秒機掛置「背掛螺絲」上並垂
直放正,勿讓觸控型秒機傾斜。
若水龍頭已具有起波器裝置,將水龍頭起波
器反向拆除。
若水龍頭是外螺紋,則直接將「超氧離子
混合器」旋緊鎖上,並連接「矽膠管」。
若水龍頭是內螺紋,請先裝上「轉接接頭
」再將「超氧離子混合器」旋緊鎖上,並
連接「矽膠管」。
若是傳統水龍頭,則需加裝無牙轉接頭。
固定無牙轉接頭後,再將「超氧離子混合器
」向上旋緊即可。
注意:請使用適合之工具安裝「超氧離子混
合器」,以避免「超氧離子混合器」凸出處
斷裂。
注意:觸控型秒機請掛置高於水龍頭公分以上之牆面
。「魔術帶」只能黏貼於瓷磚或光滑表面。

OH6800
P-17
使用「束線帶」固定「矽膠管」於水龍頭
上以防止鬆脫或滑動。
使用「矽膠管固定座」固定「矽膠管」於
牆面上,防止滑動。
將「電源轉接器」插上家用電源插座,圓形
插頭插入觸控型秒機背面電源插孔。
將觸控型秒機側面之電源開關切向開機「
─」,狀態顯示面板正常顯示,即表示已完
成安裝程序。
注意:不可壓迫或擠壓「矽膠管」,保
持「矽膠管」暢通。

觸控型秒機
P-18
圖解操作說明~開機/待機/啟動/休眠/關機
關機
開機 / 待機:
將觸控型 10 秒機側面電源開關切向開機
「─」,觸控型 10 秒機的狀態顯示面板正常顯
示,即表示觸控型 10 秒機已在待機狀態。
啟動:
打開水龍頭當水流出時,狀態顯示面板以動畫
顯示,表示觸控型 10 秒機已在運作,超氧離子
供應中。
休眠:
觸控型 10 秒機保持 1 分鐘未運作,立即進入休
眠省電狀態,狀態顯示面板會關閉。打開水龍
頭當水流出時,會自動從休眠省電狀態,回到
待機狀態,並供應超氧離子。
關機:
將觸控型 10 秒機側面電源開關切向關機
「○」,觸控型 10 秒機會立即關機,狀態顯示面
板會關閉。打開水龍頭當水流出時,並不會回
到待機狀態,也不會供應超氧離子。
自動斷電保護裝置:
觸控型 10 秒機連續工作 10 分鐘後,會自動進
入斷電保護裝置。
( 此時觸控型 10 秒機並不會供應超氧離子,必
須關閉水龍頭後再開啟水龍頭,才能讓超氧離
子重新供應 )
Other CASHIDO Laboratory Equipment manuals
Popular Laboratory Equipment manuals by other brands

Applied Biosystems
Applied Biosystems 7900HT user guide

Takara Bio
Takara Bio Thermal Cycler Dice Touch quick guide

Norlake
Norlake Enviroline supplementary guide

Thermo Scientific
Thermo Scientific CL10 user manual

CAMAG
CAMAG TLC-MS INTERFACE 2 instruction manual

Agilent Technologies
Agilent Technologies 1260 Infinity Service manual

Esco Medical
Esco Medical MIRI MRI-6A10-H-8 user manual

Cell Guidance Systems
Cell Guidance Systems Exo-spin Mini-Columns user guide

MELAG
MELAG Vacuklav 41 B Plus Evolution user manual

Prior Scientific
Prior Scientific PL220 manual

Agilent Technologies
Agilent Technologies 8453 Operator's manual

PI
PI L-417.099232B user manual