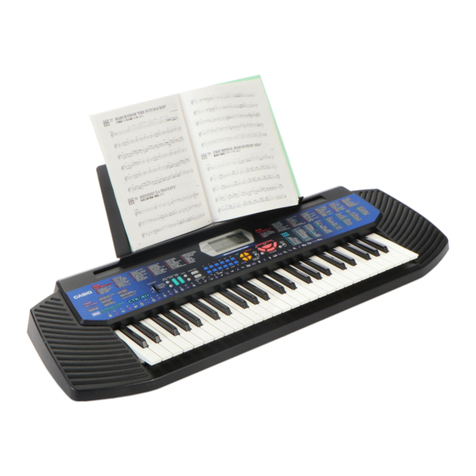
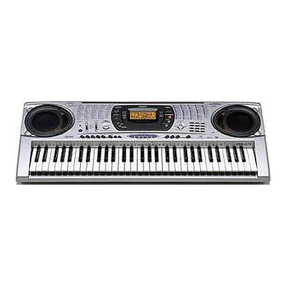
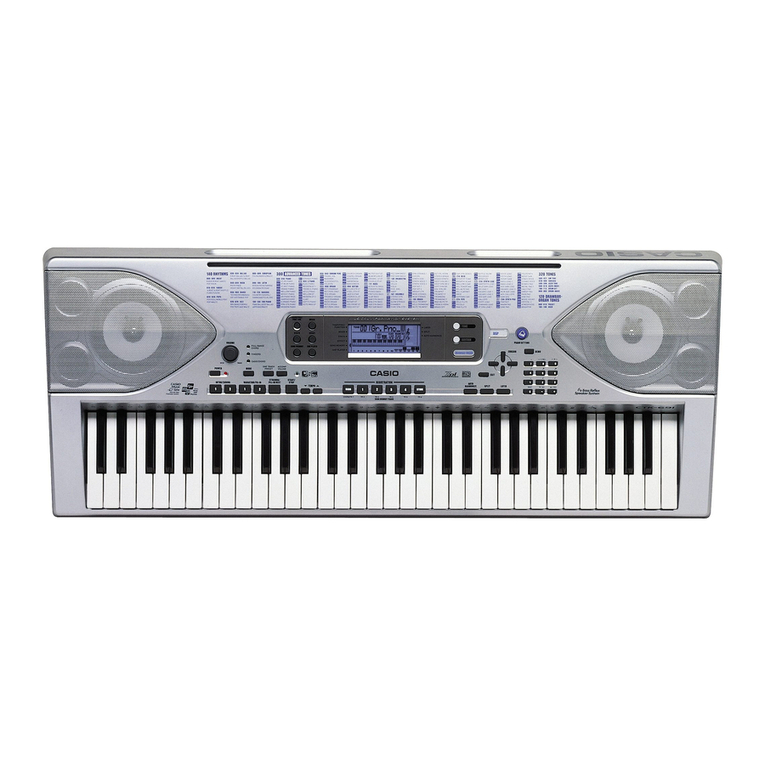
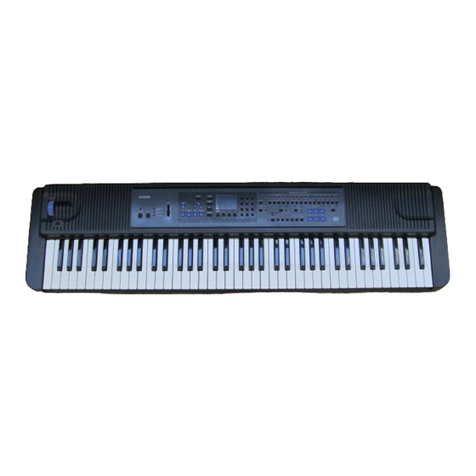
Casio LK-50 User manual

E-16
Auto Accompaniment
This keyboard automatically plays bass and chord parts in accordance
with the chords you finger. The bass and chord parts are played us-
ing sounds and tones that are automatically selected to select the
rhythm you are using. All of this means that you get full, realistic
accompaniments for the melody notes you play with your right hand,
creating the mood of an one-person ensemble.
Selecting a Rhythm
This keyboard provides you with 100 exciting rhythms that you can
select using the following procedure.
To select a rhythm
1. Find the rhythm you want to use in the “Rhythm List”
(page A-4) and note its rhythm number.
2. Press the RHYTHM button.
3. Use the number buttons to input the two digit rhythm
number for the rhythm you want to select.
Example: To select “76 RHUMBA”, input 7 and then 6.
❚
NOTE
❚
You can also increment the displayed rhythm number by pressing [+] and
decrement it by pressing [–].
Playing a Rhythm
Use the following procedure to start and stop rhythm play.
To play a rhythm
1. Set the MODE switch to NORMAL.
2. Press the START/STOP button to start play of the cur-
rently selected rhythm.
3. To stop rhythm play, press the START/STOP button
again.
❚
NOTE
❚
All of the keyboard keys are melody keys while the MODE switch is set to
NORMAL.
Adjusting the Tempo
The tempo (beats per minute) can be set to a value in the range of 40
to 255. The tempo value you set is use for Song Bank, 3-step lesson,
and Auto Accompaniment chord play, as well as playback from mem-
ory and metronome operation.
To set the tempo
1. Use the TEMPO buttons to set the tempo.
▲: Increase the tempo value.
▼: Decreases the tempo value.
❚
NOTES
❚
•While the tempo value is flashing, you can also use the number buttons
or [+] and [–] to input a three-digit value. Note that you must input lead-
ing zeros, so 90 is input as 090.
•Pressing both the ▲and ▼TEMPO buttons at the same time automat-
ically returns the currently selected rhythm to its default tempo.
Using Auto Accompaniment
The following procedure describes how to use the keyboard’s Auto
Accompaniment feature. Before starting, you should first select the
rhythm you want to use and set the tempo of the rhythm to the value
you want.
To use Auto Accompaniment
1. Set the MODE switch to CASIO CHORD, FINGERED,
or FULL RANGE CHORD.
2. Press the START/STOP button to start play of the cur-
rently selected rhythm.
3. Play a chord.
•The actual procedure you should use to play a chord depends
on the current MODE switch position. Refer to the following
pages for details on chord play.
CASIO CHORD .......................................... Page E-17
FINGERED .................................................. Page E-17
FULL RANGE CHORD ............................ Page E-18
Po Bsss
p
1
Indicator appears
Rbeuh 1
a
m
Beat
number
474A-E-018B
789
456
1
0
23
POWER
MODE VOLUME
MAX
TEMPO
INTRO
STEP 1 STEP 2 STEP3
DEMO
NORMAL/
FILL-IN VARIATION/
FILL-IN
SYNCHRO/
ENDING
FULLRANGE
KEY LIGHT
KEY LIGHT
TOUCH
RESPONSE
METRONOME BEAT
TOUCH
TRANSPOSE/
TUNE/MIDI MEMORY STEP
SPLIT LAYER
GM
MEMORY
STEP
RESPONSE
ACCOMP
VOLUME
CHORD
FINGERED
CASIO CHORD
NORMAL
MIN
START/
STOP
S
T
O
P
P
L
A
Y
/
P
A
U
S
E
R
E
W
F
F
L
E
F
T
/
T
R
A
C
K
1
R
I
G
H
T
/
T
R
A
C
K
2
SONG BANK CONTROLLER
3-STEP LESSON
REST
(TIE)
RHYTHM
MODE START/STOP
TEMPO
Number buttons
[+]/[–]
Metronome
Tempo
value
Flash

E-17
4. To stop Auto Accompaniment play, press the START/
STOP button again.
❚
NOTE
❚
The accompaniment keyboard can be used for playing chords only. No
sound will be produced if you try playing single melody notes on the ac-
companiment keyboard.
Chord Types
CASIO CHORD accompaniment lets you play four types of chords
with minimal fingering.
❚
NOTE
❚
It makes no difference whether you press black or white keys to the right
of a major chord key when playing minor and seventh chords.
FINGERED
FINGERED provides you with a total of 15 different chord types. The
following describes the FINGERED “Accompaniment keyboard”and
“Melody keyboard”, and tells you how to play a C-root chord using
FINGERED.
FINGERED Accompaniment Keyboard and Melody Key-
board
CASIO CHORD
This method of chord play makes it possible for anyone to easily play
chords, regardless of previous musical knowledge and experience.
The following describes the CASIO CHORD “Accompaniment key-
board”and “Melody keyboard”, and tells you how to play CASIO
CHORDs.
CASIO CHORD Accompaniment Keyboard and Melody
Keyboard
Major chords
Major chord names are marked
above the keys of the accompani-
ment keyboard. Note that the chord
produced when you press an accom-
paniment keyboard does not change
octave, regardless of which key you
use to play it.
Minor chords (m)
To play a minor chord, keep the ma-
jor chord key depressed and press
any other accompaniment keyboard
key located to the right of the major
chord key.
Seventh chords (7)
To play a seventh chord, keep the
major chord key depressed and
press any other two accompaniment
keyboard keys located to the right
of the major chord key.
ExampleChord Types
CDEFGABCDEF
C Major (C)
CDEF GABCDE F
C minor (Cm)
Melody keyboard
Accompaniment
keyboard
❚
NOTE
❚
The accompaniment keyboard can be used for playing chords only. No
sound will be produced if you try playing single melody notes on the ac-
companiment keyboard.
Melody keyboard
Accompaniment
keyboard
Chord name Basic Chord Form
(The chord form that appears here may
show notes that differ from those actu-
ally pressed on the keyboard. With some
chords, inverted chord forms may be dis-
played.)
Minor seventh chords (m7)
To play a minor seventh chord, keep
the major chord key depressed and
press any other three accompani-
ment keyboard keys located to the
right of the major chord key.
Example
Chord Types
CDEF GABCDEF
C seventh (C7)
CDEFGABCDEF
C minor seventh (Cm7)
See the FINGERED Chord Chart on page A-3 for details on playing
chords with other roots.
*1: Inverted fingerings cannot be used. The lowest note is the root.
*2: The same chord can be played without pressing the 5th G.
474A-E-019A
C7 *2
( )
Cm7 *2
( )
CCm Cdim
Caug *1Csus4
Cmaj7 *2
( )
Cm7-5
C7-5 *1C7sus4 Cadd9 *2
( )
Cmadd9 *2
( )
CmM7 *2
( )
Cdim7 *1
Rh baeh
u
m

E-18
❚
NOTES
❚
•Except for the chords specified in note*1above, inverted fingerings (i.e.
playing E-G-C or G-C-E instead of C-E-G) will produce the same chords
as the standard fingering.
•Except for the exception specified in note*2above, all of the keys that
make up a chord must be pressed. Failure to press even a single key
will not play the desired FINGERED chord.
•When the key light system is turned on, the keys of the accompaniment
keyboard light to show the chord you played. Though the chord is the
same, the form of the chord (the keys that light) may differ from the one
you used (the keys you pressed). If you play C Major using the inverted
chord form E-G-C, for example, the keys for C-E-G will light.
FULL RANGE CHORD
This accompaniment method provides a total of 38 different chord
types: the 15 chord types available with FINGERED plus 23 addi-
tional types. The keyboard interprets any input of three or more keys
that matches a FULL RANGE CHORD pattern to be a chord. Any
other input (that is not a FULL RANGE CHORD pattern) is interpret-
ed as melody play. Because of this, there is no need for a separate
accompaniment keyboard, so the entire keyboard, from end to end,
can be used for both melody and chords.
FULL RANGE CHORD Accompaniment Keyboard and
Melody Keyboard
Example: To play the chord C major.
Any of the fingerings shown in the illustration below will produce C
major.
❚
NOTES
❚
•As with the FINGERED mode (page E-17), you can play the notes that
form a chord in any combination (1).
•When the composite notes of a chord are separated by 6 or more notes,
the lowest sound becomes the bass (2).
< Music Example >
Tone: 016, Rhythm: 05, Tempo: 070
11
11
1........ Chord C
22
22
2........ Chord C
C
E
< Chords Recognized by This Keyboard >
Accompaniment keyboard/Melody keyboard
E
EG C
GC
2
1
4
4
DBmGA
4
4
D
C#
Bm
A
E7
A
A
G
Using an Intro Pattern
This keyboard lets you insert a short intro into a rhythm pattern to
make startup smoother and more natural.
The following procedure describes how to use the Intro feature. Be-
fore starting, you should first select the rhythm you want to use, and
set the tempo.
To insert an intro
1. Press the INTRO button to start the selected rhythm
with an intro pattern.
•With the above setup, the intro pattern is played and the auto
accompaniment with intro pattern starts as soon as you play
chords on the accompaniment keyboard.
❚
NOTES
❚
•The standard rhythm pattern starts to play after the intro pattern is com-
plete.
•Pressing the VARIATION/FILL-IN button while an intro pattern is playing
causes the variation pattern to sound after the intro pattern is complete.
•Pressing the SYNCHRO/ENDING button while an intro pattern is playing
causes the ending pattern to sound after the intro pattern is complete.
Using a Fill-in Pattern
Fill-in patterns let you momentarily change the rhythm pattern to
add some interesting variation to your performances.
The following procedure describes how to use the Fill-in feature.
474A-E-020A
Chord Types
Corresponding
FINGERED Chord
Number of Types
15 (page E-17)
23
The following are examples of chords that
use C as the bass note.
Other Chords F
C
G
C
A♭
CB♭
C
Fm
C
Gm
C
Am
C
B♭m
C
Dm7-5
C
A♭7
C
F7
C
Fm7
C
Gm7
C
A♭add9
C
C6Cm6C69
•••••
••••
••••
D
C
C#
C
E
C
B
C
C#m
C
Dm
C
••
••
••
789
456
1
0
23
POWER
MODE VOLUME
MAX
TEMPO
INTRO
STEP 1 STEP 2 STEP3
DEMO
NORMAL/
FILL-IN VARIATION/
FILL-IN
SYNCHRO/
ENDING
FULLRANGE
KEY LIGHT
KEY LIGHT
TOUCH
RESPONSE
METRONOME BEAT
TOUCH
TRANSPOSE/
TUNE/MIDI MEMORY STEP
SPLIT LAYER
GM
MEMORY
STEP
RESPONSE
ACCOMP
VOLUME
CHORD
FINGERED
CASIO CHORD
NORMAL
MIN
START/
STOP
S
T
O
P
P
L
A
Y
/
P
A
U
S
E
R
E
W
F
F
L
E
F
T
/
T
R
A
C
K
1
R
I
G
H
T
/
T
R
A
C
K
2
SONG BANK CONTROLLER
3-STEP LESSON
REST
(TIE)
MODE
NORMAL/FILL-IN START/STOP
VARIATION/FILL-IN
ACCOMP VOLUMESYNCHRO/ENDING
INTRO
Number buttons
[+]/[–]

E-19
To insert a fill-in
1. Press the START/STOP button to start rhythm play.
2. Press the NORMAL/FILL-IN button to insert a fill-in
pattern for the rhythm you are using.
❚
NOTE
❚
The fill-in pattern does not play if you press the NORMAL/FILL-IN button
while an intro pattern is playing.
Using a Rhythm Variation
In addition to the standard rhythm pattern, you can also switch to a
secondary “variation”rhythm pattern for a bit of variety.
To insert the variation rhythm pattern
1. Press the START/STOP button to start rhythm play.
2. Press the VARIATION/FILL-IN button to switch to the
variation pattern for the rhythm you are using.
❚
NOTE
❚
To switch back to the standard rhythm pattern, press the NORMAL/FILL-
IN button.
Using a Fill-in Pattern with a Variation
Rhythm
You can also insert a fill-in pattern while a variation rhythm pattern
is playing.
To insert a fill-in into a rhythm variation
1. While a variation rhythm pattern is playing, press the
VARIATION/FILL-IN button to insert a fill-in pattern
for the variation rhythm you are using.
Synchro Starting Accompaniment with
Rhythm Play
You can set up the keyboard to start rhythm play at the same time
you play the accompaniment on the keyboard.
The following procedure describes how to use synchro start. Before
starting, you should first select the rhythm you want to use, set the
tempo, and use the MODE switch to select the chord play method
you want to use (NORMAL, CASIO CHORD, FINGERED, FULL
RANGE CHORD).
To use synchro start
1. Press the SYNCHRO/ENDING button to put the key-
board into synchro start standby.
2. Play a chord and the rhythm pattern starts to play au-
tomatically.
❚
NOTES
❚
•If the MODE switch is set to NORMAL, only the rhythm plays (without a
chord) when you play on the accompaniment keyboard.
•If you press the INTRO button before playing anything on the keyboard,
the rhythm starts automatically with an intro pattern when you play some-
thing on the accompaniment keyboard.
•Pressing the VARIATION/FILL-IN button before playing anything on the
keyboard causes play to start with the variation pattern when something
is played on the keyboard.
•To cancel synchro start standby, press the SYNCHRO/ENDING button
one more time.
Finishing with an Ending Pattern
You can end your performances with an ending pattern that brings
the rhythm pattern you are using to a natural-sounding conclusion.
The following procedure describes how to insert an ending pattern.
Note that the actual ending pattern played depends on the rhythm
pattern you are using.
To finish with an ending pattern
1. While the rhythm is playing, press the SYNCHRO/
ENDING button.
•This causes the ending pattern to play which brings rhythm
accompaniment to an end.
•The timing when the ending pattern starts depends on when
you press the SYNCHRO/ENDING button. If you press the
button before the second beat of the current measure, the
ending pattern starts playing immediately. Pressing the but-
ton at any point in the measure after the second beat results
in the ending pattern playing from the beginning of the fol-
lowing measure.
Adjusting the Accompaniment Volume
You can adjust the volume of the accompaniment parts as a value in
the range of 000 (minimum) to 127.
1. Press the ACCOMP VOLUME button.
2. Use the number buttons or the [+]/[–] buttons to
change the current volume setting value.
Example: 110
❚
NOTES
❚
•The current accompaniment volume value that appears in Step 1 auto-
matically clears from the display if you do not input anything within about
five seconds.
•Pressing [+] and [–] buttons at the same time automatically sets an ac-
companiment volume of 075.
Ac
p
o
m
l
oV
Current accompaniment volume setting
Ac
p
o
m
l
oV
474A-E-021A
Flash
Table of contents
Other Casio Electronic Keyboard manuals

Casio
Casio CTK-4200 User manual

Casio
Casio CTK-731 User manual

Casio
Casio Magical Light ML-1 User manual

Casio
Casio LK-73 User manual

Casio
Casio CTK-573 User manual

Casio
Casio CTK-450 User manual

Casio
Casio SA-46 User manual

Casio
Casio LK-50 User manual

Casio
Casio LK-50 Configuration guide

Casio
Casio MA-150 User manual

Casio
Casio Privia PX-200 User manual

Casio
Casio Privia 7ES1A User manual

Casio
Casio CTK-900 User manual

Casio
Casio CDP-200R Troubleshooting guide

Casio
Casio Privia PX-410R Technical document

Casio
Casio CTK-200 User manual

Casio
Casio CTK-4200 User manual

Casio
Casio CTK-530 User manual

Casio
Casio SK-8 User manual

Casio
Casio Celviano AP-21 User manual