Catalina Yachts Catalina 22 1987 User manual

1987 Edition
FORWARD
Congratulations on the acquisition of
your new Catalina 22. All Catalina
yachts are designed and built with
care using quality materials to assure
you years of sailing enjoyment with a
minimum of upkeep and maintenance.
Before attempting maintenance or
operation of your Catalina 22, please
read the Catalina Yachts Limited
Warranty booklet and fill out the
enclosed warranty registration card.
The registration card enables Catalina
to inform you of developments and
modifications to enhance the
performance or comfort of your yacht.
It is also important to be able to
contact owners to comply with Coast
Guard notification requirements.
The launching and rigging of the
Catalina 22 should be handled by
experienced boat yard personnel
under the direction of your authorized
dealer.
The index page lists the contents of
this manual. Warrantees and
information regarding installed optional
equipment have been included when available and applicable.
Maintaining your yacht properly can become a satisfying part of your sailing activities. A regular
inspection is the best preventive maintenance. It will help keep your boat safe and in good condition
while in use, and insure peace of mind when the boat is left unattended.
Take good care of your boat and take the time to learn and practice good seamanship.
PREFACE
This manual is intended and supplied to help owners of Catalina 22's understand their boats and
answer common questions about maintenance and systems design specific to the Catalina 22.
This manual is not intended to provide sailing instructions. It is assumed the operator will consult books
written for that purpose, or take sailing lessons or courses to gain the knowledge necessary for the safe
operation of the vessel.
The systems descriptions and illustrations in this manual apply to boats built at the time of publication.
Our policy of constant improvement necessitates that changes have been made to the Catalina 22 since
its introduction. Therefore, these illustrations and descriptions may not apply to boats built before the
Page
1
of
35
Catalina 22 Owner's Manual for 1987
7/21/2010
http://www.catalina22.org/manuals/mnl87/handbook.htm

time of publication.
Owners of earlier hulls, who have questions not answered herein should consult with their local Catalina
dealer, or write to Catalina Yachts. Please include your hull number in all correspondence.
The maintenance check lists contained within this manual are intended as guidelines for boats in normal
service under typical conditions.
Climate and use will vary and may require additional or special maintenance. Consult with your local
boat yard or Catalina dealer for specific maintenance and precautions recommended for your purposes
and climate.
INDEX
1.0 Introduction
1.1 Reference Data Sheet
2.0 Commissioning Checklist
2.1 Pre-Launch Check
2.2 In Water Check
2.2.1 Electrical
2.2.2 Plumbing
2.2.3 Rigging And Hardware Sailing Check List Final Check
3.0 Maintenance Guide
3.1 Pre-Use Maintenance
3.2 Monthly Maintenance
3.3 Seasonal Maintenance
3.4 Fiberglass Maintenance And Repair
3.4.1 Fiberglass Touch-Up And Repairs
3.5 Barrier Coat And Anti-Fouling Paint
3.6 Teak Maintenance
3.7 Spar Maintenance
3.8 Sail Maintenance
3.9 Interior Cushions, Fabric Covers
3.9.1 Curtains
4.0 Yacht Systems
4.1 Rigging
4.1.1 Stepping The Mast
4.1.2 Tuning The Mast
4.1.3 Setting Up The Boom
4.1.4 Bending On The Mainsail
4.1.5 Bending On The Jibsail (If Required)
4.1.6 Rigging Wire Length Check List
4.1.7 Sail Plan Illustration
4.1.8 Masthead Illustration
4.1.9 Mast Illustration
4.1.10 Main Sail Reefing:
4.1.11 Main Sail Reefing Illustration
4.1.12 Mainsheet/Traveler Illustration
4.1.13 Boom Vang/Pigtail Illustration
4.1.14 Backstay Tension-Adjuster System Illustration
4.1.15 Deck Plan Illustration
4.2 Sailing And Docking Tips
4.2.1 Hoisting And Setting Sails
4.2.2 Docking Under Various Conditions
4.2.3 Points Of Sail
4.2.4 Rules Of The Road (Partial List)
4.3 Electrical
4.3.1 Batteries
4.3.2 12 Volt Wiring Diagram
Page
2
of
35
Catalina 22 Owner's Manual for 1987
7/21/2010
http://www.catalina22.org/manuals/mnl87/handbook.htm

4.4 Fresh Water System Illustration
4.5 Auxiliary Power
4.5.1 Recommended Outboard Engine
4.5.2 Outboard Bracket
4.6 Accommodations
4.6.1 Galley Stove
4.6.2 Pop Top Operation
4.7 Retractable-Keel
4.7.1 The Retractable-Keel Model
4.7.2 The Retractable-Keel Illustration
4.8 Trailering And Launching
4.8.1 Recommendations For Trailering
4.8.2 Ramp Launching Of Retractable Keel Model
4.8.3 Hauling Out The Retractable-Keel Model
4.8.4 Launching For Fixed-Keel Model
5.0 Decommissioning
5.1 Winterizing Your Catalina 22
5.1.1 General Notes
6.0 Owner-User Responsibility
6.1 General Safety Tips
6.2 Required Safety Equipment
6.3 Suggested Safety Equipment And Safety Package
6.4 Safety Package, Factory Option
6.5 Anchors, Anchoring And Mooring
6.6 Lightning Precautions
1.0 Introduction
CAUTION
The aluminum and other metal parts conduct electricity coming in contact with or near an
electrical power line or lightning can cause severe injury or death. Stay away from overhead
electrical power lines when sailing and/or launching the boat.
BARRIER COAT AND ANTI-FOULING PAINT
It is recommended that the underwater surfaces be covered with a barrier coat to prevent water
penetration into the gel coat. Barrier coatings are available from several paint manufactures, and
the coating manufacturer's recommendations should be carefully followed for a successful
application.
1.1 Reference Data Sheet
_____________________________
State Registration Number
______________________________
Radio Telephone Call Number
_____________________________
Hull Number
______________________________
Insurance Company
______________________________
Insurance Policy Number
_____________________________
Outboard Engine Model
______________________________
Page
3
of
35
Catalina 22 Owner's Manual for 1987
7/21/2010
http://www.catalina22.org/manuals/mnl87/handbook.htm

2.0 Commissioning Checklist
2.1 Pre-Launch Check
1. ___ Check hoses and clamps.
2. ___ Check all through hull fittings.
3. ___ Barrier coat applied, antifouling paint applied.
4. ___ Hull sides clean, gel coat OK.
5. ___ Decks clean.
6. ___ Teak cleaned and oiled.
7. ___ Interior finished, oiled, clean.
8. ___ Cushions, carpeting, curtains - clean and in place.
9. ___ Table converts to berth OK; dinette, traditional table stows OK.
10. ___ Hatch lids present and fit OK.
11. ___ Lifelines and pulpits rigged and OK.
12. ___ Spreaders taped and drilled at base end; upper shroud wired to tip end, and taped.
13. ___ Standing rigging pinned to mast.
14. ___ Rigging lengths verified with check list in kit.
15. ___ Mast and boom inspected; cotter pins, sheaves, tangs, spreaders OK.
16. ___ Mast lights checked before mast stepped.
17. ___ Check overhead for electrical wires which may interfere with the space required to raise the
mast to its full upright position. If there are wires of any kind, anywhere near the boat, do not
raise the mast. Move boat to another location, away from any wires. Contact with wire can be
fatal.
2.2 In Water Check
2.2.1 Electrical
1. ___ Electrical equipment operational:
Running, Cabin, Bow, Anchor, Spreaders, Master
_____________________________
Outboard Engine Serial Number
______________________________
Owner's Address
Length Overall
21' - 6"
Beam
7' - 8"
Length Waterline
19' - 4"
Draft
Swing Keel Board Up
Swing Keel Board Down
Fixed Keel
2' - 0"
5' - 0"
3' - 6"
Ballast
Swing Keel
Fixed Keel
550 Lbs.
800 Lbs
Displacement
Swing Keel
Fixed Keel
2250 1bs.
2490 Lbs.
Masthead To Waterline
29.1 Ft.
Water Tank Capacity
Portable
Fuel Tank
Capacity For 6
Gallon Portable
Holding Tank
Self
Containing
Head
Berths
Sleeps (5)
Height On Cradle
8' - 9"
Head Room
Pop Top Up
Pop Top Down
5' - 7"
4' - 4"
_____________________________
Sail Number
Page
4
of
35
Catalina 22 Owner's Manual for 1987
7/21/2010
http://www.catalina22.org/manuals/mnl87/handbook.htm

2. ___ Shore power outlet OK.
3. ___ Check battery switch #1___ OK, #2___ OK.
4. ___ Check battery fluid level.
5. ___ Check battery terminal for tightness.
2.2.2 Plumbing
1. ___ No leaks at thru hull fittings with seacocks open.
2. ___ Fill all water tanks.
3. ___ Check all water tanks.
4. ___ Test faucet for leaks.
5. ___ Check for leaks at sink drain, sink drains OK.
6. ___ Put water in icebox and check for proper drainage.
7. ___ Check bilge pump operation, handle present.
8. ___ Check head by flushing and pumping.
9. ___ Main hatch no leaks, slides freely; hatch boards fit OK.
10. ___ Cabin windows hose tested for leaks.
11. ___ Anchor locker drain OK, no leaks at bow lights.
12. ___ Stove operates OK; check tank, fuel line, burner.
2.2.3 Rigging And Hardware
1. ___ Mast stepped.
2. ___ Pin, tape and tune standing rigging.
3. ___ Backstay adjuster, whisker pole, spinnaker gear, boom vang.
4. ___ Blocks, cars, cleats rigged, OK.
5. ___ Test all winches, winch handles present.
2.3 Sailing Check List
1. ___ Tiller moves freely, 45 degrees minimum, at each side of center line.
2. ___ Sails and halyards, OK.
3. ___ Boat performance under power and sail, OK.
2.3.1 Final Check
1. ___ All accessory equipment operates, OK.
2. ___ All boat, engine and accessory literature and/or manuals aboard.
3. ___ Warranty cards completed and mailed, owner registration card attached, owner informed of
warranty responsibilities.
3.0 Maintenance Guide
3.1 Pre-Use Maintenance
Rigging
1. Inspect turnbuckles - tighten, if necessary.
2. Inspect clevis pins and cotter pins.
3. Visually inspect spreader tips and other areas where sails may chafe during sailing; replace tape
as necessary.
4. Halyards free and not tangled.
5. Inspect mast hardware attachment bolts; tighten as required.
Hull And Deck Inspection
Page
5
of
35
Catalina 22 Owner's Manual for 1987
7/21/2010
http://www.catalina22.org/manuals/mnl87/handbook.htm

1. Tiller moves freely.
2. Bilges and compartments are dry.
3. Thru hull valves, hoses and clamps, OK.
4. Check running lights.
3.2 Monthly Maintenance
Rigging
1. Inspect chain plates, fastenings and bolts; tighten as necessary.
2. Inspect blocks, shackles and cotter pins.
3. Check rigging tune, rigging wire condition.
4. Check turnbuckles and locking pins.
Hull And Deck
1. Check cockpit drains, clear debris.
2. Winches turn freely, lubricate as per manufacturer's recommendations.
3. Clean and oil exterior teak as necessary.
4. Clean and wax gel coat surfaces as necessary.
3.3 Seasonal Maintenance
Rigging
1. Mast head pins and sheaves turn freely.
2. Halyards and nicropress fittings are in good condition and are taped.
3. Spreader tips and bases; mast fittings.
4. All shroud terminations and swaged fittings.
5. Gooseneck assembly and boom assembly.
6. Mast, boom and spreaders cleaned and waxed.
Hull, Deck And Cabin
1. All chainplates and thru bolts tight.
2. Disassemble winches and lubricate bearings and pawls.
3. Coat electrical system, battery tie downs and terminal connectors to prevent corrosion.
4. Drain and flush fresh water system.
5. Hatch gaskets and hold down dogs.
6. Bottom, keel and rudder condition.
7. Lifelines, stanchions and pelican hooks.
3.4 Fiberglass Maintenance And Repair
One of the major benefits of a fiberglass boat is the elimination of maintenance chores required by other
materials. You have only three relatively easy maintenance rules to follow to keep your boat looking like
new:
1. Each year, clean, buff and wax the exterior of the boat.
2. Touch up and patch scratches, scars and small breaks.
3. Repair any major breaks as soon as possible to avoid additional damage to the hull of decks.
Most fiberglass boats are manufactured of two "layers" of material, permanently bonded together by a
chemical reaction. The outside surface is formed by a colored gel coat. This is a special resin material
containing concentrated color. It provides a smooth, finished surface.
Page
6
of
35
Catalina 22 Owner's Manual for 1987
7/21/2010
http://www.catalina22.org/manuals/mnl87/handbook.htm

The second "layer" is made up of polyester resin reinforced with laminations of fiberglass mat, cloth or
woven roving. Both the gel coat and polyester resin are "cured" by a chemical catalyst which causes
them to form a hard, strong mass that is highly resistant to impact and, damage.
After sailing, a good hosing down with fresh water and a mild detergent will keep your boat sparkling
fresh and clean. The non-skid surfaces may need to be scrubbed with detergent. Smooth glass areas
may be polished with liquid wax or any good fiberglass wax to add extra luster. In the case of older
boats, where some fading of the gel coat has occurred, the surface should be buffed with polishing
compound and then wax finished.
When buffing the boat to restore its finish, care should be taken not to cut through the gel coat surface.
This is especially true on corners and edges of the hull. A power buffer may be used, or the work may
be done by hand, using a lightly abrasive rubbing compound such as Mirror Glaze No. 1 for power
buffers, or Dupont No. 7 for hand buffing. Any high quality paste wax may be used after buffing.
3.4.1 Fiberglass Touch-Up And Repairs
Scratches, Shallow Nicks, Gouges, Small Holes
(That do not penetrate through the hull)
These repairs are easy because only the surface of the boat is damaged. They fall into two categories:
(1) damage to the gel coat colored outer surface, and (2) holes or gouges that are deep enough to
penetrate the fiberglass reinforced area of the boat. The repair operations are similar.
For damage to the gel coat surface, you will need a small can of gel coat, of the same color as your
boat, and a small amount of catalyst. For deeper holes or gouges (1/8" or more) you will also need
some short strands of fiberglass which can be trimmed from fiberglass mat or purchased in the form of
"milled fibers." These materials can be purchased from your dealer.
1. Be sure the area around the damage is wiped clean and dry. Remove any wax or oil from the
inside of the hole or scratch.
2. Using a power drill with a burr attachment, roughen
the bottom and sides of the damaged area and feather
the edge surrounding the scratch or gouge. Do not
"undercut" this edge. (If the scratch or hole is shallow
and penetrates only the color gel coat, skip to step No.
8.).
3. Into a jar lid or on a piece of cardboard, pour a small
amount of gel coat ... just enough to fill the area being
worked on. Mix an equal amount of milled fibers with
this gel coat, using a putty knife or small flat stick.
Then add two drops of catalyst, using an eyedropper
for accurate measurement. For a half-dollar-size pile
of gel coat, this amount of catalyst will give you 15 to
20 minutes working time before it begins to "gel".
Carefully cut the catalyst into the gel coat and mix
thoroughly.
Page
7
of
35
Catalina 22 Owner's Manual for 1987
7/21/2010
http://www.catalina22.org/manuals/mnl87/handbook.htm

4. Work this mixture of gel coat, fibers and catalyst into
the damaged area, using the sharp point of a putty
knife or knife blade to press it into the bottom of the
hole and to puncture any air bubbles which may
occur. Fill the scratch or hole above the surrounding
undamaged area about 1/16".
5. Lay a piece
of
cellophane
or waxed
paper over
the repair
to cutoff the
air and
start the
"cure."
6. After 10 or 15 minutes the patch will be partially cured.
When it feels rubbery to the touch, remove the
cellophane and trim flush with the surface, using a
sharp razor blade or knife. Replace the cellophane
and allow to cure completely (30 minutes to an hour).
The patch will shrink slightly below the surface as it
cures.
7. Again use the electric drill with burr attachment to
rough up the bottom and edges of the hole. Feather
hole into surrounding gel coat, do not undercut.
8. Pour out a small amount of gel coat into a jar led or on cardboard. Add a drop or two of catalyst
and mix thoroughly, using a cutting motion rather than stirring. Use no fibers.
9. Using your finger tip or the tip of a putty knife, fill the
hole about 1/16" above the surrounding surface with
the gel coat mixture.
10. Lay a piece of cellophane over the patch to start the
curing process. Repeat step 6, trimming patch when
partially cured.
11. Immediately after trimming, place another small
amount of gel coat on one edge of the patch and
Page
8
of
35
Catalina 22 Owner's Manual for 1987
7/21/2010
http://www.catalina22.org/manuals/mnl87/handbook.htm

cover with cellophane. Then, using a rubber squeegee or back of the razor blade, squeegee level
with area surrounding the patch. Leave cellophane on patch for 1 to 2 hours, or overnight, for a
complete cure.
12. Using a sanding block, sand the patched area with
600 grit WET sandpaper. Finish by rubbing or buffing
with a fine rubbing compound. Some slight color
difference may be observed. Weathering will blend
touch-up, if properly applied.
3.5 Barrier Coat And Anti-Fouling Paint
It is recommended that the underwater surfaces be covered with a barrier coat to prevent water
penetration into the gel coat. Barrier coatings are available from several paint manufacturers, and the
coating manufacturer's recommendations should be carefully followed for a successful application.
For those owners who apply anti-fouling paint themselves, it should be noted that most brands require
all underwater fiberglass surfaces to be very carefully sanded and primed immediately prior to the first
application on a new boat. In any event, the instructions of the manufacturer of the paint used should be
followed.
Anti-fouling paint should be applied to the bottom of your Catalina 22, if it is to be moored in either fresh
or salt water for any length of time. There are many brands available. Anti-fouling paint prevents the
growth of algae, barnacles and other fouling organisms on underwater surfaces. Before applying bottom
paint, the bottom should be thoroughly cleaned with a solvent to remove any wax.
3.6 Teak Maintenance
Wood Trim And Parts
Most exterior wood is teak, and may be kept looking good by regular oiling with teak oil.
Should the teak become weathered, cleaning and bleaching with a commercially available teak cleaner
and bleach will restore the color of the wood; then, oil of the wood with a good grade teak oil to restore
the golden color of the teak should be applied. Do not use wire or hard bristle brushes on the wood, as
this will remove the softer wood between the annual rings, and leave a rough surface.
3.7 Spar Maintenance
Your boat is equipped with stainless steel standing rigging, and stainless, dacron running rigging to give
you years of trouble-free service. However, due to normal wear and tear, it is recommended that a
periodic inspection be made on all fittings and wire. Turnbuckles should never be neglected; they should
be unscrewed from time to time in order that they do not seize ... every three months should be about
right for the average sailor. A slightly bent turnbuckle shaft, or broken wire in your shrouds should be
replaced immediately. As a rule of thumb, stainless steel standing rigging should be replaced after five
(5) years of service.
Page
9
of
35
Catalina 22 Owner's Manual for 1987
7/21/2010
http://www.catalina22.org/manuals/mnl87/handbook.htm

Fittings
Marine fittings today need little maintenance. Deck hardware should be hosed down with fresh water
after each sail in salt water. Stainless steel fittings such as pulpits and lifeline stanchions should be
cleaned and waxed periodically to maintain their appearance. Winches require occasional cleaning and
lubrication. Where possible, a maintenance brochure for your winches has been included in this manual.
Mast head fittings, halyard sheaves, etc., should be inspected, cleaned and lubricated periodically.
Keep your equipment clean of dirt and salt.
Spars
Like all other boat fittings, mast and booms suffer from salt water, air and spray. These should be kept
waxed, where possible and, at least, always hosed down with fresh water. Always see that the halyards
are tied off, away from the mast. This will eliminate slapping in the wind and subsequent marking of the
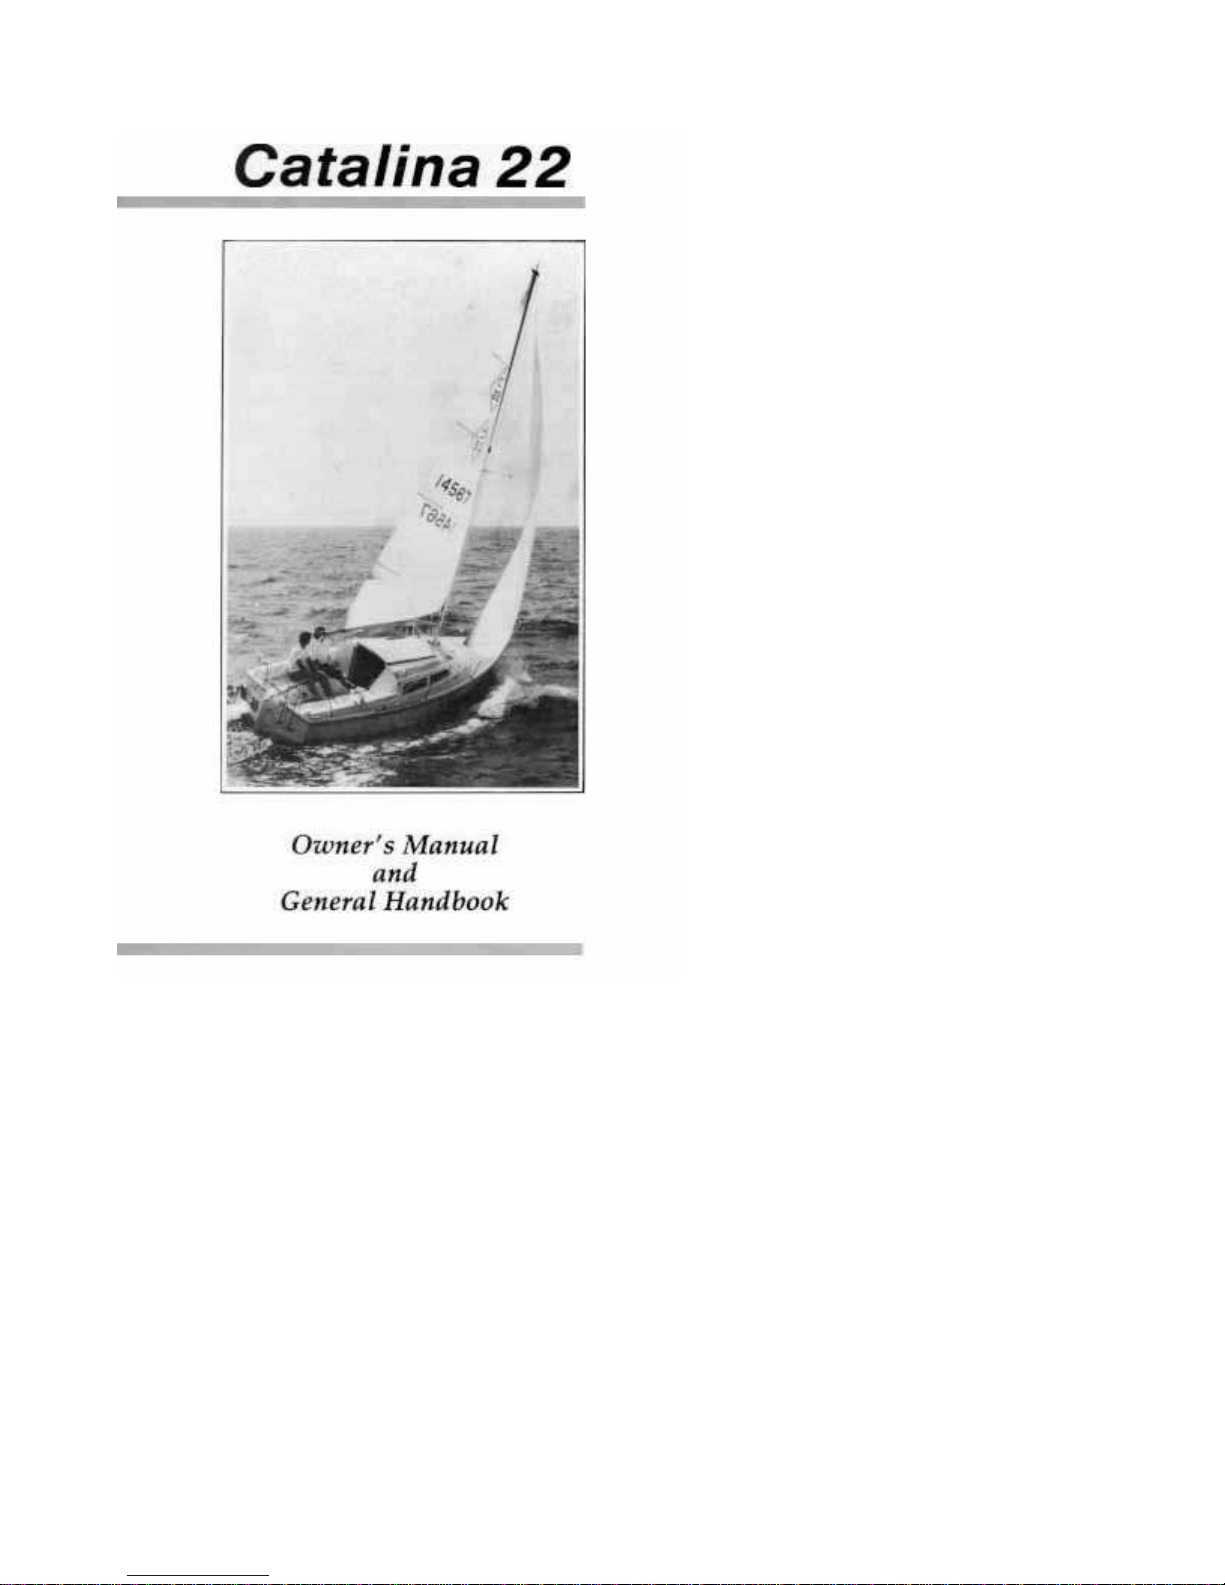
mast. Keep tack pin (located on front of boom) well lubricated, as without proper lubrication-the
stainless steel pin may become seized in the aluminum gooseneck casting.
Find a high pressure nozzle and shoot fresh water to the top of the mast and spreaders. This will help
keep your sails clean, too, as they rub on the mast and spreaders.
Inspect spreaders and spreader brackets for signs of fatigue. See that ends of spreaders are wired and
well covered with tape to prevent wear on the sails.
3.8 Sail Maintenance
Sails should never be put away wet. If they are wet after sailing, leave them in loose bundles and dry
them at your first opportunity.
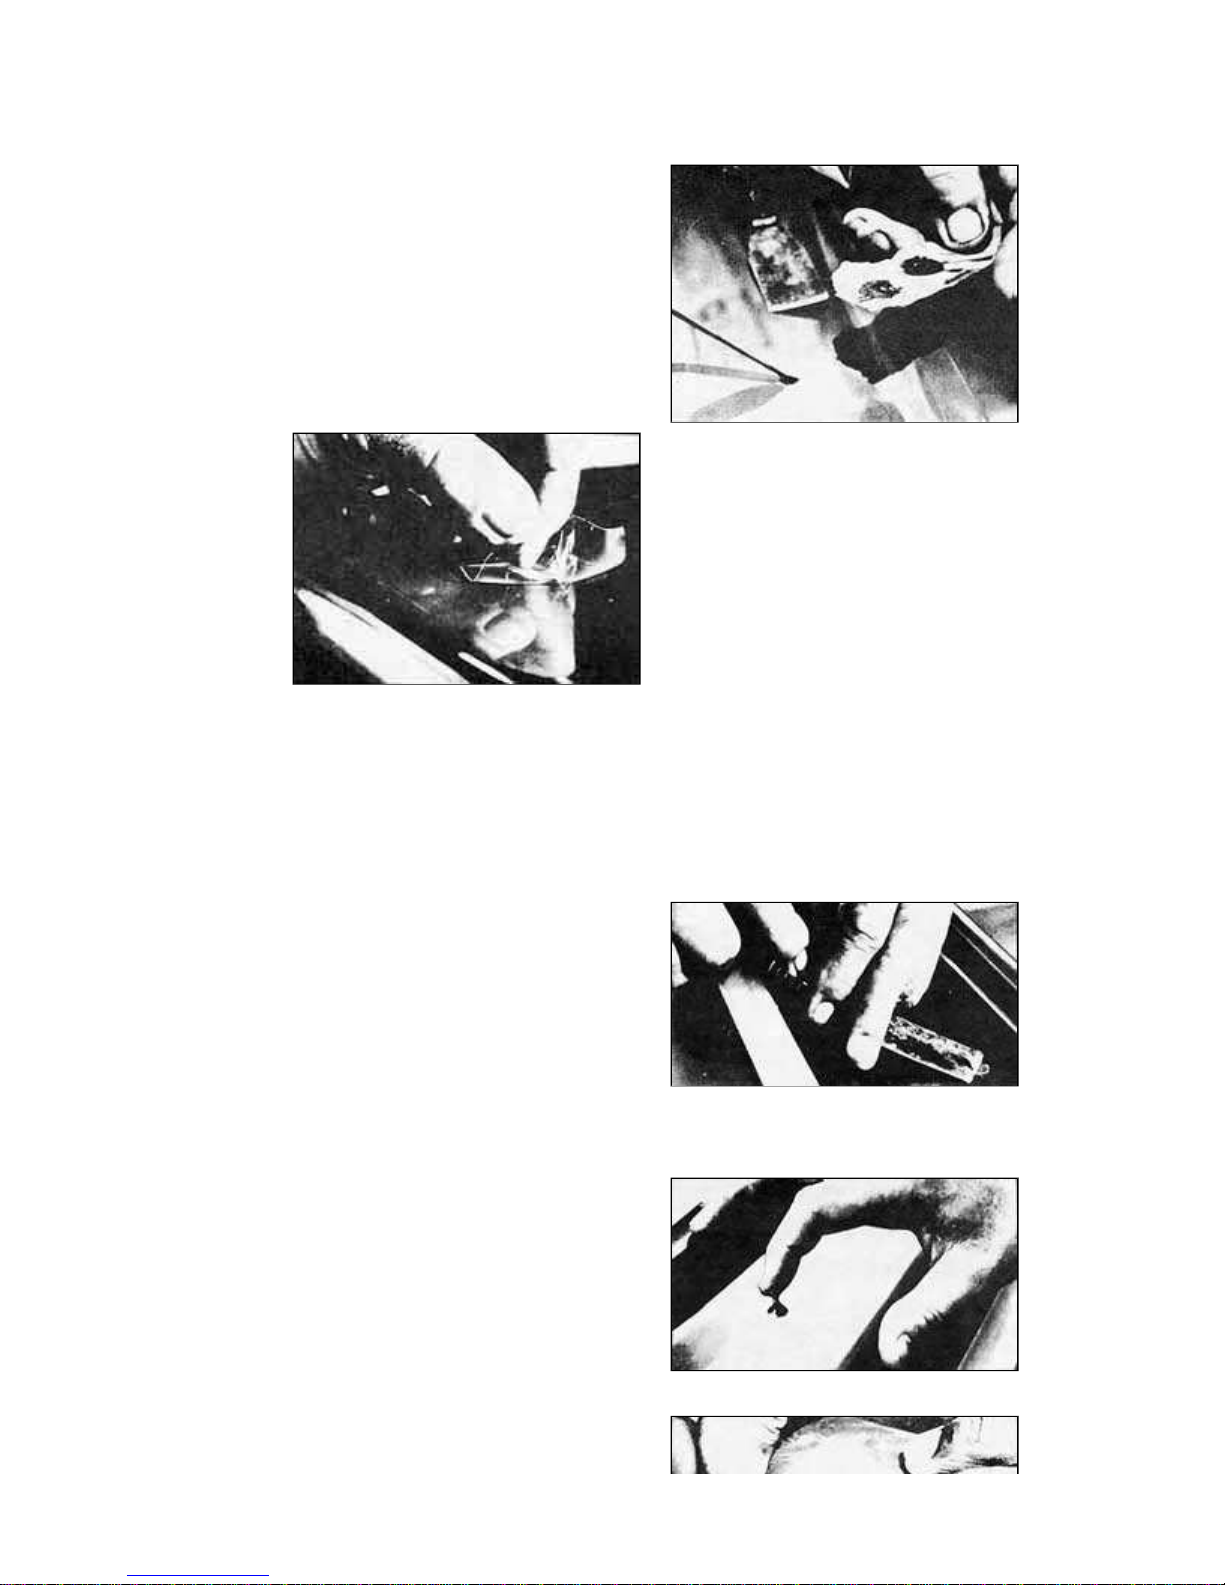
For most problems such as common dirt, dried or caked salt, etc., try scrubbing the surface with a soft
bristled brush and liquid detergent. Avoid harsh powder detergents and stiff brushes, as they may
damage the finish or stitching. This approach should work nicely for most applications. More severe
stains can be taken care of by the following:
*IMPORTANT: For white sails only.
Blood: Soak the stained portion for 10-20 minutes in a solution of bleach (Clorox) and warm water;
generally 10 parts water to 1 part bleach. Scrub and repeat, if necessary. Rinse thoroughly - particularly
nylon - and dry completely.
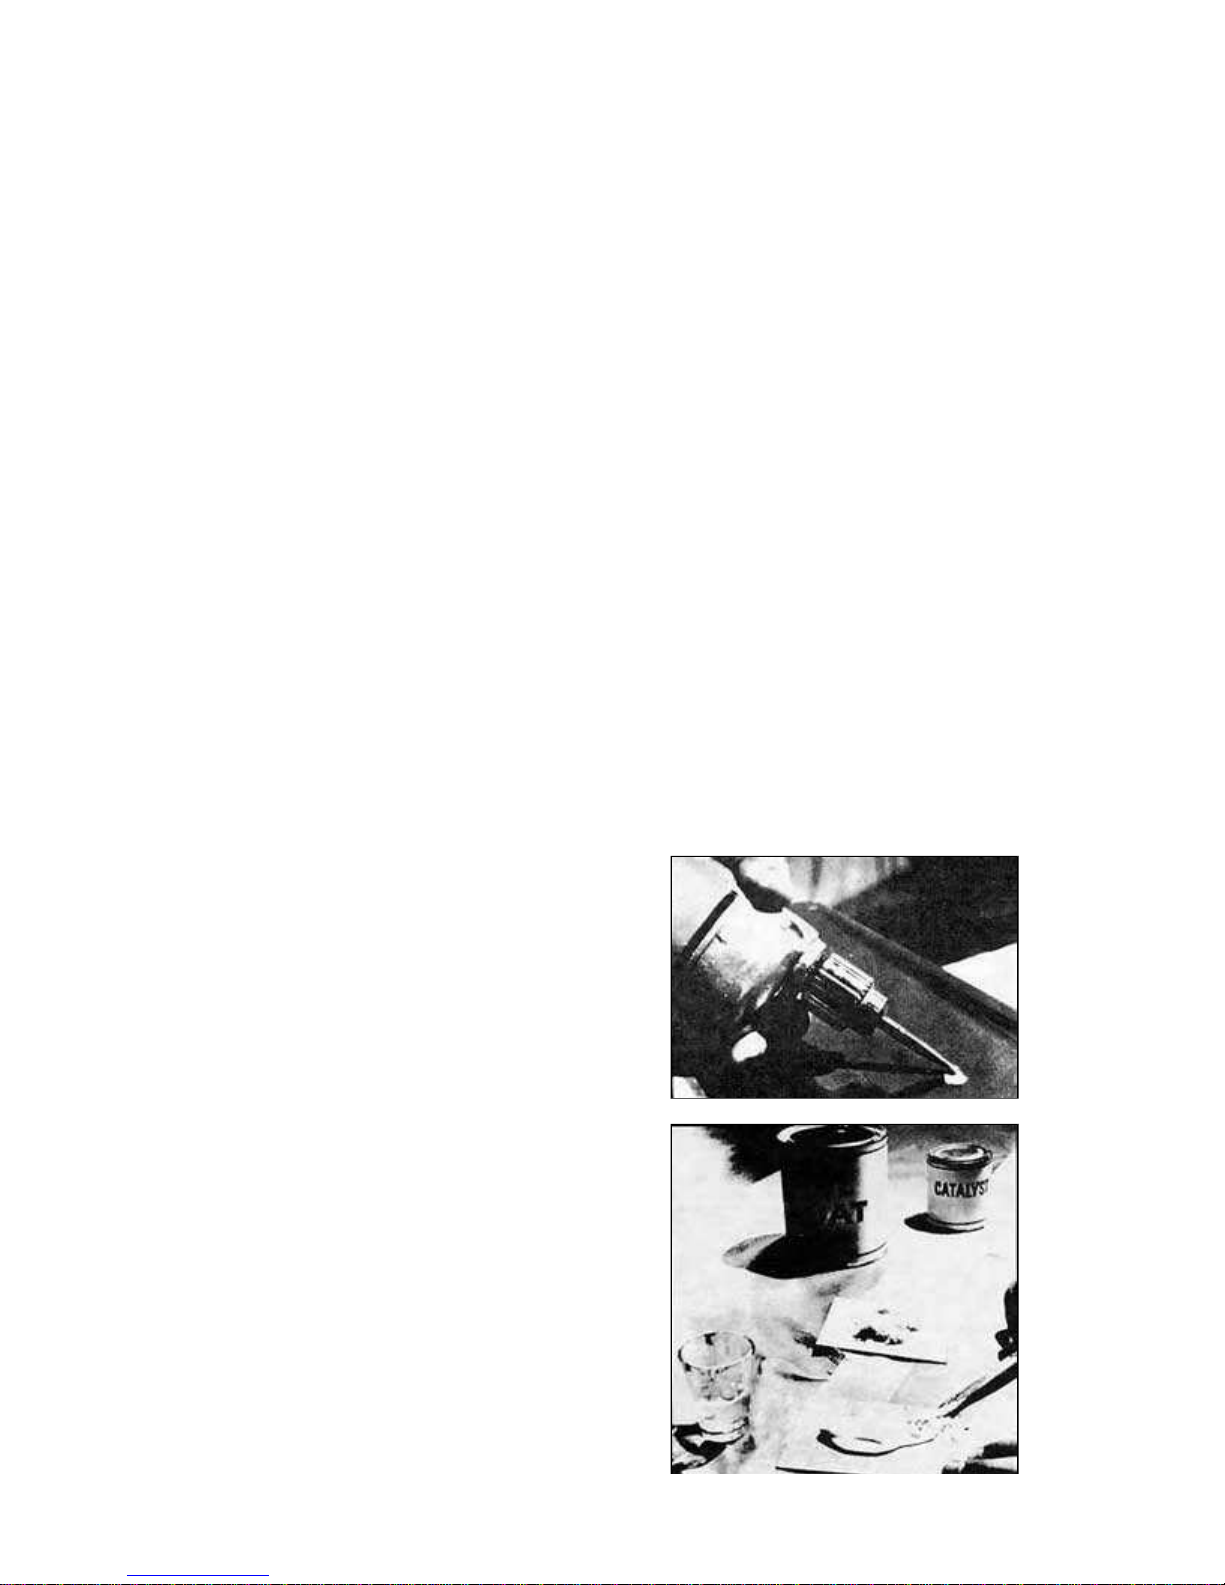
Oil, Grease, Tar and Wax: Warm water, soap and elbow grease seem to be effective. On hard stains,
Propriety Stain Remover and dry cleaning fluids should do the trick. Be careful to remove all fluids, as
they can soften the various resinated coatings on sailcloth.
Rust and Metallic Stains: These types of stains are very often the most frustrating and difficult to
remove. First, scrub with soap and water, then apply acetone, M.E.K., or alcohol. As a last resort, you
might try a diluted mixture (5%) of oxalic acid soaked for 15-20 minutes. Hydrochloric acid, 2 parts to
100 in warm water, will also work.
Mildew: Hot, soapy water with a little bleach will generally prevail. After scrubbing, leave the solution on
the fabric for a few minutes and rinse thoroughly. When using a bleach, a residual chlorine smell may
be present after rinsing. A 1% solution of Thiosulphate (photographer's hypo) should remove all chlorine
traces. Here, again, rinse and dry well.
Paint and Varnish: Acetone and M.E.K. should remove most common paint and stains. In most cases,
varnish can be removed with alcohol.
Page
10
of
35
Catalina 22 Owner's Manual for 1987
7/21/2010
http://www.catalina22.org/manuals/mnl87/handbook.htm

Temperkote or mylar sails are still new and experimental. At this point in time, avoid most solvents, as
they may damage the fabric over a period of time. Soap and diluted bleaches should take care of most
stains.
Generally speaking, use all solvents with care. Always rinse and dry thoroughly. It should be
emphasized that nylon ripstop spinnaker fabrics are less durable and more sensitive than their polyester
counterparts. Bleaches and solvents can ruin nylon if not used properly.
Follow the above guidelines, take your sails into your sailmaker for periodical inspection and, I am sure,
you will have many effective seasons of racing and cruising pleasure.
3.9 Interior Cushions, Fabric Covers
Cleaning Instructions
1. Regular vacuum cleaning or brushing in the direction of the pile with a soft brush.
2. Stains should, if possible, be removed at once with a damp cloth. Do not allow stains to harden
and age.
3. Greasy stains can be removed with ordinary cleaning fluid.
4.
For overall cleaning, use commercial types of upholstery shampoo, using only the foam to protect
the back padding from moisture. After a minute or so, remove foam and, when dry, vacuum or
brush in the direction of the pile.
5. Do not use heat such as an iron or steam.
3.9.1 Curtains
When curtains become soiled, DO NOT hand or machine wash, for it will weaken the material. Dry
cleaning is the recommended procedure for the removal of any dirt or stains.
4.0 Yacht Systems
4.1 Rigging
4.1.1 Stepping The Mast
CAUTION: The aluminum and other metal parts conduct electricity coming in contact with or near an
electrical power line or lightning can cause severe injury or death. Stay away from overhead electrical
power lines when sailing and/or launching the boat.
When trailering your boat, always try to undo as little rigging as possible. It is necessary only to undo
the two forward lower shrouds and the forestay before lowering the mast.
1. Before raising mast, make sure halyards are neatly tied down and that they are on proper sides
of the spreaders. You should never attempt to raise the mast unless the upper shrouds (those
that pass over the spreaders and the aft lower shrouds are attached to the deck fittings and the
turnbuckles well "started" into their barrels. The turnbuckles must not be completely tightened,
however, because slack is needed in the shrouds to enable the mast to be fully raised. The
backstay should be attached to the transom chainplate. The upper shrouds, aft lower shrouds,
and backstay will keep the mast from falling over when it's raised, therefore, all of these must be
attached to the chainplates before the mast is raised.
2. Make sure that the shrouds and stays are not fouled. Backstay should lie clear of the transom.
You may step the mast on land or while the boat is in the water. It seems to be easier on land
because the boat is more stable. Also, it keeps other sailors from getting impatient while they
wait for you to move out of the launch area.
3. Walk the mast aft and drop the mast foot into the mast step located on top of the deck, keeping
the mast in center line of boat, insert the pivot bolt and locking nut.
Page
11
of
35
Catalina 22 Owner's Manual for 1987
7/21/2010
http://www.catalina22.org/manuals/mnl87/handbook.htm

4. One crew member should pull on a line tied securely to the forestay while another pushes up on
the mast and walks from the cockpit forward. With the mast erect, attach the forestay and forward
lower shrouds.
4.1.2 Tuning The Mast
Your mast is held aloft by the standing rigging (forestay, backstay, upper shrouds, fore and aft, lower
shrouds). The term "tuning" refers to adjustment of the standing rigging so that the mast remains "in
column" (not bent) when under load. This is accomplished by following the procedure outlined below:
At The Dock
1. Adjust forestay and backstay so that the mast is straight up and down. Tie a bolt to a 6 to 7 foot
long piece of light line to make a quick plumb bob, and tape the free end of the line to the front of
the mast as high up as you can reach. This device will help you to determine whether the mast is
perpendicular or not. Otherwise, sight your mast with a corner of a building.
2. Adjust upper shrouds so that the mast is straight up and down athwartships. That is, from side to
side as opposed to bow and stern.
3. The upper shrouds should be firm but not far apart. A 50 pound push should deflect the upper
shroud about 1" at shoulder height.
4.
The lower shrouds (4 of them) should be adjusted so that they are looser than the upper shrouds.
While at dock, they should have no slack, but no tension either. No lower shrouds, when pushed,
should deflect the mast more than any other shroud when pushed equally hard. If this can't be
achieved, the upper shrouds are too tight. Back off one-half turn at a time on the upper shroud
turnbuckles until the tension of the lower shrouds is brought into balance.
4.1.3 Setting Up The Boom
1. Slide the gooseneck fitting into the slot in mast and let it fall to rest on the mast stop screw or
downhaul cleat, whichever the case may be.
2. Attach downhaul line to hole in gooseneck slide. Do not cleat at this stage.
3. Attach block to the boom.
4. Shackle mainsheet cam-cleat block to the traveller bar which is located on the transom or across
the middle of the cockpit, depending on the model. Some models do not have traveller bars and
the mainsheet block will attach at the center of the boom and to a barney-post or pad-eye
arrangement on the floor of the cockpit in the center of the boat.
5. "Dead-end" tie the mainsheet line to the mainsheet camcleat block and "reeve" the mainsheet by
alternatingly passing the line through the fiddle block pulleys and the camcleat block pulleys and
tie knot at end of mainsheet "figure eight" to keep from losing end of mainsheet while under sail.
You dealer can demonstrate this procedure.
4.1.4 Bending On The Mainsail
1. Feed the clew of the mainsail into the groove on the boom starting at gooseneck fitting and
pulling out to end of boom. This is much easier if done by two persons, one feeding, the other
pulling out.
2. Insert tack pin at the gooseneck fitting, passing the pin through the sail's grommet. Pull the sail
foot out to remove wrinkles and tie the line to the clew (aft end) of the sail, run the line thru the
fitting at the end of the boom and fasten it to the cleat on the port side of the boom.
3. Insert battens.
4. Shackle headboard to end of wire halyard. Look aloft to ensure that halyard is not fouled.
5. Start headboard into mast groove and take slight hoist on main halyard. Sail is now ready for
hoisting.
4.1.5 Bending On The Jibsail (If Required)
1. Find tack of sail - this is the forward lower corner of jib.
2. Connect jib to forestay by starting at the bottom snap and working up to the top snap in
Page
12
of
35
Catalina 22 Owner's Manual for 1987
7/21/2010
http://www.catalina22.org/manuals/mnl87/handbook.htm

sequence.
3. Shackle head of jib to wire halyard, again sighting aloft to ensure that halyard is running clear.
4. Find middle of jib sheet line and attach the jib sheet lines to the clew of the jib sail. Run the jib
sheet lines back to the cockpit keeping them outside of all shrouds and life lines, if your boat is
equipped with lifelines. Pass the ends of the jibsheets through the jib fairlead blocks which have
been previously attached to the tracks which are located on the gunwale (railing) of the boat. Tie
figure-eight stopping knots in the ends of the jib sheets to keep them from falling overboard.
5. Boats equipped with the factory supplied roller furling gear for the jib, should read all instructions
supplied with the furling gear, before operating the furling unit.
4.1.6 Rigging Wire Length Check List
Page
13
of
35
Catalina 22 Owner's Manual for 1987
7/21/2010
http://www.catalina22.org/manuals/mnl87/handbook.htm

4.1.7 Sail Plan Illustration
SPLIT BACKSTAY (OPT.)
24' - 1 3/4"
1/8" 1 x 19
1
BACKSTAY BRIDLE
4' - 0"
1/8" 1 x 19
2
BACKSTAY STANDARD
28' - 2 1/4"
1/8" 1 x 19
1
FORESTAY
26' - 5 1/2"
1/8" 1 x 19
1
UPPER SHROUD
25' -3"
1/8" 1 x 19
2
FORWARD LOWER
12' - 10 1/4"
1/8" 1 x 19
2
AFT LOWER
12' - 11 3/4"
1/8" 1 x 19
2
MAIN HALYARD
60' - 0"
5/16" L.S. DACRON
1
JIB HALYARD
63' - 0"
5/16 " L.S. DACRON
1
Page
14
of
35
Catalina 22 Owner's Manual for 1987
7/21/2010
http://www.catalina22.org/manuals/mnl87/handbook.htm

Page
15
of
35
Catalina 22 Owner's Manual for 1987
7/21/2010
http://www.catalina22.org/manuals/mnl87/handbook.htm

4.1.8 Mast Head Illustration
4.1.9 Mast Illustration
Page
16
of
35
Catalina 22 Owner's Manual for 1987
7/21/2010
http://www.catalina22.org/manuals/mnl87/handbook.htm

4.1.10 Main Sail Reefing
Reefing should always be done before it becomes necessary. Some sailors use the rule of thumb that, if
the thought of reefing occurs to you, it is time to reef. Sailing at extreme angles of heel -- 25 degrees or
more -- is not efficient, fast or comfortable.
The Catalina 22 may be equipped with jiffy reefing (also called slab reefing) for reefing the main sail.
The system consists of reefing blocks mounted on the starboard, outboard end of the boom. A cleat is
located on the mast below the gooseneck, for reefing the luff of the main.
Run the reefing lines provided through the cringles (grommets) in the luff and leech of the main sail in
preparation for reefing. Per illustration, one crew stationed in the cockpit and one crew at the mast are
recommended for fast, safe reefing.
Page
17
of
35
Catalina 22 Owner's Manual for 1987
7/21/2010
http://www.catalina22.org/manuals/mnl87/handbook.htm

Reefing Procedure
1. Take up slack in main boom topping lift, cleated to port side of boom.
2. Release the main halyards to a predetermined point. Marking the halyard with ink or a colored
thread woven into the line is helpful. Re-cleat the halyard after lowering.
3. Pull the luff cringle down to the gooseneck by pulling the luff reefing line through the cleat on
either side of the mast. By pulling the line up through the cleat, a 2:1 purchase is created on the
luff. Tie off the luff reefing line when the cringle meets the gooseneck.
4. Ease the mainsheet.
5. Pull the leech cringle down to the boom by pulling the leach reefing line on the starboard side of
the boom, and make the line fast.
6. Trim in the mainsheet.
7. Snug up the main halyard, as required, to flatten out the main sail.
4.1.11 Main Sail Reefing Illustration
4.1.12 Mainsheet/Traveler Illustration
Page
18
of
35
Catalina 22 Owner's Manual for 1987
7/21/2010
http://www.catalina22.org/manuals/mnl87/handbook.htm

4.1.13 Boom Vang/Pigtail Illustration
Page
19
of
35
Catalina 22 Owner's Manual for 1987
7/21/2010
http://www.catalina22.org/manuals/mnl87/handbook.htm

4.1.14 Backstay Tension-Adjuster System
Page
20
of
35
Catalina 22 Owner's Manual for 1987
7/21/2010
http://www.catalina22.org/manuals/mnl87/handbook.htm
Table of contents
Other Catalina Yachts Boat manuals