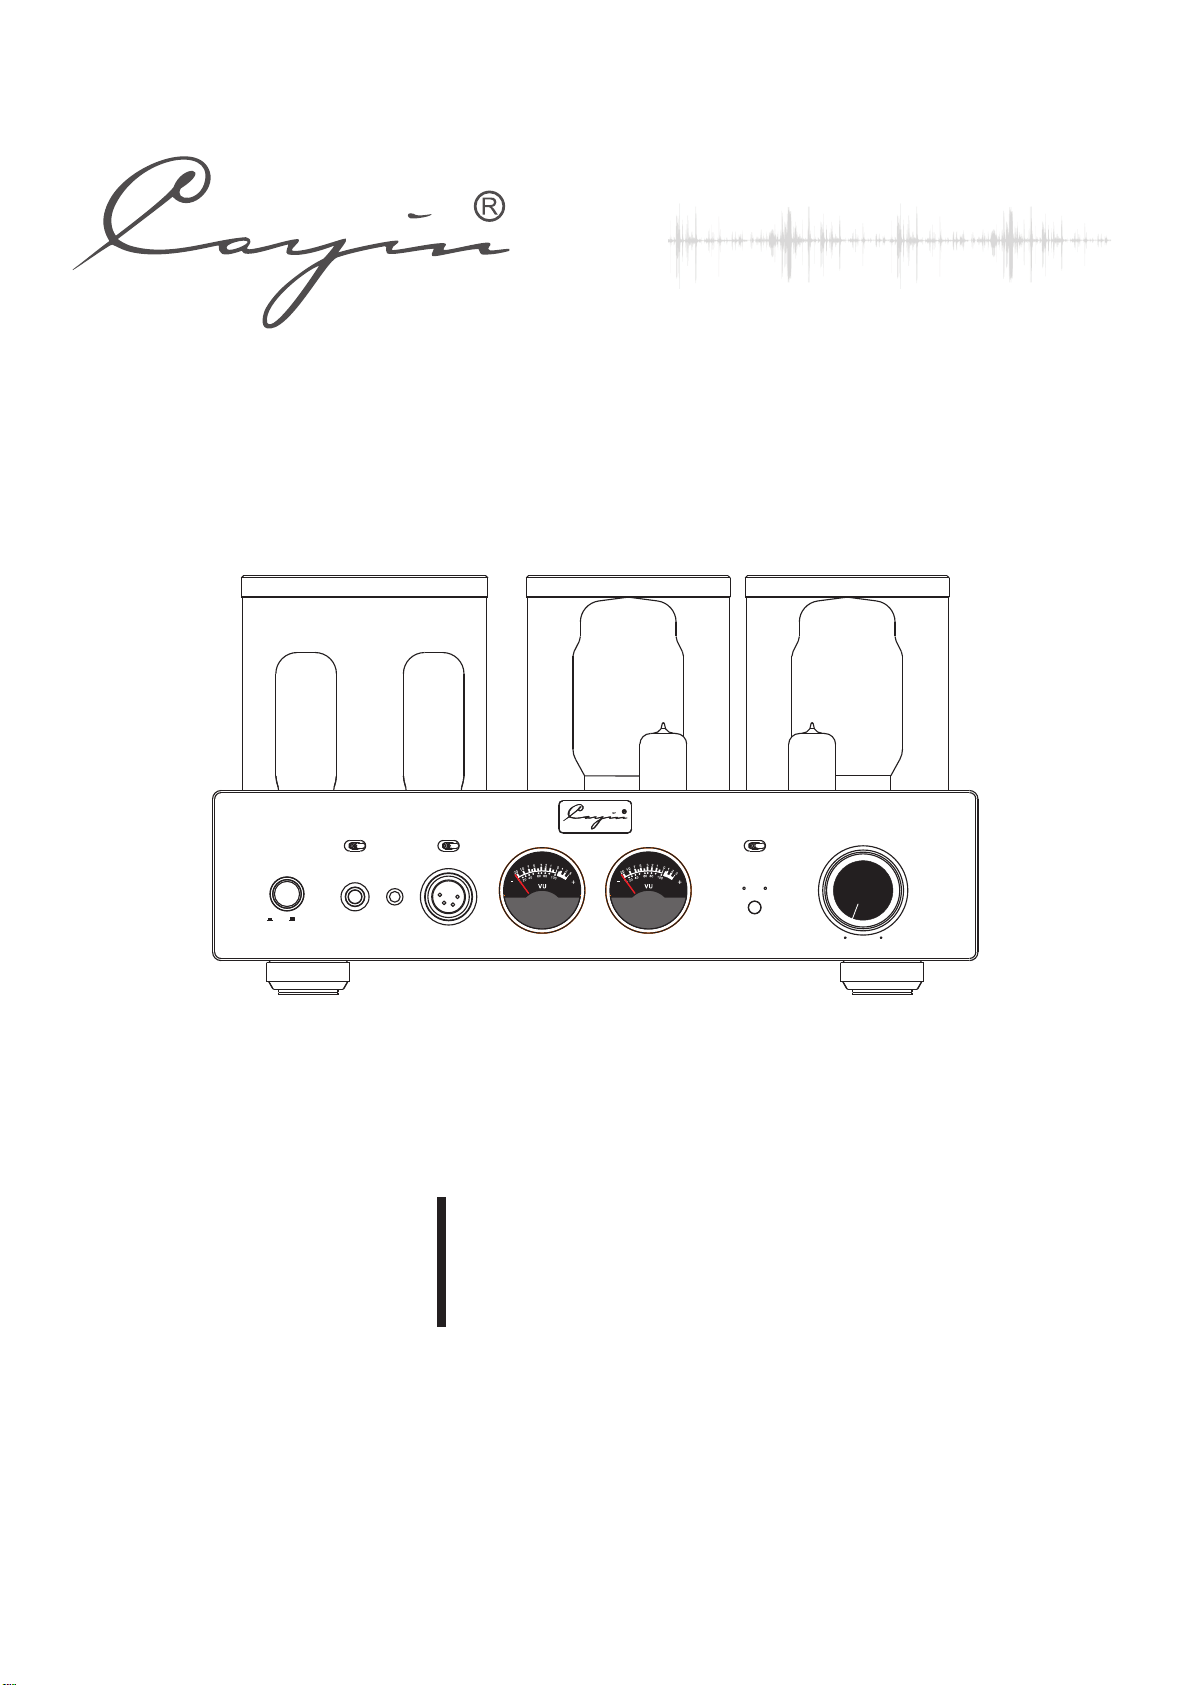
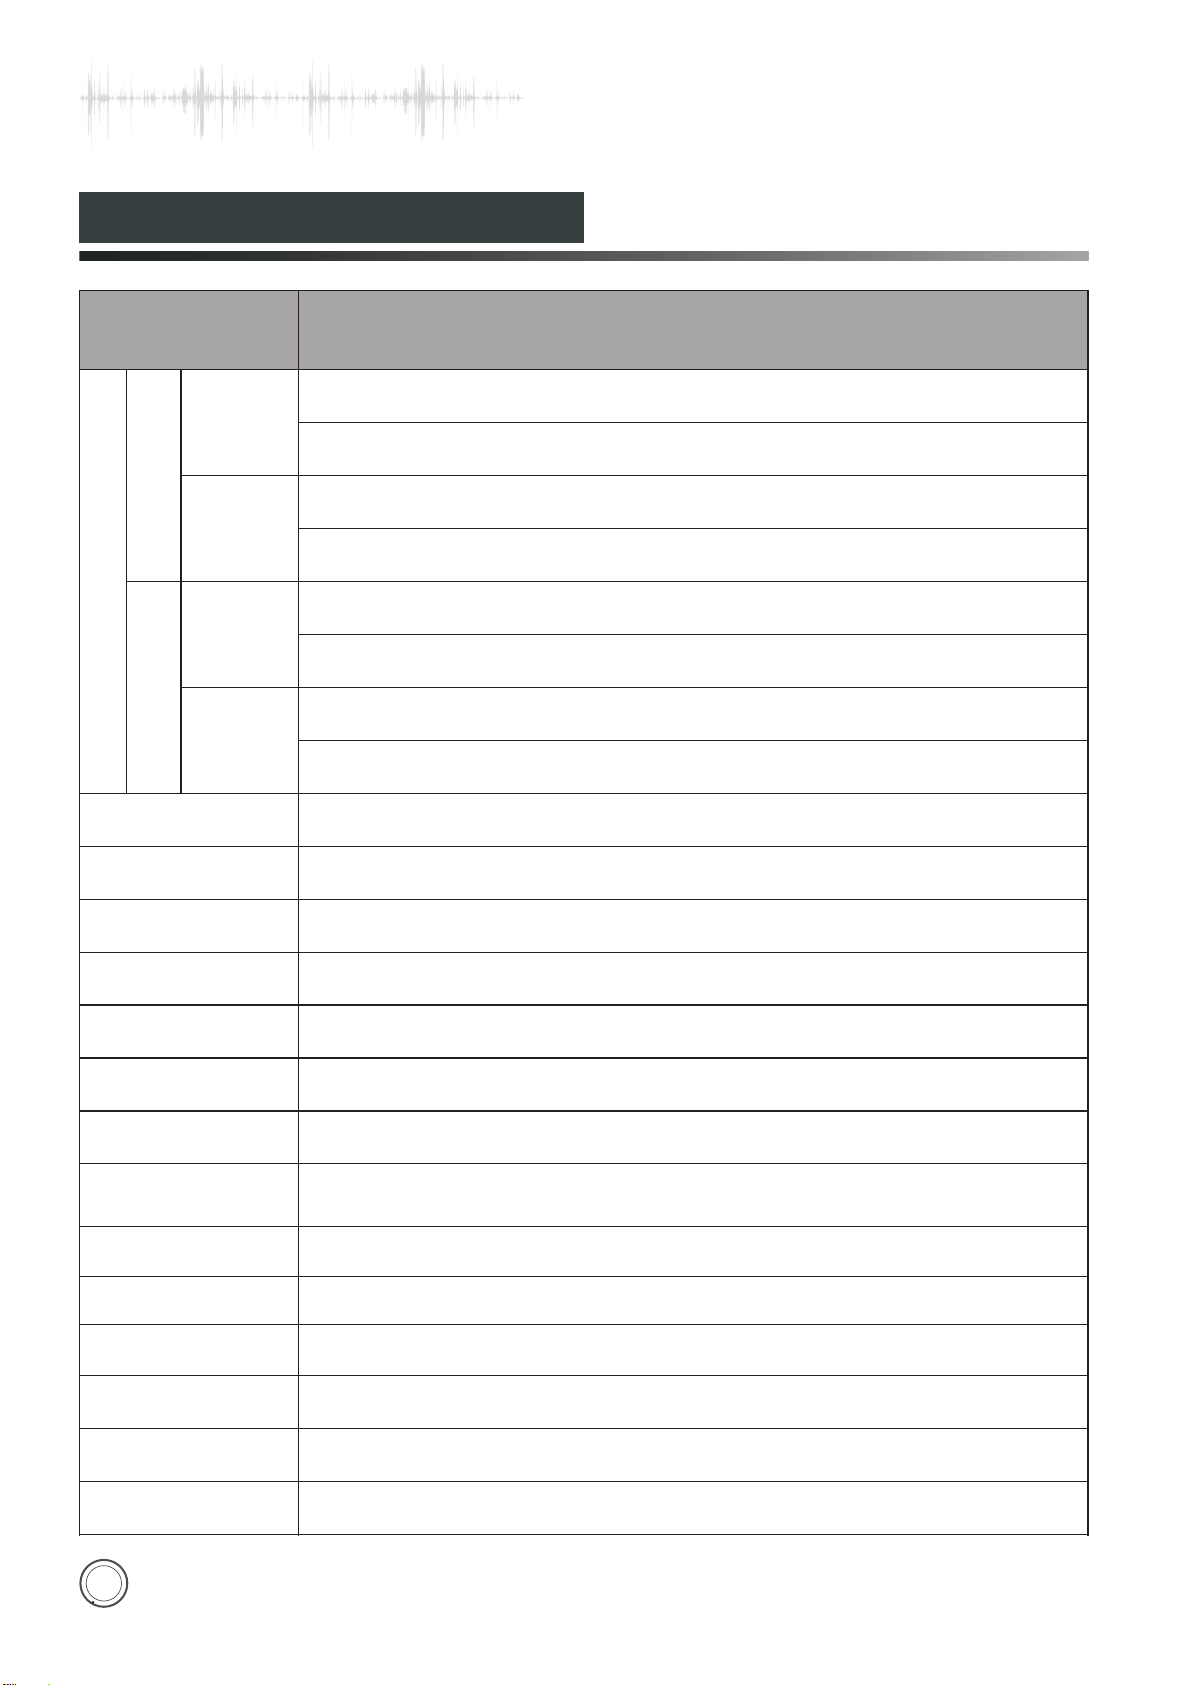
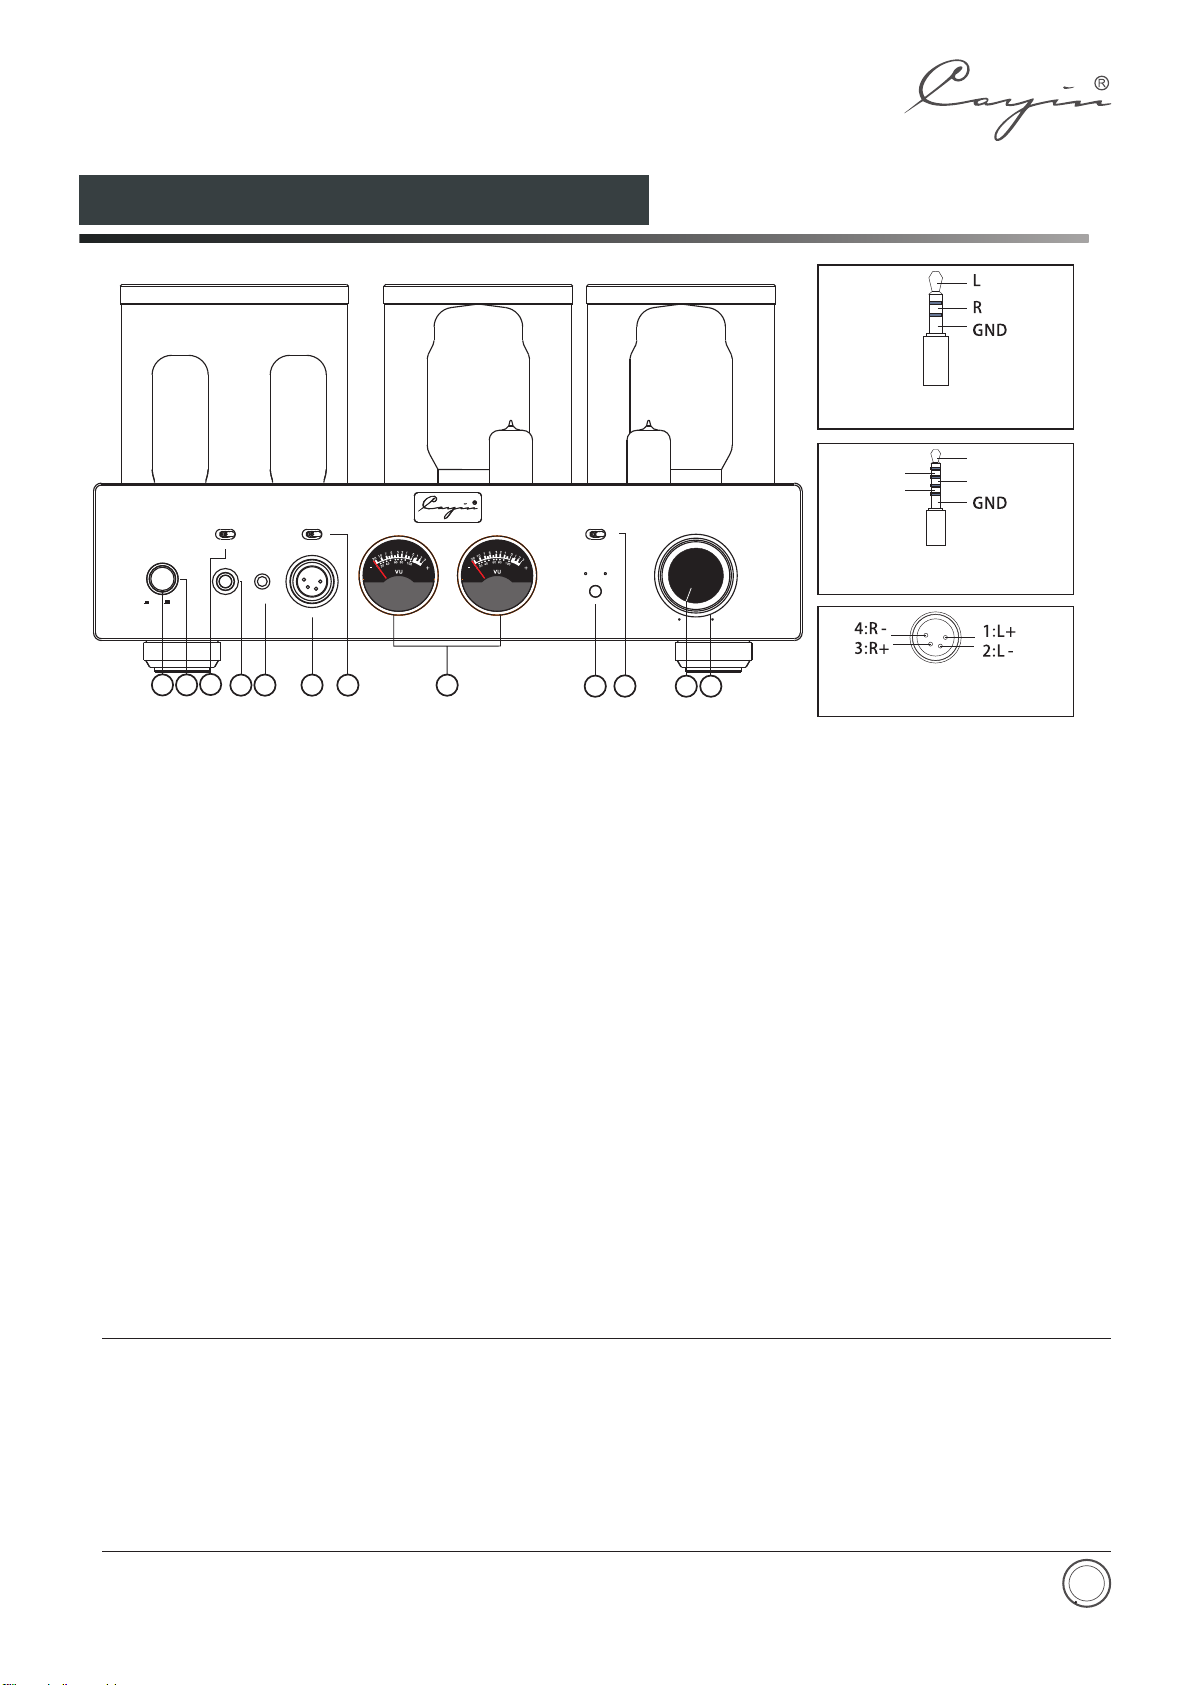
Front Panel Functional Description
“down” the button to turn on the amplifier, Press
again the button will resume to original position and
the amplifier will power off.
②. : Indicate the working status: The
indicator will remain always on when the amplifier is
in regular operation
③.Headphone Output Selector:
can select the suitable type of headphone
output. HA-6A offers three types output.
④.STANDARD: Output for headphones terminated in
6.35mm TRS connector
⑤.4.4 Balance Output:4.4 balance output for
headphone terminated in 4.4mm connector.
⑥.4PIN BALANCE: Output for headphones
terminated in 4pins XLR connector
①.
Power Indicator
With the switch you
Power On/Off: Turn on and off the amplifier. Press
matched output from the amplifier, three options were
offered: (L:8~64Ω; M:65~250Ω; H: 251~600Ω)
⑧.VU meter: monitor output level of the amplifier
⑨.
⑩.SOURCES: select balanced or single-ended input
.
.
⑦.IMPEDANCE: Select the most desirable: impedance-
Triode/ Ultralinear Indicator
When the TR Indicator is on: Triode working state
When the UL Indicator is on: Ultralinear working state
⑪Working State Indicator/Mute Indicator
Used to indicate the working state. The indicator will
be on when it is working normally. The indicator will
flicker for 30 seconds when it delays to work. The
indicator will keep flickering when it is at mute state.
⑫Volume Knob
Used to control volume
◆
adapter (not included in the package).
◆Listening through headphones at a high volume for extended periods of time can result in hearing
impairments.
◆Please do not use mono (TS) phone plug with this amplifier as this might cause serious damage
such as short circuit in the amplifier.
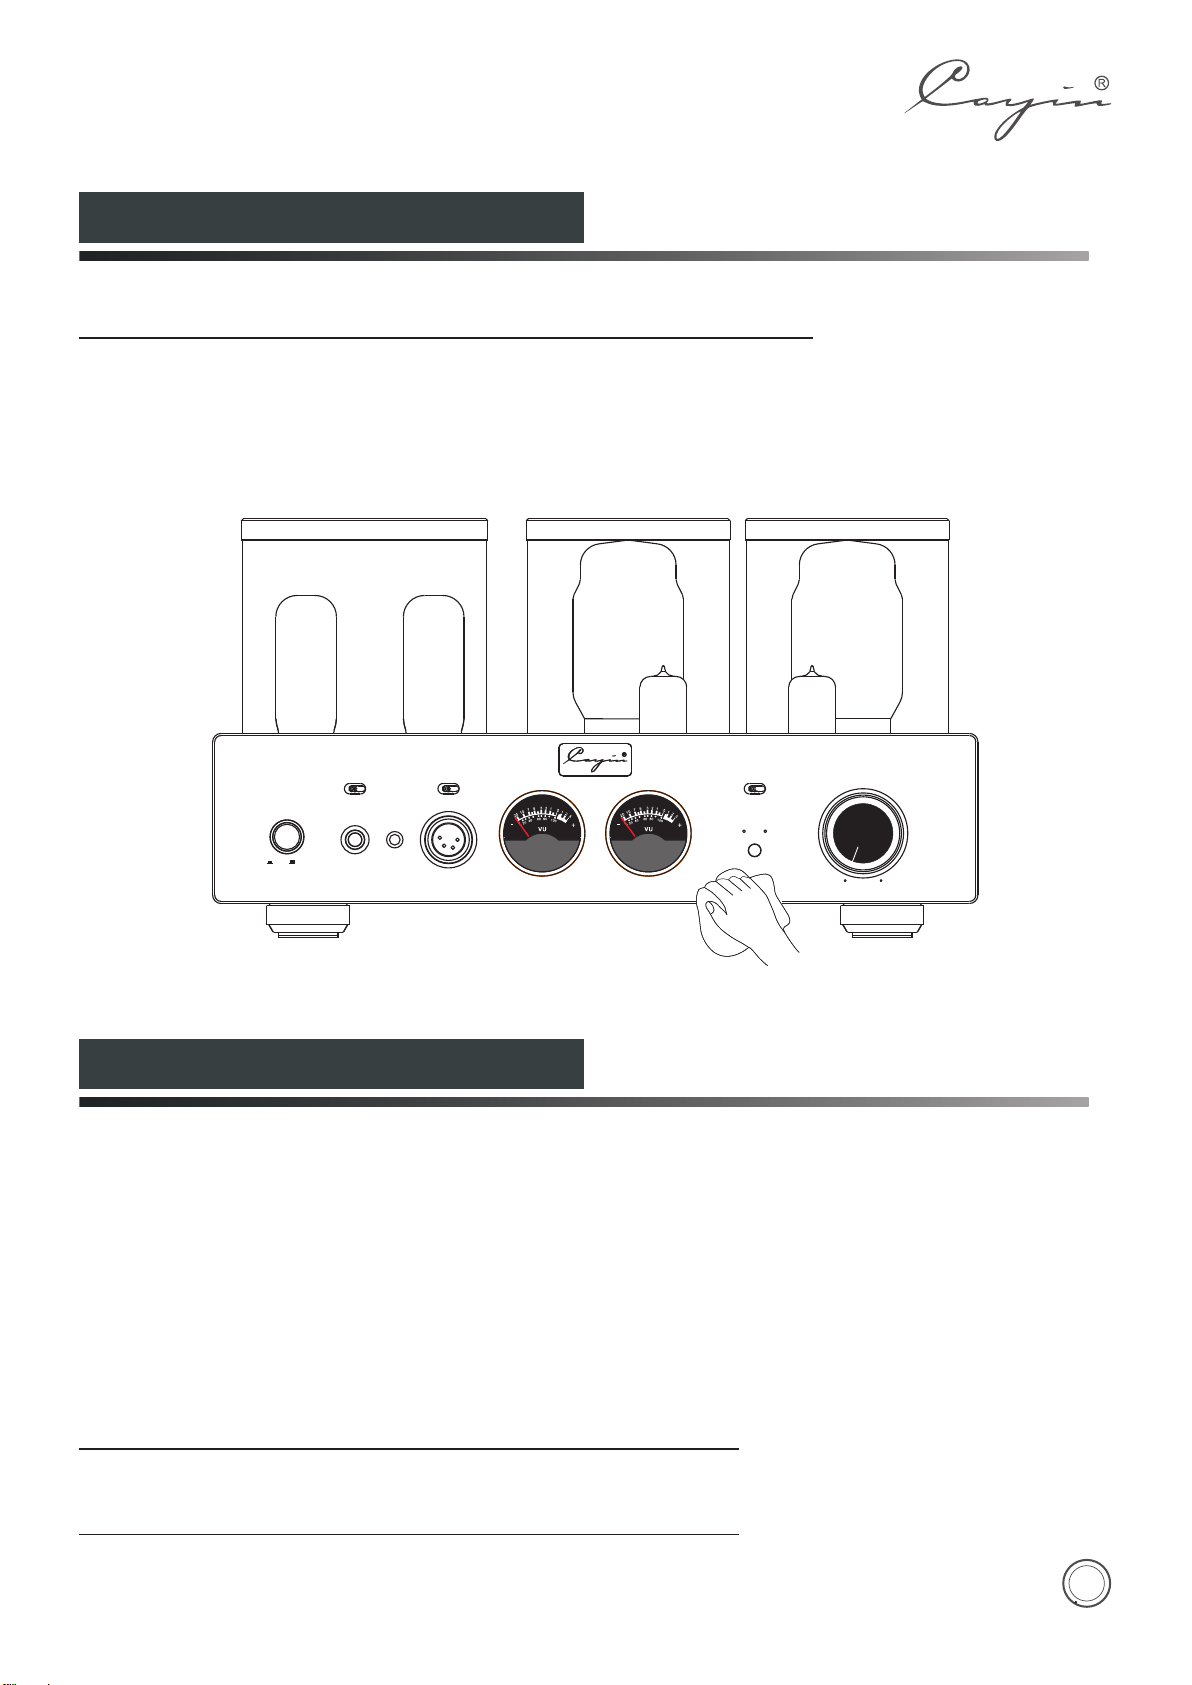
◆Please unplug the power plug from AC power circuit if the amplifier is not used for a long time
If your want to connect a 3.5mm terminated headphone to the amplifier, you need a 3.5mm to 6.3mm
Attention:
8
9
10
12
45
3
1 2 678
Diagram 1:HA-6A Front Panel
Polarity Diagram for 4 PIN XLR
Balanced Headphone Jack
Polarity Diagram for 6.35mm
Headphone Jack.
L-
R-
L+
R+
Polarity Diagram for 4.4mm
Balanced Headphone Jack
11
HEADPHONE AMPLIFIER HA-6A
VOLUME
MIN M AX
SOURCE S
XLR
POWER P HONES
L
M
H
IMPEDA N C E
TR UL
RCA
TR UL
/
STANDA RD
4PIN BAL .
STD
4PIN B ALANC E
4.4 BAL.
ON OFF 4.4 B ALAN CE