• Wi-Fi – Connect to/disconnect from wireless networks, view connecon status
• Data usage – Enable/disable mobile data, view current usage, set mobile data
limit (note: this funcon is available only on devices supplied with 3G card
funconality)
• Bluetooth – Connect or disconnect Bluetooth devices
• Display – Adjust display sengs
• Smart Gesture Sengs – “ON”/“OFF”
• Audio Profiles – Adjust the various audio sengs such as ringtones
• Prompts and noficaons – Adjust various noficaon sengs.
• Storage – View your phone’s internal and external storage sengs
• Baery – View the status of your baery and make adjustments to power
consumpon
• Apps – A list of all apps downloaded and running
• Delete applicaons – Select apps to delete
• Locaon services – Change approximate locaon detecon, improve search
results,
GPS satellites
• Security – Adjust phone’s security sengs
• Accounts – Add or remove email and Google accounts such as GmailTM,
GoogleTM
• Language & input – Select Language Add to the diconary, edit on-screen
keyboard sengs, vocal search, etc.
• Backup & Reset – Backup and restore data, perform factory reset, etc.
• Date & Time – Set date, me zone, me, clock format etc.
• Accessibility – Set up large text, auto-rotate screen, speak password etc.
• About Phone – Displays informaon about your phone.
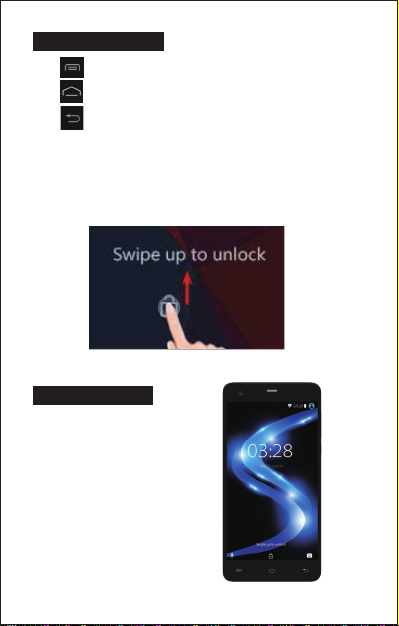
8. MAKING AND RECEIVING CALLS
Once your SIM cards are
installed turn on your phone
and wait a few minutes for
your phone to find a network.
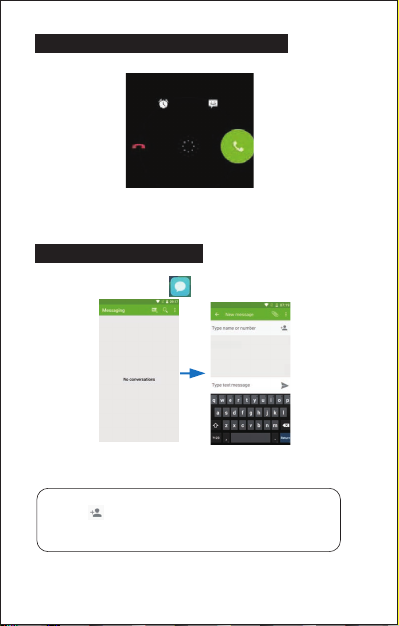
Then select the Call icon.
Here you can dial a number or
select a contact from your
stored contacts list to call. You
can also view outgoing and
incoming calls that have been
made, as well as adding or
removing contacts.
8