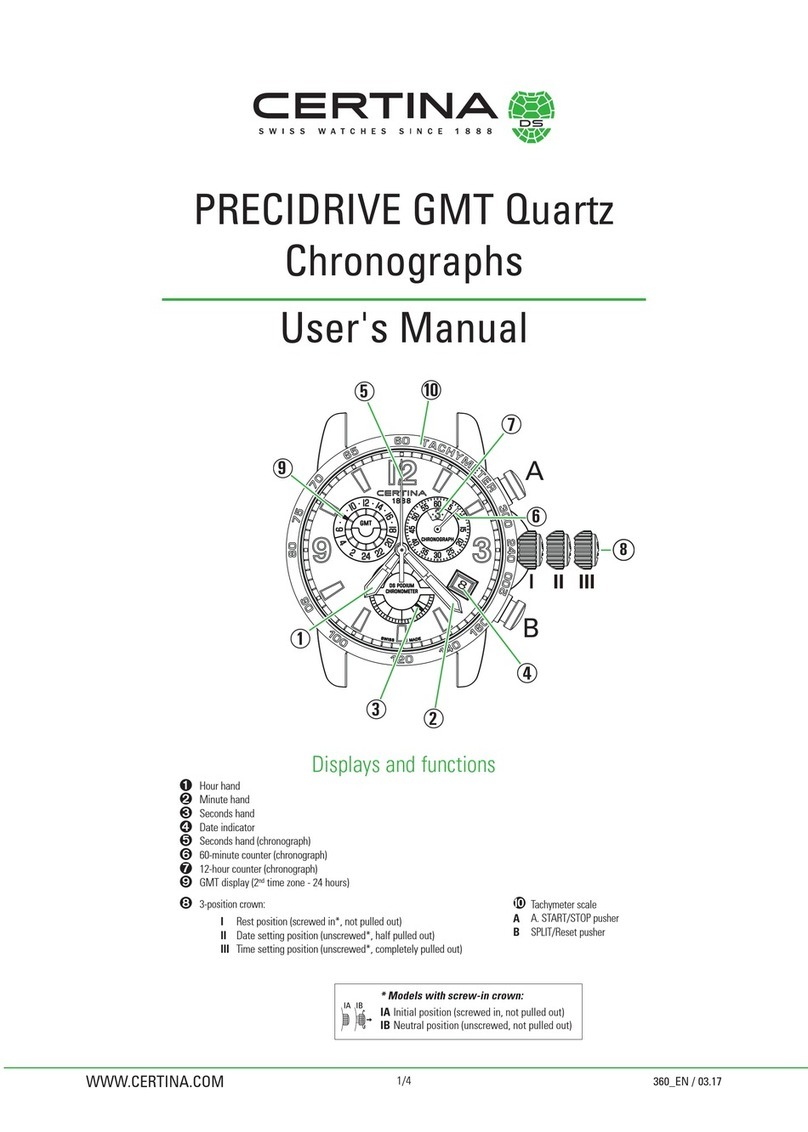
PRECIDRIVE GMT Quartz
WWW.CERTINA.COMWWW.CERTINA.COM 359_EN / 03.17 359_EN / 03.172/3 3/3
Congratulations!
We congratulate you on choosing a watch from CERTINA®, a Swiss brand among the most highly renowned in the world. Meticulously designed, using only
the highest quality materials and components, it is protected against impacts, temperature variations, water, dust and also features the DS concept.
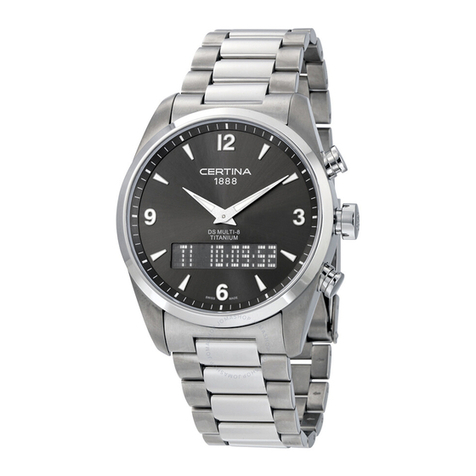
This user manual applies to CERTINA®quartz watches equipped with the PRECIDRIVE F06.421 GMT movement. For the settings and operation of your
PRECIDRIVE watch, please refer to the instructions below.
To ensure that your watch operates with perfect precision for many years to come, we advise you to pay careful attention to the advice given in this user
manual.
The DS (Double Security) concept is characterised by:
– extreme impact resistance,
– an ultra-resistant sapphire crystal,
– a gasket inside the crown and a gasket around the winding stem guaranteeing the water resistance of the watch even when the crown is pulled out,
– a reinforced case back.
Settings
Models with screw-in crown
To ensure even better water resistance, some models are fitted with a screw-in crown (6). Before setting the time or date, you must first unscrew
the crown (6) to position IB, before pulling it out to position II or III.
Important : After each operation, you must always screw the crown back in to ensure that your watch remains water-resistant.
You are advised not to operate the crown (6) underwater.
Setting the GMT display (2nd time zone)
• Pull the crown (6) out to position III; the seconds hand (3) will stop.
• Turn the crown (6) forwards or backwards to simultaneously set the GMT display (2nd time zone) (1) and the minute hand (4). Don't worry
about setting the hour hand (local time) (2) or date hand (5) at this stage.
• Push the crown (6) back into position I. The seconds hand (3) will start running again.
• The GMT display (1) and minute hand (4) are now set.
Rapid date correction and local time setting
• Pull the crown (6) out to position Il. The seconds hand (3) will continue running.
• Turn the crown (6) forwards or backwards until you obtain the desired date. The hour hand (2) will advance in one-hour jumps and the date will change
whenever the hour hand passes midnight.
• When the date is set, continue turning the crown (6) to position the hour hand (2) to the desired local time.
• Push the crown (6) back into position l(and screw it back in if you have a screw-in crown model).
Advice for synchronising your watch
To synchronise the seconds hand (3) with an official time signal (radio/TV/Internet), pull the crown (6) out to position III; the seconds hand (3) will stop.
At the tone, push the crown (6) back into the rest position I.
