manuals.online logo
Brands
  1. Home
  2. •
  3. Brands
  4. •
  5. Chamberlain
  6. •
  7. Remote Starter
  8. •
  9. Chamberlain Merlin E840M User manual

Chamberlain Merlin E840M User manual

Other Chamberlain Remote Starter manuals

Chamberlain 940CD-01 User manual

Chamberlain

Chamberlain 940CD-01 User manual

Chamberlain 940EV User manual

Chamberlain

Chamberlain 940EV User manual

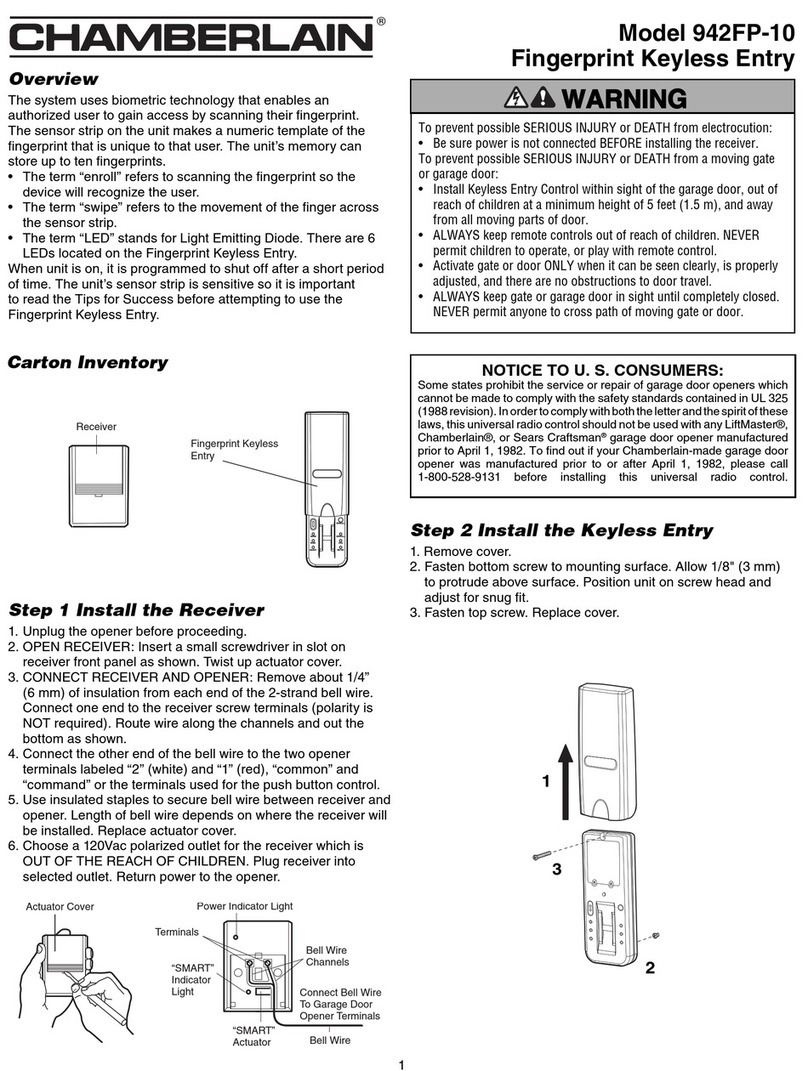
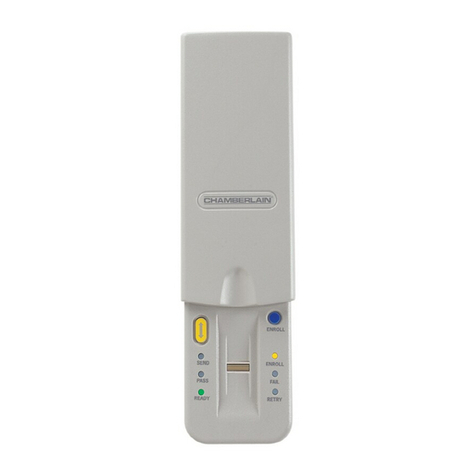
Chamberlain 942FP-10 User manual

Chamberlain

Chamberlain 942FP-10 User manual

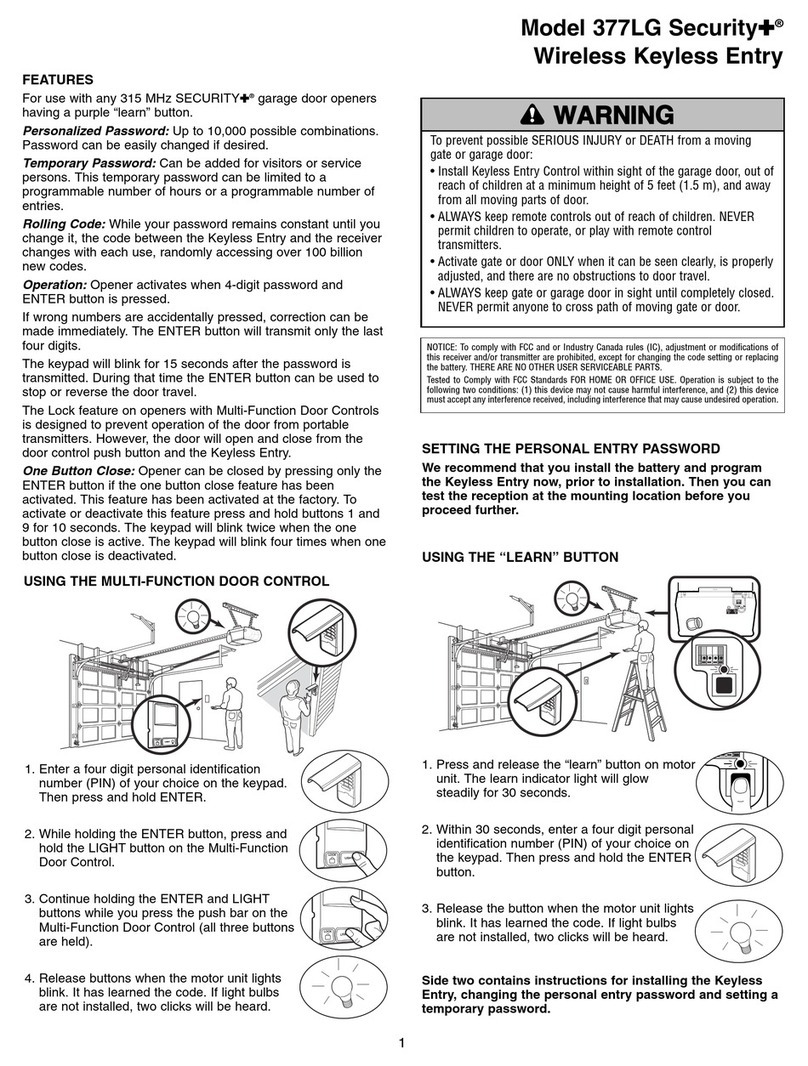
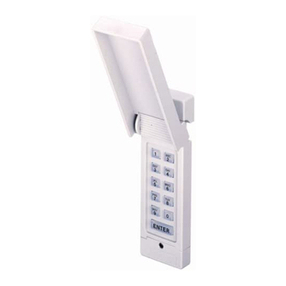
Chamberlain Security+ 377LG User manual

Chamberlain

Chamberlain Security+ 377LG User manual

Chamberlain 940C Security+ User manual

Chamberlain

Chamberlain 940C Security+ User manual

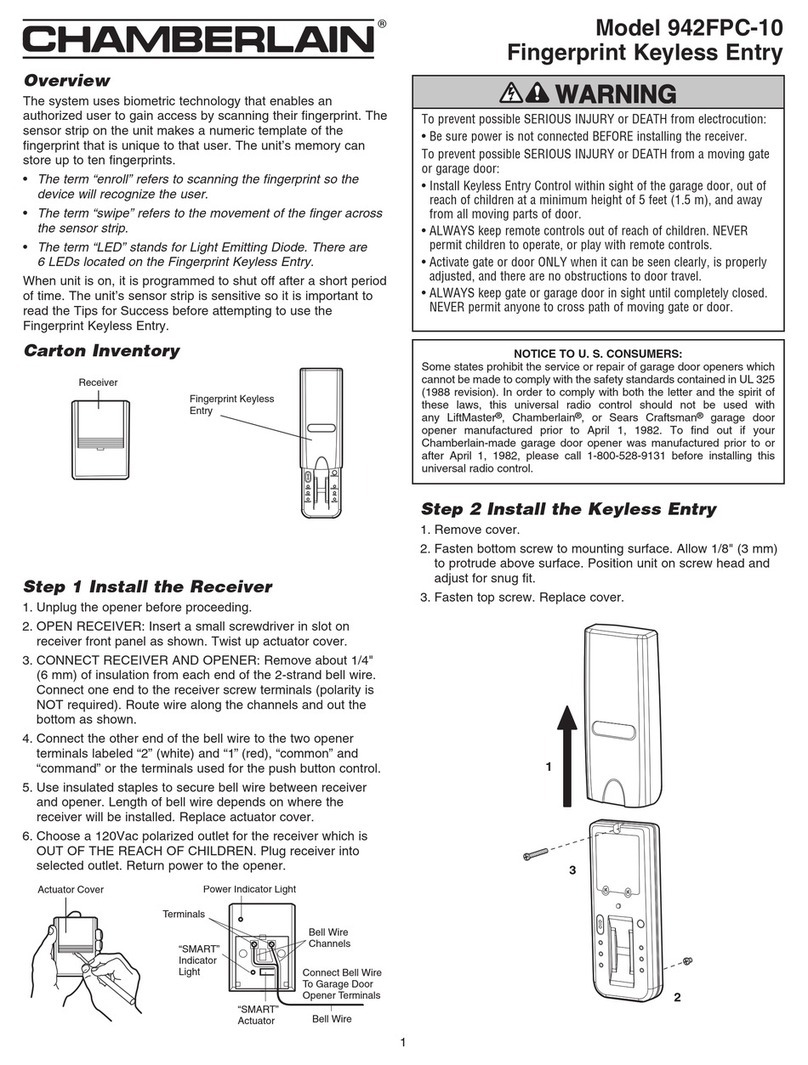
Chamberlain 942FPC-10 User manual

Chamberlain

Chamberlain 942FPC-10 User manual

Chamberlain 940EV User manual

Chamberlain

Chamberlain 940EV User manual

Chamberlain 976LM Security+ User manual

Chamberlain

Chamberlain 976LM Security+ User manual

Chamberlain LiftMaster TAC1 Assembly instructions

Chamberlain

Chamberlain LiftMaster TAC1 Assembly instructions

Chamberlain LiftMaster Professional 387LM User manual

Chamberlain

Chamberlain LiftMaster Professional 387LM User manual

Chamberlain 66 User manual

Chamberlain

Chamberlain 66 User manual

Chamberlain LiftMaster 379LM-10 User manual

Chamberlain

Chamberlain LiftMaster 379LM-10 User manual

Chamberlain LiftMaster 466LM User manual

Chamberlain

Chamberlain LiftMaster 466LM User manual

Chamberlain LiftMaster Security+ 377LM User manual

Chamberlain

Chamberlain LiftMaster Security+ 377LM User manual

Chamberlain 942FP User manual

Chamberlain

Chamberlain 942FP User manual

Chamberlain Clicker KLIK2U User manual

Chamberlain

Chamberlain Clicker KLIK2U User manual

Chamberlain 878MAX User manual

Chamberlain

Chamberlain 878MAX User manual

Chamberlain 940D-01 Guide

Chamberlain

Chamberlain 940D-01 Guide

Chamberlain 877MAX User manual

Chamberlain

Chamberlain 877MAX User manual

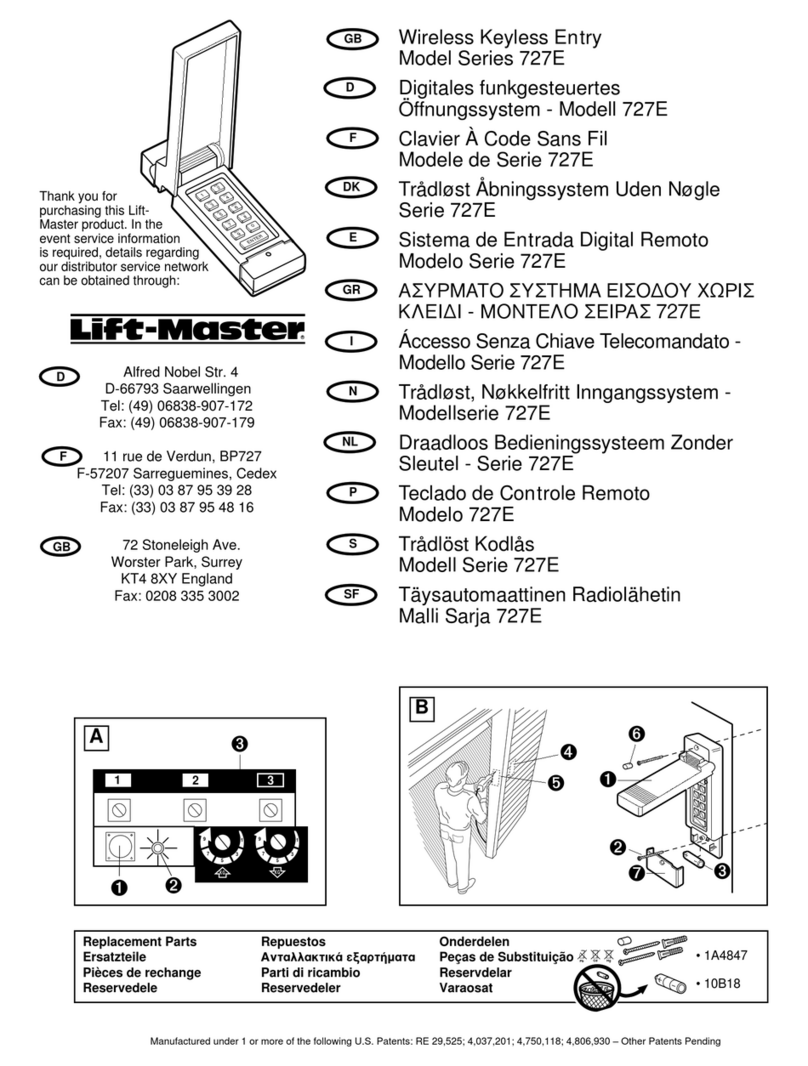
Chamberlain 727E Series User manual

Chamberlain

Chamberlain 727E Series User manual

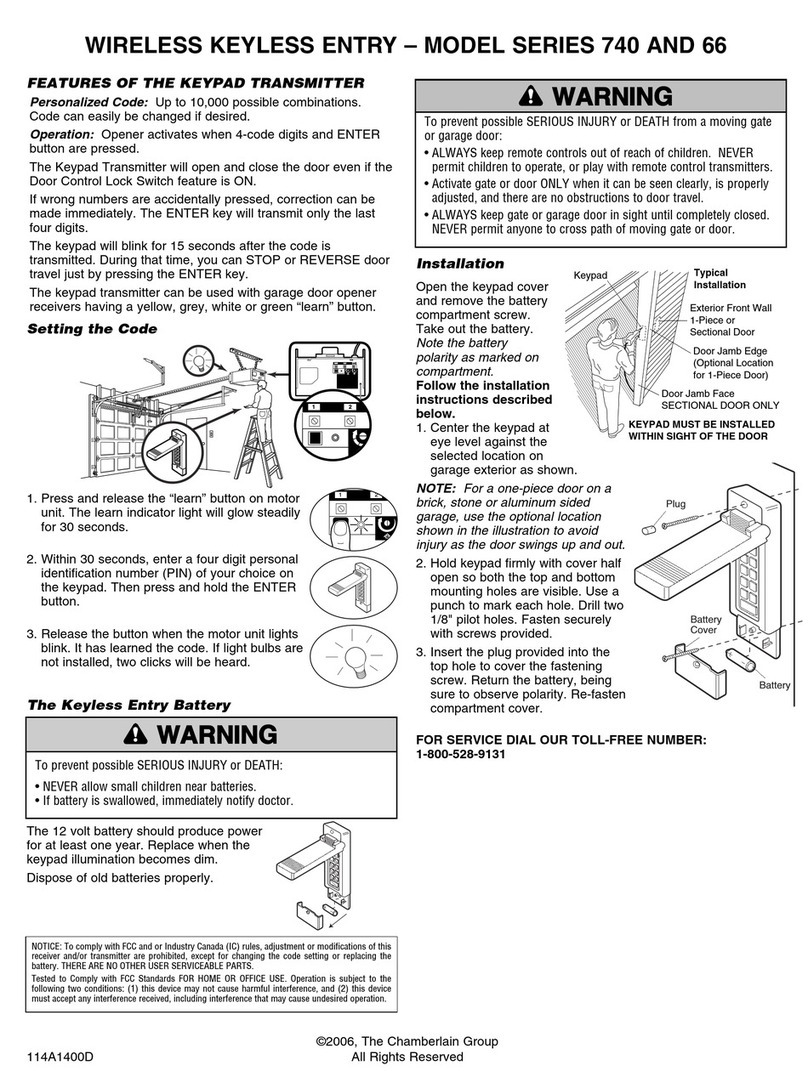
Chamberlain Series 740 User manual

Chamberlain

Chamberlain Series 740 User manual

Chamberlain 976LMC Security+ User manual

Chamberlain

Chamberlain 976LMC Security+ User manual

Chamberlain 878MAX User manual

Chamberlain

Chamberlain 878MAX User manual

Chamberlain POWER DRIVE 940D User manual

Chamberlain

Chamberlain POWER DRIVE 940D User manual

Popular Remote Starter manuals by other brands

FamilyTool FMT002JST instruction manual

FamilyTool

FamilyTool FMT002JST instruction manual

PowerJump LMD-021 user manual

PowerJump

PowerJump LMD-021 user manual

AstroStart 803U user manual

AstroStart

AstroStart 803U user manual

Durite 0-649-20 Leaflet

Durite

Durite 0-649-20 Leaflet

Linear ACCESS AK-21 Installation and programming instructions

Linear

Linear ACCESS AK-21 Installation and programming instructions

Soundstream TARANTULA RS.2 installation guide

Soundstream

Soundstream TARANTULA RS.2 installation guide

Jaycar Electronics MB3752 instruction manual

Jaycar Electronics

Jaycar Electronics MB3752 instruction manual

Ultra Start 72 Series owner's manual

Ultra Start

Ultra Start 72 Series owner's manual

ADS FLASHLOGIC FLRSVW1 Product guide

ADS

ADS FLASHLOGIC FLRSVW1 Product guide

Black Widow Security BW RAS 400 installation manual

Black Widow Security

Black Widow Security BW RAS 400 installation manual

Vector Power City DK080706 Owner's manual & warranty

Vector

Vector Power City DK080706 Owner's manual & warranty

Code Alarm CA-535 owner's manual

Code Alarm

Code Alarm CA-535 owner's manual

EINHELL EGS 3600 Directions for use

EINHELL

EINHELL EGS 3600 Directions for use

Schumacher INSTANT POWER IP-75C owner's manual

Schumacher

Schumacher INSTANT POWER IP-75C owner's manual

EINHELL BT-PS 1000 Directions for use

EINHELL

EINHELL BT-PS 1000 Directions for use

Mazda 0000-8F-H28 installation instructions

Mazda

Mazda 0000-8F-H28 installation instructions

DEI 450ESP owner's guide

DEI

DEI 450ESP owner's guide

Directed Electronics AutoCommand 28624TN Owner's installation guide

Directed Electronics

Directed Electronics AutoCommand 28624TN Owner's installation guide

manuals.online logo
manuals.online logoBrands
  • About & Mission
  • Contact us
  • Privacy Policy
  • Terms and Conditions

Copyright 2025 Manuals.Online. All Rights Reserved.

CHANGE AN EXISTING PIN
1
? ? ? ?
Press the programmed PIN
that you want to change.
...the courtesy light
blinks twice.
2Press and hold the
# button until...
3
+
? ? ? ?
new PIN
Enter the new 4-digit PIN of your choice,
then press the ENTER button.
4To test, press the new PIN,
then the ENTER button.
The garage door opener
will activate.
The courtesy light will blink once.
2Enter a 4-digit
personal
number (PIN)
of your choice:
34
1
Locate the Learn button
on the garage door opener.
? ? ? ?
Press and hold the ENTER
button until...
...the light bulb blinks
once or 2 clicks are
heard.
Press and
release the
Learn button.
The LED will light.
Within 30 seconds...
PROGRAM INITIAL PIN - using the Learn button
For use with Security 2.0 Garage Door Openers. The garage door opener activates when the 4-digit Personal
Identifiction Number (PIN) and ENTER button are pressed on the Keyless Entry.
Install the battery and program the Keyless Entry prior to installation. Make sure the garage door opener has a
working courtesy light because it is a programming indicator. •
•
•
•
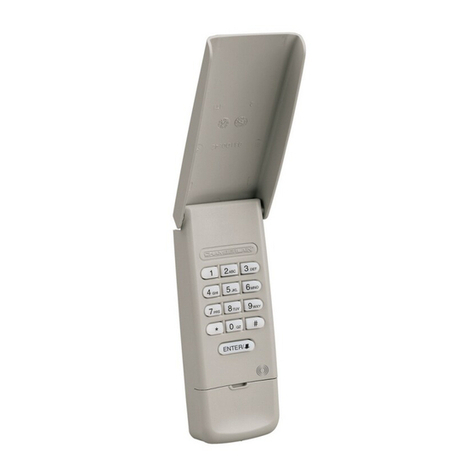
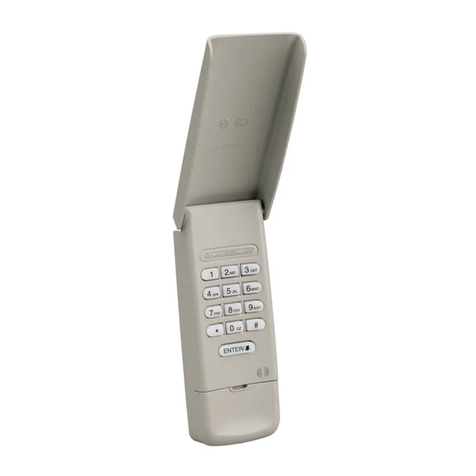
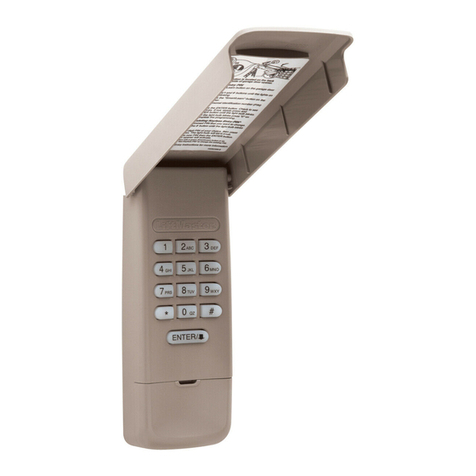
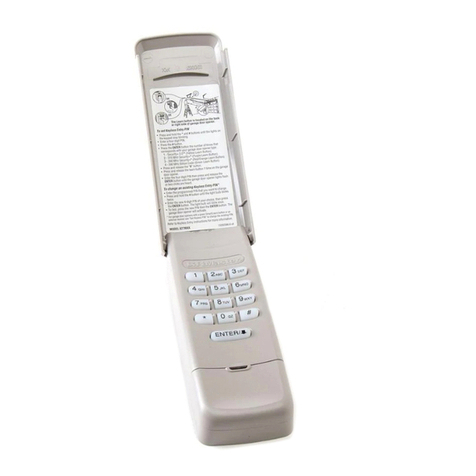
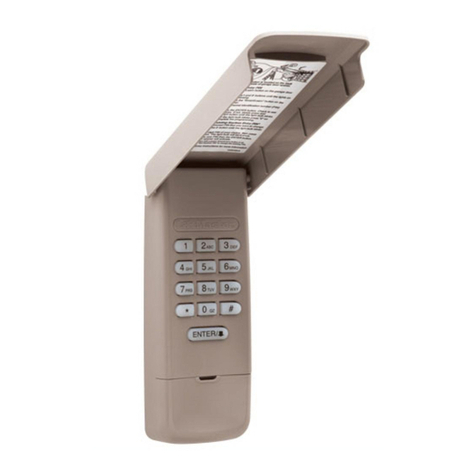
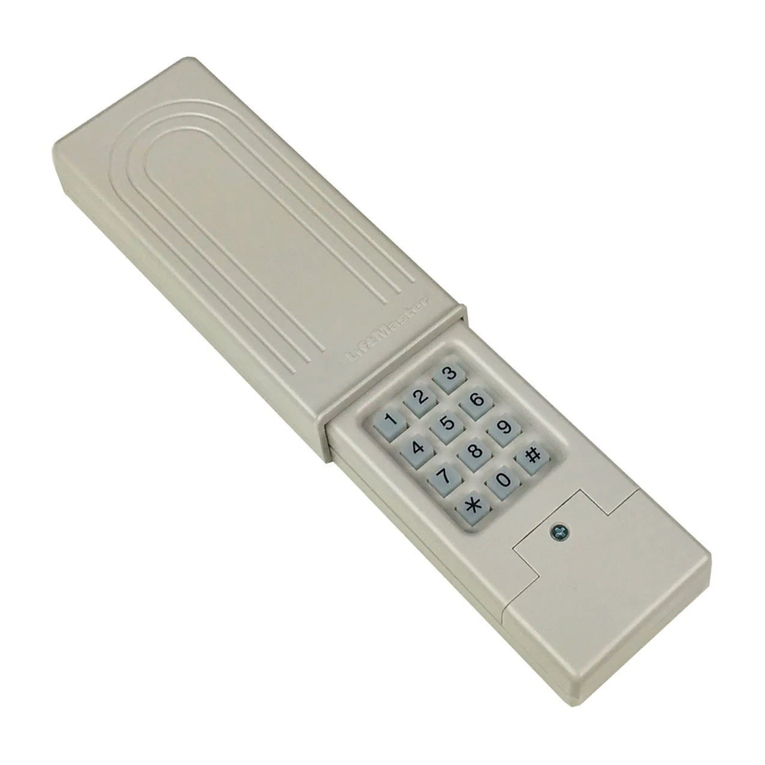
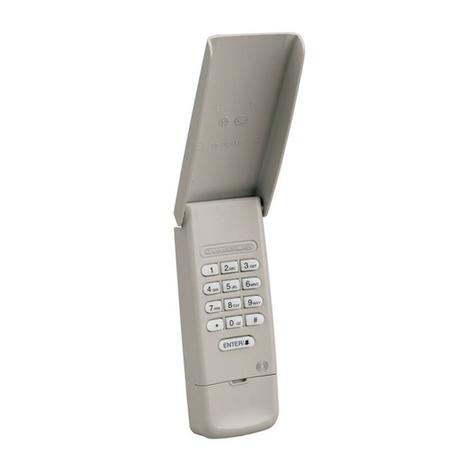
WIRELESS KEYLESS ENTRY • MODEL E840M
To test, press the PIN, then press the ENTER button. The garage door opener will activate. To program the Keyless Entry to more than one garage door opener, repeat the steps above using a new PIN for each
additional garage door opener.
To prevent possible SERIOUS INJURY or DEATH from a moving gate or garage door:
Install Keyless Entry Control within sight of the garage door,out of reach of children
at a minimum height of 1.5m, and away from all moving parts of door.
ALWAYS keep remote controls out of reach of children. NEVER permit children to
operate, or play with remote controls.
Activate gate or door ONLY when it can be seen clearly, is properly adjusted, and
there are no obstructions to door travel.
ALWAYS keep gate or garage door in sight until completey closed. NEVER permit
anyone to cross path of moving gate or door.
+
+
ROLLER DOOR OPENER
LEARN
BUTTON
LED
INDICATOR
SECTIONAL DOOR
OPENER
LEARN
BUTTON
LED
INDICATOR
DN UP PS
123
LEARN
BUTTON
LED
INDICATOR
114A31
OR
...the light bulb blinks 3 times.
1Press any programmed PIN, then press and hold
the *button until...
+
? ? ? ?
PIN
2
+
? ? ? ?
Temporary PIN
Enter the temporary 4-digit PIN of your
choice, then press the ENTER button.
The light bulb will blink
4 times.
Then press
the button.
3NUMBER OF HOURS
+
NUMBER OF OPENINGS
Press the number
of hours the
tempora ry PIN
will work (up to 255).
3
OR Then press
the # button.
+
Press the number
of openings the
tempora ry PIN
will work (up to 255).
1 blink 1 blink
To test, press the temporary
PIN, then press the ENTER
button. The garage door
opener will activate. If the
temporary PIN was set for a
number of openings, the test
will use up one opening.
To clear the temporary PIN, repeat steps 1-3 above, setting the number of hours or openings to 0 in step 3.
*
OPERATION
The garage door opener activates when the PIN and ENTER
button are pressed. The keypad will blink for 15 seconds, during
that time the ENTER button can be used to stop, start or reverse
the door.
If the wrong number is accidentally pressed, press the correct
PIN then the ENTER button. The Keyless Entry will transmit only
the last four digits that were pressed before the ENTER button.
ONE BUTTON CLOSE: The Keyless Entry has a feature that allows
the door to be closed using the ENTER button instead of a PIN.
NOTE: This feature is not available on external receivers.
To deactivate the one button close feature:
Press and hold the 1 and 9 buttons for 10 seconds.
The keypad will blink four times when the one button close
feature is deactivated.
To activate the one button close feature:
Press and hold the 1 and 9 buttons for 10 seconds.
The keypad will blink twice when the one button close feature
is activated.
PROGRAM A TEMPORARY PIN
A temporary 4-digit PIN can be programmed to allow access
to visitors. Each programmed PIN can program one temporary
PIN. The temporary PIN can be set for a number of hours or a
number of door openings. The temporary PIN cannot be the
same as any previously programmed PIN.
1
1
2
2
1
INSTALLATION
Select a location to mount the Keyless Entry at a minimum
height of 5 feet (1.5 m) out of the reach of children.
Remove battery cover and battery.
Mark the top mounting hole and drill 1/8 inch (3.2 mm)
pilot hole.
Install the top screw, allowing 1/8 inch (3.2mm) to
protrude above the surface. Position the Keyless Entry
over the top screw.
Mark the bottom hole and drill 1/8 inch (3.2 mm) pilot
hole. Install the bottom screw. Do not overtighten to avoid
cracking the plastic housing.
Reinstall battery and replace cover.
2
3
4
5
6
Replace the battery (6F229V) when the
keypad becomes dim or does not light
after a button is pressed.
To prevent possible SERIOUS INJURY or DEATH:
BATTERY
9V Battery
WARRANTY
ONE YEAR LIMITED WARRANTY
The Chamberlain Group, Inc. warrants to the original consumer
purchaser of this product that it is free from defect in materials
and/or workmanship for a period of 1 year from the date of
purchase.
114-5499-000
Chamberlain service centres:
Australia
Phone toll free 1800 638 234
gomerlin.com.au
New Zealand
Phone toll free 0800 653 667
gomerlin.co.nz
Do not ingest battery.
Keep new and used batteries away from children.
If the battery compartment does not close securely, stop
using the product and keep away from children.
If you think batteries might have been swallowed or placed
inside any part of the body, seek immediate medical attention.
•
•
•
•