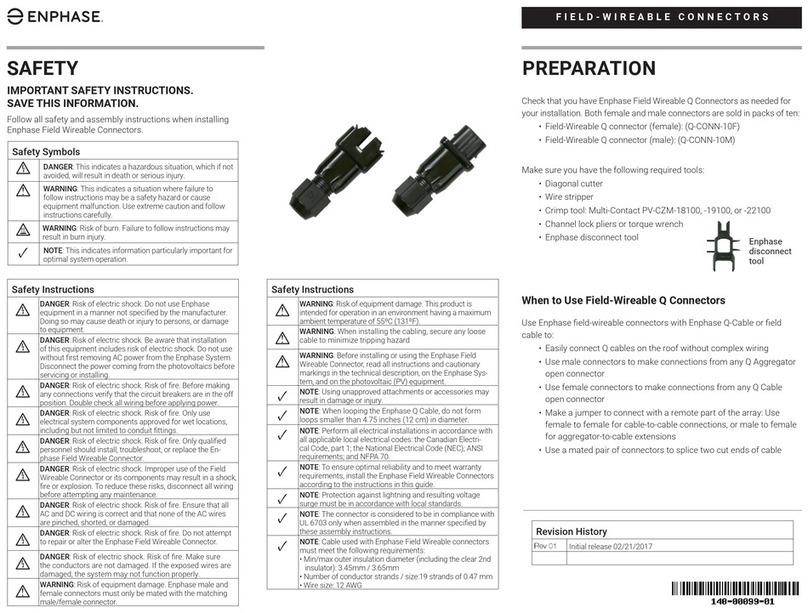
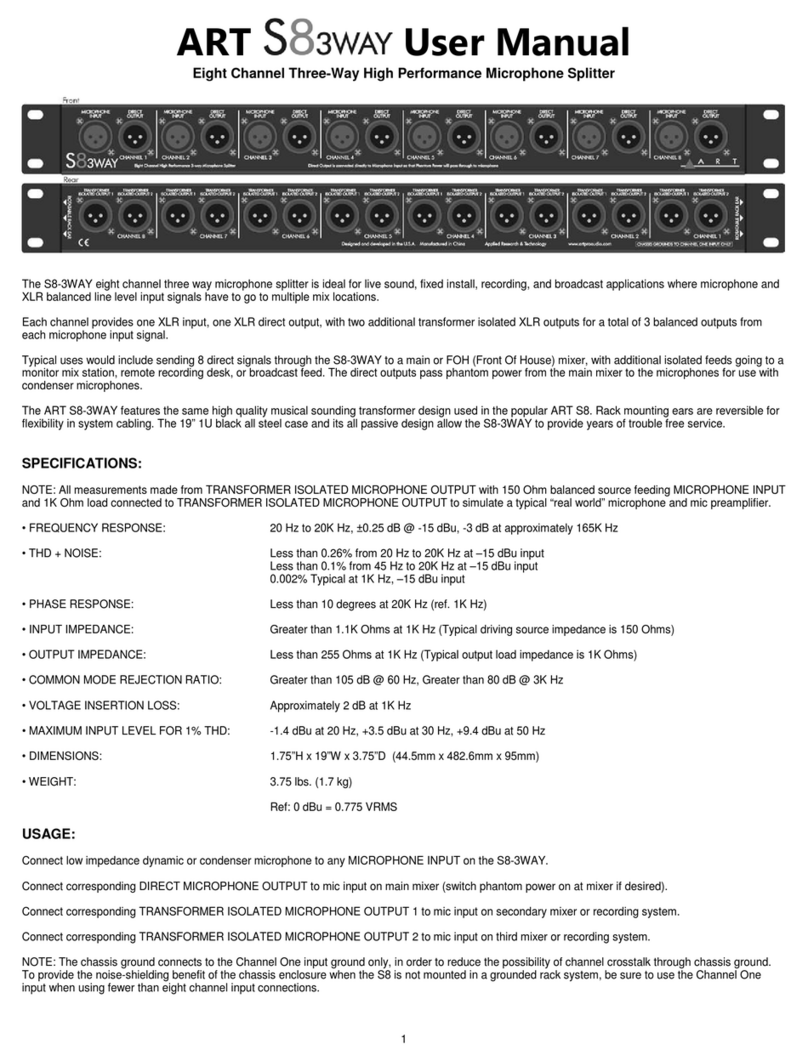
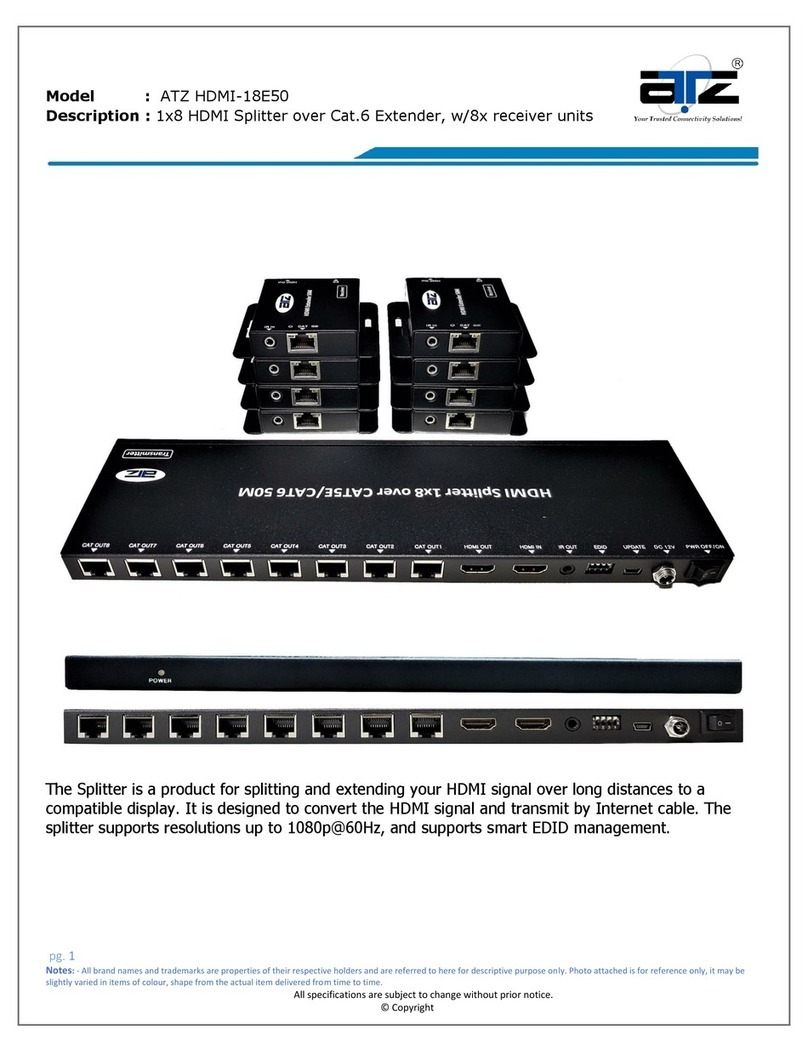
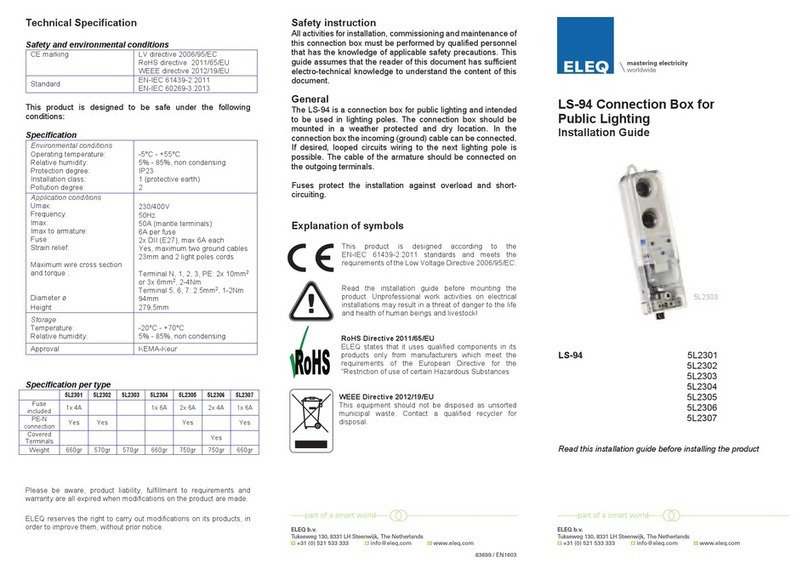
Channel Master CM-3700CBB User manual

Prepare your white or black Coax+ RG6 Coil for loading onto the
plastic spool
1. Identify the bottom of your black or white coil. It is marked with
a sticker “B”. Each coil comes wrapped with two layers of plastic
protecting it from dust and dirt while shipping or in storage. (Fig. 1)
Identicalaparteinferiordetubobinablancaonegra.Estámarcado
conunapegatina“B”.Cadabobinavieneenvueltacondoscapasde
plásticoquelaprotegendelpolvoylasuciedadduranteelenvíooel
almacenamiento.(Fig.1)
Identiezlebasdevotrebobinenoireoublanche.Ilestmarquéd’un
autocollant“B”.Chaquebobineestemballéeavecdeuxcouchesde
plastiquelaprotégeantdelapoussièreetdelasaletépendantletransport
oulestockage.(Fig.1)
2. Using a pair of scissors, carefully cut the plastic wrap from the center
outward being careful to not damage the coax jacket. Cut enough
plastic to allow peeling back the outer layer to the edge of the coil.
(Fig. 2)
Usandounpardetijeras,corteconcuidadolaenvolturadeplásticodesde
elcentrohaciaafuerateniendocuidadodenodañarlachaquetacoaxial.
Cortesucienteplásticoparapermitirquesedespeguelacapaexterior
hastaelbordedelabobina.(Figura2)
Àl’aided’unepairedeciseaux,coupezsoigneusementlapelliculeplastique
ducentreversl’extérieurenfaisantattentiondenepasendommagerla
gainecoaxiale.Coupezsufsammentdeplastiquepourpermettrede
décollerlacoucheexternejusqu’auborddelabobine.(Fig.2)
3. Using the larger of 2 pieces of the plastic cable spool, insert the
center of spool into the hole where you removed the outer plastic from
the bottom of the coil. (Fig. 3)
Usandolamásgrandedelas2piezasdelcarretedecabledeplástico,
inserteelcentrodelcarreteeneloriciodondequitóelplásticoexterior
delaparteinferiordelabobina.(Fig.3)
Enutilisantleplusgranddes2morceauxdebobinedecâbleenplastique,
insérezlecentredelabobinedansletrouoùvousavezretiréleplastique
extérieurdubasdelabobine.(Fig.3)
*Note: You may have to delicately move the inner end of the coax
to be ush with the rest of the inner coil to accommodate tting the
spool into the coil. (Fig. 4)
*Nota:Esposiblequedebamovercondelicadezaelextremointeriordel
cablecoaxialparaquequedealmismonivelqueelrestodelabobina
interiorparaacomodarelajustedelcarreteenlabobina.(Fig.4)
*Remarque:Vousdevrezpeut-êtredéplacerdélicatementl’extrémité
intérieureducâblecoaxialpourqu’elleafeurelerestedelabobine
intérieurepourpermettrelemontagedelabobinedanslabobine.(Fig.4)
4. Once you have inserted the cable spool into your coil, ip it over and
again cut the outer plastic layer as you did in step two so you can fold
it back to the edge of the coil. This will allow the Coax Spool cap-end
to snap together mating it to the inner spool.
Unavezquehayainsertadoelcarretedecableensubobina,délelavuelta
ycortenuevamentelacapadeplásticoexteriorcomolohizoenelpaso
dosparaquepuedadoblarlohastaelbordedelabobina.Estopermitirá
queelextremodelatapadelcarretecoaxialsejunteyseacopleal
carreteinterno..
Unefoisquevousavezinsérélabobinedecâbledansvotrebobine,
retournez-laencoreetencorecoupezlacouchedeplastiqueextérieure
commevousl’avezfaitàl’étapedeuxandepouvoirlareplierversle
borddelabobine.Celapermettraàl’extrémitéducapuchondelabobine
coaxialedes’emboîteretdel’accoupleràlabobineintérieure.
5. Snap the plastic cap to the spool securely. (Fig. 5)
Ajustelatapadeplásticoalcarretedeformasegura.(Fig.5)
Fixezfermementlecapuchonenplastiqueàlabobine.(Fig.5)
6. Load the completed spool into the square Frame attached to the
inside of your Coax+ Cable and Tool bag. (Fig. 6)
Cargueelcarretecompletoenelmarcocuadradounidoalinteriordesu
cablecoaxial+ybolsadeherramientas.(Fig.6)
Chargezlabobineterminéedanslecadrecarréxéàl’intérieurdevotre
câblecoaxial+etsacàoutils.(Fig.6)
*Note: Be sure to have the spool inserted so that the wire aligns and
will pull through the wire slot unrolling from the bottom of the spool/
coil. (Fig. 7 and Fig. 8) This will assure easy pulling.
*Nota:Asegúresedetenerelcarreteinsertadodemaneraqueelcablese
alineeypaseatravésdelaranuradelcabledesenrollandodesdelaparte
inferiordelcarrete/bobina.(Fig.7yFig.8)Estoaseguraráunfáciltirón.
*Remarque:Assurez-vousquelabobineestinséréedemanièreàceque
lels’aligneetpasseàtraverslafentepourlsedéroulantàpartirdubas
delabobine/bobine.(Fig.7etFig.8)Celagarantiraunetractionfacile.
Coax+ Cable and Tool Bag System Instructions
Instrucciones del sistema de bolsa de herramientas y cable coaxial +
Instructions du système Coax + Cable et Tool Bag
Package Contents and Accessories
A. Reusable 2 piece plastic cable spool - CM-
3700XSP
Bobinadecabledeplásticoreutilizablede2
piezas-CM-3700XSP
Bobinedecâbleenplastiqueréutilisable2
pièces-CM-3700XSP
B. Reusable 2 piece plastic cable bag frame -
CM-3700XFR
Marcodebolsadeplásticoreutilizablepara
cablesde2piezas-CM-3700XFR
Cadredesacdecâbleenplastiqueréutilisable
en2pièces-CM-3700XFR
C. Coax+ Coil - CM-3700B (black) or CM-3700W
(white) *(one coil per system)
Coax+Coil-CM-3700B(negro)oCM-3700W
(blanco)*(unabobinaporsistema)
Coax+Coil-CM-3700B(noir)ouCM-3700W
(blanc)*(unebobineparsystème)
D. Coaxial Cable Tool Bag - CM-3700CB
Bolsadeherramientasdecablecoaxial-CM-
3700CB
Sacàoutilspourcâblecoaxial-CM-
3700CB
B.
A.
C.
D.
Continued on back..
Continuadoenlaespalda../Suiteaudos..
CM-3700CBB, CM3700CBW

© 2020 Channel Master. Channel Master is a registered trademark. Specications subject to change. All rights reserved. © 2020 Channel Master. Channel Master es una marca
registrada. Especicaciones sujetas a cambio. Todos los derechos reservados. © Channel Master, 2020. Channel Master est une marque déposée. Les caractéristiques peuvent être
modiées sans préavis. Tous droits réservés. Pub CM3700CBBCM3700CBW.UG.202008
ChannelMaster.com
For Product Warranty information please visit us online at www.channelmaster.com/warranty
Figures 1-7
Figure 1
Figura 1
Figure 5
Figura 5
Figure 2
Figura 2
Figure 6
Figura 6
Figure 8
Figura 8
Figure 3
Figura 3
Figure 7
Figura 7
Figure 4
Figura 4
7. Zip the bag closed to secure the Coax + coil and frame within the Cable
Bag.
CierrelabolsaparaasegurarlabobinaCoax+yelmarcodentrodela
bolsaparacable.
FermezlesacpourxerlabobineCoax+etlecadredanslesacdecâble.
8. Remove the inner plastic wrap that was left on Coaxial Cable itself.
This can be done by reaching through the open slot that the wire pulls
out from.
Retirelaenvolturaplásticainternaquequedóenelcablecoaxial.Estose
puedehaceralcanzandoatravésdelaranuraabiertadelaqueseextraeel
cable.
Retirezlapelliculeplastiqueintérieurequirestaitsurlecâblecoaxial.Cela
peutêtrefaitenpassantparlafenteouverteàpartirdelaquellelecâbleest
retiré.
9. You are now ready to use your Coax+ Cable and Tool Bag System.
Ahoraestálistoparausarsusistemadecablecoaxial+ybolsade
herramientas..
VousêtesmaintenantprêtàutiliservotresystèmeCoax+CableandTool
Bag.
Rells can be purchased at www.channelmaster.com
Lasrecargassepuedencomprarenwww.channelmaster.com
Lesrechargespeuventêtreachetéessurwww.channelmaster.com
This manual suits for next models
1
Other Channel Master Cables And Connectors manuals
