1
QUICK START GUIDE
Net-X II QSG Rev. 1
About This Guide
The Net-X II Quick Start Guide (QSG) contains instructions on routing DMX data from various specific lighting desks and
control systems through this product to DMX lighting fixtures.
Disclaimer
The information and specifications contained in this QSG are subject to change without notice.
Contact
Outside the U.S., U.K., Ireland, Benelux, France, Germany, or Mexico, contact your distributor to request support or
return a product. Refer to Contact Us at the end of this QSG for contact information.
To Begin
1. Open the Net-X II box by carefully cutting the tape. Take special care not to cut too deeply, or the housing of the
Net-X II may be damaged.
2. Unpack the Net-X II and make sure all parts have been received in good condition. If the box or contents appear
damaged, notify the carrier immediately, not Chauvet.
3. Connect the included Seetronic Powerkon power cord from the product into mains power (100-120 V AC, 50/60
Hz). After a few seconds the product should display the home screen.
4. When the home screen is displayed, connect an ethernet cable from the lighting desk/control system to a
Seetronic Etherkon through port on the Net-X II.
5. Confirm the following:
• The A-B ethernet status indicator shows an active connection.
• The LINK LED indicator is active (indicates the product is connected to the control system via a UDP/IP
connection).
• The ACT LED indicator is active (indicates the product is receiving ethernet data packets from 1 or more
products on the network).
• The display port signal indicators display a check mark (indicates the lighting desk/control system is already
sending DMX packets on the default port/universe settings) or an X symbol (indicating either that the Net-X II
is not yet receiving data or that the lighting desk/control system is not actively sending lighting cues).
Specific Lighting Desk Setup
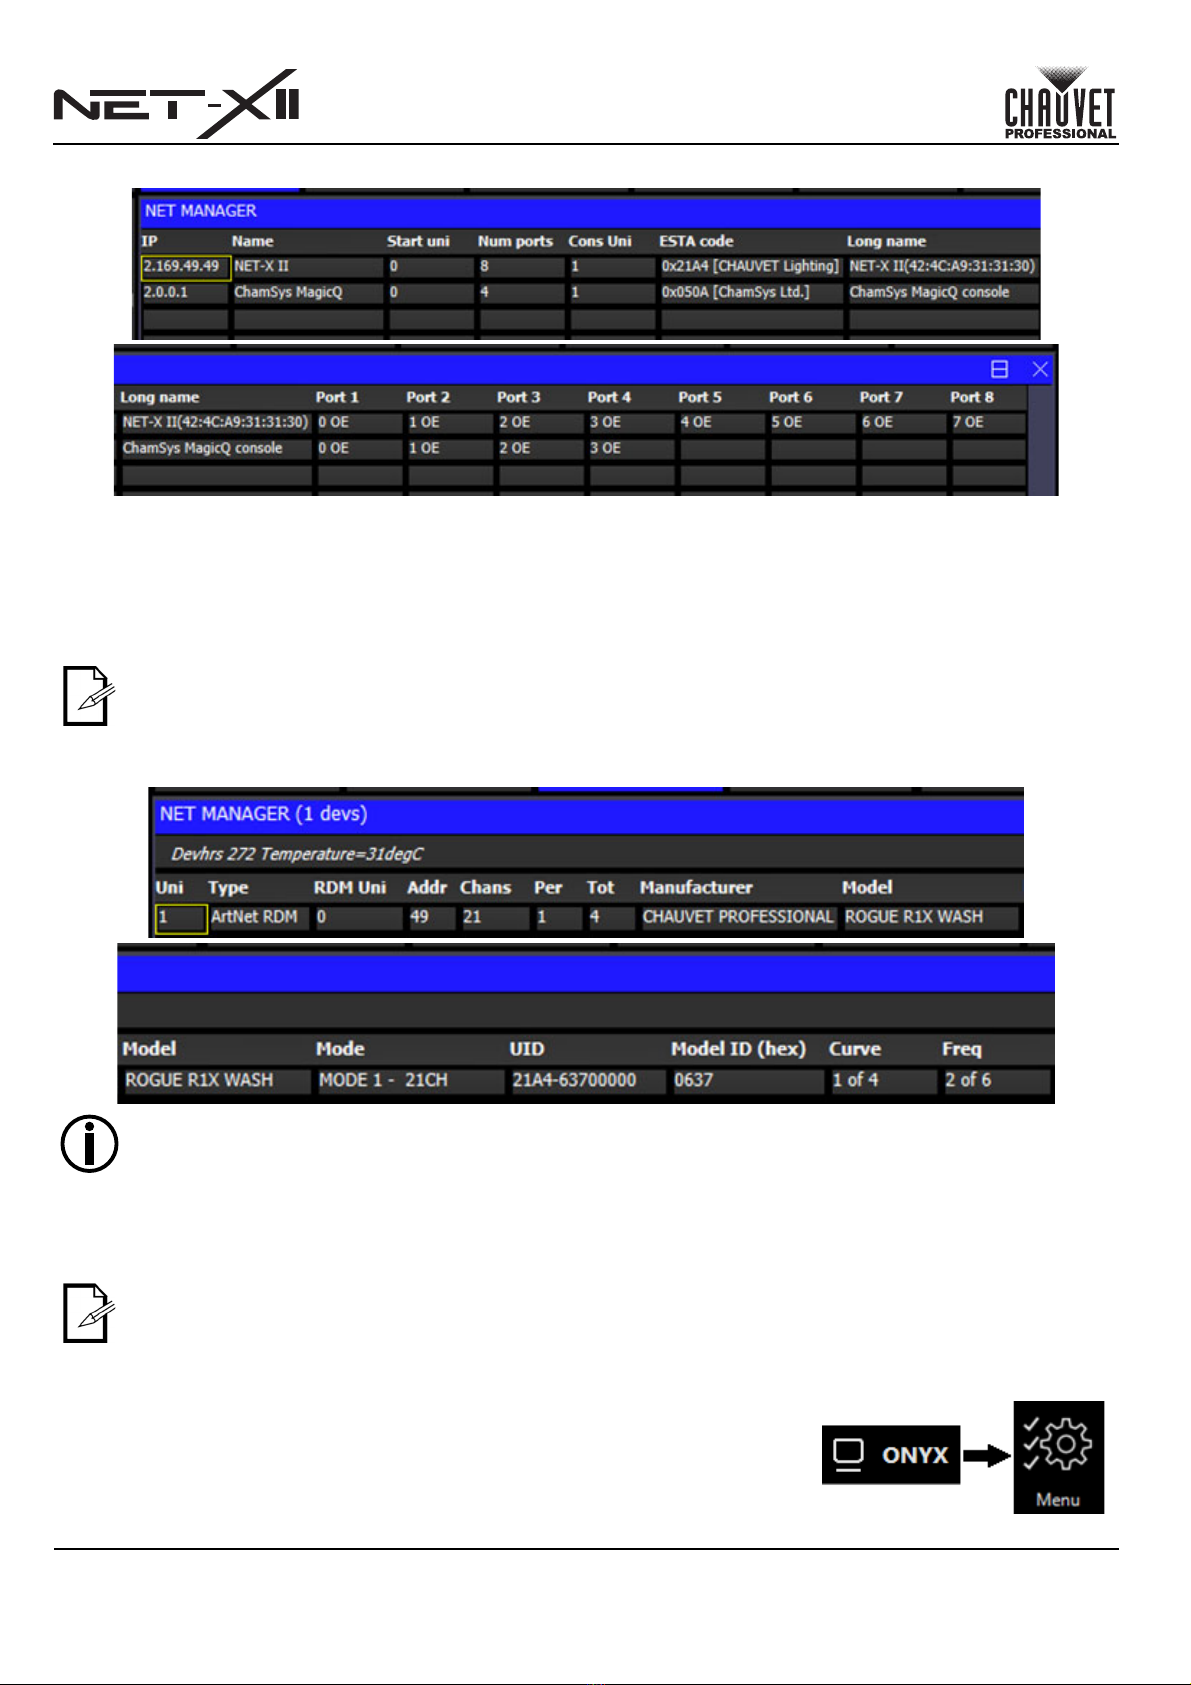
Chamsys/MagicQ Setup with Net-X II
To enable output from the Chamsys/MagicQ platform to the Net-X II:
1. If used previously, perform a factory reset on the Net-X II.
2. Connect the Net-X II to the PC or lighting desk via an ethernet cable.
3. On the Net-X II, navigate to 9. User Preset and select either 1. Art-net 8-port DMX or 2. sACN to 8-port DMX.
The product will receive the selected signal protocol and convert it to DMX.
4. On the Chamsys MagicQ software GUI or on a Chamsys lighting desk, press the <SETUP> key.
5. In the top toolbar, press <VIEW SETTINGS>.
6. In the secondary top toolbar of the next screen, press <Network>.
7. Configure the following parameters in this window:
•IP address: Set the first value to 2so it matches the default IP range of the Net-X II.
•Subnet mask: Set to 255.0.0.0 (this can be changed later, if needed).
This connection may be direct or via an ethernet switch or router.
• The ACT and LINK LED indicators next to the Seetronic Etherkon through port should be active.
• The ACT LED indicator may be solid or flashing slowly. This is normal. When successfully configured, this
indicator will flash rapidly.