Setup
6 COLORado 1 Quick Start Guide Rev. 02b
Mounting Always mount this fixture making sure that there is adequate room around it
for ventilation, and away from flammable materials.
Orientation You can mount this fixture in any safe position.
Rigging The COLORado™ 1 supports overhead and floor mounting. CHAUVET®
recommends following the general guidelines below to mount this fixture.
When selecting an installation location, consider ease of access to the
fixture for operation, programming adjustments and routine
maintenance.
Although this fixture is for outdoor use, never mount it in places where
extreme temperature changes or restricted ventilation may affect it.
If mounting this fixture overhead, make sure that the location where you
are mounting it can support its weight. Please see the Technical
Specifications section of this guide for the weight requirement of this
fixture.
Always use safety cables when mounting this fixture overhead.
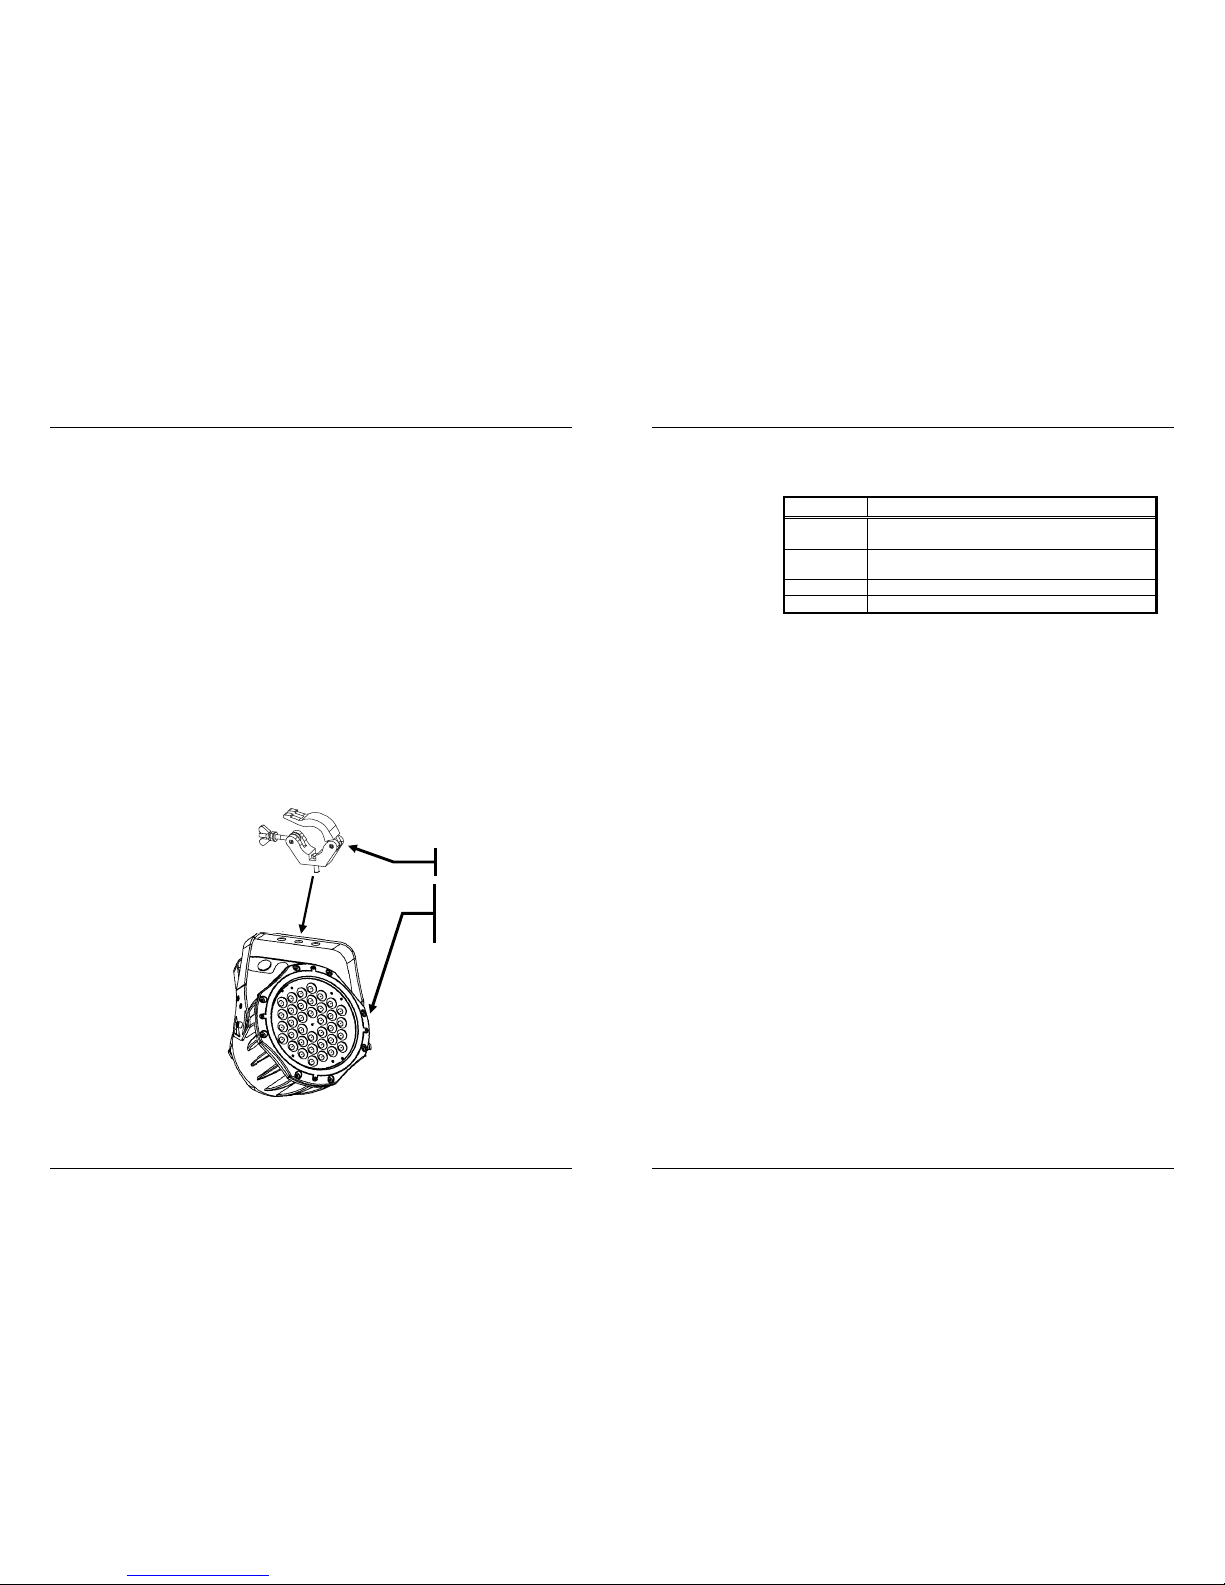
ProcedureThe COLORado™ 1 includes a mounting yoke to which you can attach a
rigging clamp. You must supply your own “C” or “O” clamp and make sure
that the clamp is capable of supporting the weight of this fixture.
CHAUVET® recommends using at least two mounting points per fixture.
Adjust the angle of the fixture by loosening the knob and tilting the fixture.
After finding the desired position, retighten the knob.
Product
Mounting
Diagram
Yoke
adjustment
knob
Clamp
Operation
COLORado 1 Quick Start Guide Rev. 02b 7
4. Operation
Control
Panel
Description
You may access the control panel functions using the four panel buttons
located directly underneath the LCD Display.
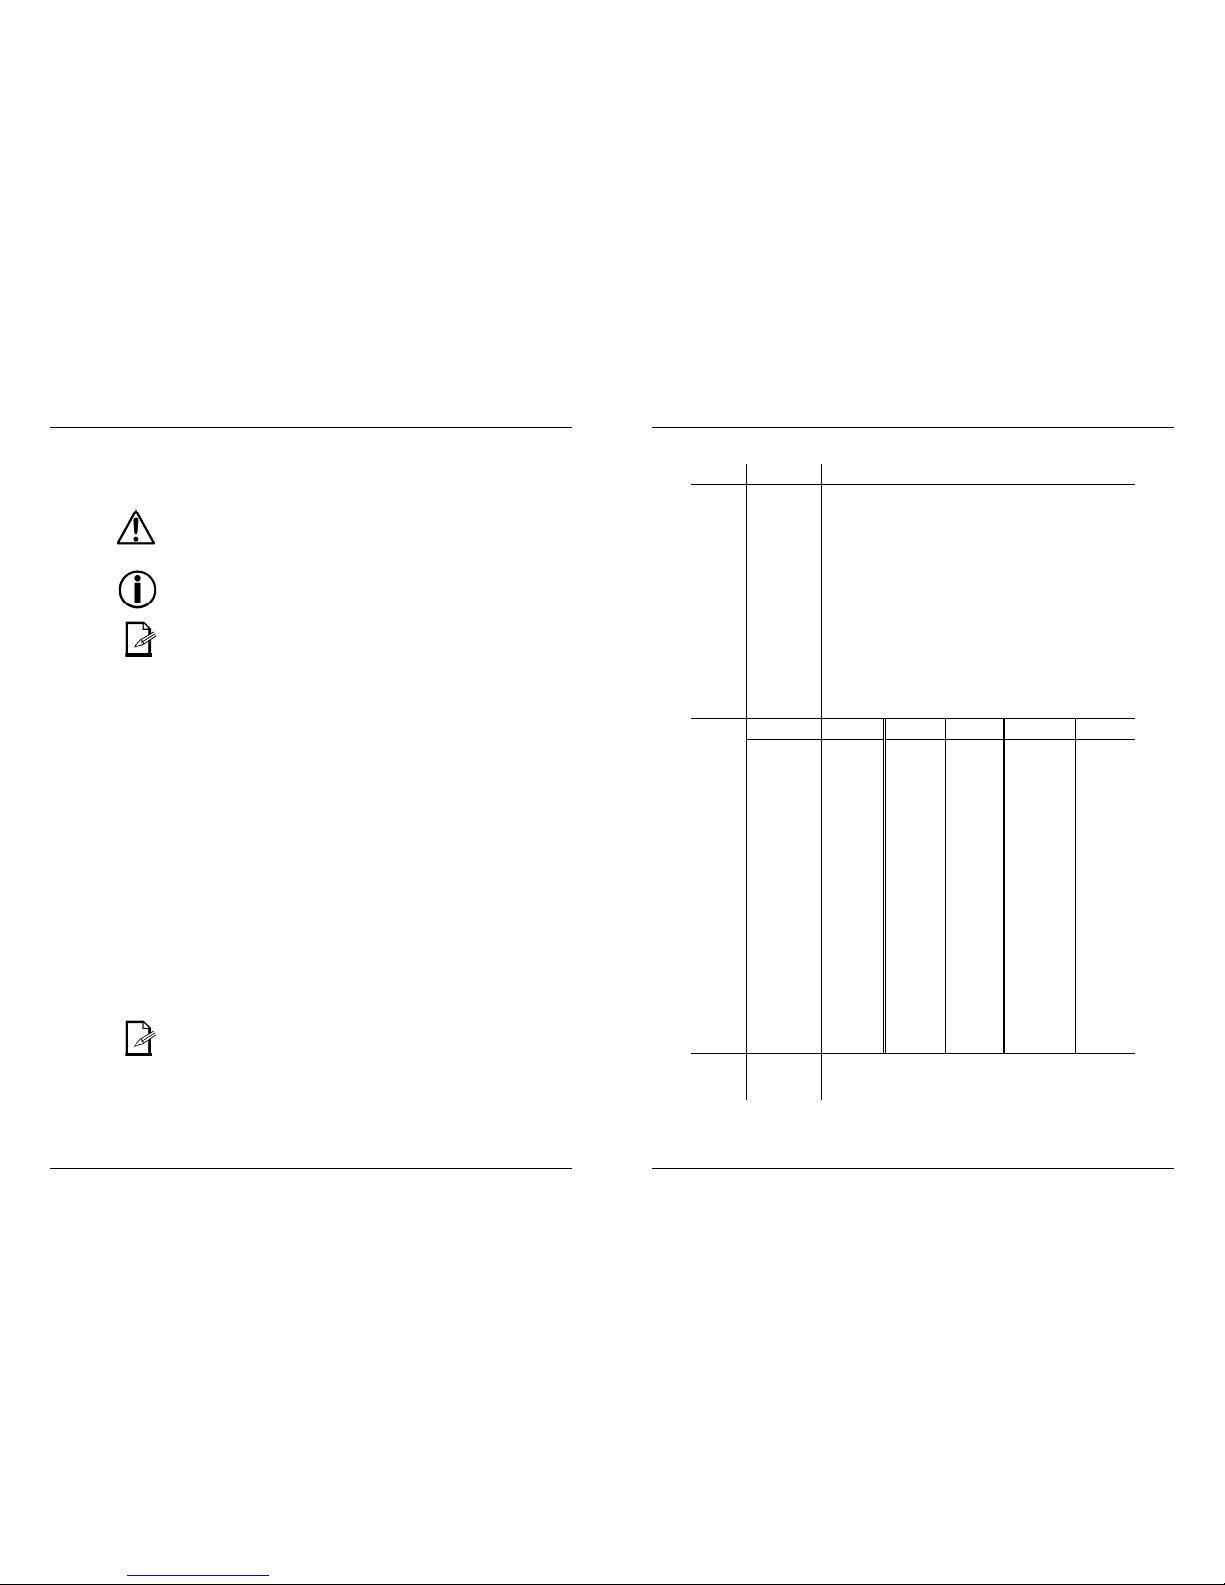
Button Function
<MENU> Used to access the menu or to return to a previous
menu option
<SET> Used to select and store the current menu or option
within a menu
<UP> Scrolls through menu options in ascending order
<DOWN> Scrolls through menu options in descending order
Navigation The Control Panel LED based Display shows the menu items you select
from the menu map.
When you select a menu function, the display will show immediately the first
available option for the selected menu function. To select a menu item,
press <SET>.
Press <MENU> repeatedly to scroll through the top-level menu items. This
is the top of the menu map.
Press <UP> and <DOWN> to navigate the menu map and menu options.
Press <SET> to access the menu function currently displayed or to enable
a menu option.
To return to the previous option or menu without changing the value, press
the <MENU> button.
Control
Options
You can set the COLORado™ 1 start address in the 001~512 DMX range.
This allows for the control of up to 56 fixtures in the 9-channel STAG
personality; however, a secondary ID address system exists for use in a
limited DMX universe and architectural environments.
This allows you to assign up to 66 fixtures within the same DMX address,
thus multiplying the number of fixtures you can control within a single
universe to 3,696. You can access the fixture’s ID address system from
channel 8 when in the STAG personality.
When programming live performances or cues that need to trigger on
demand or on a time line, program no more than 10 fixtures on ID
addressing per DMX channel. This is to remain within a one-second
execution time.