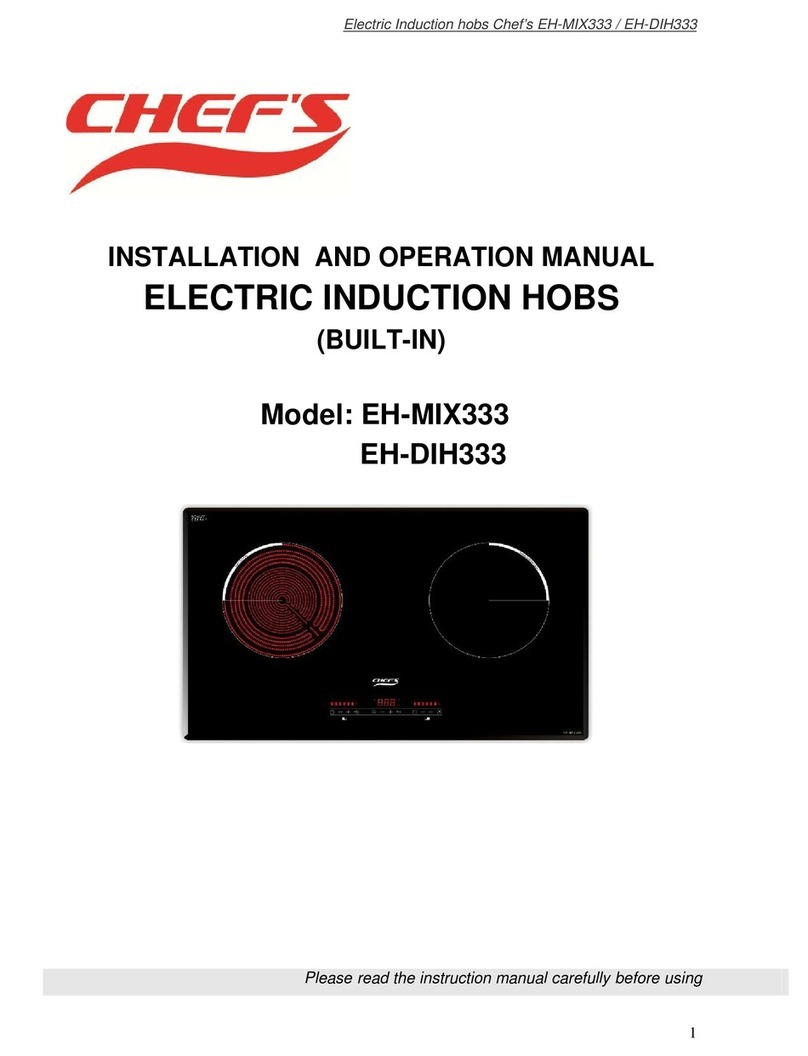
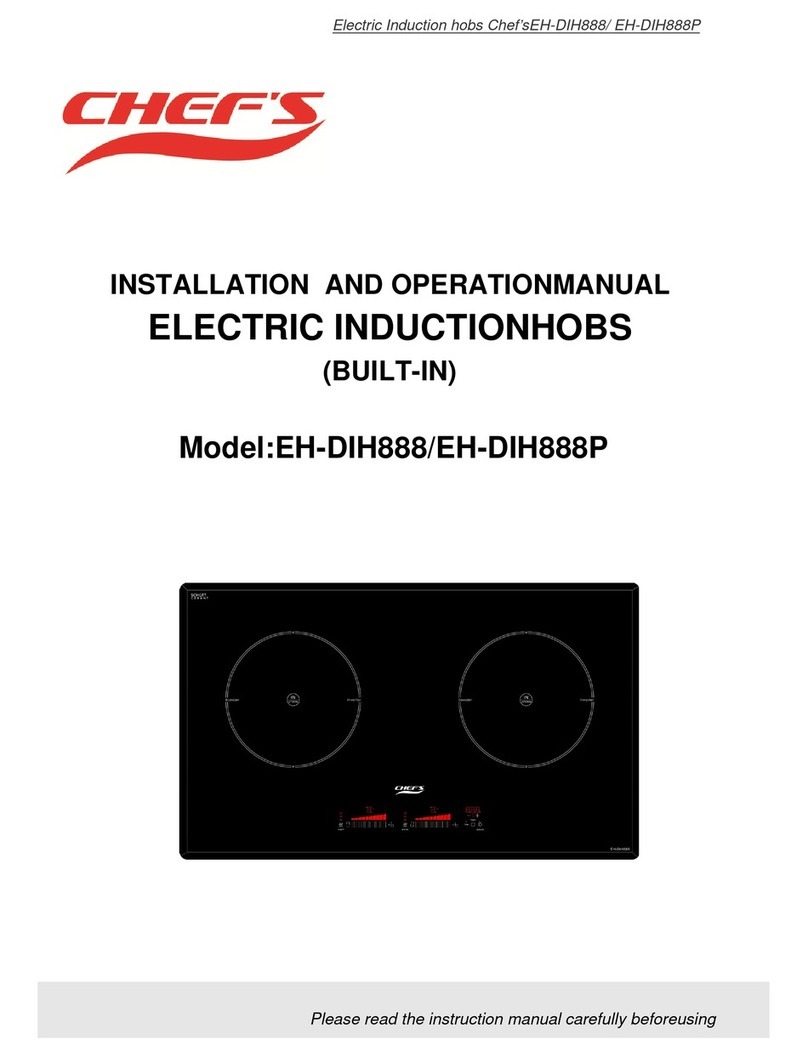
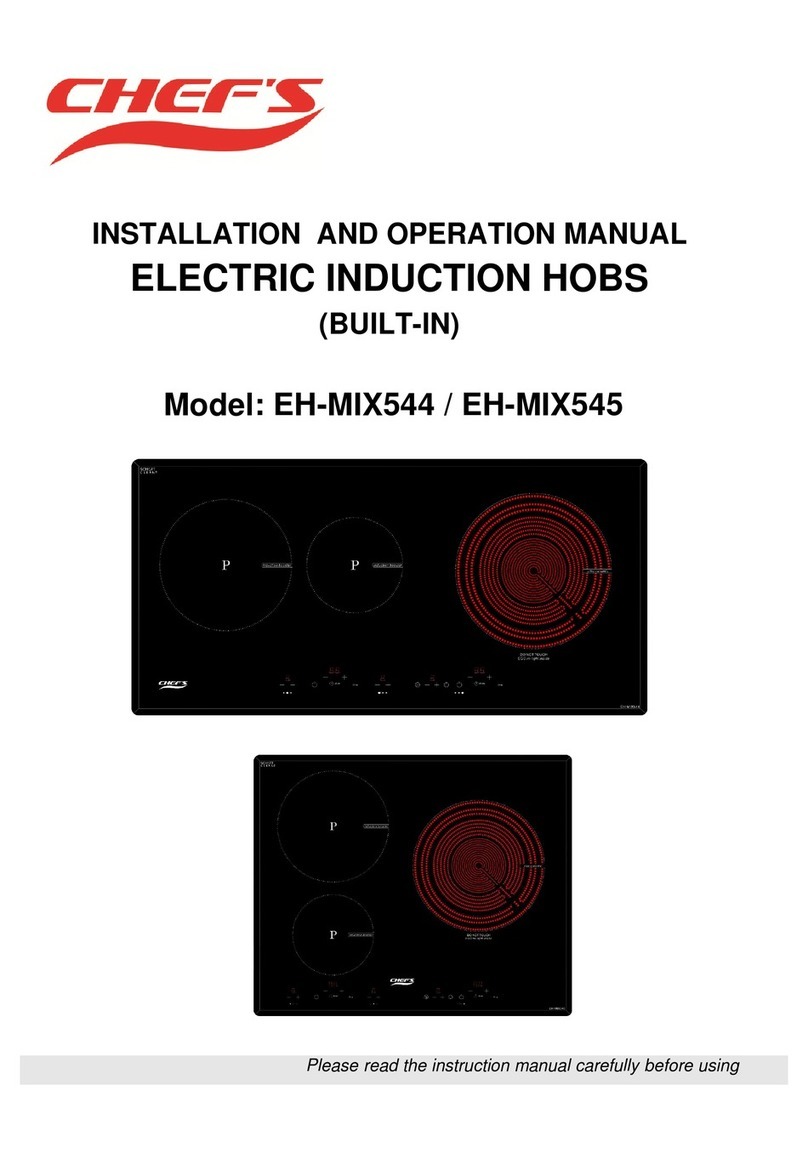
Chef's EH-MIX330 User manual

Electric Induction hobs Chef’s EH-xxx330
1
INSTALLATION AND OPERATION MANUAL
ELECTRIC INDUCTION HOBS
(BUILT-IN)
MODEL: EH-MIX330
Please read the instruction manual carefully before using

Electric Induction hobs Chef’s EH-xxx330
2
TABLE OF CONTENTS
PREFACE
1. SAFETY INSTRUCTION.. ……………………………………………….
2. INSTALLATION INSTRUCION …………………………………………
3. INDUCTION COOKING …………………………………………………
4. PRODUCT SPECIFICTION ………………………………………………
5. GETTING FAMILY WITH THE HOB .........................................................
6. SWITCHING ON/OFF …………………. .....................................................
7. SELECTING POWER LEVEL FOR A COOKING ZONE...........................
8. BOOSTER FUNCTION………………..........................................................
9. RESIDUAL HEAT INDICATION..................................................................
10. KEY LOCK ...................................................................................................
11. AUTOMATIC SAFETY OFF.......................................................................
12. DUAL CIRCUIT ACTIVATION..................................................................
13. OPERATING THE TIMER ……………......................................................
14. POT DETECTION… .………………… ......................................................
15. POWER REDUCTION IN CASE OF OVERHEATING………………….
16. ERRORS CODE …. .....................................................................................

Electric Induction hobs Chef’s EH-xxx330
3
Preface
Thank you for choosing CHEF’S cooking appliances.
Read this instructions carefully.
Only after doing this will you be able to operate your appliance properly.
Keep this Instructions in a safe place. If the appliance is given to another
person, ensure the appliance documentation is also included.
Any defects and losses caused by ignoring the mentioned items and
cautions mentioned in the operation and installation instruction are not
covered by our warranty and any liability. Please keep all document in a
safety place for future reference. If you have any doubt, please contact our
local customer service center or dealer.
Check the appliance after removing it from the packaging. If you find the
induction hob (built-in) is visibly damaged, do not use it.
Contact your local Customer Service or dealer immediately.

Electric Induction hobs Chef’s EH-xxx330
4
1. Safety Instructions
The induction hob (built-in) is designed for domestic use only. Only use
the induction hob for food preparation so that it should be installed in the
kitchen.
Safe operation:
To use this appliance safely, adults and children who as a result of
- physical, sensory or mental disability
- Or lack of experience or knowledge are not capable of using this
appliance should not do.
Children must be supervised to ensure that they do not play with the
appliance.
Overheated oil, butter or margarine:
Overheated oil or butter (margarine) can quickly ignite. It may cause a
fire! Ensure that you keep a constant watch when cooking foods with oil or
butter.
In the event that the oil or butter catches fire, never use water to put it out.
Put the fire out quickly by covering the pan with a cover or dish. Switch off
the hotplate.
Not to add additional timer or remote control to control the hob.
Hot cooking hob
Risk of burns! Do not touch the hot areas of the hob. It is imperative that
children keep away from the appliance. The residual heat Indicator tells you
if the hotplates are hot (See “Residual heat warning light” section ).
It may cause a fire! Never rest flammable objects on the cooking hob.
It may cause a fire! If there is a drawer below the induction hob, this
should not be used to store any flammable objects or sprays.

Electric Induction hobs Chef’s EH-xxx330
5
Wet hotplates and pan bases
Risk of injuries! If there is any liquid between
the base of the pan and the hotplate this could
generate steam pressure. As a result, the pan
could jump unexpectedly.
Always ensure that the hotplate and the base
of the pan are kept dry.
Cracks in the hob
Risk of electrocution! Disconnect the appliance from the mains if the
induction hob is broken or cracked. Contact Local Customer Service or
Dealer.
The hotplate heats up but the visual indication does not work
Risk of burns! Disconnect the hotplate if
the indicator does not work. Contact Local
Customer Service or dealer.
Do not place metal objects on the
Induction hob
Risk of burns! Do not leave cutlery, lids
or other metal objects on the hob as they can
heat up very quickly.
Taking care of the cooling fan
This induction hob is fitted with a fan in the lower section.
Risk of malfunction! If a drawer is fitted beneath the hob you must not
keep small objects or paper in it as, if they are Picked up, they could damage
the cooling fan or affect the cooling system.
Please, note: there should be a minimum distance of 2 cm between the
drawer contents and the cooling fan.

Electric Induction hobs Chef’s EH-xxx330
6
Incorrect repairs
Risk of electric shock! Incorrect repairs can be dangerous.
Repairs may only be carried out by the Customer Service.
Power cable
Any work on the appliance, including replacing the power Cable must be
carried out by the Customer Service.
The power cable of the appliance must not touch the hot areas of the hob.
The cable insulation and hob can be damaged.
This appliance complies with current safety regulations and
electromagnetic compatibility regulations.
Nevertheless, people with a peacemaker should not use this appliance.
It is impossible to guarantee that all such devices found on the market
comply with current safety regulations and electromagnetic compatibility
regulations, and that dangerous interference will not occur. It is also possible
that people with other types of device, such as hearing aid, could experience
some discomfort.
Switching the hob off
Always switch the hob using the main switch of the Control Panel after
each use. Do not wait until the hob switches off automatically when the pan
is removed.
Causes of damage:
The base of the pans
The rough bases of pans may scratch the hob.
Avoid leaving empty pans on the hotplates.
These may cause damage.
Hot pans
Never rest hot pans on the control panel, the
indicator area or the hob surround.
Salt, sugar and sand
salt, sugar and sand may scratch the ceran glass.
Do not lean on the hob or use it as work surface.

Electric Induction hobs Chef’s EH-xxx330
7
Hard and pointed objects
Hard or pointed objects may cause damage if they fall onto the hob
Spilt food
Sugar and other similar products may damage the hob.
These products should be removed immediately using a glass scraper.
Inappropriate cleaning products
Discolorations in the metal are caused by using unsuitable cleaning
products and wear as a result of contact with pans.
Plastic and foil
Aluminum foil and plastic containers will melt if placed on the hot areas
of the hob
Advice on saving energy
Use a pan with thick flat base. Curved bases
increase energy consumption.
Place a ruler on the base of the pan, if there are
no gaps, the base of the pan is completely flat.
The diameter of the base of the pan should
fit the size of the hotplate.
Check if the manufacturer has indicated the
upper diameter of the pan. In general, this is greater than the diameter of the
base of the pan.
If the diameter of the pan does not fit the diameter of the hotplate, you are
recommended to use a pan which is larger than the size of the hotplate, or
else about half the energy will be lost.
Choose pans which are the right size for the amount of food to be
prepared. A large pan which is half full will consume a lot of energy.
Always centre the pan on the hotplate and always cover the pan with the
matching lid. Cooking without using the lid quadruples energy consumption.
Cook using small amounts of water. This will save energy and will also
help green vegetables retain their vitamins and minerals.
During their cooking, food such as stews, soups may heat up too quickly
without any indication, spilling out of the cookware.
It is therefore advisable to heat this type of food gently, selecting a
suitable power level and stirring the contents before and during cooking. We
recommend not to use for Induction hob pots that have been used in a gas
hob fire can deform the flatness of bottom). In case of use, check that bottom
is flat.

Electric Induction hobs Chef’s EH-xxx330
8
2. Installation instructions
EH-MIX330 / EH-DIH330 Cut-out Dimension

Electric Induction hobs Chef’s EH-xxx330
9
Important notes
Safety in use is only guaranteed if the technical installation of the hob has
been carried out correctly and in accordance with the installation instructions.
The installation technician shall be liable for any damage cause as a result of
incorrect installation.
Only an authorized technician is able to connect the appliance. The
guidelines set out by the electricity provider must be observed.
This appliance should be used only with an earthed connection.
Using this appliance without an earthed connection or after it has been
incorrectly installated may, in very rare cases, cause serious harm.
The manufacturer accepts no responsibility for any malfunction or
damage which is caused by incorrect electrical installation.
If the appliance is not fitted with an accessible plug, disconnecting means
must be incorporated in the fixed installation, in accordance with the
installation regulations.
The power cable must be positioned so that it does not touch any of the
hot parts of the hob.
Refrigerators, dishwashers, ovens, or washing machines must not be
installed under the induction hob.
Any change to the appliance’s interior, including changing the power
cable, must be performed by the Customer Service.
Preparing the Kitchen
The worktop should be flat and horizontal. The aperture should be cut
before the appliance is installed. Remove any shavings, as these can affect
the operation of the electrical components. When the cutting has been
completed, the unit’s stability should be checked again.
Surfaces which have been cut should be sealed so that they are heat
resistant and so that they do not swell when moist.
The kitchen units to be fitted must resist temperatures of up to 90oC.
The gap between the aperture and the side wall must be at least: 40 mm.

Electric Induction hobs Chef’s EH-xxx330
10
It is not recommended that the hob be placed between two side walls but,
if this is the case, a gap of at least 200 mm should also be left on one side.
If the induction hob is installed above a sterilizer there must be a gap of
70 mm from the top of worktop to the top of the sterilizer.
If the induction hob is installed without sterilizer or above a drawer, the
worktop thick around the hob must be 20 mm as minimum.
If the interior width of the kitchen unit is less than 700 mm, a 80 mm –
long cut must be made in the side walls from the top section of the hob.
Taking into account the hob ventilation:
An aperture must be cut in the top section of the back of the kitchen unit,
680 mm wide and 45 mm high.
There must be a gap of 20 mm between the back of the kitchen unit and
the kitchen wall.
If the hob is installed above a drawer, allow a gap of 65 mm between the
drawer and the top section of the worktop.
Installing and connecting the hob
The earth wire ( green and yellow) should be connected first and
disconnected last. It should also be longer than the others, so that even if the
hob is moving the other wires can be disconnected before the earth wire.
Connection diagram ( see figure)
1. Brown
2. Blue
3. Green and Yellow
Is required 16A electrical installation at customer’s house (electrical
circuit, socket and fuse ).
Do not trap the lead during installation and do not guide it over sharp
edges.
The hob and the worktop should not be sealed with silicone as the hob
itself has a seal which serves this function.

Electric Induction hobs Chef’s EH-xxx330
11
Removing the hob
Disconnect the cooker from the power supply.
Push out the hob from below.
3. Induction cooking
Advantages of induction cooking:
- Greater speed in cooking and frying, as the pan is heated directly.
- Reduced energy consumption.
- Cleaner and easier to use; spilt food does not burn as much on the hob.
- Cooking control and safety; the hob supplies or cuts off the heat as soon
as the controls are operated. The Induction
hotplate stops supplying heat if the pan is
removed before the power has been
switched off.
Suitable pans
Ferromagnetic pans are the only pans which
are suitable for induction cooking. They can be
made of:
- enameled steel
- cast iron
- specially designed cookware for induction cooking made from stainless
steel
Special pans for induction cooking.
Other types of special pans are available for induction cooking, where the
base of the pan is not entirely ferromagnetic. Check the diameter as this
could affect the pan detection as well as the cooking results.
Checking pans using a magnet
To find out whether the pans are suitable, check that they are attracted to a
magnet.The manufacturer will usually indicate if their pans are suitable for
induction cooking.
Unsuitable pans. Never use pans made from:
- standard, high quality steel

Electric Induction hobs Chef’s EH-xxx330
12
- glass / earthenware
- copper / aluminum
Characteristics of the base of the pan
The characteristics of the base of the pan can
affect the evenness of the cooking.
Pans which are made from heat-diffusing
materials (such as “sandwich” pans made from
stainless steel) distribute the heat evenly, saving
time and energy.
No pan or incorrect size pan
If no pan is place on the hotplate, or the pan is not made of a suitable material
or it is not a suitable size, the heat setting on the hotplate indicator will flash.
Place a suitable pan on the hotplate to stop the indicator flashing. If there
is a delay of more than 90 seconds, the hotplate switches off automatically.
Empty pans or pans with a thin base
Do not heat empty pans and do not use pans with thin bases. Although
your hob is equipped with an internal safety system, empty cookware can
heat up so quickly that the “automatic OFF” function does not have time to
react and a very high temperature may be reached. The base of the pan could
melt and damage the hob’s glass surface. If this happens, do not touch the
pan and switch off the hotplate. If it does not work after cooling, contact our
Local Service Center or dealer.
Pan detection
Each hotplate has a minimum limit for pan detection which varies
according to the material from which the pan being used is made. It is for this
reason you are recommended to use a hotplate which matches the diameter of
the pan.
Pan size detection
Cooking zone Pan size minimum
230mm 130mm

Electric Induction hobs Chef’s EH-xxx330
13
4. Product’s specification
Specification
Model EH-DIH330 EH-MIX330
Voltage 220VAC 220VAC
Frequency 50Hz 50Hz
Individual power (kW) Left hotplate /
Cooking zone (cm)
3000W ( booster)
/ 22cm
2200W / 22cm
( radiant)
Individual power (kW) Right hotplate
/ Cooking zone (cm) 2300W/ 22cm 3000W/ 22cm
Induction total rated power (KW) 3600W 5200W
Dimension (W×D×H) mm 750 x 450 x 60 750 x 450 x 60
Height above installation table mm 5.5 5.5
Cut-out size (W×D) mm 670 x 380 670 x 380
Minimum thickness of
installation table mm 20 20
Installation method Built-in Built-in
Net weight (kg) 7.0 7.0
Gross weight kg 8.0 8.0
Faceplate Shott caran Glass,
black color
Shott caran Glass,
black color

Electric Induction hobs Chef’s EH-xxx330
14
5. Getting family with the hob.
Fig.1: Touch control for EH-MIX330.
1 ON/OFF Key
2 Timer Key
3 Minus Key
4 Plus Key
5 Boost (Multi-circuit) Key
6 Key-Lock Key
7 Timer Indicator
8 Power / Timer Indicator
9 Multi-circuit Indicator(Only for HiLight) / (Hilight)
10
Key-Lock Indicator
6. Switching ON/OFF
6.1 ON/OFF switching of a cooking zone
The TC unit may be switched ON by pressing the ON/OFF key after 1sec
connected to mains. The segments show a steady “0“. Possible optic
warnings for hot cooking zones [H] are displayed in alternation with [0] and
the synchronously display dot. Electronics remains activated for 20 seconds.
If there is no cooking level or timer selection done in this period the
electronics automatically resets to the OFF mode by releasing a signal tone.

Electric Induction hobs Chef’s EH-xxx330
15
Fig.2: Turn ON the Touch control by press on ON/OFF key
The TC may only be switched on by pressing the ON/OFF key as sole
input. In case of another key is pressed (single or in parallel with the
ON/OFF key), the control unit will not be switched on.
By pressing the ON/OFF key of the control unit in ON-Mode, the Touch
Control may be switched off at any time. This is also applicable for locked
control units, even if several keys are touched simultaneously, the control
unit would switch off. The ON/OFF key takes always priority with the
POWER-OFF function.
Fig.3: Turn OFF the Touch control by press on ON/OFF key
If a cooking zone has the status hot, an “H” will be shown in the
corresponding display.
Fig.4: Residual heat warning after cooking.

Electric Induction hobs Chef’s EH-xxx330
16
6.2 Switching off one cooking zones:
A single cooking zone is switched off by pressing the cooking zone select
key first (selection of a cooking zone). This cooking zone is then shown
brightly. The cooking stage can be counted down to “0” using the minus key.
10 seconds later the zone selection is deactivated. If only one cooking zone
was switched off, the corresponding display will show “0“ and “H“
alternate synchronously(for 2-burner touch control only). If the control unit is
cut off, only a steady „H“ appears on the display if the cooking zone is at
stage “hot“, otherwise the display remains black.
Fig. 5: Switching OFF a cooking zone by touching
and keeping “-“ key to “0” level.
6.3 Switching off all cooking zones:
Immediately switching off all cooking zones is always possible by using
the ON/OFF key.
Fig.6: Switching OFF all cooking zones by press on the ON/OFF key.

Electric Induction hobs Chef’s EH-xxx330
17
7. Selecting power level for cooking zone
The cooking levels of the cooking zones are represented each by 7
segments led. There are 9 cooking levels. The cooking zone level can be set
by the corresponding cooking level key.
Cooking zone can be directly set to Booster level by pressing Booster key
if Booster function in available. When cooking zone is set to Booster level,
“P” will be displayed on Segments. (for Induction).
For 2-burner, each cooking level is displayed on segments, the brightness
of active cooking zone is higher.
Fig.7: Select the power level by press or hold on “+” key.
Fig.8: Select the power level by press or hold on “-” key.
8. Booster function ( Induction cooking)
Once the chosen Induction Heating Elements have boost function. If this
function is activated the maximum boost-power is given from the cooking
element, which allows very fast heat up times.
In Booster function mode, the relevant cooking zone power level display
will show “P” on the 7 segment. The time limitation is 8 minutes as default.

Electric Induction hobs Chef’s EH-xxx330
18
Note:
Not each pot is suitable to reach the full boost power due its magnetic and
electrical characteristic.
Fig. 9: Select Booster function by press on “+b” key.
9. Residual heat indication
When switch off the heating elements, the temperature on the glass
surface is high, it may harm the human body or cause a fire. And the Touch
Control has the residual heat indicating function, the “H” will be indicated
on the 7-segment to inform the end users the temperature is still high and do
not touch the surface of the cooking zone until the warning of “H”
disappeared.
For radiant heating elements, the determination of how long a cooking
zone has residual heat after operation and switch off – which may lead to
burnings when contacting – is calculated.
Status is calculated depending on:
- Selected power stage („0“ bis „9“).
- On/Off Time of the Relais.
For induction heating element, the residual is determined by Induction
heating element temperature sensor. When the temperature is higher than +
65 °C, residual heat indication will be occurred.

Electric Induction hobs Chef’s EH-xxx330
19
Fig. 10: Residual heat warning after cooking
10. Key lock
Display of a locked cooking zone:
Key Lock State LED serves as display of the key-lock status.
Activating Key-Lock:
Touch the Key-Lock key in standby or active mode for 1 sec causes
locking of the Touch Control and the assigned Key-Lock LED shines
statically. The control unit continues in the previously selected mode,
however, it can no longer be modified by any key but by the Key-Lock key
itself or the ON/OFF key. Any locked keys are not monitored by the Touch
Control in terms of continuous operation.
In Key-Lock mode, if touched ON/OFF key longer than 1sec, the control
unit switches off (But the key lock mode will not be cancelled). The related
Key-Lock LED expires when the control unit is switched off. The Key-Lock
function incl. LED is reactivated when switched on again (in standby mode
20 sec) until disabling by touching the Key-Lock key again.
Unlocking / Disabling Key-Lock:
Touching the Key-Lock key for 1 sec again while in standby or active mode
results in unlocking the Touch Control and the relevant Key-Lock LED is
switched off.
With EH-DIH330:

Electric Induction hobs Chef’s EH-xxx330
20
With EH-MIX330:
Fig. 11: Lock / Unclock the TC by press on Key-Lock key in 1 second.
11. Automatic safety off ( induction cooking)
A certain maximum operating time had been fixed for every activated
cooking zone. The maximum operating time depends on the selected cooking
stage. After expiry of the maximum operating time the cooking zone is
switched off automatically providing that no alteration of the settings for that
cooking zone had been made. Any touching of a key assigned to a cooking
zone results in resetting the countdown timer to its starting position.
Cooking stage for RHE:
Cooking Stage Power [%]
Operation time limitation [ Min]
0 0% 0 Min
1 3% 120
2 5% 120
3 8% 120
4 12% 120
5 18% 120
6 28% 90
7 42% 90
8 64% 90
9 100% 90
Table of contents
Other Chef's Hob manuals

Chef's
Chef's EH-MIX386 User manual

Chef's
Chef's EH-IH545 User manual

Chef's
Chef's EH-IH555 User manual

Chef's
Chef's EH-MIX333 User manual

Chef's
Chef's EH-DIH890 User manual

Chef's
Chef's EH-MIX366 User manual

Chef's
Chef's EH-DIH888 User manual

Chef's
Chef's EH-DIH888P User manual

Chef's
Chef's EH-IH535 User manual

Chef's
Chef's EH-MIX544 User manual