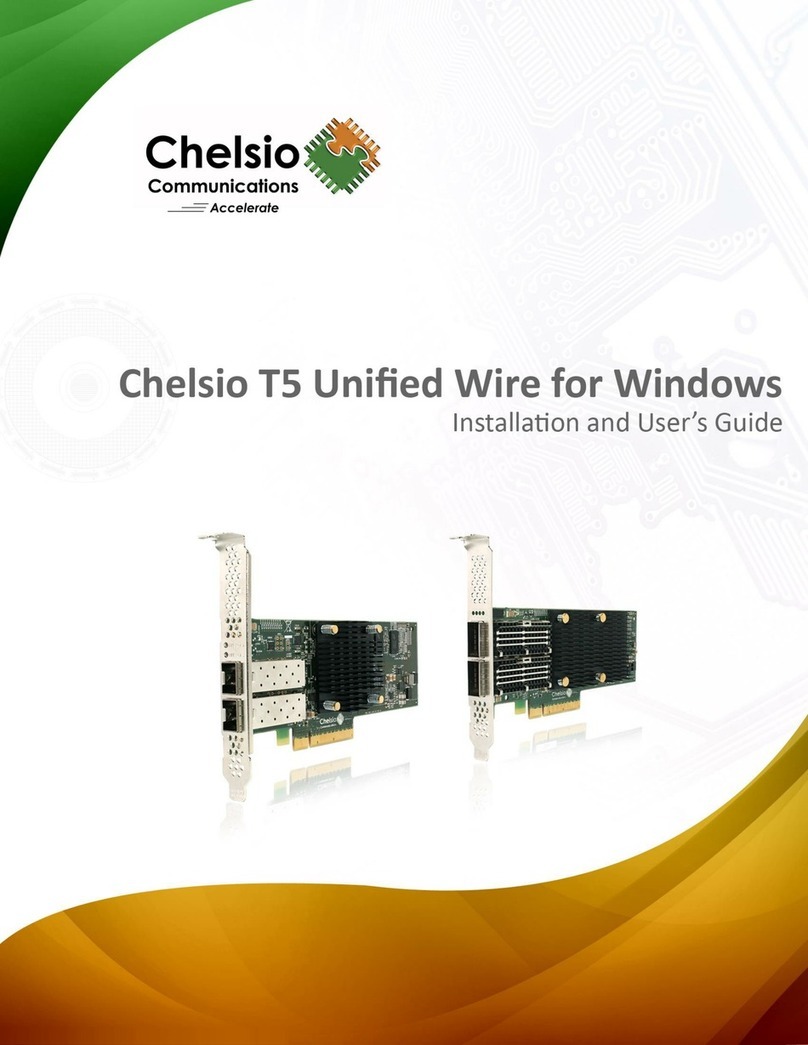
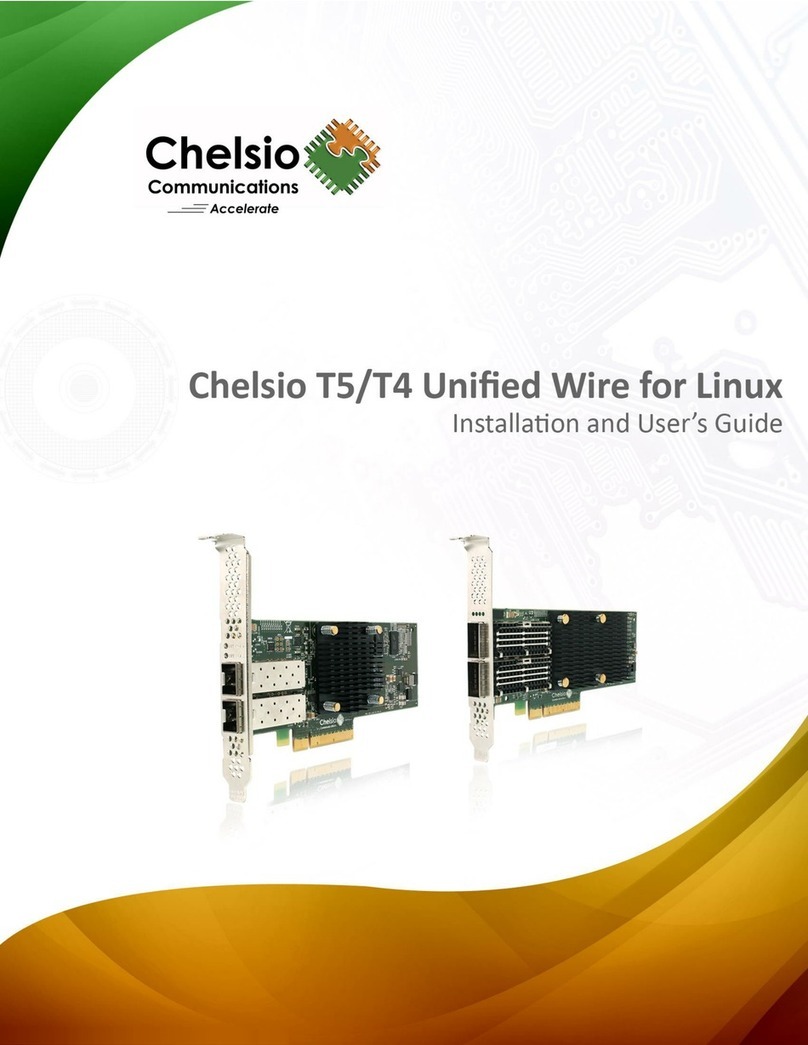
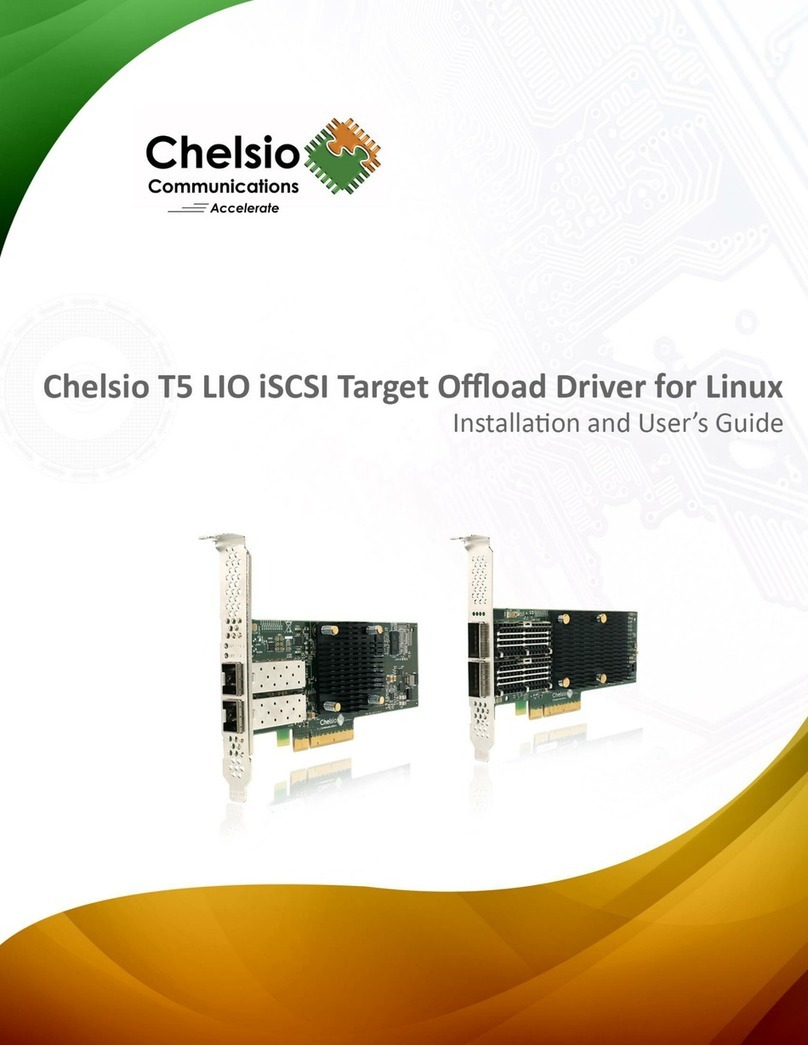
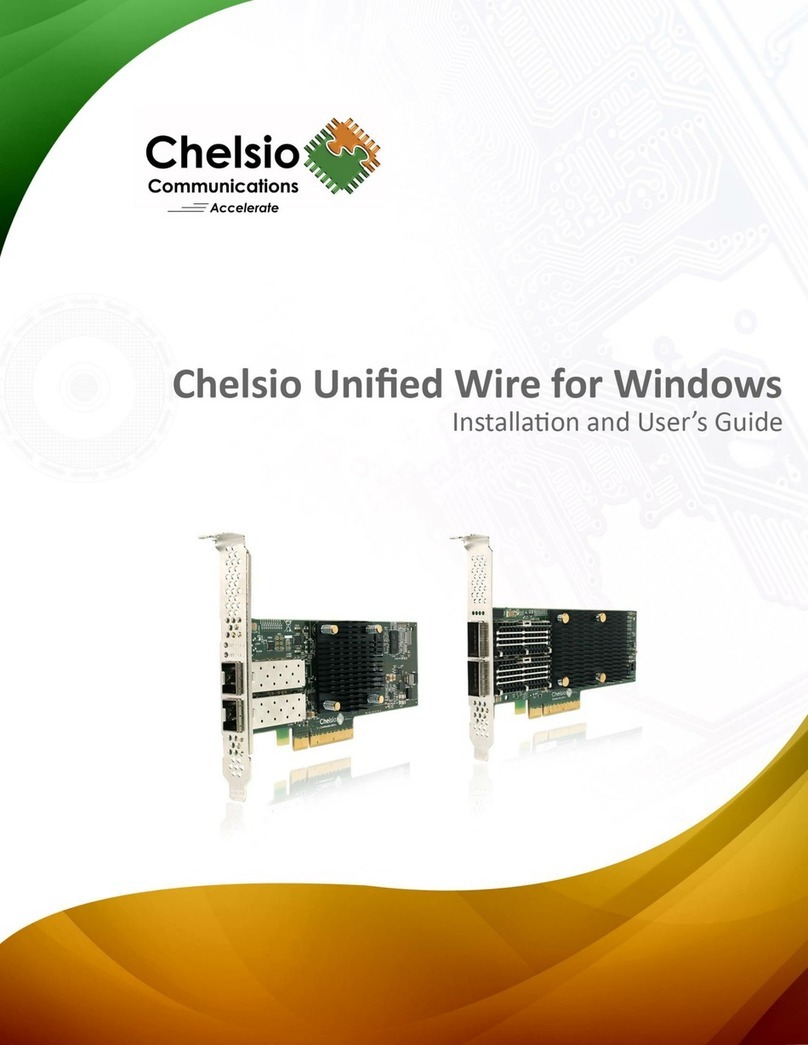
Chelsio Communications Terminator Series User manual

froot

Chelsio Network Driver for macOS ii
This document and related products are distributed under licenses restricting their use, copying, distribution,
and reverse-engineering.
No part of this document may be reproduced in any form or by any means without prior written permission
by Chelsio Communications.
All third-party trademarks are copyright of their respective owners.
THIS DOCUMENTATION IS PROVIDED “AS IS” AND WITHOUT ANY EXPRESS OR IMPLIED
WARRANTIES, INCLUDING, WITHOUT LIMITATION, THE IMPLIED WARRANTIES OF
MERCHANTABILITY AND FITNESS FOR A PARTICULAR PURPOSE.
THE USE OF THE SOFTWARE AND ANY ASSOCIATED MATERIALS (COLLECTIVELY THE
“SOFTWARE”) IS SUBJECT TO THE SOFTWARE LICENSE TERMS OF CHELSIO COMMUNICATIONS,
INC.
Sales
For all sales inquiries please send email to sales@chelsio.com
Support
For all support related questions please send email to support@chelsio.com
Copyright © 2019.Chelsio Communications. All Rights Reserved.
Chelsio ® is a registered trademark of Chelsio Communications.
All other marks and names mentioned herein may be trademarks of their respective companies.
Chelsio Communications (Headquarters)
209 North Fair Oaks Avenue,
Sunnyvale, CA 94085
U.S.A
www.chelsio.com
Tel: 408.962.3600
Fax: 408.962.3661
Chelsio (India) Private Limited
Subramanya Arcade, Floor 3, Tower B
No. 12, Bannerghatta Road,
Bangalore-560029
Karnataka,
India
Tel: +1-91-80-4039-6800
Chelsio KK (Japan)
Yamato Building 8F,
5-27-3 Sendagaya,
Shibuya-ku,
Tokyo 151-0051,
Japan

Chelsio Network Driver for macOS iii
Document History
Version
Revision Date
1.0.7
05/05/2017
1.0.8
06/08/2017
1.0.9
10/25/2017
1.1.0
12/29/2017
1.1.1
08/13/2018
1.1.2
09/26/2018
1.1.3
04/17/2019

Chelsio Network Driver for macOS iv
TABLE OF CONTENTS
1. Introduction 5
1.1. Features 5
1.2. Hardware Requirements 5
1.3. Software Requirements 7
1.4. Package Contents 7
2. Hardware Installation 8
3. Software/Driver Installation 11
3.1. GUI 11
3.2. CLI 15
4. Software/Driver Loading 16
5. Software/Driver Configuration and Fine-tuning 17
5.1. Important Configurable Parameters 17
5.2. Kernel Tuning 19
5.3. Network Device Configuration 19
5.4. cxgbtool 19
5.5. Firmware Update 20
6. Software/Driver Unloading 21
7. Software/Driver Uninstallation 22
8. Software/Driver Update 23
9. Appendix 24
9.1. Chelsio End-User License Agreement (EULA) 24

Chapter 1. Introduction
Chelsio Network Driver for macOS 5
1.Introduction
Thank you for choosing Chelsio Unified Wire adapters. These high speed, single chip, single
firmware cards provide enterprises and data centers with high performance solutions for various
Network and Storage related requirements.
The Terminator series is Chelsio’s next generation of highly integrated, hyper-virtualized
10/25/40/50/100GbE controllers. The adapters are built around a programmable protocol-
processing engine, with full offload of a complete Unified Wire solution comprising NIC, TOE,
iWARP RDMA, iSCSI, FCoE and NAT support. It scales to true 100Gb line rate operation from a
single TCP connection to thousands of connections, and allows simultaneous low latency and
high bandwidth operation thanks to multiple physical channels through the ASIC.
Ideal for all data, storage and high-performance clustering applications, the Unified wire adapters
enable a unified fabric over a single wire by simultaneously running all unmodified IP sockets,
Fibre Channel and InfiniBand applications over Ethernet at line rate.
Designed for deployment in virtualized data centers, cloud service installations and high-
performance computing environments, Chelsio Terminator adapters bring a new level of
performance metrics and functional capabilities to the computer networking industry.
1.1. Features
Chelsio’s installer package installs T6, T5, T4 and T3 network drivers for macOS operating
system. The network driver provides support for PCI Express Ethernet adapters based on the
Chelsio Terminator (T6, T5, T4 and T3) ASIC.
The driver also supports Jumbo Frames, Transmit/Receive checksum offload, TCP segmentation
offload (TSO/LSO), MSI Interrupts, Gatekeeper and Large Receive Offload (LRO).
The installer package contains T6/T5/T4/T3 kernel extension installation feature, please refer
section Software/Driver Installation for details.
1.2. Hardware Requirements
1.2.1. Supported Adapters
The following are the Chelsio adapters that are compatible with Chelsio macOS Network driver:
T6 Adapters
•T6225-CR
•T6225-LL-CR
•T6225-SO-CR
•T62100-CR
Chapter 1. Introduction
Chelsio Network Driver for macOS 6
•T62100-LP-CR
•T62100-SO-CR
T5 Adapters
•T580-CR
•T580-SO-CR
•T580-LP-CR
•T520-LL-CR
•T520-SO-CR
•T520-CR
•T520-BT
•T540-CR
•T540-LP-CR
•T540-SO-CR
T4 Adapters
•T420-CR
•T440-CR
•T404-BT
•T422-CR
•T420-SO-CR
•T420-LL-CR
•T440-LP-CR
•T420-CX
T3 Adapters
•N310E
•N310E-CXA
•N320E-GEN2
•S310E-SR
•S310E-SR+
•S310E-CXA
•S310E-CR
•N320E-CXA*
•S320E-CR*
•S320E-LP-CR*
•S302E*
•S320E-CXA*
*Only port 0 (first port) supported.
Spider cables not supported.
Note

Chapter 1. Introduction
Chelsio Network Driver for macOS 7
1.3. Software Requirements
The Chelsio network driver has been developed to run on Intel based platforms in NIC mode.
Currently the driver is available for following version(s):
macOS 10.14 (Mojave 64-bit)
macOS 10.13 (High Sierra 64-bit)
macOS 10.12.x (Sierra 64-bit)
Macintosh OS X 10.11.x (El Capitan 64-bit)
Other versions have not been tested and are not guaranteed to work.
1.4. Package Contents
The Chelsio network driver package for macoS consists of the following:
•cxgtool.rtf: cxgbtool help file
•cxgb.pkg: driver package
•firmware: firmware binary files

Chapter 2. Hardware Installation
Chelsio Network Driver for macOS 8
2.Hardware Installation
Follow these steps to install Chelsio adapter in your system:
i. Shutdown/power off your system.
ii. Power off all remaining peripherals attached to your system.
iii. Unpack the Chelsio adapter and place it on an anti-static surface.
iv. Remove the system case cover according to the system manufacturer’s instructions.
v. Remove the PCI filler plate from the slot where you will install the Ethernet adapter.
vi. For maximum performance, it is highly recommended to install the adapterinto a PCIE x8/x16
slot.
vii. Holding the Chelsio adapter by the edges, align the edge connector with the PCI connector
on the motherboard. Apply even pressure on both edges until the card is firmly seated. It may
be necessary to remove the SFP (transceiver) modules prior to inserting the adapter.
viii.Secure the Chelsio adapter with a screw, or other securing mechanism, as described by the
system manufacturer’s instructions. Replace the case cover.
ix. After securing the card, ensure that the card is still fully seated in the PCIE x8/x16 slot as
sometimes the process of securing the card causes the card to become unseated.
x. Connect a fiber/twinax cable, multi-mode for short range (SR) optics or single-mode for long
range (LR) optics, to the Ethernet adapter or regular Ethernet cable for the 1Gb Ethernet
adapter.
xi. Power on your system.
xii. Verify if the adapter was installed successfully by using the system_profiler command. You
should see a similar output:
a. For T6 adapters

Chapter 2. Hardware Installation
Chelsio Network Driver for macOS 9
b. For T5 adapters
c. For T4 adapters
Once network driver is installed and loaded, examine the output of dmesg to see if the card is
discovered.
•For T6 adapters:

Chapter 2. Hardware Installation
Chelsio Network Driver for macOS 10
•For T5 adapters:
•For T4 adapters:
The above outputs indicate the hardware configuration and serial number of the adapter. As
observed by the x8, the card is properly installed in an x8 slot on the machine and the card is
using MSI interrupts.
Network device names for Chelsio’s physical ports are assigned using the
following convention: the port farthest from the motherboard will appear as the
first network interface. However, for T5 40G adapters, the association of physical
Ethernet ports and their corresponding network device names is opposite. For
these adapters, the port nearest to the motherboard will appear as the first
network interface.
Note

Chapter 3. Software/Driver Installation
Chelsio Network Driver for macOS 11
3.Software/Driver Installation
3.1. GUI
The driver must be installed by the administrator. Any attempt in installing the driver as a regular
user will fail.
i. If you haven’t done already, download the installer package (dmg file) from Chelsio Download
Center.
ii. Mount the disk image cxgb-x.y.z.dmg file by double-clicking on it. The disk image should
mount as a new device and place you in the base directory of the cxgb device. If the disk
image is downloaded using Safari browser, it will mount automatically.
iii. Locate the cxgb.pkg installer package inside the mounted device and double-click on it to start
the installer.
iv. A Welcome screen will be displayed. Click “Continue” to proceed.
Figure 1 - Installer welcome window

Chapter 3. Software/Driver Installation
Chelsio Network Driver for macOS 12
v. The next screen displays important information regarding the drivers for Chelsio adapters.
Please read carefully and click “Continue” to proceed.
Figure 2 - Readme window
vi. Click “Continue” and then click “Read License” to read Chelsio’s End User License Agreement
or “Agree” to proceed.
Figure 3 - Chelsio EULA window

Chapter 3. Software/Driver Installation
Chelsio Network Driver for macOS 13
Figure 4 - EULA acceptance prompt
vii. Now, either click “Install” to proceed with complete package installation or “Customize” to
select the components to be installed.
Figure 5 - Customize installation
In custom installation, user can choose between cxgb (T6/T5/T4 kernel
extension), cxgb3 (T3 kernel extension) or cxgbtool (command line utility). In
standard installation, all three components will be selected & installed.
Note

Chapter 3. Software/Driver Installation
Chelsio Network Driver for macOS 14
viii.The selected components will now be installed.
Figure 6 - Installation in progress
ix. Click “Close” to exit the installer.
Figure 7 - Installation complete

Chapter 3. Software/Driver Installation
Chelsio Network Driver for macOS 15
3.2. CLI
i. Mount the disk image cxgb-x.y.z.dmg
host:root# hdiutil mount cxgb-x.y.z.dmg
The disk image will be mounted to /Volumes directory.
ii. Install the driver:
host:root# installer -pkg /Volumes/cxgb-x.y.z/cxgb.pkg -target /
Example:

Chapter 4. Software/Driver Loading
Chelsio Network Driver for macOS 16
4.Software/Driver Loading
The installer will copy the signed KEXT into /Library/Extensions/ directory.
•To load the T6/T5/T4 network driver run the following command:
host:root# sudo kextload /Library/Extensions/cxgb.kext
•To load the T3 network driver run the following command:
host:root# sudo kextload /Library/Extensions/cxgb3.kext

Chapter 5. Software/Driver Configuration and Fine-tuning
Chelsio Network Driver for macOS 17
5.Software/Driver Configuration and Fine-tuning
5.1. Important Configurable Parameters
5.1.1. FEC
Chelsio T6 Unified Wire adapters support changing Forward Error Correction (FEC). The
current FEC settings can be viewed using:
host:root# sudo cxgbtool <cxgbX> fec
Below is a sample output on T6 25G port:
To set FEC:
host:root# sudo cxgbtool <cxgbX> fec <value>
Here value can be:
rs : Reed-Solomon FEC
baser: Base-R/Reed-Solomon FEC
auto : Use standard FEC settings as specified by IEEE 802.3 interpretations of Cable
Transceiver Module parameters.
off : Turn off FEC.
Example
Changing FEC from Reed-Solomon to Base-R/Reed-Solomon:

Chapter 5. Software/Driver Configuration and Fine-tuning
Chelsio Network Driver for macOS 18
5.1.2. LRO
•Enabling/Disabling
Large Receive Offload (LRO) support is enabled by default. It can be disabled using cxgbtool:
host:root# sudo cxgbtool cxgbX lro 0
•Displaying status
To verify if LRO is enabled or disabled use:
host:root# sudo cxgbtool cxgbX qset
In the output, the LRO field should display 0 if disabled and 1 if enabled.
5.1.3. TCP Segmentation Offload Support
TCP Segmentation Offload has been supported since Snow Leopard and enabled by default. It
can be disabled globally by using:
host:root# sysctl net.inet.tcp.tso=0
•FEC auto-negotiation is not supported on optic link.
•If auto-negotiation is disabled, ensure that the same FEC is set on both sides
of the link, for the link to come up.
Note

Chapter 5. Software/Driver Configuration and Fine-tuning
Chelsio Network Driver for macOS 19
5.2. Kernel Tuning
5.2.1. Increasing default parameter values
To increase default parameter values on the client, edit the /etc/sysctl.conf configuration file.
For example, if the default value for kern.ipc.maxsockbuf < 2097152 then set it in
/etc/sysctl.conf to be 2097152.
5.2.2. Increasing mbuf cluster
If dmesg output containsoutputPacket() zero segments, itmeans in order to support the workload,
the number of mbuf clusters available should be increased as packet drops are occurring. This
can be achieved by increasing the number of mbuf clusters using boot-args parameter ncl.
See http://support.apple.com/kb/HT3512 for more information.
5.3. Network Device Configuration
Please refer to the operating system documentation for administration and configuration of
network devices.
5.4. cxgbtool
The app cxgbtool is used to display or change Chelsio network card settings.
Loading firmware and setting hardware registers can only be done using the master physical
function which restricts the BSD interface name that can be used as a parameter to cxgbtool for
those commands. By default, the master physical function is associated with Port 0. The cxgbtool
command with no parameters will list the master physical function BSD interface name.
For more information, use cxgbtool help:
host:root# sudo cxgbtool -h
Some operating systems may attempt to auto-configure the detected hardware
and some may not detect all ports on a multi-port adapter. If this happens, please
refer the operating system documentation for manually configuring the network
device.
Note
Network preferences panel should be used for changing interface properties such
as active/inactive or MTU size.
Note
cxgbtool supports filtering settings on the Chelsio T3 based adapters only.
Note

Chapter 5. Software/Driver Configuration and Fine-tuning
Chelsio Network Driver for macOS 20
5.5. Firmware Update
The minimum firmware version matching the driver must be loaded before the new driver installed
can load, and the loading is initiated by the post-install phase of the installer.
The current driver can load the new firmware using the loadfw command of cxgbtool that came
with the currently installed driver. Follow the steps mentioned below:
i. If not done already, mount the new disk image cxgb-x.y.z file by double-clicking on it. The
cxgb disk image should mount as a new device and place you in the base directory of the
cxgb device.
ii. Browse to the firmware directory. For example, if the disk image was mounted to /Volumes,
run the following commands to load the appropriate firmware based on Chelsio adapter family:
host:root# cd /Volumes/cxgb-x.y.z/firmware
host:root# sudo cxgbtool cxgbX loadfw <firmware-file>.bin
Other manuals for Terminator Series
3
This manual suits for next models
39
Table of contents
Other Chelsio Communications Adapter manuals

Chelsio Communications
Chelsio Communications Terminator 5 User manual

Chelsio Communications
Chelsio Communications Chelsio T5 User manual

Chelsio Communications
Chelsio Communications Terminator N320E-CXA User manual

Chelsio Communications
Chelsio Communications Terminator Series User manual

Chelsio Communications
Chelsio Communications Chelsio T4 User manual

Chelsio Communications
Chelsio Communications Terminator Series User manual

Chelsio Communications
Chelsio Communications Chelsio T5 User manual