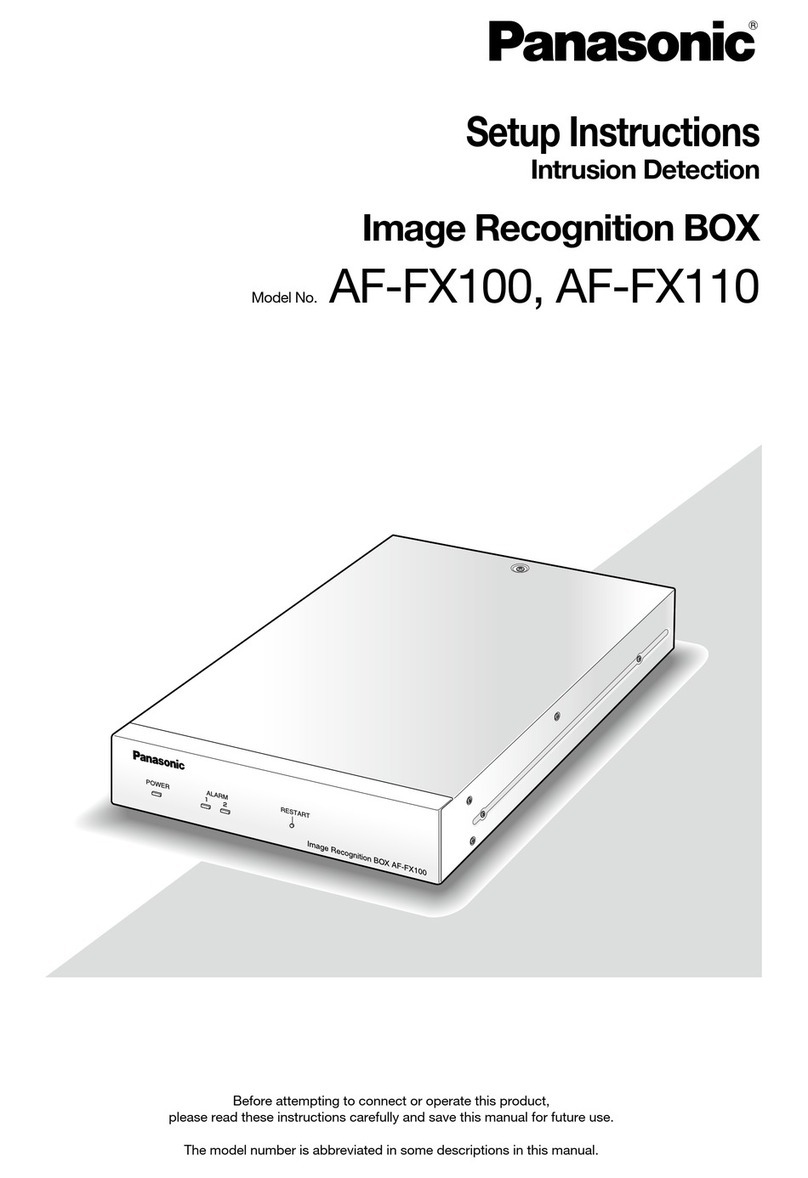
CHINT NZ7 Series User manual

Installation
manual
NZ7 Series
Automatic Transfer Switching Equipment
Specifications and technical data are subject to change without notice.
Please contact us to confirm relevant information on ordering
Recycle Paper PrintedCHINT Electric All Rights Reserved
Add:No.1,CHINTRoad,CHINTIndustrialZone,NorthBaixiang,
Yue qing, Zhej ia ng Province , P .R. China 325603
Tel: +86-577-62877777
Fax: +86-577-62775769 62871811
E-mail: global-sales@chint.com
We bsite : w w w .chint.com
ZHEJIANG CHINT ELECTRICS CO.,LTD

2B
4C
6D
8E
Warning
This equipment should only be mounted by professionals. The manufacturer shall not be held responsible
for any failure to comply with the instruction given in this manual. The expression right of the instruction is owned by CHINT.
The device should only be installed and serviced by professionals.
Switch off the general power supply to the device to confirm the absence of voltage.
Always use an appropriate voltage detection device to confirm the absence of voltage.
Handle operation, you must first disconnect the power supply controller or the controller set to manual.
The phase sequence of the input terminals of two breakers shall be consistent, and the Line N of two-way power
cannot be wrongly connected.
In conducting insulation test for the product, please remove the sampling line of the controller at the end of incoming
line of the product for controlling loop signal, which must be reconnected after the test. The insulation resistance
PXVWQRWEHOHVVWKDQ0ȍ
Do not open the product by yourself; otherwise, the user should be liable for the consequence.
Do not change any internal wirings of this device; otherwise, the user should be liable for the consequence.
The grounding protection should be reliable so as to ensure the safety.
The automatic control function should be disabled during the regular or failure inspection of loading lines.
Notice
This product has been designed for environment A. Use of this product in environment B may cause
unwanted electromagnetic disturbances in which case the user may be required to take adequate mitigation measure.
Catalog
Preparations
Storage
The necessary tools
Installation

2
3
3 4
21
Ő
Preparations
Preparations
Test
Manual test
OFF
QN: ON QR: ON
QN QR
QN QRQN QR
1. Manual test
2. Power test
Failure alarm Setting mode Manual mode Stop mode
Auto mode Automatic Transfer,
operating transfer delay time
Automatic Transfer,
return transfer delay time
Automatic Transfer,
Alternative position
Operational details of the reference P8 ~ P15
Ő
Power test

5
4
,51ņ &SI
&SI
21
41
61
81
:1
.6ņ
21
41
61
81
:1
ჸ
.6ņ
,51ņ
,3111n
Storage
Pollution degree 3
OFF
Storage

7
6
4
3N.m 6N.m 8N.m 16N.m 18N.m
61018
The necessary tools
The necessary tools
Hex key
Screw-driver
Standard accessories
Optional

9
8
2
1
3 pole
4 pole
Installation
Installation
Connecting bus-bar type
Normal power bus-bar Alternative power bus-bar
Load bus-bar
Power bus-bar
Line voltage signal sampling
Vertical installation& horizontal installation
Wiring
Main circuit
UN
NNNR
UN
UR
UR
Wiring terminal
of zero line
UNN pole URN pole
Wiring terminal of zero line
Wiring, the voltage signal sampling line in order as shown
Line voltage signal sampling
Main circuit bus-bar
Power phase sequence must be consistent
UN: Normal power supply
UR: Alternative power supply

:
4
21
3
DC24V/0.5A
1
3 5
2
Installation
Installation
Indication of UNstatus Indication of URstatus
Zero line
Power signal
On signal
Tripping signal
Zero line
Power signal
On signal
Tripping signal
Output is AC230V/0.5A
Auxiliary power Stop signal
Passive contact point
Feedback signal
Passive contact point
Start control of generator
Note: the hidden line is the internal wiring of the controller.
Controller installed in the cabinet split on the panel
Wiring diagram of external terminals of the controller
4
CLACK!

23
22
5
5
Installation
Installation
Display and operation interface
Display and operation interface
1. Indication of automatic working mode;
2. Indication of manual working mode;
3. Failure indication
When the breaker is disengaged due to the failure or short-circuit
of the switch, this lamp will be on;
4. Display area of normal power voltage parameters
It displays normal power voltage parameters and changeover
delay time under the working condition, and setting items under
the setting condition;
5. Indication of the on or off of breaker on the normal power side
6. Indication of setting condition
7. Indication of the on or off of breaker on the alternative power side
8. Indication of the start of stop function;
9. Units of voltage, time, and frequency of the normal power;
10. Phases A, B, and C;
11. Units of voltage, time, and frequency of the alternative power;
12. Display area of alternative power voltage parameters;
It displays alternative power voltage parameters and transfer
delay time under the working condition, and setting items under
the setting condition;
13. Indication of the start signal of generator
14. Selection button of automatic/manual transfer
When it is regularly used, it can be used for selecting the automatic
or manual mode; it saves and exits the functions when it is under
the setting condition;
15. Button for compulsorily turn off the normal power
Under the manual control mode, if this button is pressed, it can
compulsorily switch to the normal power; if it is setting condition, this
button is the “scroll up” button of setting programs;
16. Button for compulsorily turn off the alternative power
Under the manual control mode, if this button is pressed, it can
compulsorily switch to the alternative power; if it is setting condition, this
button is the “scroll up” button of setting programs;
17. Off button
Under the manual control mode, if either line of both power lines are
normal and this button is pressed, it will switch to the disengagement
position; this button is the minus button for setting parameters when it is
under setting condition;
18. Failure inquiry button
When the switch fails and malfunction lamp on the failure screen is
on, the detail malfunction code can be inquired if it is pressed; this
button is the plus button if it is under the setting condition;
19. Setting button
When this button is pressed, it may enter into the parameter setting
menu of the controller.
1 2 3
14
15
16
5
6
7
8
10
11
12
13
19
18
17
4
9

25
24
7
QN QR
QRQN
QN QR
QRQN
QN QR
QN QR
QRQN
QRQN
QRQN
QN QR
QN QR
QRQN
QRQN
QRQN
QRQN
QN QR
6
Installation
Installation
Operation Description on Parameter Setting
Button Description:
Press the Setting Button when the controller is working, LED will display
the parameter setting menu interface displayed in Figure ; press “ ”
and “ ” buttons in the setting menu to scroll up the setting options;
if the automatic/ manual button is pressed, it will exit the setting menu;
press “ ” or “ ” to change parameters.
The working processes of Type A controller
Grid – Grid
self-throw and self-reset operation self-throw and self-reset operation
UNis normal
URfails
T1 can be adjusted from 0s to 180s
UNfails UNfails
T1 can be adjusted from 0s to 180s
UNfails
T1 can be adjusted from 0s to 180s
UNis
disconnected UNis
disconnected
UNis
disconnected
URis put into use URis put into use
URsupplies URsupplies
UNresumes to normal UNresumes to normal
UNresumes to normal
T2 can be adjusted from 0s to 180s
URis
disconnected
URis
disconnected URis
disconnected
UNis put into use
UNis put into use
URis put into use
UNis put into use
UNis put into use
UNsupplies
UNsupplies
Grid – Grid
mutual alternative operation
Grid-Power Generation
UNis normal UNis normal
URsupplies
UNsupplies
URsupplies
T3 can be adjusted from 0s to 180s
Generator starts
Output of generator reaches set value
T1 can be adjusted from 0s to 180s
T2 can be adjusted from 0s to 180s
T4 can be adjusted from 0s to 180s
Generator shuts down
T1: Transfer delay can be adjusted from 0s to 180s
Failure of UN, time before disconnecting QN
T2: Return delay time can be adjusted from 0s to 180s
Normal of UN, time before disconnecting QR
T3: Delay time in starting generator can be adjusted from 0s to 180s
T4: Delay time in shutting-down generator can be adjusted from 0s to 180s
QN: Operating breaker on the frequently used side
QR: Operating breaker on the stand-by side
UN: Normal power supply
UR: Alternative power supply
Set transfer value of under-voltage of
QRUPDOSRZHUSUHVVŸWRLQFUHDVH
DQGźWRGHFUHDVH9WR9
Set transfer value of over-voltage of
QRUPDOSRZHUSUHVVŸWRLQFUHDVH
DQGźWRGHFUHDVH9WR9
6HWWUDQVIHUGHOD\WLPHSUHVVŸWR
LQFUHDVHDQGźWRGHFUHDVHVWRV
Set transfer value of under-voltage of
DOWHUQDWLYHSRZHUSUHVVŸWRLQFUHDVH
DQGźWRGHFUHDVH9WR9
Set transfer value of over-voltage of
DOWHUQDWLYHSRZHUSUHVVŸWRLQFUHDVH
DQGźWRGHFUHDVH9WR9
6HWUHWXUQGHOD\WLPHSUHVVŸWRLQFUHDVH
DQGźWRGHFUHDVHVWRV
6HWVWDUWGHOD\WLPHRIJHQHUDWRUSUHVVŸ
WRLQFUHDVHDQGźWRGHFUHDVHVWRV
Set shut-down delay time of generator,
SUHVVŸWRLQFUHDVHDQGźWRGHFUHDVH
0s to 180s .
Set transfer mode, press Ÿźbutton to
change the mode (when the last digit is 0, it
is grid-grid self-throw and self-reset mode;
when the value is 1, it is mutual alternative
mode, when it is 2, it is grid-generator.
self-throw and self-reset mode.)
AUTO
NON
OFF
SET
SET
SET
SET
SET
SET
SET
SET
SET
R

27
26
'&9
Installation
Installation
Wire connection
NZ7-400 connecting plate
assembled by the factory
Application Terminals 401 and 402 can only connect to
passive signal; otherwise, the controller will
be burnt! Passive signals may be inputted
through relay. Product after receiving the
stop signal off, 403 and 404 will be connected.
After removing stop signals, this product will
restore to normal working status by pressing
any key of the controller.
UNnormal
To control center
UN
UR
QN on
QR on
QN tripped
QR tripped
Internal contact
terminal of the
controller
To the remote port of the generator
This terminal is used under the
Grid-Power Generation; it must
be connected to the generator
if required; and it does not affect
its use if it is not connected.
When the UNfails
It is used under the Grid-Power
Generation mode and it is allowed
not to connect it, but the default
start delay of the generator is 0 second.

29
28
Installation
Installation
Phase barrier
+NZ7-63 phase barrier assembled by the factory
1
2
Outline dimension & Installation dimension
Outline dimension
Installation dimension
1Outline dimension
Wiring terminal of zero line
(Only three pole products)

31
2:
2
4
Installation
Installation
Installation dimension
Controller Module
nstallation dimension of the controller
when it is installed by split type
This manual suits for next models
6
Table of contents
Popular Network Accessories manuals by other brands
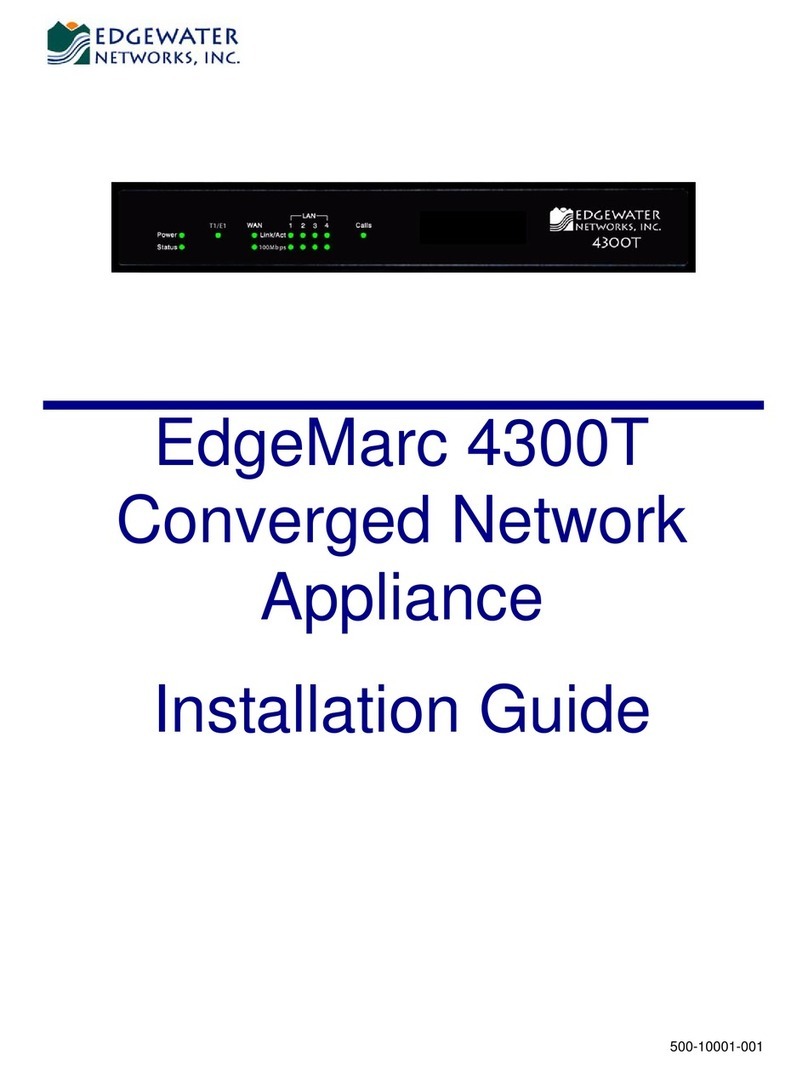
Edgewater Networks
Edgewater Networks EdgeMarc 4300T installation guide
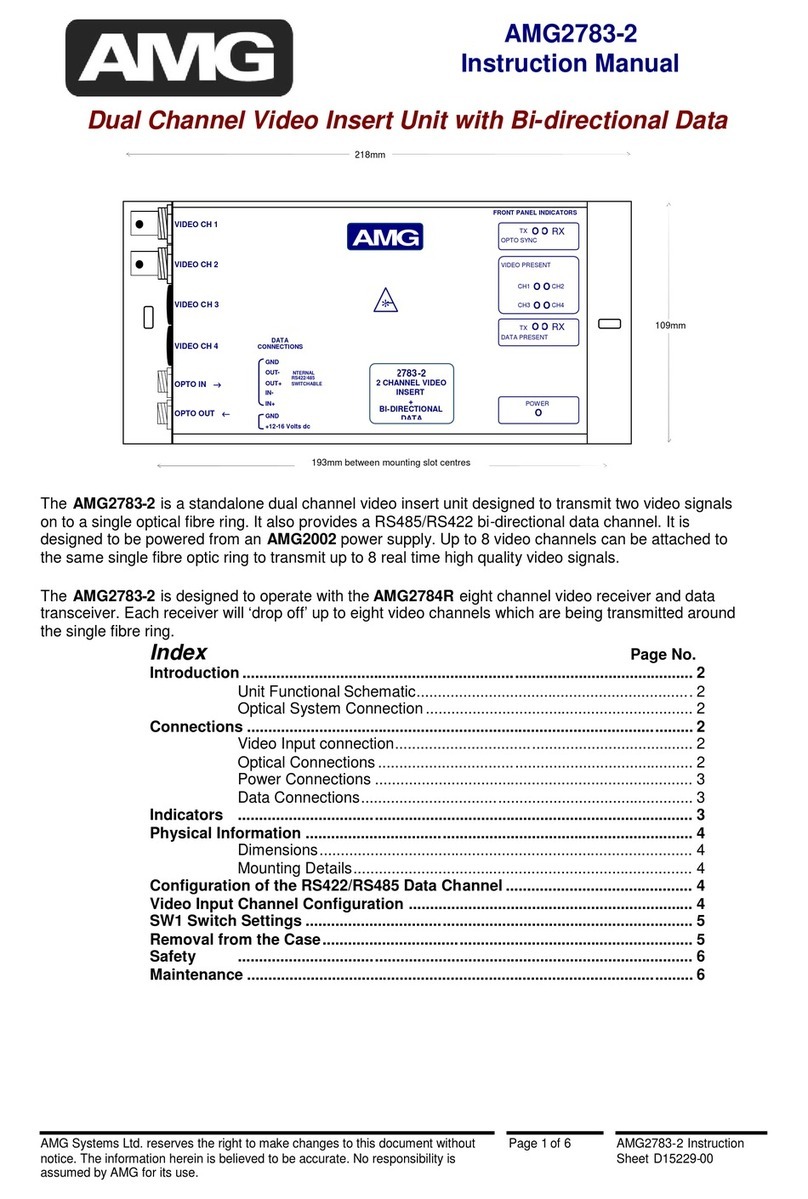
AMG Systems
AMG Systems AMG2783-2 instruction manual

Viking
Viking FXI-1 product manual
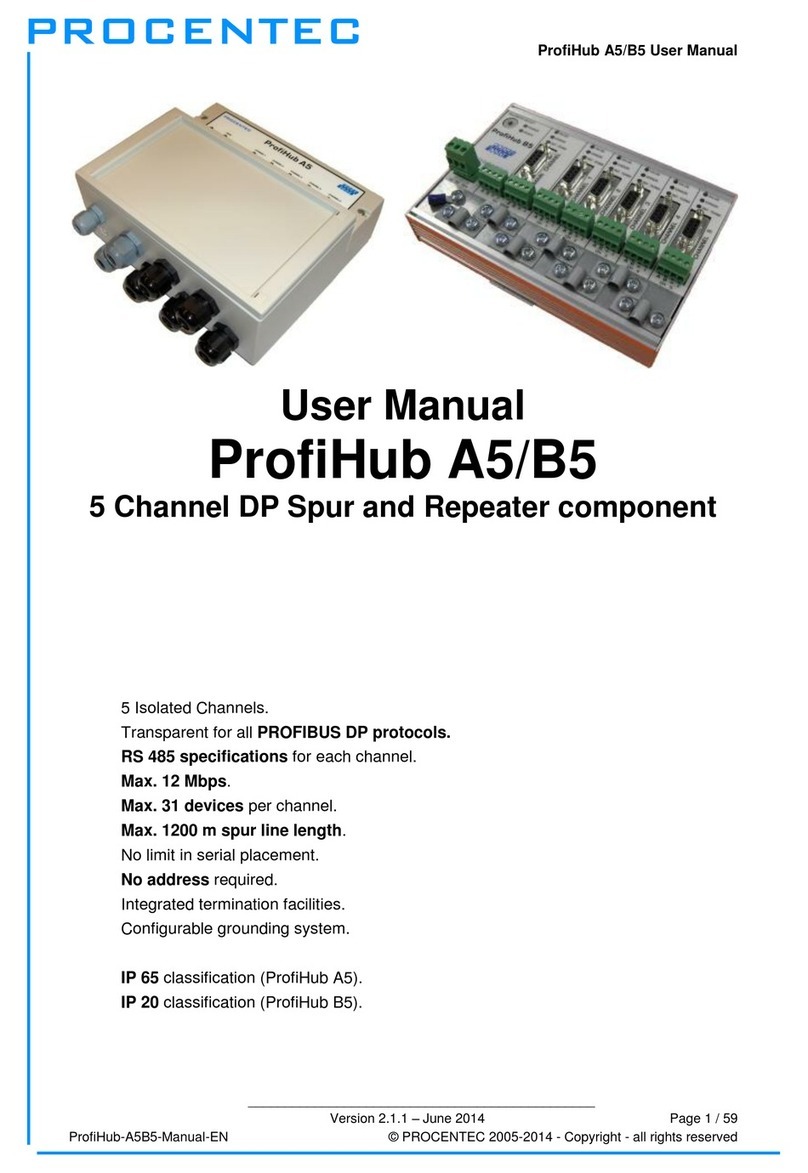
Procentec
Procentec ProfiHub A5 user manual
AMG Systems
AMG Systems AMG5904-2A9R instruction manual
Prysmian
Prysmian Channell Aerial Openable Joint Closure Instruction guide
