Installation Manual - Document number 6822_02
7
Installation
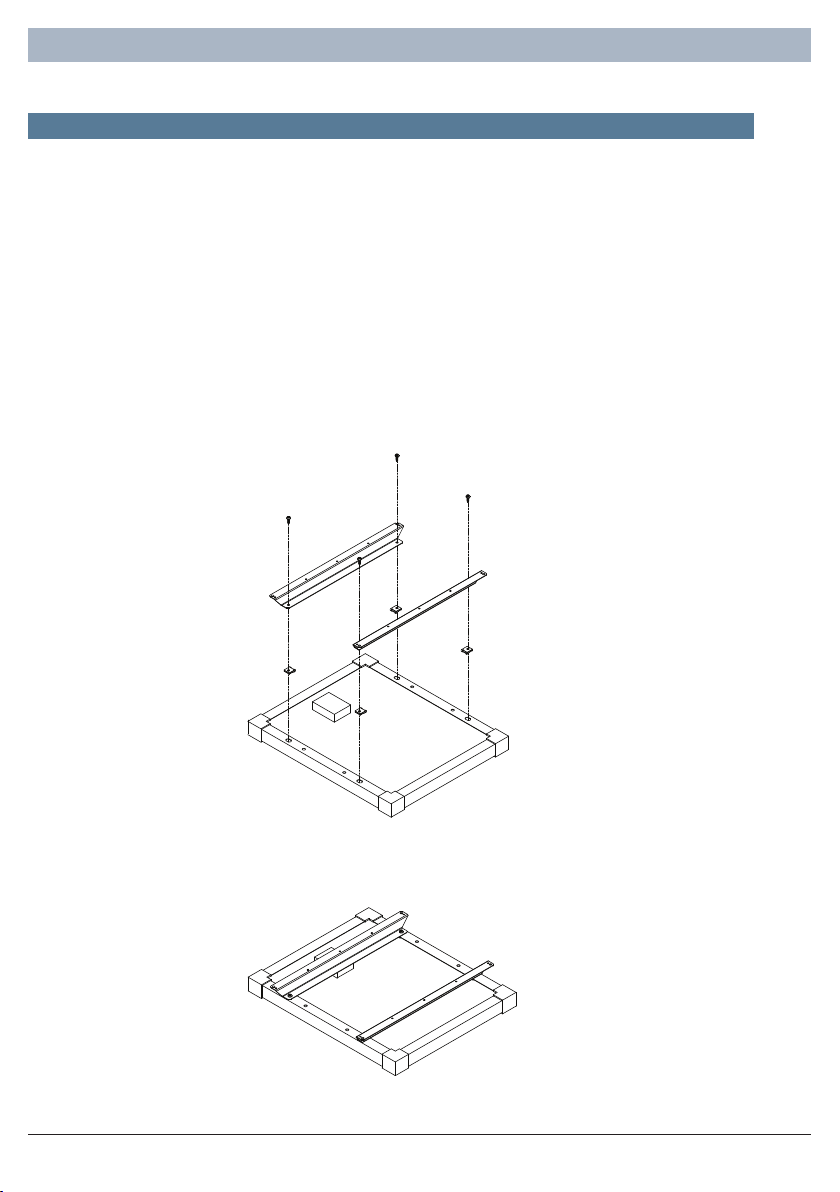
STEP 1
STEP 2
• Select a suitable position to mount the solar panel
• The site should be directly above or immediately next to the barbecue installation
• Ensure trees, buildings etc. do not shade the site
• The supplied connection cable is 8m long. Do not use any other cable!
• The panel should face as close to true North as possible and tilt at a 30-degree angle
NOTE: Solar Panel will still operate when mounted on a horizontal surface but with
reduced efficiency.
NOTE: Fully charge the battery before first use!
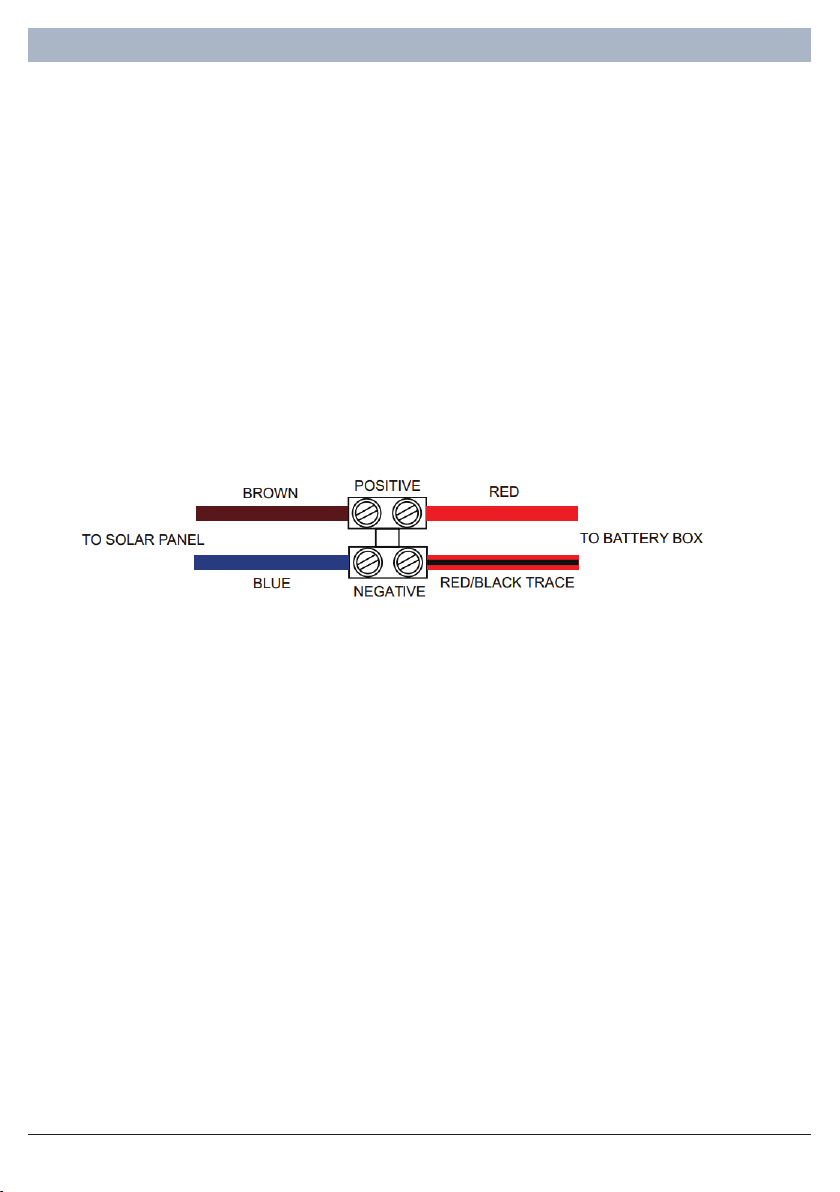
WARNING: This solar panel produces electricity when exposed to
sunlight. Cover the panel with a material that blocks out light, before
making any connection to the terminal box.
CAUTION: This appliance must be installed and serviced by a qualified
person e.g. a licensed electrician or gas plumber, strictly according to
the manufacturer’s instructions.
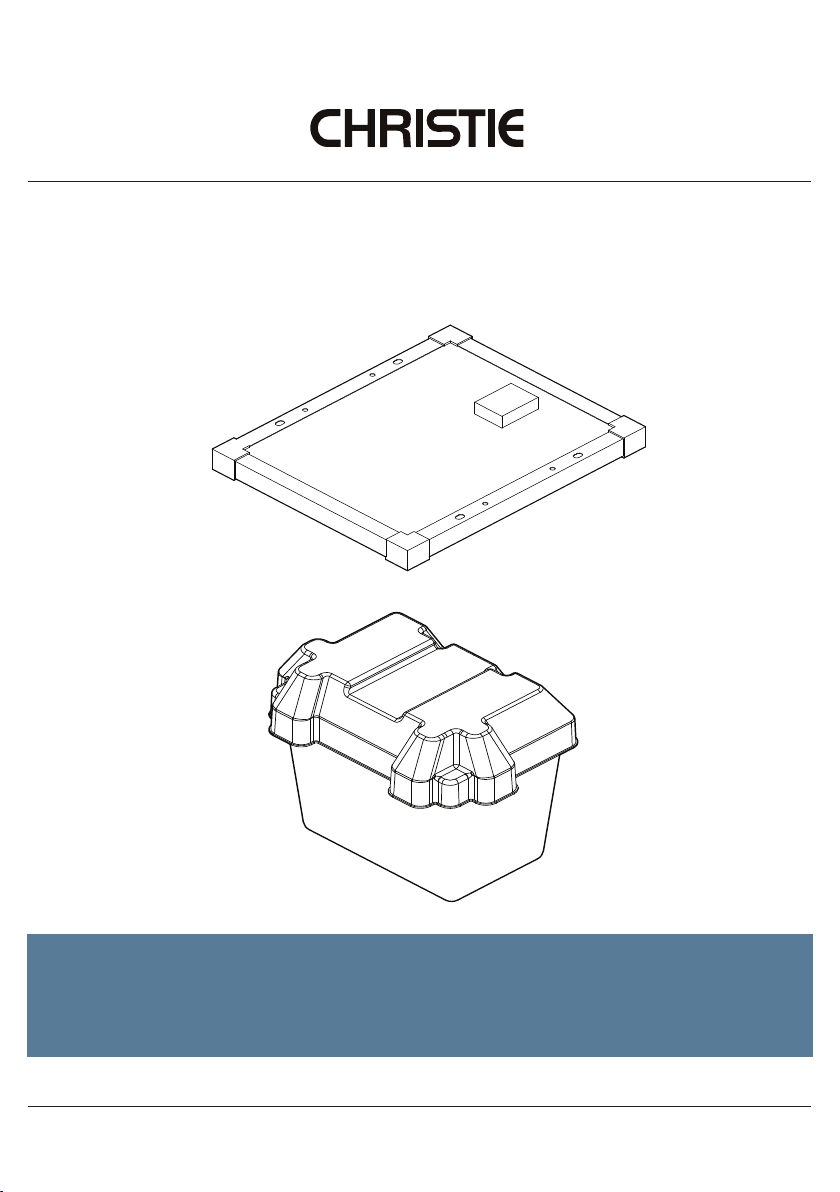
Unpack the kit and ensure all parts are in good condition with no apparent damage. If any parts
are damaged or missing, contact Christie support. See boxed contents list above.
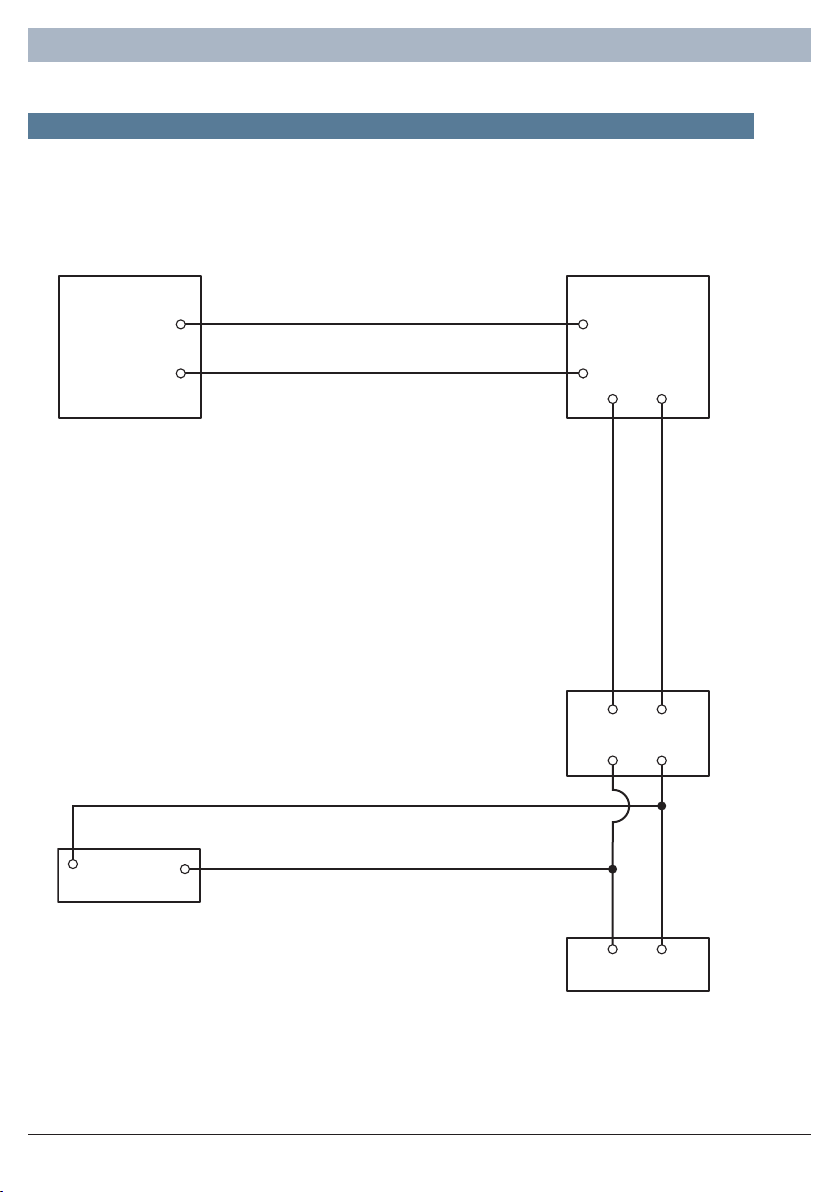
Installation instructions