CHROMATEQ Wi-Light 2 User manual

English –V.202201
Wi-Light 2 1 User Manual

English –V.202201
Wi-Light 2 2 User Manual
Welcome to the world of CHROMATEQ lighting control software.
Please read this manual carefully and thoroughly before using Wi-Light 2.
The information presented here provides a useful introduction to the wide range of features, settings and functions
available in this mobile application.
This Wi-Light 2 Manual is written in English and French.
(Le manuel technique Wi-Light 2 est rédigé en anglais et en français.)
All products and software are developed and designed in France.
CHROMATEQ SARL
191 Allée de Lauzard
34980 St Gély du Fesc
FRANCE
VAT: FR18521458034
Siret: 52145803400027
Web & E-mail: www.chromateq.com
Phone: +33 952210755 / +86 13422062209
Whatsapp:+8613422062209
Wechat: Chromateq
QQ: 2908265661
Twitter: https://twitter.com/Chromateq
Facebook: https://www.facebook.com/ChromateqCompany/
YouTube : https://www.youtube.com/c/chromateq
- - - - - - - - - - -
Copyright Information and Disclaimer
Copyright © 2021 –CHROMATEQ. All rights reserved.
No part of this publication may be reproduced, distributed, or transmitted in any form or by any means, including
photocopying, recording, or other electronic or mechanical methods, without the prior written permission of the publisher,
except in the case of brief quotations embodied in critical reviews and certain other none commercial uses permitted by
copyright law.
For permission requests, write to the publisher, addressed “Attention: Permissions Coordinator,” at the address above.
Wi-Light 2
User Manual

English –V.202201
Wi-Light 2 3 User Manual
SUMMARY
SUMMARY......................................................................................................................................................................................................3
QUICK START GUIDE ......................................................................................................................................................................................4
SMARTPHONE SERVER OR STANDALONE CONNECTION..............................................................................................................................4
WIFI/ETHERNET/DMX NETWORK EXAMPLE DIAGRAM .............................................................................................................................4
CONNECT ON ANDROID.............................................................................................................................................................................5
CONNECT ON IOS ......................................................................................................................................................................................5
LAUNCHING THE WI-LIGHT 2 APP .................................................................................................................................................................6
PAGE DESCRIPTIONS.....................................................................................................................................................................................6
TRIGGER BUTTON PAGE ................................................................................................................................................................................7
CUSTOMIZING ZONES AND BUTTONS ......................................................................................................................................................7
COLOUR AND LIVE CONTROL PAGE...............................................................................................................................................................9
CHANNELS PAGE AND CUSTOM CURSOR ...................................................................................................................................................10
SINGLE CHANNELS..................................................................................................................................................................................10
CUSTOM CURSORS..................................................................................................................................................................................11
SOFTWARE TIMELINE PAGE ........................................................................................................................................................................12
INTERFACE SETTINGS .................................................................................................................................................................................12
GENERAL SETTINGS ....................................................................................................................................................................................13
DISPLAY OPTIONS...................................................................................................................................................................................14
ADVANCED NETWORK MODE ..................................................................................................................................................................14
HOW TO USE WI-LIGHT 2 VIA INTERNET .....................................................................................................................................................15
CREATE YOUR WI-LIGHT 2 ACCOUNT......................................................................................................................................................15
ADD / REMOVE YOUR INTERFACE TO YOUR ACCOUNT...........................................................................................................................15
CONTROL THE INTERFACE VIA INTERNET ..............................................................................................................................................16
DELETE YOUR ACCOUNT .........................................................................................................................................................................16
TROUBLESHOOTING................................................................................................................................................................................16

English –V.202201
Wi-Light 2 4 User Manual
QUICK START GUIDE
To control an Ethernet DMX interface: 1) Connect the DMX Ethernet interface to the WiFi router
To control a lighting software: 1) Launch the software on a computer connected to the WiFi network
2) Connect the Mobile device to the same WiFi network.
3) Launch the Wi Light 2 App
4) Begin configuring and using the Wi Light 2 app
SMARTPHONE SERVER OR STANDALONE CONNECTION
With the Wi-light 2 application, you can communicate with lighting control software or with standalone Ethernet interfaces.
First, connect your smartphone/tablet to the same WiFi network or WiFi access point as your computer or interface.
Software Smartphone Server: Launch the software, open the Tools menu and click on Start Smartphones server.
Ethernet Interfaces: When the interface is powered, press and hold the button for 4 seconds to enter Advanced Function
mode.
Then go to F2 select DHCP (dh) or static IP (iP) mode. Press to activate the selected mode (DHCP is recommended)
WIFI/ETHERNET/DMX NETWORK EXAMPLE DIAGRAM

English –V.202201
Wi-Light 2 5 User Manual
CONNECT ON ANDROID
After a few seconds, your mobile device will connect to the network and you can now launch the Wi Light 2 app.
The app will detect the control software or DMX Ethernet devices automatically and display them in the settings page.
CONNECT ON IOS
New network connections on Apple devices
may require a few minutes to establish
After a few seconds, the mobile will be connected to the network and you can now launch the Wi Light 2 app.
The app will detect the control software or DMX Ethernet devices automatically and display them in the settings page.
IP addresses are managed by the WiFi router. In DHCP mode, the IP addresses are assigned automatically, but it is also
possible to set static IP addresses for the smartphone/tablet, device and computer. DHCP mode is recommended to
simplify connections.
2- Turn on Wi-Fi on your
mobile
3- Select the desired Wi-Fi
network and enter the
password if needed
1- Go to the general settings
and click on “Wi-Fi”
1- Go to the general settings
and click on “Wi-Fi”
2- Turn on the Wi-Fi on your
mobile
3- Select the desired Wi-Fi
network and enter the
password if needed

English –V.202201
Wi-Light 2 6 User Manual
LAUNCHING THE WI-LIGHT 2 APP
When you launch the Wi-Light 2 app, it will automatically detect the interface or software smartphone server on the network
where your smartphone/tablet is connected. Each detected device is listed and displayed in the Settings page of the App. If
multiple interfaces are connected to the same network, select the interface you want to use. You can select and control
only 1 device per time.
NOTE: In the Settings page, the Application will show if your interface or software is connected to internet or locally.
PAGE DESCRIPTIONS
Display the desired app page by selecting its icon in the lower menu bar.
1- Go to Settings page
2- Select your device or
computer with software
3- The content of your device
or project is displayed in
each zone. Press buttons
to start/stop content.
Triggers, to start/stop
buttons
RGBW Colours and live
controls
Single or customizable Channel
controls, to adjust channels manually
Advanced
Settings page
Exit APP
-Control the software Timeline
-Change the interface clock settings
and parameters

English –V.202201
Wi-Light 2 7 User Manual
TRIGGER BUTTON PAGE
Select the Scene page icon to display the list of scenes saved in the interface.
On top there is the list of zones setup in the interface. (x5 zones maximum)
CUSTOMIZING ZONES AND BUTTONS
Hold a Scene button or Zone icon for several seconds to change its associated display icon.
Hold a Zones button:
Program or
Trigger buttons
Zones
Scene buttons
Show / Hide button
customizations
Menu of available
icons
Show/Hide a
background
image
Change the Zone
name
Displayed scenes
Confirm
Check/Uncheck to
choose displayed
scenes

English –V.202201
Wi-Light 2 8 User Manual
RGB Colour
picker
Change the
Button name
Button countdown
Slide ON/OFF to activate
the timer function
Activate the timer
Stop the scene at the
end of the timer
Display a pie chart on the icon
Display a countdown
from 59s to 0s
Set the timer :
Hours:Minutes:Seconds
Hold a Scene button:
For each scene you can customise a countdown timer and choose if you want to stop the scene at its end.
Show / Hide
customizations
Confirm
Menu of available icons
Icons
Show/Hide a
background
image

English –V.202201
Wi-Light 2 9 User Manual
1- Open the browser
2- Select the desired picture
4 - Confirm
3 - Validate the picture
Background image
For each zone and scene button, to add a picture as a background click to “Display/Hide a background image” in the button
customization mode.
COLOUR AND LIVE CONTROL PAGE
Select the colour page icon to display colour controls.
3 modes are available: colour picker (wheel), sliders and basic controls.
Use the RGB
palette or sliders to
apply a colour

English –V.202201
Wi-Light 2 10 User Manual
CHANNELS PAGE AND CUSTOM CURSOR
SINGLE CHANNELS
Select the channel page icon to manually control individual channels.
This mode can be used to adjust the light intensity of simple cool or warm white devices with a single DMX channel.
Speed: change the speed of
the current scene
Dimmer: adjust light output
intensity of the current
scene in the selected zone
Black-out: all fixtures
light output off
Highlight: all fixtures output
white at maximum intensity
Next: jump to the next scene
in the list
Pause: current scene pauses
Slide ON/OFF to resume the current scene
values and cancel the Live colour
Click to cancel the
modification
Click to apply
the modification
Scroll through 32 cells at a time to browse
the 512 channels of the current universe
Select a DMX universe
(from 1 to 4)
Slide ON/OFF to cancel the
changes on all channels
The level settings remain
active until they are
deactivated
Click on the channel and set
the DMX level manually

English –V.202201
Wi-Light 2 11 User Manual
CUSTOM CURSORS
Custom cursors allow you to create customized sliders by selecting the channels that you want to control simultaneously.
It is possible to make 4 pages of 5 custom sliders and up to 20 cursors.
Cursor display customisation:
Custom cursor
Select all the channels
you want to control
Choose the DMX
range of the cursor
Select a page of 5
cursors maximum
Delete the selected
cursor
Hold for several seconds
to display the cursor
configuration mode
Activate / deactivate the cursor
Click on the cursor
and set the DMX level
manually
Confirm
Change the cursor
display and name
Confirm
Name the cursor
Menu of available icons
Add a cursor

English –V.202201
Wi-Light 2 12 User Manual
SOFTWARE TIMELINE PAGE
Select the Timeline page icon to control the software timeline.
If the show has several timeline tabs, only the current tab is controlled.
INTERFACE SETTINGS
Select the Interface Settings page icon to setup the selected standalone interface time and date, change the master/slave
options, and change its network configurations and IP setting.
Enable/Disable
the interface’s
Master option
Hours / Minutes
/ Seconds
Pause the Timeline
Play the Timeline
show
Play directly to the
next marker
Stop the
Timeline
Go to the previous
marker
Go to the Next marker
Refresh the interface
current clock
Write the current
date and time of
your
mobile/computer to
the interface
Month / Year
Day
Confirm and apply
settings
Interface long
name

English –V.202201
Wi-Light 2 13 User Manual
The interface can reboot in different modes:
-DMX (default) stand alone: DMX signal is sent on the 2 XLR connectors and show plays from the internal memory
or from the SD card memory.
-ARTNET stand alone: Artnet signal is sent on the Interface Ethernet port and show plays from the SD card memory
only.
-sACN stand alone: sACN signal is sent on the interface Ethernet port and show plays from the SD card memory
only.
-NODE: Artnet signal is received from the interface Ethernet port and converted into DMX signal on the 2 XLR
connectors of the interface.
GENERAL SETTINGS
Select the General Settings page icon to choose the interface or software to be controlled, to choose the network settings
and enable or disable various page and display options of Wi-Light 2. It is also possible to secure the application with a
password (to prevent unauthorised users from changing the advanced settings).
Art-Net Mode
Displays compatible
devices or software
available on the
network
DMX Universe
Subnet Mask
Interface Short Name
Node Name
IP Address
Subnet
Reboot interface to
apply new Mode
Node Mode
DMX Mode
Refresh the
compatible devices
available on the
network
About the Wi-Light 2
application
Displays the WiFi or Internet status
- Green: connected
- Red: lost or no connection
Network settings
Display options
sACN Mode

English –V.202201
Wi-Light 2 14 User Manual
Password recovery, enter your
valid e-mail to recover your
forgotten password
(a confirmation email is sent)
DISPLAY OPTIONS
ADVANCED NETWORK MODE
Select the network option on top to manually select the network card, choose the local network, internet (user account
connection) or both.
When both are selected, the search will first be done on the local network and if no interface or software is found, Wi-Light
2 will connect to the user account entered and display its available interfaces or software.
Display / Hide the Timeline
or Interface settings page
Groups the 5 zones in one
single page (all scenes will
follow each other)
Display / Hide the
Colour Control page
Enable /disable the security option.
Enter a password to secure access
to the Settings
Display / Hide the
Triggers page
Display / Hide the
Channels page
Display buttons in a
grid or a list format
Enable/Disable the
button and Zone
customization
Displays available network
cards on the mobile
Show or change local Network
card IP address
Refresh network cards
Confirm the new IP address
(Manual setting)
Enables/Disables search on
local network
Enables/Disables Internet
network connection
Enter user Name
Enter user password
Enter a valid e-mail
Add a new User (a confirmation
email is sent, if email, password
and account name are valid and
are not yet registered)
Delete the user (a confirmation
email is sent)
Validate the user name and
the user Password to log in
Displays Login OK to confirm the
connection to the user account
Displays Invalid login or password if
one field is not correct

English –V.202201
Wi-Light 2 15 User Manual
2- Enable online account login
4- Add the selected
interface
Click to remove the
selected interface
HOW TO USE WI-LIGHT 2 VIA INTERNET
CREATE YOUR WI-LIGHT 2 ACCOUNT
Launch the Wi-Light 2 application on a device (Android, IOS) connected to an Internet network and go to "Settings" ->
"Networks".
New user must click on the link received in the email to activate the account.
ADD / REMOVE YOUR INTERFACE TO YOUR ACCOUNT
Connect your interfaces and Wi-Light 2 on the same local network with internet access and go to "Settings" -> "Networks" to
choose the right network then go to "Settings" -> "Interfaces".
3- Enter the user name
4- Enter the user password
5- Enter a valid e-mail
6- Create the user (a confirmation
email is sent)
1- Select a network
with internet access
3- Choose the interface
to add to the account
5- Confirm
addition
7- Confirm
creation
1- Select the right
local network
2- Activate the connection
to the local network

English –V.202201
Wi-Light 2 16 User Manual
CONTROL THE INTERFACE VIA INTERNET
Check that the interfaces are connected to a local network with internet access. Connect the device with Wi-Light 2
installed to the network with internet access (Local or 4G) and go to "Settings" -> "Networks", to make sure you are using
the right network. Then select the card you want to control in "Settings" -> "Interfaces".
DELETE YOUR ACCOUNT
To delete your account, go to "Settings" -> "Interfaces".
Click on the link received in the email to remove the account.
TROUBLESHOOTING
If you are unable to detect the interface, you should check the following settings:
Wi-Light 2: The "Online" option is activated, the username and password are correct and "Login Ok" is displayed:
Interface:
- Connect the network cable to the interface before turning it on.
- IP and subnet mask correctly configured to match the local network.
- Some local networks may require the following UDP ports to be opened manually:
- 8011 + 8012 (communication between interfaces and software)
- 8011 + 8014 (communication between interfaces)
- 6454 (Art-Net communication)
- 5568 (sACN communication)
- Verify that local and internet access are both via the same network. If not uncheck one of them from the "Settings" ->
"Networks"
IMPORTANT NOTE: Registration of your control interface is not possible using your mobile phone's DPRS/4G/5G network.
When registering, turn off GPRS and connect to the correct local network with internet. In the Web Remote configuration,
the interface is connected to a local network with Internet access point, and your mobile device running the app must be
connected to the same network in order to detect and register the target interfaces for association with your account.
Refer to the relevant interface datasheet for device-specific settings.
1-Delete user
2-Confirm the deletion (a
confirmation email is sent)
Table of contents
Other CHROMATEQ USB Interface manuals
Popular USB Interface manuals by other brands
Siemens
Siemens Gigaset M105 Data operating instructions
Pulsar
Pulsar EN54C-LCD Series user manual

Seiko
Seiko SVAZ015 instructions
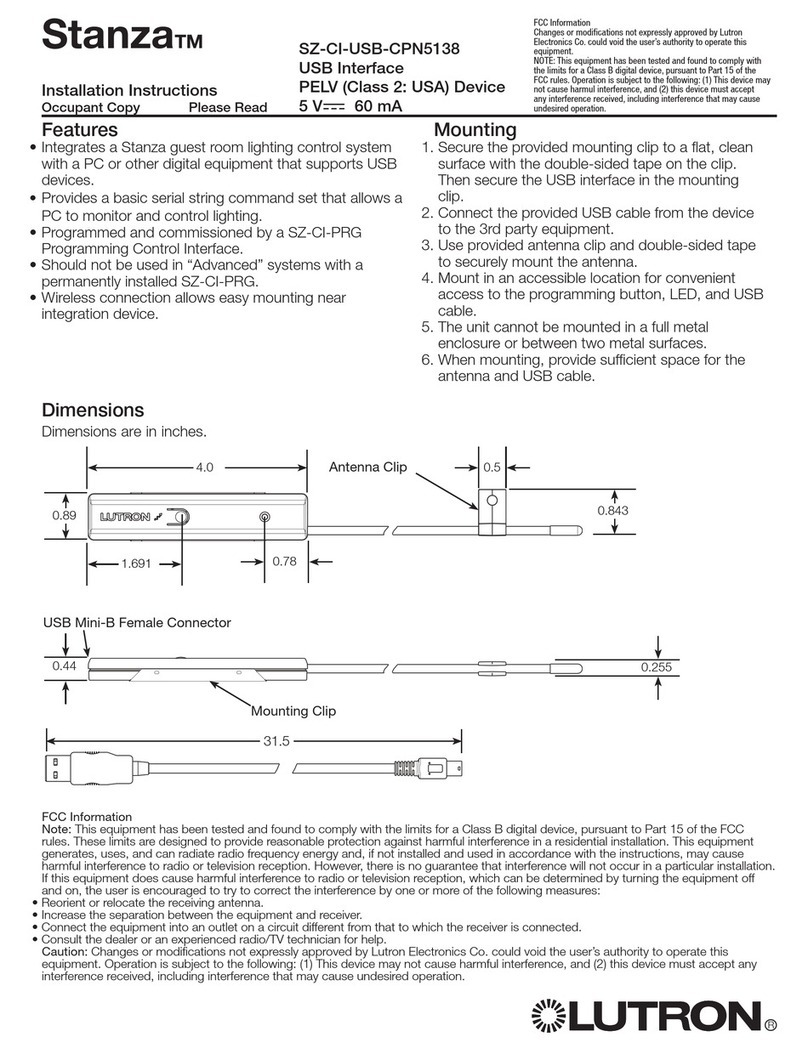
Lutron Electronics
Lutron Electronics Stanza SZ-CI-USB-CPN5138 installation instructions
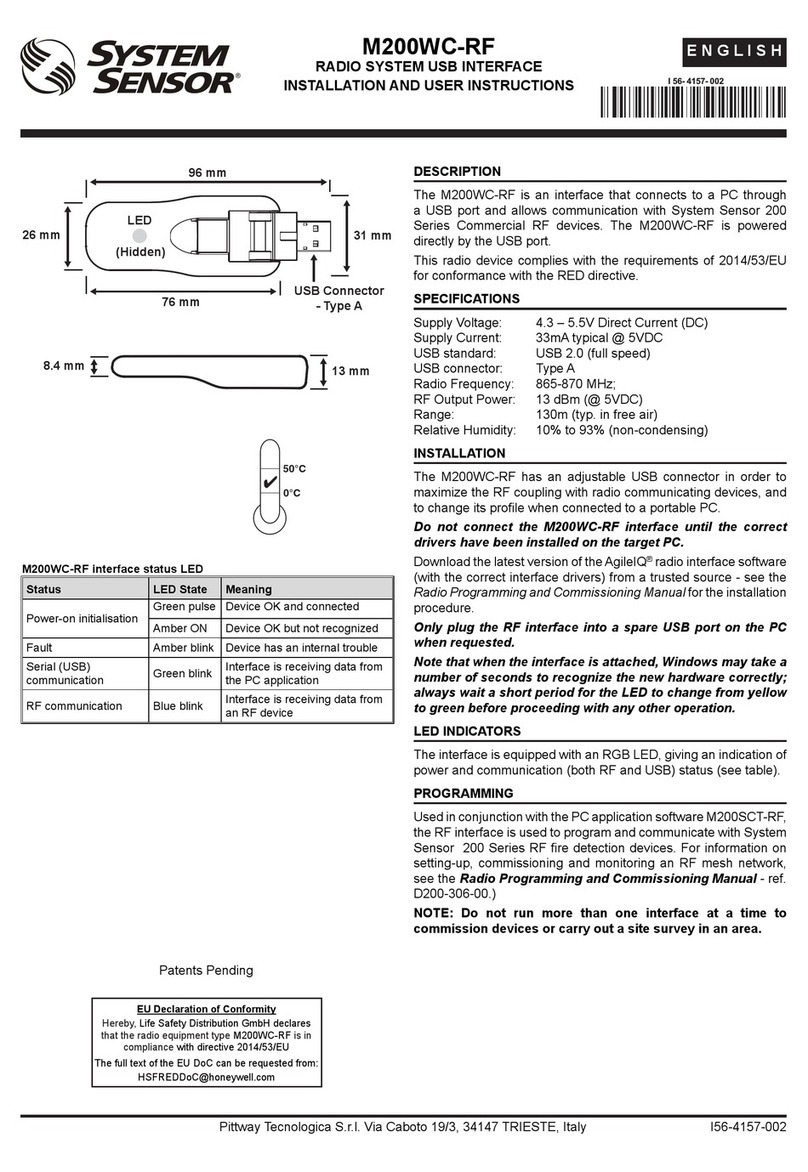
System Sensor
System Sensor M200WC-RF Installation and user instructions
Matrix
Matrix X-spdif 2 manual

