Cineo ReFlex R15 User manual

1
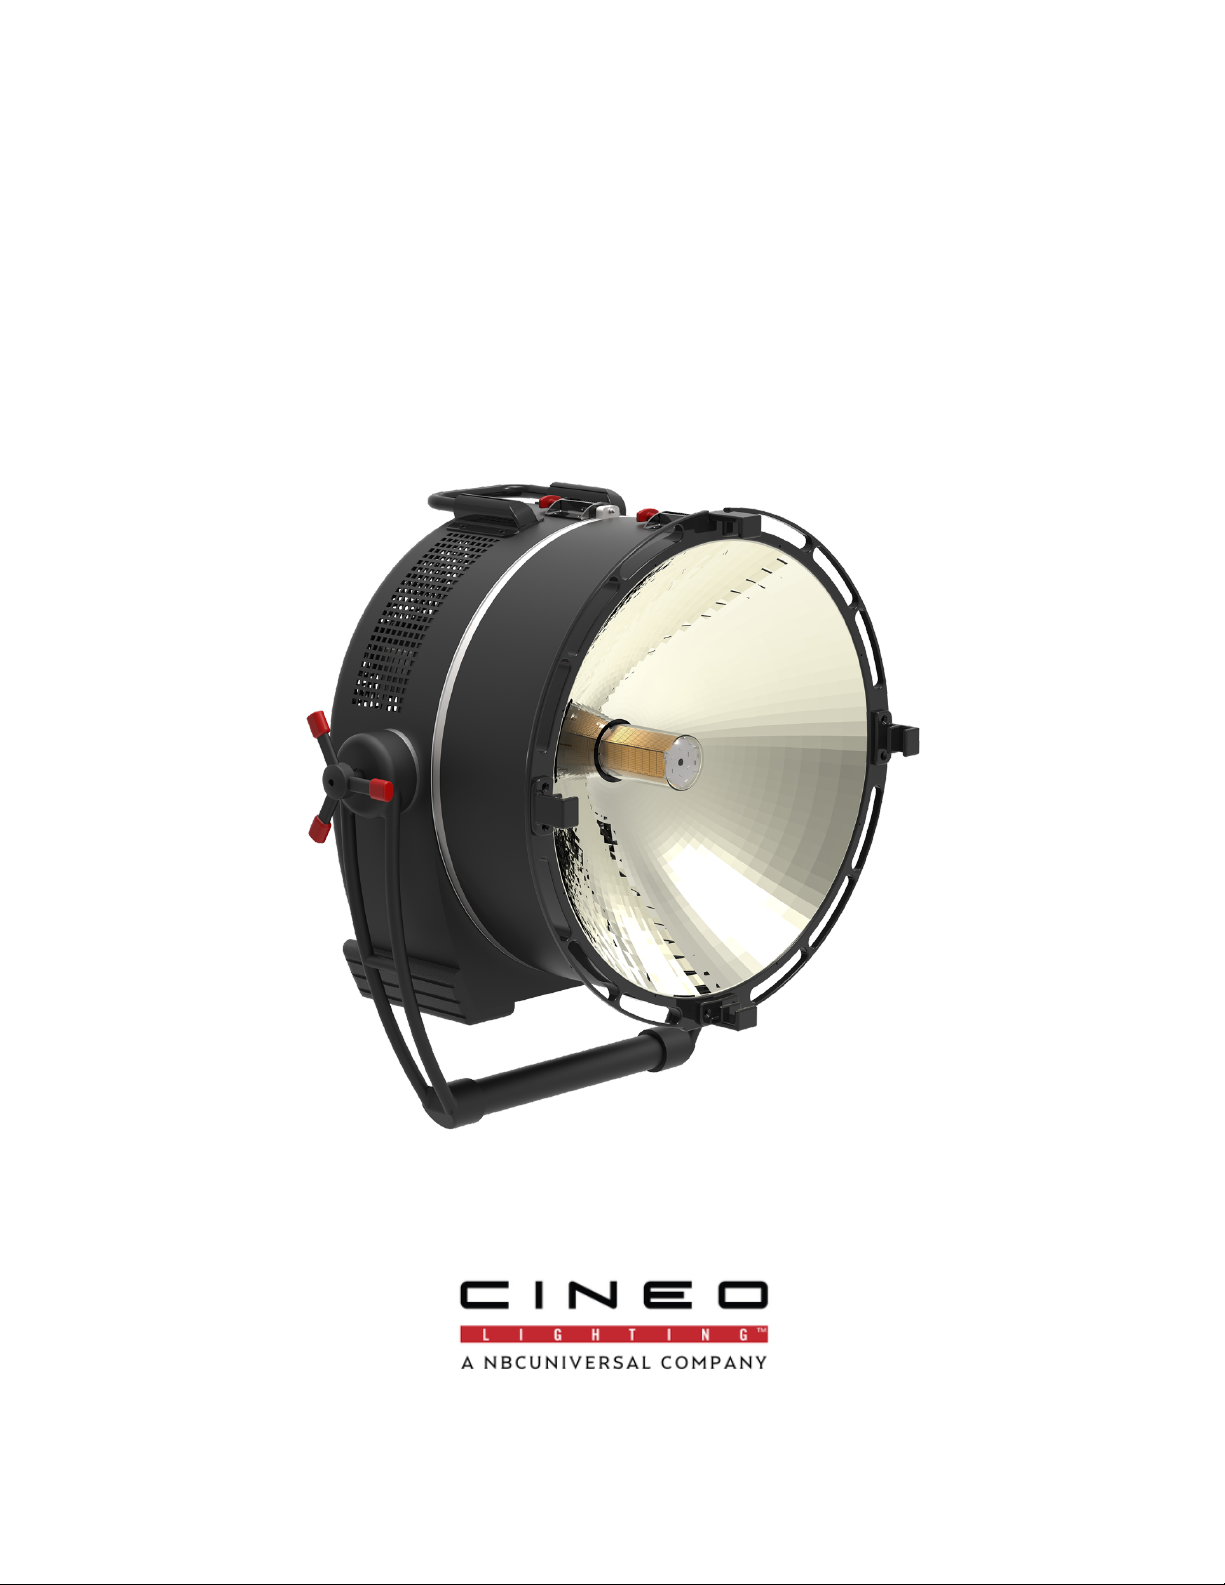
ReFlex R15 User Guide
Version 2.0.4
July 2021
Copyright 2020 Cineo Lighting. All rights reserved

2
Table of Contents
Subject
Page No.
Introduction
3
General Notes
4
Features
5
Warnings
6
Theory of Operation
7
Immersion Cooling Facts
8
Packing, Unpacking and Setup
9
Component Locations
10
Power and Data Connections
12
Operating the fixture
13
Accessories, Mounting Options
25
Specifications
26
Warranty
27
Addendum: DMX /RDM Maps
28

3
Cineo ReFlex R15: a whole new category of hybrid media production
lighting.
Dedication to creating lighting products that fulfill the expectations of motion picture and
television professionals has been Cineo’s passion since our first high-power LED soft-light studio
fixtures. And now with ReFlex we’ve applied patented, groundbreaking technologies to create a
high-output, focusable-beam, fully dimmable hard light which exceeds the capabilities of
traditional lighting tools. ReFlex also re-defines versatility by delivering both high-output hard
lighting combined with soft lighting capabilities.
ReFlex R15 delivers 125,000 lumens of flicker-free and color stable digital lighting with less than a
1,500 watt AC power draw. By providing constantly variable CCT, it can replace both high-output
tungsten, large HMI fixtures and everything in-between. Beam angle adjustment from 15 to 75
degrees is accomplished without mechanical movement, making it remotely adjustable; and the
Advanced Beam Control opens a whole new realm of possibilities. The reflector can easily be
removed and replaced with a variety of structured soft lighting solutions.
Cineo has completely re-designed its control strategy, making it as easy to use as your smart
phone. A full complement of remote control protocols are supported including DMX/RDM, CRMX
wireless and sACN/ArtNet over ethernet. All this in a completely integrated, water-resistant
package weighing under 75 lbs.
Leveraging our years of experience in solid-state lighting and material sciences, ReFlex uses Cineo-
designed, custom-built LEDs and control electronics deliver the same bright, beautiful color
rendering and extended deep-red spectrum as our Remote Phosphor fixtures.
ReFlex continues our high standard of durability through quality manufacturing, designed for field
service and backed by a 2-year warranty.

4
General Notes
• Please read through this manual carefully before operating this fixture and keep this
manual for future reference.
• There are numerous safety instructions and warnings that must be adhered to for your
own safety.
• Cineo ReFlex R15 is not intended for residential use. It is intended for use in a professional
studio.
• ReFlex R15 must be serviced by a qualified technician.
• ReFlex R15 is rated IP23 – suitable for outdoor use.
• Cineo products are not certified for use in hazardous locations.
• ReFlex R15 has a typical operating temperature of 55°C (130°F).

5
Features
125,000 Lumen digital hard light
Utilizing 54 high-density CSP arrays, the ReFlex Radial Light Engine consists of 9 concentric light
sources around its liquid cooled core.
Comprehensive control options
Local control is managed through an intuitive touchscreen on the back of the fixture. For remote
operation, ReFlex supports all existing control protocols including DMX/RDM, wireless CRMX,
Ethernet and WiFi. Fixture settings, user libraries and software updates utilize the unit’s built-in
USB port.
Electronically variable, 15°-75° spot/flood beam control
The ReFlex light engine technology permits the beam angle to be controlled continuously from
15° to 75° electronically, both locally and remotely, with no moving parts.
Uniform Field Lighting Area
Due to the way the light engine is controlled, the exposure level across the selected beam angle is
perfectly uniform: no hot spots or dark areas. Color variances within the beam due to Color-over-
Angle (COA) can be compensated by adjusting the CCT of the beam as the beam angle changes.
User-controlled beam shaping
If a more customized beam shape is needed, individual controls of all 9 lighting sources (both
intensity and CCT) are available both locally and remotely.
2700K to 6500K hybrid output
ReFlex can do the work of both HMI and incandescent hard lights without bulb replacement for
the life of the fixture.
100% to 0% dimming – zero flicker, zero color shift
Like all Cineo Lighting fixtures, dimming is controlled over the full range from zero to full output,
at all CCTs with no color shift and no flicker at frame rates up to 10,000fps.
110/220v household circuit operation
At full power, ReFlex requires less than 1500 watts, making it a simpler solution for remote setups
where auxiliary power is impractical.
Interchangeable reflector and light shaping accessories
The hard reflector is easily removable, creating a 180º Lambertian light source. Soft accessories
turn ReFlex into a high-powered soft lighting source with controllable shape.
Total weight: 73lbs.
ReFlex is completely self-contained: no ballasts or external power supplies. The unique cooling
system and compact electronics of ReFlex make for a total weight manageable by one person.
Weatherproof
ReFlex’s sealed electronics and cooling systems provide for safe use in wet locations without
additional protection.
70,000 hour (L70) life span
The extremely robust proprietary arrays used in ReFlex deliver uncompromised output for the
long life of the fixture.

6
Durable construction, designed for service
ReFlex 15 polycarbonate radial light engine can withstand extreme impact, while the immersion
cooling system is completely sealed and monitored. All electronic components are modular and
field serviceable by a qualified technician.
Warnings, etc.
Risk of Electric shock / Risk of Fire
Do not open. To reduce the risk of electric shock, do not remove cover (or back). No user-
serviceable parts inside. Refer servicing to qualified service personnel.
Burning Injuries
Be aware of high temperatures in excess of 50º C inside the fixture during and after fixture use. Do
not touch the Light Engine to avoid burning injuries.
Flammable Materials
Keep flammable materials away from the installation. Insure that the amount of air flow required
for safe operation of the equipment is not compromised. Proper ventilation must be provided.
ESD and LED’s
Electronic components used in R15 are ESD (Electro-Static Discharge) sensitive. To prevent the
possibility of destroying components do not touch either in operation or while switched off.
This Equipment MUST be Grounded
In order to protect against risk of electric shock, the installation should be properly grounded.
Defeating the purpose of the grounding type plug will expose you to the risk of electric shock.
AC Power Cords
Use only a rated PowerCON True1 Connector. The user is responsible for ensuring power cables are
of adequate condition for each application. If the power cords are damaged, replace them only
with new ones.
Disposal of Old Electrical & Electronic Equipment
This product shall not be treated as household waste.

7
Theory of Operation
CSP Arrays
ReFlex R15 employs next generation high-output ChipScale
Packaging (CSP) LED arrays that deliver a power density of
100 watts per square inch. ReFlex R15 uses 54 of these CSP
arrays in a circular pattern as its light engine.
Immersion Cooling
The fixture uses an optically transparent dielectric fluid to manage the high-density thermal mass
generated by the ReFlex light engine. The refractive index of the fluid and CSP phosphors have
been tuned to deliver Cineo-quality white light at any color temperature from 2700 to 6500K.
9-zone Beam Shaping
The ReFlex Radial Light Engine uses nine individually controlled concentric light sources to derive
beam angle, shape and CCT. The advantages are many:
• Electronic beam angle control – from Spot to
Flood with no moving parts
• A completely uniform beam shape from 15º to
75º
• Advanced controls to change the beam shape
and CCT for specific applications
• All beam functions are digitally adjustable locally
and remotely
Additional optics
The faceted reflector is easily removable, turning the R15 into a 180º evenly dispersed lambertian
light source. Structured soft light accessories such as Snapbag®, Lanterns or traditional space light
skirts can be added to turn the R15 into a perfectly illuminated 1500 watt soft source.

8
Immersion Cooling Facts
The ReFlex coolant system is designed to be service free. The proprietary hydrocarbon coolant
does not evaporate, should not need refilling and has an operational life of >10 years.
DO NOT ADD COOLANT TO THE R15. Please contact Cineo Service if you are concerned about a
loss of coolant, contamination of the coolant or need replacement coolant.
The R15 coolant (like most fluids) will absorb dissolved air if left unused for a longer period of
time. Air can also be introduced during transport when the system is agitated and exposed to
large swings in temperature and altitude. Seeing some bubbles in the LED Tower is normal after
an R15 unit has been stored or transported. The R15 is designed to remove this dissolved gas over
time for this, using an internal auto-degassing system.
If there is a higher than desired quantity of bubbles after transport or long storage period,
degassing can be done prior to rigging; however, this is not a necessary process. Follow these
steps:
• Turn on light and set DIM to 30-50% - light and pump must be on to generate heat and
circulate the coolant thru the Auto-degassing system.
• Ideally allow R15 to run for 1 or more hours. Optimal de-gassing can take up to 8 hours
depending on how long the unit was stored or how much air was introduced during
transport.
• Again – degassing is NOT required prior to using an R15. However, after full degassing
users will notice virtually all micro-bubbles are gone and the pump sound is slightly
reduced.
For maximum LED reliability and performance, the temperature of the LEDs in the R15 are carefully
managed and monitored. The R15 has 4 thermal sensors and 2 independent thermal management
and protection circuits:
1. Fail Safe - Thermal Relay and LED Shut Off
If the LED array exceeds 95c, this relay immediately cuts off the power to ALL the LEDs
while leaving the control panel and rest of the R15 operational (fans and coolant pump) so
you can review what the error might be. Causes of a thermal shut off could be:
a. R15 is being operated in an environment that exceeds its 40C max operating temp
b. Pump is not functioning properly
c. Fans are not functioning properly
d. Coolant level is insufficient
If the R15 performs a thermal relay shut off and the cause is not identified, we recommend
turning off the unit until you have contacted Cineo service. It will reset itself after it cools,
but repeated thermal shutoffs would indicate the unit is not operating properly and could
be damaged thru continued operation.
2. Digital Thermal Sensors
Additionally, the R15 has 5 internal digital temperature sensors that monitor and control
the thermal system operation. The R15 uses these sensors to reduce the fan speed when
temperature allows to minimize fan noise.
Output from these sensors can be viewed in the TOOLS menu, as well as the actual fan
speed and pump speeds.

9
Setup, Packing and Shipping
Always transport ReFlex in the road case designed specifically for the fixture.
Shipping weight in its road case is 130 lbs. (60 kg.) Case size is 33.5”h x 33.5”w x 34.5”d including
wheels. (85 x 85 x 88 cm.)
Due to the cooling technology, always ship the fixture upright. NEVER
transport the fixture on its side, as this will cause a small amount of coolant to
escape. Although this will not impact the operation of the fixture, the
presence of fluid may cause some concern.
!
!
!
! !

10
Component locations
Body
Flow-through design allows both air and water to safely contact the interior system components.
Top Handle
Safety rated; also prevents damage to the rear of the fixture.
Reflector/latch
Pull this latch pin and turn the reflector to remove.
Yoke
Easily removed with captive components by spinning off the side handles.
Reflector
Removable open-face hard light reflector.
Front accessory latch
Pulling this latch pin opens the retaining clip for mounting light control accessories in front of the
reflector.

11
Hanging Points
(3) safety-rated 3/8-16 threaded hang points for top hanging.
Illuminated Power Switch
20 Amp self-resetting circuit breaker
USB Port
Type-A powered USB 2.0 port, designed to update software and up/download user libraries.
Control Console
Capacitive touchscreen for managing local control and remote communications
Sync Port
This connector is reserved for future use.

12
Power and communications interfaces
AC Input
The fixture is connected to AC power, 100-240VAC 50/60 hz. using a waterproof True1 connector.
Maximum power draw is 1460 watts.
Ethernet Port
This waterproof RJ45 jack is used for network connections supporting sACN or ARTnet
communications.
DMX In/Thru
Waterproof 5-pin DMX/RDM 512 8-bit communications. The THRU port is passive and self-
terminating when no cable is attached to this port.
DMX Bridge
Waterproof DMX OUT that regenerates all communication received by the fixture. When in
REMOTE mode, whatever control method used to control the fixture (DMX, wireless, network, etc.)
is outputted as a full DMX512 signal. RDM is not supported on this port.

13
Control Operation
Home Screen
The ReFlex fixture incorporates a high-
resolution touchscreen, Linux-based
64-bit processor, 32GB storage and a
precision real-time clock. This
platform provides an intuitive user
interface for local control, system
setup and diagnostics, specialized
functions and remote operation.
System Information
On the top line of the display, the
software version number is displayed.
Touching this will display details of
both software and firmware versions,
as well as the UID of the fixture.
Additionally, holding the OK button
for 5 second will display on odometer
of the fixture’s runtime in detail:

14
Controls
The control section is located at the bottom of the screen,
identified by dark blue icons.
Basic Control
The basic controls are the simplest
method for controlling the fixture.
Select the Basic icon, and three sliders
appear: DIM, CCT and BEAM. Slide the
control to the desired setting, or use
the shortcuts:
• Press and hold the value
displayed to the left of the
slider. A keypad is displayed
so precision values can be
entered.
• Tap the slider to advance to the next logical value for the control. There are:
DIM: 20% increase in output, which corresponds to 1 f-stop increase in output.
CCT: Tap the slider control to jump from 2700, 3200, 4300, 5600, and 6500.
BEAM: Tapping this slider increases beam angle by 10%.
All control screens include the ability to save current settings as either a Preset or Effect, with
buttons present at the bottom of all control screens. This will be explained in a following section.
The Home icon in the upper left corner always returns you to the Home screen, while the arrow
icon in the upper right corner returns you to the previous screen.

15
Beam Control
Selecting this icon displays 9 sliders,
each representing intensity control of
each of the 9 concentric radial sources
in the light engine. To the right of
these are master DIM and CCT
controls. Any values set in the Basic
control screen are mapped into the
Beam control, giving you a starting
point for customizing the overall
shape of the beam. Shortcuts for both
presets and the keypad are available
on all sliders. Note that if a custom beam shape is designed and unsaved, it will be cleared when
the Basic control is used.
Beam K Control
The Beam K control is the most
sophisticated local control currently
available, allowing complete control
over both beam shape and CCT,
individually controlled over the 9
concentric light sources. The interface
is similar to the Beam control, with
master DIM and master CCT displayed
to the right of the 9 sliders. All
shortcut methods previously
described are available on all sliders.
An additional button on the bottom of
the screen displays the current
function being controlled and when
pushed toggles between the CCT
controls and Beam controls.
Note: once the master CCT is used, or
the Basic controls are used, any
unsaved customization to the Beam K
will be reset.

16
Settings and Functions
The top left area of the menu screen contains
several icons, containing additional settings and
features for the fixture. The Green icons
represent settings, while the teal icons contain
additional features.
Tools
By touching the Tools icon, several fixture settings are available, as well as temperature and
component monitoring status.
Time Set
The R15 contains a crystal-accurate
clock that is the time reference for the
fixture. This includes the date and time
displays throughout the user interface,
the timestamps used for event logging
and creation/modification date stamps
for all stored LUTs, Presets and Effects.
Touch the Date, Time or 12/24-hour
time format to change any of these
criteria.
Thermal / Noise Reduce
The thermal management of ReFlex includes sophisticated software designed to prevent thermal
stress while minimizing the fan noise. It also includes a fail-safe thermal relay that prevents a
catastrophic thermal event from damaging the fixture. Depending on operation, the Thermal
menu displays the overall thermal state of the unit: GOOD, WARM or HOT. For diagnostics
purposes, the Cooling section currently shows the temperature in four critical areas of the fixture:
the Light Engine tip and Base, the processor PCB and the clock. There is no user intervention
required. If the system is managing the fan and pump speed for quiet operation, it displays “Noise
Reduce: ON”; otherwise if the system requires 100% fan and pump, the Noise Reduce status
changes to “OFF”. The fan speed and pump speed are also displayed, again for diagnostics
purposes.
CRMX
In this section, the CRMX radio linking and status are managed. The top red button, labeled “Press
to Unlink” unlinks the unit to an available wireless DMX transmitter. CRMX receivers always
automatically “Link” to the available transmitter in the vicinity. The lower red area displays the
current fixture status in relationship to being linked to a transmitter or not.

17
Service Logs
Pressing the “Errors” button show a list of errors reported for diagnostic purposes. The “About”
button displays system information, including the software version.
Presets/Effects/Logs – Copy and Storage
By pressing the arrow button, the system
memory can be managed, as well as
providing tools to move user Presets,
Effects and Logs to/from a USB storage
device.
Logo Light On/Off
The R15 includes an illuminated “Cineo”
logo on the back of the fixture. This not
only helps locate fixtures on a dark stage
but can also show error codes in future
releases.
Presets and Effects
The ReFlex is capable of recording and playing back static or
dynamic settings. In all Control screens, current static output
settings for the fixture can be recorded and recalled for future use.
The same is true for saving dynamic lighting changes, created
locally or played from a console via supported remote protocols.
These are organized in the Presets and Effects icons on the Home screen, with static settings
stored in Presets, and dynamic settings stored in Effects. In either area, the user can create
collections of both Presets and Effects, stored in folders called Libraries.
The R15 is shipped with pre-built “Cineo Presets” and “Cineo Effects”, in addition to the ability to
create your own. Any Cineo preset or effect can be recalled by simply selecting the stored item; it
can then be modified and stored as a new item in the “User Presets” area of Libraries.
Creating Presets
As previously mentioned, all applicable screens,
including the remote operation screen offer the ability
to record a Preset event.

18
Since a Preset is a snapshot of the
current settings, once the Preset
button is pushed, the user is
prompted to select an existing Library
for storage, or the choice to create a
new Library.
If storing in an existing Library, “New
Preset” button is shown, along with
the existing Presets stored in the
Library. The user can choose to
overwrite an existing Preset or
choose the “New Preset” button.
When the latter is chosen, an
alphanumeric keypad is then
displayed for naming the Preset. If
creating a new Library, the keypad is
displayed for naming the Library,
followed by the “New Preset” button.
Naming of the Preset follows similar conventions.
Recalling Presets
To recall an existing preset, simply go
to the Presets icon on the Home
screen, choose the Library and Preset
and the fixture will recall and display
the chosen Preset.

19
Recording Effects
Effects creation is very similar to
Preset creation, except the Effects
are time-based. When pressing the
Effect button from any control
screen, the button changes to
“Record”. It will now record all
changes made to the settings, either
locally or remotely, until the Record
button is pushed again. A list of
Effects Libraries is then displayed,
and the ability to select a Library
create a new Library, save the Effect
or overwrite an existing Effect are identical to the operation of saving Presets.
Effect Playback
Select an Effect to playback in a
similar manner to choosing a Preset;
however, when the Effect is chosen
an Effect Player is displayed. This is a
very powerful tool, allowing you to
control the playback speed and DIM
level, along with the option of
looping the Effect. The start and end
frame of the effect can be selected by
following these steps:
1. Using the timeline slider, park the slider on the desired start frame. Then touch the
starting timestamp (on the left). This selects the new start frame for the effect.
2. Move the timeline slider to the desired ending frame. Touch the end frame
timestamp (on the right). This selects the effect end frame.
3. If LOOP is on, the effect will play continuously between the revised start and end
frames.

20
Logs
Log files are a time-stamped history of
all settings for the fixture. Every time
the fixture is powered-on, a new Log
file is created and continues to record
the events, both locally and remotely
that the fixture is doing. These Log
files are saved indefinitely, so several
days, weeks or months of previous
activity can be reviewed and recalled.
There are several purposes of the Log
files, including:
• Review and recall any setting or series of settings created before. When selected, Log files
are loaded into the Effects player, and can be reviewed.
• Logs show the chronological usage of the fixture, for analytics purposes.
• Diagnostics. Cineo Customer Service can review the Log files as a troubleshooting tool.
LUTs
The ReFlex R15 takes advantage of Cineo’s LUT feature. Future releases will include optional LUT
selection.
Remote Operation
The R15 can be remotely controlled using a wide range of protocols, the
simplest of which is DMX/RDM. Current release also supports the built-in
CRMX wireless DMX protocol, sACN/ARTNet over ethernet and future
releases will add Wifi.
All functions in this area are also available via RDM, including the ability to
place the unit in Remote or Local operation.
Control method
By selecting this icon, current control methods are presented. In the current
release, choices are DMX, CRMX and Ethernet.
Table of contents
Other Cineo Lighting Equipment manuals
Popular Lighting Equipment manuals by other brands

Chauvet DJ
Chauvet DJ Bob LED H3 Quick reference guide

HOOTBOOTH
HOOTBOOTH ILLUMIN8+ Hardware setup guide

thomann
thomann Fun Generation SePar Hex LED RGBAW UV IR user manual

PR Lighting
PR Lighting PR-8835 manual

Sensio
Sensio Neutron SE10455C0 installation guide

LED Technologies
LED Technologies VR1000 user manual